


47404
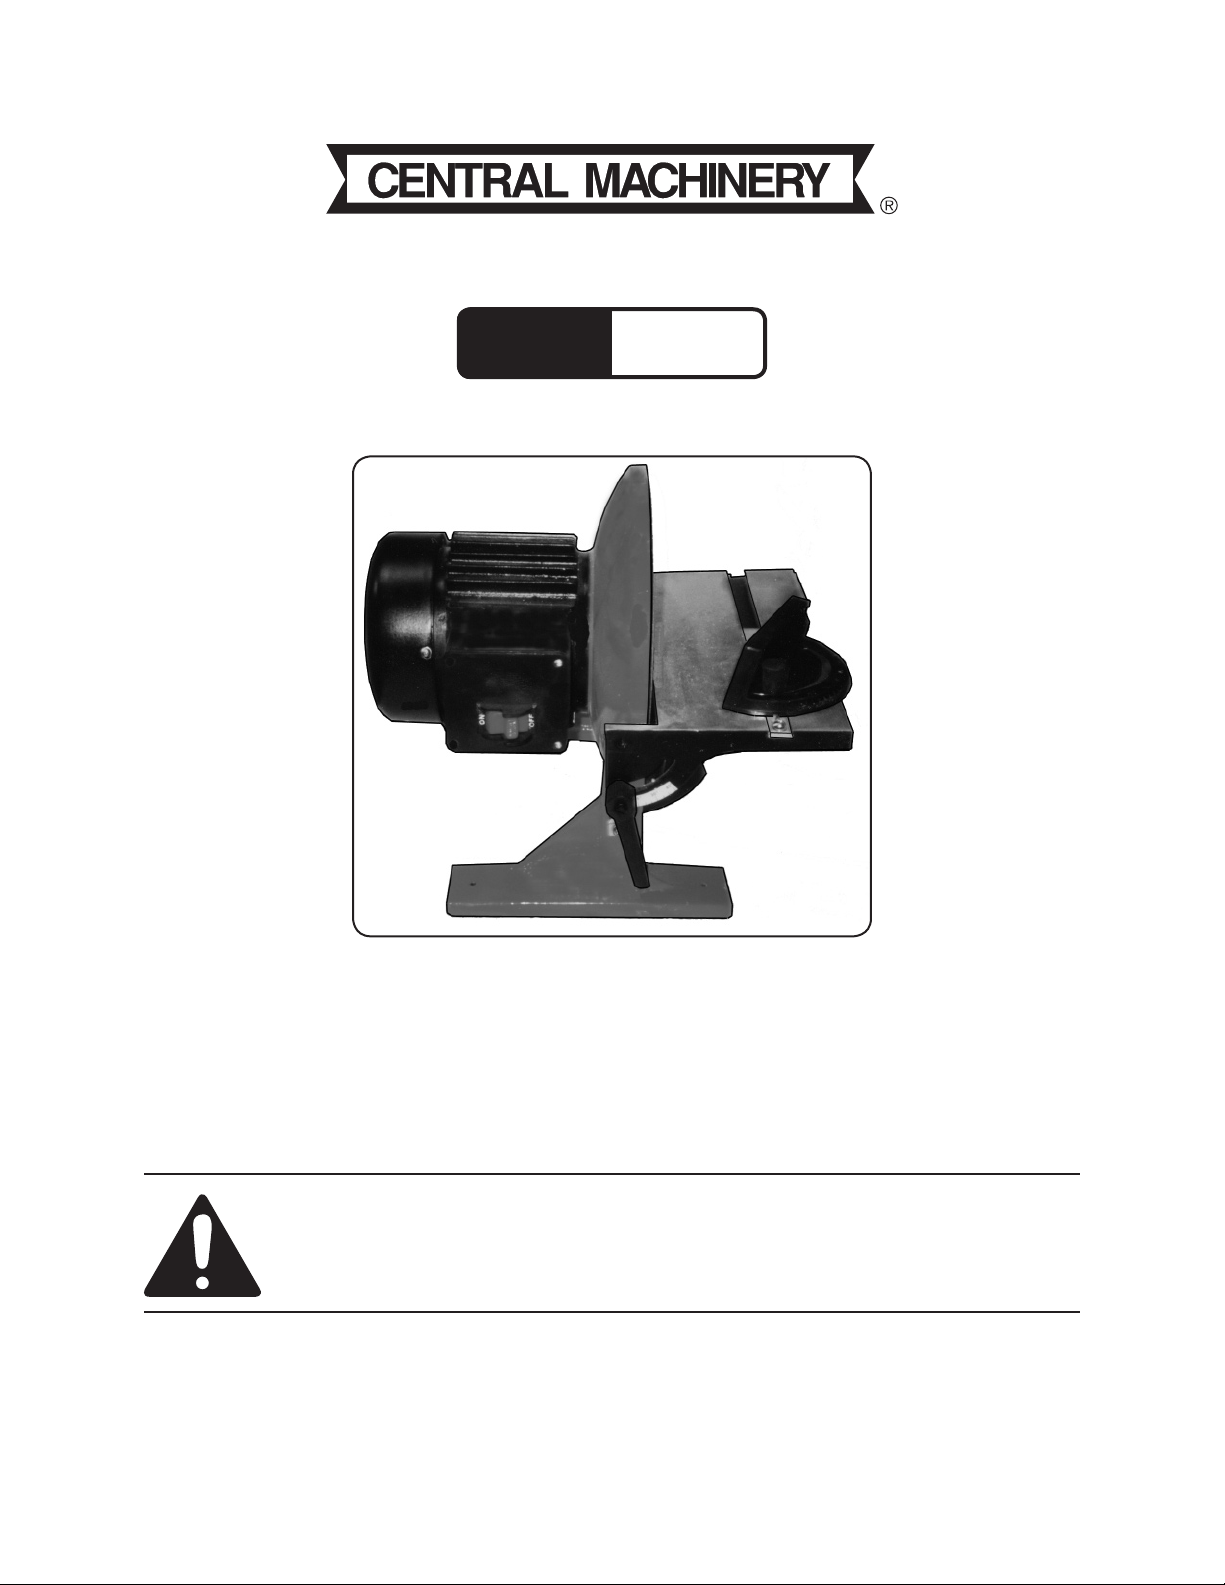
10” DISC SANDER – BENCH TYPE
Model
47404
SET UP AND OPERATING INSTRUCTIONS
Diagrams within this manual may not be drawn proportionally.
Due to continuing improvements, actual product may differ slightly from the product described herein.
Distributed Exclusively by Harbor Freight Tools
®
.
3491 Mission Oaks Blvd., Camarillo, CA 93011
Visit our website at: http://www.harborfreight.com
Read this material before using this product.
Failure to do so can result in serious injury.
SAVE THIS MANUAL.
Copyright
©
2007 by Harbor Freight Tools
®
. All rights reserved. No portion of this
manual or any artwork contained herein may be reproduced in any shape or form
without the express written consent of Harbor Freight Tools.
For technical questions or replacement parts, please call 1-800-444-3353.

Page 2SKU 47404 For technical questions, please call 1-800-444-3353.
SPECIFICATIONS TABLE
Electrical Requirements 120 V / 60 Hz / 3/4 HP / 13.4 Amps
Single Phase / 1,750 RPM
Sanding Disc Diameter 10”
Sanding Disc Type Pressure Sensitive Adhesive (PSA)
Dust Collection Port 1-3/8” O.D.
Table Dimensions 11-3/8” W x 5-1/2” L
Table Tilt Angle 0 to 45 Degrees (Downward)
Table Tilt Scale Increments 15 Degrees
Miter Gauge Scale 0 to 60 Degrees
In 1 Degree Increments – Right and Left
Base Mounting Holes 3/8” (Qty: 2)
Base Dimensions 2 Base Legs at: 2” W x 8-7/8” L
SAVE THIS MANUAL
You will need this manual for the safety warnings and precautions, assembly,
operating, inspection, maintenance and cleaning procedures, parts list and assembly
diagram. Keep your invoice with this manual. Write the invoice number on the inside of the
front cover. Keep this manual and invoice in a safe and dry place for future reference.
GENERAL SAFETY WARNINGS AND PRECAUTIONS
1. KEEP WORK AREA CLEAN AND DRY. Cluttered, damp, or wet work areas
invite injuries.
2. KEEP CHILDREN AWAY FROM WORK AREA. Do not allow children to handle
this product.
3. STORE IDLE EQUIPMENT. When not in use, tools and equipment should be
stored in a dry location to inhibit rust. Always lock up tools and equipment, and
keep out of reach of children.
4. DO NOT USE THIS PRODUCT IF UNDER THE INFLUENCE OF ALCOHOL OR
DRUGS. Read warning labels on prescriptions to determine if your judgement or
reexes are impaired while taking drugs. If there is any doubt, do not attempt to
use this product.
5. USE EYE AND BREATHING PROTECTION. Wear ANSI approved safety impact
eyeglasses and an ANSI approved dust mask when using this product. ANSI
approved safety impact eyeglasses and dust masks are available from Harbor
Freight Tools.
6. DRESS SAFELY. Do not wear loose clothing or jewelry, as they can become

Page 3SKU 47404 For technical questions, please call 1-800-444-3353.
caught in moving parts. Wear a protective hair covering to prevent long hair from
becoming caught in moving parts. If wearing a long-sleeve shirt, roll sleeves up
above elbows.
7. DO NOT OVERREACH. Keep proper footing and balance at all times to prevent
tripping, falling, back injury, etcetera.
8. INDUSTRIAL APPLICATIONS MUST FOLLOW OSHA REQUIREMENT.
9. STAY ALERT. Watch what you are doing at all times. Use common sense. Do
not use this product when you are tired or distracted from the job at hand.
10. CHECK FOR DAMAGED PARTS. Before using this product, carefully check that
it will operate properly and perform its intended function. Check for damaged
parts and any other conditions that may affect the operation of this product.
Replace or repair damaged or worn parts immediately.
11. REPLACEMENT PARTS AND ACCESSORIES: When servicing, use only
identical replacement parts. Only use accessories intended for use with this
product. Approved accessories are available from Harbor Freight Tools.
12. MAINTAIN THIS PRODUCT WITH CARE. Keep this product clean, dry, and
keep all cutting bits sharp for better and safer performance.
13. MAINTENANCE: For your safety, service and maintenance should be performed
regularly by a qualied technician.
14. USE THE RIGHT TOOL FOR THE JOB. Do not attempt to force a small tool or
attachment to do the work of a larger industrial tool. There are certain
applications for which this tool was designed. It will do the job better and more
safely at the rate for which it was intended. Do not modify this tool, and do not
use this tool for a purpose for which it was not intended.
15. WARNING: The warnings, precautions, and instructions discussed in this manual
cannot cover all possible conditions and situations that may occur. The operator
must understand that common sense and caution are factors, which cannot be
built into this product, but must be supplied by the operator.
SPECIFIC PRODUCT WARNINGS AND PRECAUTIONS
1. MAINTAIN A SAFE WORKING ENVIRONMENT. Keep the work area well lit.
Make sure there is adequate surrounding workspace. Always keep the work
area free of obstructions, grease, oil, trash, and other debris. Do not use the
Disc Sander in areas near ammable chemicals, dusts, and vapors. Do not use
the Disc Sander in a damp or wet location.

Page 4SKU 47404 For technical questions, please call 1-800-444-3353.
2. GROUND THIS PRODUCT. The electrical Power Cord/Plug (part #34) for this
product is equipped with a grounded, 3-prong Plug. Never remove the grounding
prong or modify the Plug in any way. Do not use adapter plugs with this product.
To comply with the National Electric Code, and to provide additional protection
from the risk of electrical shock, this product should only be connected to a 120
Volt, 3-hole electrical outlet that is protected by a Ground Fault Circuit Interrupter
(GFCI). (See Assy. Diagram.)
3. IF AN EXTENSION CORD (not provided) IS USED, MAKE SURE TO USE
ONLY UL APPROVED CORDS HAVING THE CORRECT GAUGE AND
LENGTH. (See Figure A.)
FIGURE A
AWG RATING CHART - 120 VOLT
4. PROPERLY ALIGN THE WORK TABLE (part #7). Make sure the distance
between the Work Table and Sanding Disc (part #14) does not exceed 1/16”.
5. REDUCE THE RISK OF ACCIDENTAL STARTING. Make sure the Safety Switch
(part #32) is in the “OFF” position before plugging the Power Cord/Plug (part #34)
into a grounded, 3-hole, 120 Volt, electrical outlet.
(See Figure B, and Assy. Diagram.)
6. PRIOR TO STARTING THE DISC SANDER, MAKE SURE ALL ADJUSTING
KEYS AND WRENCHES ARE REMOVED FROM THE TOOL.
7. ALWAYS FEED THE WORKPIECE INTO AND AGAINST THE DIRECTION OF
THE ROTATING SANDING DISC (part #14).
8. NEVER STAND OR HAVE AN OBSERVER STAND IN LINE WITH THE
SPINNING SANDING DISC (part #14).
9. USE THE PROPER SIZE AND TYPE OF SANDING DISC (10”, PRESSURE
SENSITIVE ADHESIVE).
10. HOLD THE WORKPIECE FIRMLY SO THAT IT WILL NOT BE PULLED FROM
YOUR HANDS DURING THE SANDING PROCESS.
11. FEED THE MATERIAL GRADUALLY. Do not force the machine to remove
 Loading...