

Page 1
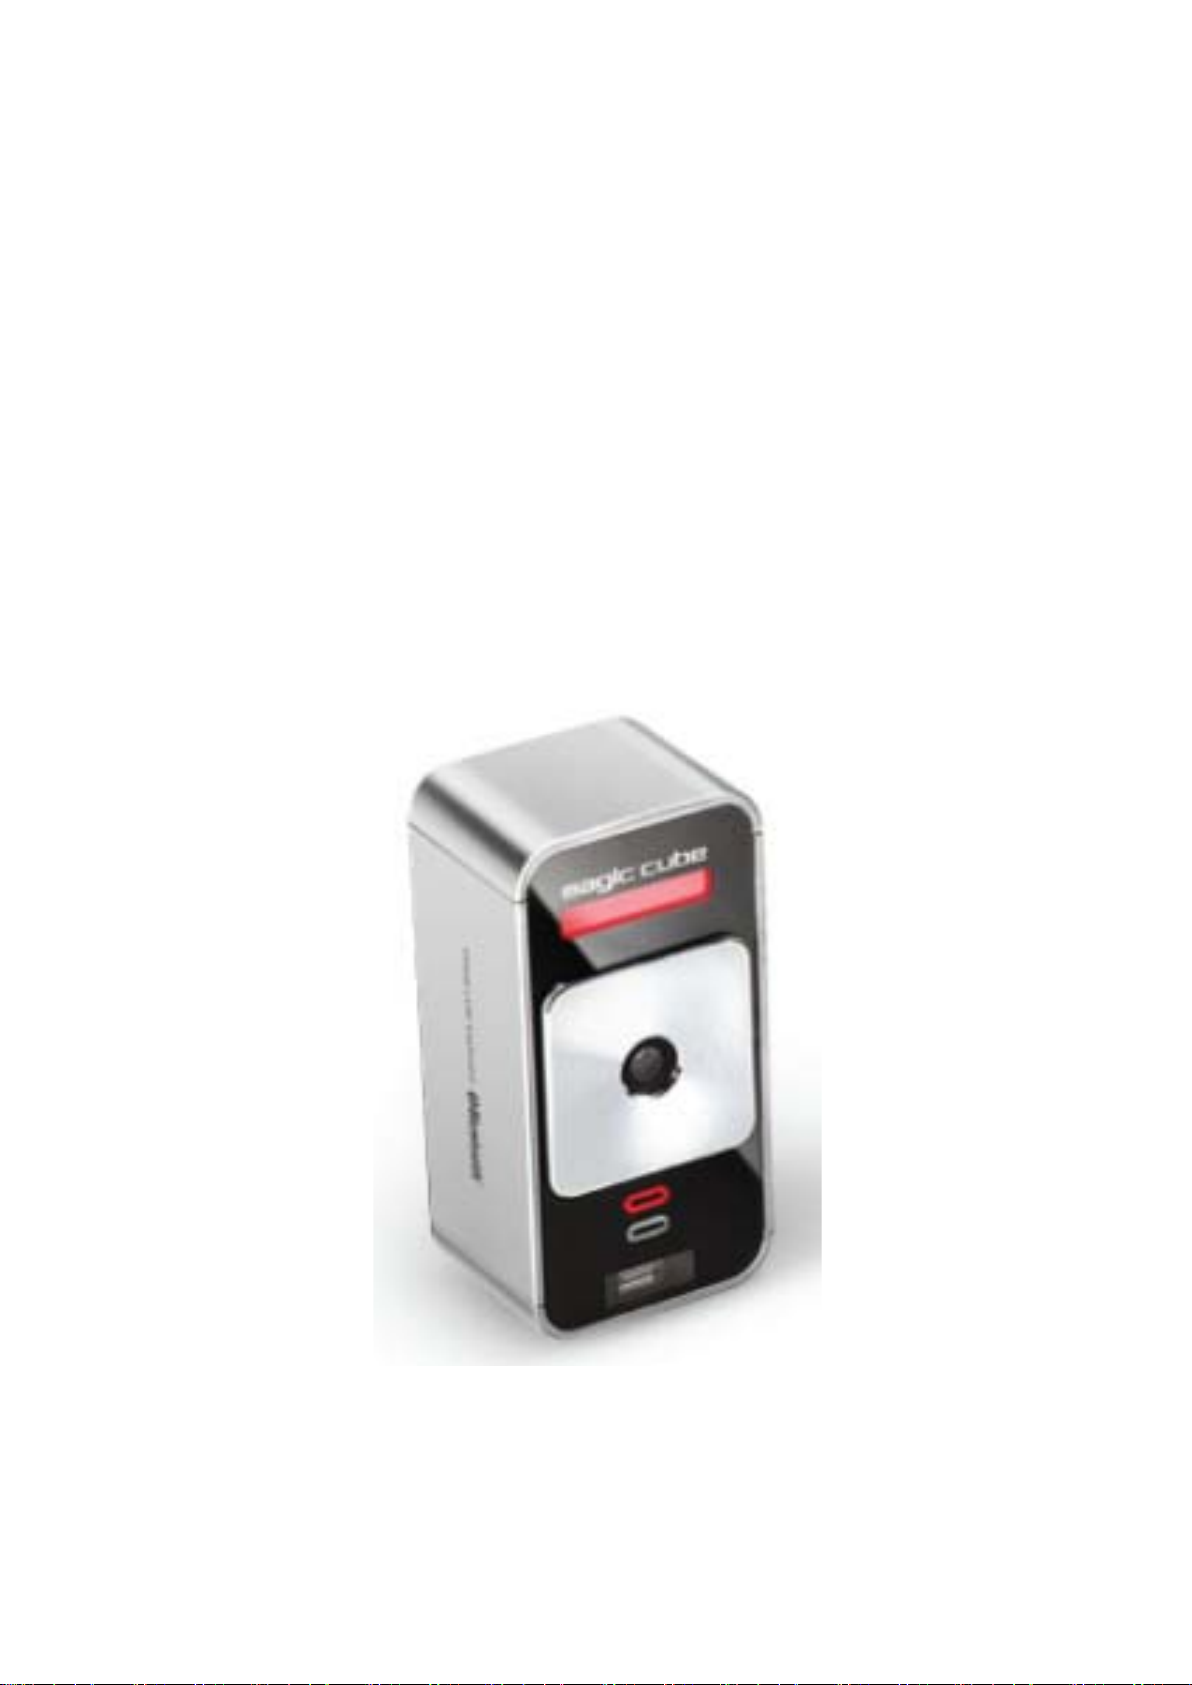
Magic Cube
User`s Guide
Page 2

■ Copyright
Copyright
ⓒ 2011
All rights reserved by CELLUON, INC.
All page contents are properties of CELLUON, INC.
■
CELLUON, INC. & evoMouse®, Magic Cube are registered trademark of CELLUON, INC.
All other products are trademarks or registered of their respective companies.
■
Please refer to host device instruction manual for Bluetooth pairing information.
Safety Precautions
1. Avoid exposing this product to direct sunlight for extended periods of time, and keep it away from heat sources.
2. There is a risk of malfunction if product is used in places where sudden or extreme temperature changes occur.
3. Applying excessive force or impact to this product may result in product damage, and will void warranty.
4. To ensure safety and prevent damage, use only the dedicated mini-USB to USB cable supplied with this product.
5. Never attempt to disassemble or service this product yourself. Doing so can result in electrical shock and will void the warranty.
6. This Class 1 laser product is certified by FDA safety regulation. For your safety, please do not stare directly into the laser source. Doing so could damage your eyes.
7. Avoid placing any object within the space between the main unit and the laser projection keyboard layout.
8. Please do not use this product on uneven or irregular surfaces. Place the product on a flat surface. Avoid table or surface that is as transparent or reflective as glass or mirror.
.
This symbol indicates a risk of personal injury or harm by electrical shock. Always consult
the user manual before touching the area of the CELLUON, INC that displays this symbol.
Page 3

Rechargeable Li-ion Battery:
■
Battery Operating Time: Approx. 150 minutes (with continuous use)
Capacity: 700mAh (Max)@3.7V
■
Charging the Battery: Use supplied USB cable to begin charging the battery.
When the charging is complete, battery status LED turns green.
■
Charging Time: Approx.180 minutes
Note: Charging time increases if product is used while charging.
.
Cautions
1. For safety reasons , be sure to use only t he mi ni U S B to US B c abl e spe cif ied for this product.
2. Make sure to fully charge th e battery bef ore using the product fo r the first time.
3. Battery charging tim e s may v ar y slightl y de pen ding o n th e ambient temperature.
4. The battery may not be charge to 100 percent of its ra ted cell capacity even when the batt ery status LED indicat es green light.
5. Using or st ori ng t he ba tter y in hi gh te mp erature, humidity and pressure environments may cause the battery to explode.
6. Since the battery is a consumable item, its storage capacity decrease s gradually as time passes .
Page 4

1. Product Features
- English QWERTY keyboard layout.
- Compact size for portability – perfect for on-the-go
- Function icons and shortcut keys for ease of operation
- Non-mechanical optical mechanism for superior durability
- Built-in Lithium-ion rechargeable battery for mobility and convenience
- Compatible with latest devices: Window XP/Vista/7, Windows Phone 7, iOS4
(iPhone3GS/4, iPad), and Android 2.2 or higher
2. Package Contents
- Projection Keyboard
- USB Cable
- User’s guide
3. How this Product Works
This product emits infrared light from the lower end of the product to detect objects such as fingers.
When an object passes through the area illuminated by the infrared light source, any infrared light
reflecting off the object is detected by the sensor. Information on the position and movement of the
object is then analyzed to perform the product’s role as a keyboard.
Sensitivity: difference in thickness, shape, and color of the user’s fingers or operating environment
result in differences in the amount of reflected infrared light. If the amount of reflected infrared light is
appropriate, the sensor will have no problem detecting objects such as fingers. However, if the amount
of reflected infrared light becomes low because of the causes mentioned above or some other cause,
the keystroke recognition rate may decrease or your keystrokes may not be recognized at all. On the
other hand, if the amount of reflected infrared light is too high, the keystroke recognition may become
too sensitive or a “hovering” effect may occur.
(Hovering: keystroke is recognized before your finger touches the projection surface.)
Therefore, it is necessary to compensate for differences in finger characteristics or operating
environment, and this can be accomplished by adjusting the sensitivity of your projection keyboard.
Given the same amount of reflected infrared light, increasing the sensitivity will produce the effect of a higher amount of reflection, whereas decreasing the sensitivity will produce the effect of a lower amount of reflection.
With the sensitivity set to its minimum value, repeatedly press a key that is relatively far from the
sensor (Spacebar, CTRL, etc.) to increase the sensitivity. As soon as your keystroke is recognized,
stop adjusting the sensitivity and set the final setting value to one or two notches above original
setting.
Page 5

■ Conditions to Avoid:
1. Avoid direct sunlight
2. Avoid low color temperature light source, such as tungsten, halogen, or incandescent lamp is used.
3. Avoid uneven or irregular surfaces. Place the product on flat surfaces.
4. Avoid a table or surface that is as transparent or reflective as glass or mirror.
5. Avoid placing any objects within the space between the main unit and the laser projected keyboard layout.
Note: Because this product uses infrared rays, strong infrared radiation from direct or reflected sunlight or from tung s ten (hal oge n o r inc and escent) lighting may c au se operating error.
Caution: Although this equipment is classified as Class 1 laser product, for your safety, do no t dir ec t ly expose your eyes to pattern projection beams or infrared rays.
4. Identifying Parts and their Functions.
(1) Projector: Uses a red laser to project the image of a keyboard onto a flat surface in front of the
typist.
(2) Sensor: Picks up the infrared light reflected off the typist’s fingers and triangulates the location
of the reflected light to determine which key was pressed. This sensor provides a keyboard
function.
(3) IR Light Window: Uses an infrared laser to emit an invisible plane of light a few millimeters
above the projection surface so that the infrared light can be reflected off of the typist’s fingers
to the sensor.
Caution: If one or more of the above modules are blocked by some cause, the projected keyboard image may not be dis pl aye d cor rec tly or, t he locat io n and mov eme nt of the typi st’ s fin ger s ma y not be recognize correctly.
Page 6
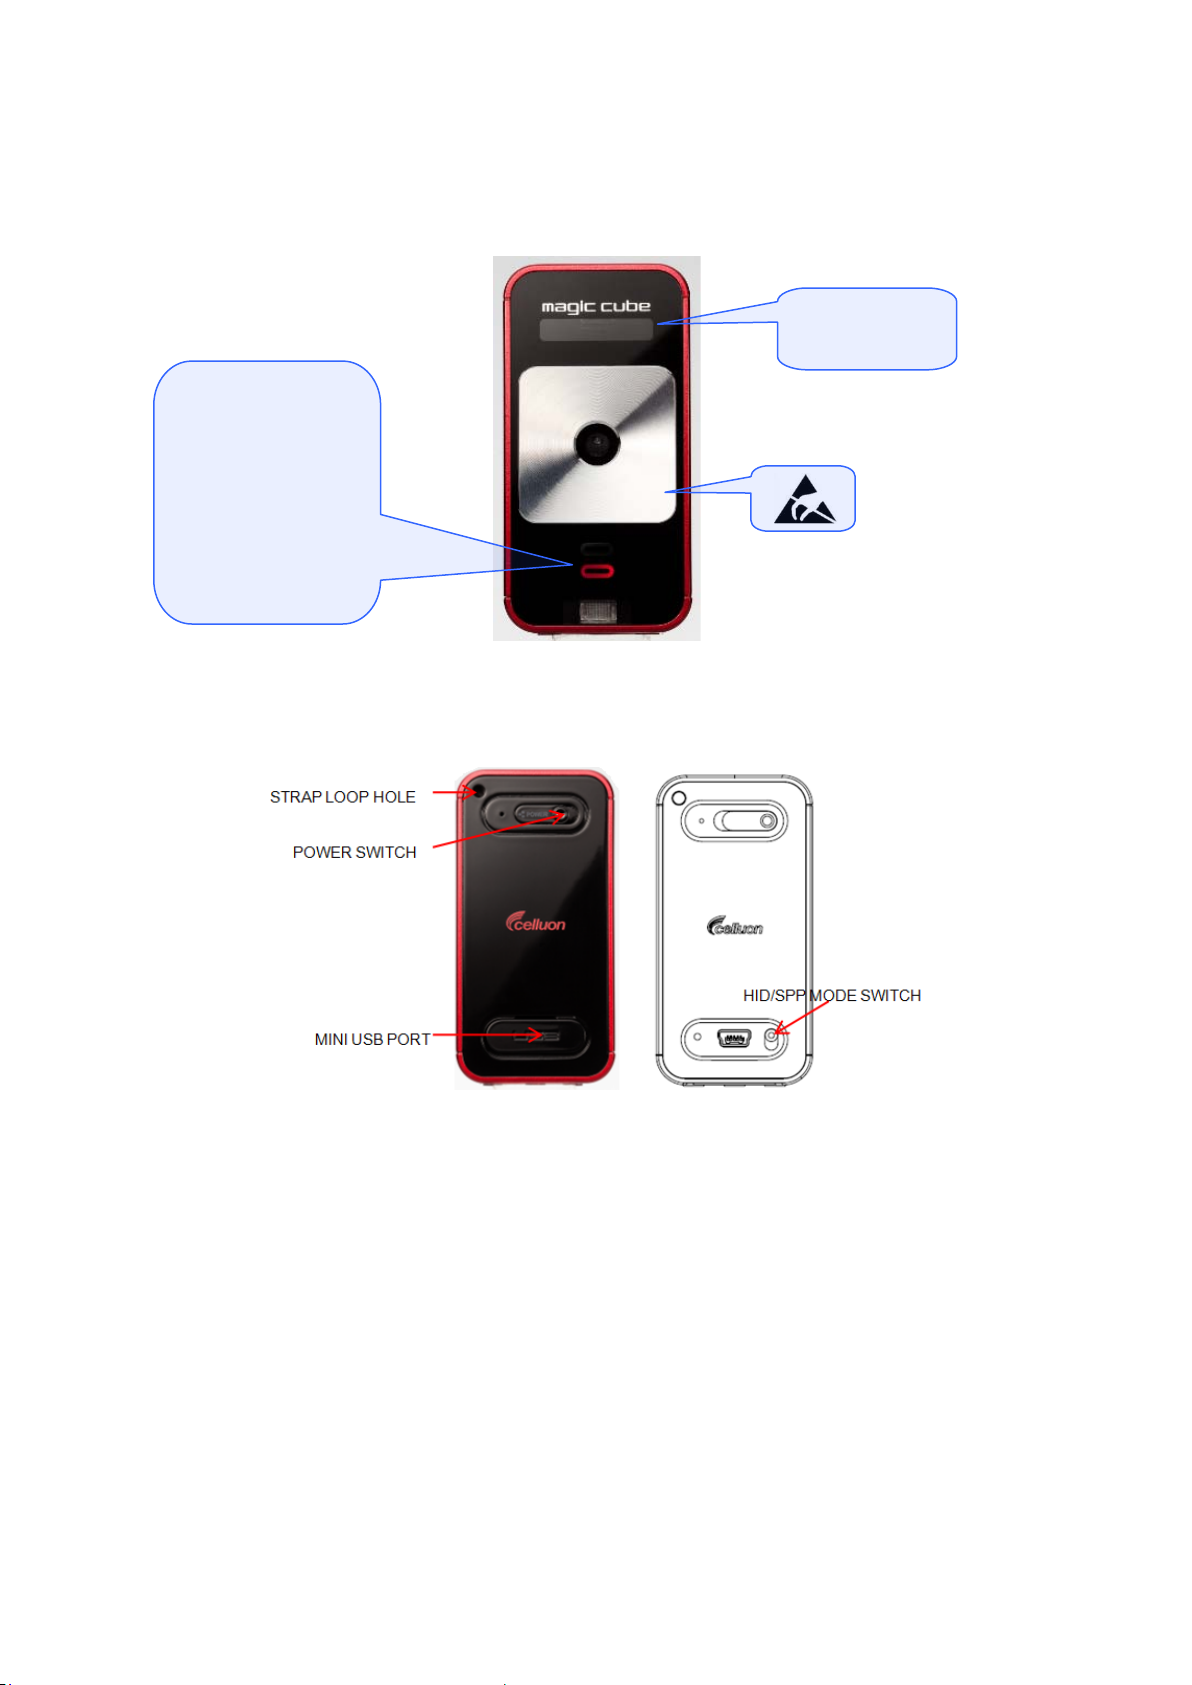
Battery /
BlueTooth/
Pattern
KeyBoard/
Mouse/ Charging/
Operating Status
LED
Power Status LED
Link/Activity Status LED
Front View
Projector
Toggle : Bluetooth Pairing
Rear View
USB Connection Terminal
1. Purpose: USB device connection or power supply.
2. USB Connector: Standard USB Mini-B type
3. Interface Specification: Compliant with USB HID class specification version 1.11
4. Input Power: 1A 5V dedicated DC adapter or USB Bus power from a host device.
Bluetooth Connection Switches
1. Bluetooth HID Switch (Top)
2. Bluetooth SPP Switch (Bottom)
Page 7

5. Using the Projection Keyboard
This product is used as a keyboard and mouse via Bluetooth HID and USB HID
connection.
5.1 Connecting via USB HID
This device is compatible with all USB HID capable operating system.
USB HID connection allows plug-n-play, without installing a separate driver.
1) Connect Magic Cube and host device using supplied USB cable. Host device must
support USB HID. Note: Most Windows devices support USB HID.
2) Turn on Magic Cube.
3) Green LED indicates proper connection. If LED indicates blue, please check the
connection.
5.2 Connecting via Bluetooth HID
Magic Cube supports two types of Bluetooth:
Connection via Bluetooth HID does not require installation of separate driver.
Connection via Bluetooth SPP requires installation of diver, in the installation CD.
User must identify and use correct Bluetooth profile prior to connection.
Bluetooth profiles can be selected through slide switch behind the device:
- HID mode: Slide the switch up
- SPP mode: Slide the switch down
- (HID mode is set as default)
Note: Choosing the right Bluetooth mode
Bluetooth HID compatible devices
iOS4 (iPhone 3GS/4/iPad and later)
Android 2.2 and later
*Some restrictions apply to Android devices. Please visit our website
www.celluon.com for more information on connecting Magic Cube to Android
devices.
Windows XP/Vista/7
Windows Phone 7
Mac OS (using Keyboard only)
 Loading...