

Page 1
Specifications
Optical Design Rowe-Ackermann Schmidt
Aperture 355.6 mm
Focal Length 790 mm
Focal Ratio f/2.2
Central Obstruction 158 mm (44% of aperture diameter)
Optical Coatings Enhanced aluminum, Starbright XLT multi-coatings
Optical Window 104 mm Ø, removeable
Focuser New focuser design, minimizes focus shift
Cooling Fan 12V DC, MagLev
Tube Dimensions 42.5 inches length, 16 inches diameter
Tube Weight
75 lbs
Back focus (from top of lens group housing) 77.5 mm
Back focus (with M48 camera adapter) 55 mm
Spot size < 6.3 μm RMS across FOV
Wavelength Range 400 – 900 nm
Off-axis Illumination 83% at 30 mm off-axis
Image Circle 60.1 mm Ø , 4.3 degrees
Usable Field 70 mm Ø, 5.1°, only minimal performance loss at edge of FOV
Telescope Instruction Manual
Model: 91077
CELE STRON TW O YEAR LIM ITED WARR ANTY
A. Celestron warrants your telescope mount to be free from defects in materials and workmanship for two years.
Celestron will repair or replace such product or part thereof which, upon inspection by Celestron, is found to be
defective in materials or workmanship. As a condition to the obligation of Celestron to repair or replace such product,
the product must be returned to Celestron together with proof-of-purchase satisfactory to Celestron.
B. The Proper Return Authorization Number must be obtained from Celestron in advance of return. Call Celestron at
(310) 328-9560 to receive the number to be displayed on the outside of your shipping container.
All returns must be accompanied by a written statement setting forth the name, address, and daytime telephone
number of the owner, together with a brief description of any claimed defects. Parts or product for which replacement
is made shall become the property of Celestron.
The customer shall be responsible for all costs of transportation and insurance, both to and from the factory of
Celestron, and shall be required to prepay such costs.
Celestron shall use reasonable efforts to repair or replace any telescope mount covered by this warranty within thirty
days of receipt. In the event repair or replacement shall require more than thirty days, Celestron shall notify the
customer accordingly. Celestron reserves the right to replace any product which has been discontinued from its
product line with a new product of comparable value and function.
This warranty shall be void and of no force of effect in the event a covered product has been modified in design
or function, or subjected to abuse, misuse, mishandling or unauthorized repair. Further, product malfunction or
deterioration due to normal wear is not covered by this warranty.
CELESTRON DISCLAIMS ANY WARRANTIES, EXPRESS OR IMPLIED, WHETHER OF MERCHANTABILITY OF
FITNESS FOR A PARTICULAR USE, EXCEPT AS EXPRESSLY SET FORTH HEREIN. THE SOLE OBLIGATION OF
CELESTRON UNDER THIS LIMITED WARRANTY SHALL BE TO REPAIR OR REPLACE THE COVERED PRODUCT, IN
ACCORDANCE WITH THE TERMS SET FORTH HEREIN. CELESTRON EXPRESSLY DISCLAIMS ANY LOST PROFITS,
GENERAL, SPECIAL, INDIRECT OR CONSEQUENTIAL DAMAGES WHICH MAY RESULT FROM BREACH OF ANY
WARRANTY, OR ARISING OUT OF THE USE OR INABILITY TO USE ANY CELESTRON PRODUCT. ANY WARRANTIES
WHICH ARE IMPLIED AND WHICH CANNOT BE DISCLAIMED SHALL BE LIMITED IN DURATION TO A TERM OF TWO
YEARS FROM THE DATE OF ORIGINAL RETAIL PURCHASE.
Some states do not allow the exclusion or limitation of incidental or consequential damages or limitation on how long
an implied warranty lasts, so the above limitations and exclusions may not apply to you.
This warranty gives you specific legal rights, and you may also have other rights which vary from state to state.
Celestron reserves the right to modify or discontinue, without prior notice to you, any model or style telescope.
If warranty problems arise, or if you need assistance in using your telescope mount contact:
CELESTRO N, LLC. Customer Service Department
2835 Columbia Street • Torrance, CA 90503 • Tel. 800.421.9649
Monday-Friday 8AM-4PM PST • ©2018 Celestron • All rights reserved • 04-18
NOTE: This warranty is valid to U.S.A. and Canadian customers who have purchased this product from an authorized
Celestron dealer in the U.S.A. or Canada. Warranty outside the U.S.A. and Canada is valid only to customers who
purchased from a Celestron’s International Distributor or Authorized Celestron Dealer in the specific country. Please
contact them for any warranty service.
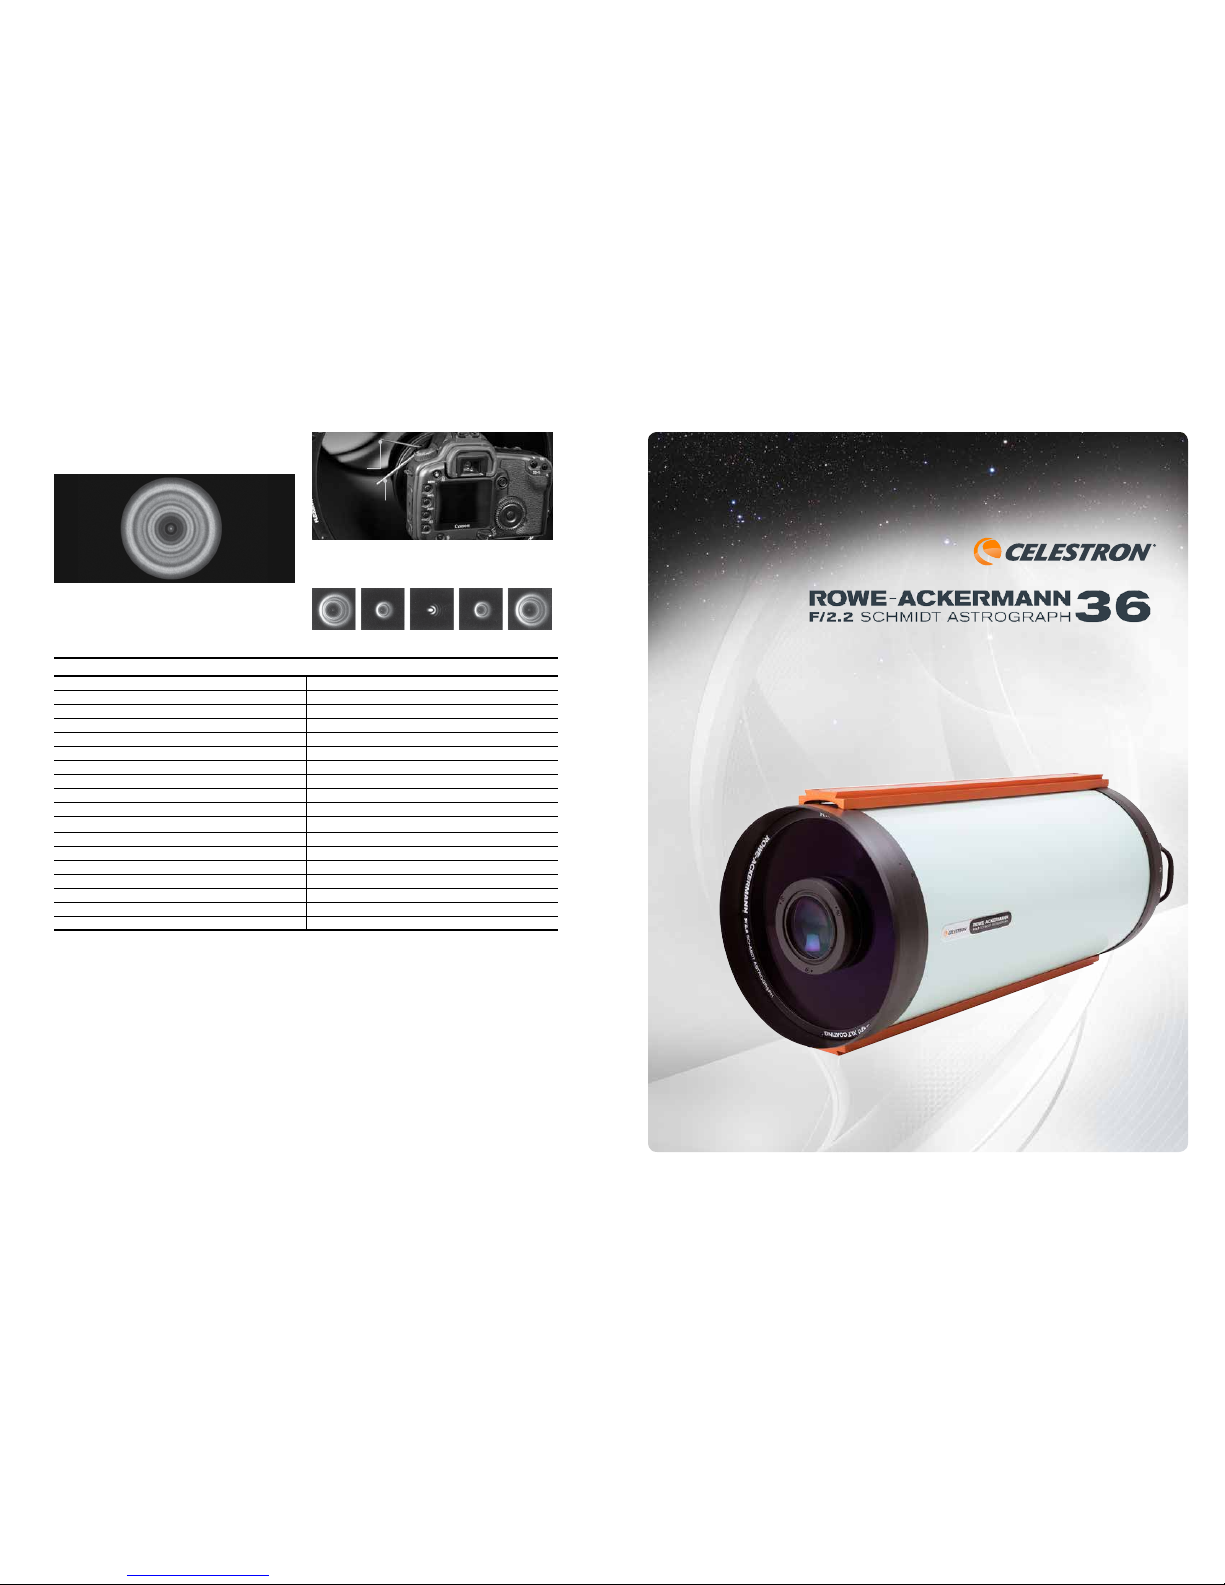
5. Inspect the defocused star pattern. When collimated, the pattern should look like a
concentric doughnut. If the pattern is concentric, no adjustment is necessary. If the
“donut hole” is not centered within the pattern, then some adjustment is needed.
6. There are three pairs of collimation screws. Each pair works together as a push-pull tilt
adjustment. Adjust the collimation by loosening and tightening one of the pairs of
collimation screws. Always loosen one of the screws first, then tighten the other one.
Adjust one pair of screws at a time.
7. If the star pattern is thin on one side, adjust the collimation screws so that the star
moves towards the thin side, then adjust the position of the astrograph to re-center the
star. Repeat this until the defocused star image is concentric.
3 mm
Hex key
2 mm
Hex key
Page 2
Mounting the Astrograph
The RASA 36 cm has a CGE dovet ail mounting rail. This is compatible with mounts which
accept a CGE or Losmandy-D style dovetail. The astrograph itself weighs 75 lbs., so a mount
with a load capacity more than that is recommended. This will ensure good performance of
the mount when a camera and any accessories are added.
Because of its size and weight, moving and lifting the RASA 36 cm onto a mount will take
two people. Use the handles on the rear cell as needed.
For custom mounting applications, there are two sets of two M8x1.25 mounting holes in the
rear cell. These utilize threaded inserts for extra reinforcement.
Installing a Camera
The supplied M48 camera adapter can be used to attach a DSLR camera. It will require a
48 mm “wide T-ring” for your make of DSLR to connect to the adapter.
If you are using an astronomical camera with a smaller than “full frame” (43 mm diagonal)
sensor, you may also be able to use the supplied M48 camera adapter. This likely will require
utilizing optional adapters, such as an M48-to-M42 adapter along with M48 extension rings,
to connect your camera and place your camera’s sensor at the proper backfocus distance.
The backfocus distance when using the M48 adapter is 55 mm.
Cameras with larger sensors will require a custom camera adapter to best illuminate the
sensor. Refer to the “Camera Adapter Requirements” drawing on Celestron’s website, located
on the 36 cm Rowe-Ackermann Schmidt Astrograph webpage under the “Support and
Downloads” tab, to determine the design needed for your camera.
Note:
Due to the steep light cone provided by the f/2.2 optical system, camera housings
can be a source of vignetting. Despite the astrograph having a large illuminated field,
vignetting can occur with large sensor cameras when the sensor is deeply recessed
within the camera body. This is common with full-frame DSLR sensors.
To attach your camera:
1. Place the knurled retaining ring over the camera adapter and loosely thread it onto the lens
group housing. The Teflon washer goes between the retaining ring and the camera adapter.
2. Thread the camera body onto the camera adapter.
3. Carefully hold hold the camera so the camera adapter seats flatly against the lens group housing.
4. Finish threading the retaining ring onto the lens group housing. Rotate the ring
until the camera adapter is snug against the housing. Do not over tighten! Camera
orientation can be adjusted later.
Caution: Over-tightening the retaining ring can cause the lens assembly to rotate
relative to the Schmidt corrector. Keep the camera adapter snug against the lens cell,
but do not over-tighten the ring.
Adjusting Camera Orientation
Once the camera is installed, you can adjust its orientation by slightly loosening the retaining
ring. Loosen the ring no more than 1/8th turn, rotate the camera as desired, and retighten the
ring. Remember not to over-tighten the ring.
Cooling Down and Fan Operation
Optical performance of the RASA 36 cm will be best when it has reached thermal
equilibrium with the outside air. The greater the temperature difference between the
astrograph and the outdoors, the longer it will take to cool down. It is a good idea to store
the astrograph in a cool area, and to keep it outside for an hour or so before imaging.
The RASA 36 cm rear cell is equipped with a cooling system containing a fan to facilitate
cooling the optics to the ambient temperature. The fan pulls air through the mesh vents
located on the perimeter of the rear cell. The mesh prevents dust from entering the
astrograph. The supplied battery pack powers the fan, it requires 8x AA batteries (not
included). Install the batteries as indicated in the plastic mold of the battery holder. Plug
the battery pack into the jack near the fan to turn it on. When the optics have cooled
down and you are ready to image, unplug the battery pack to turn the fan off.
Focusing
The focuser moves the primary mirror within the rear cell. The RASA 36 cm utilizes a
redesigned focus mechanism which minimizes any unwanted shifting of the primary
mirror when focusing and during long exposures.
To focus, turn the focus knob until the image appears sharp in your camera. If the knob
will no longer turn, the focuser has reached the end of its travel. In this case, rotate the
knob in the opposite direction until focus is achieved. If you turn the focus knob too
quickly, you may go right through focus without seeing the image. To avoid this problem,
try first focusing on a bright star so the image is visible even when out of focus.
If you wish to add a focus motor system, one specifically designed for the RASA 36 cm
is manufactured by Starlight Instruments. It is different than other standard C14 focus
motors due to the astrograph’s redesigned focus mechanism.
Attaching Accessories
The RASA 36 cm includes a CGE dovet ail accessory rail which is also compatible with
most accessories which work on Losmandy-D plates. The dovetail accessory rail can be
used to mount an optional guidescope. The Celestron 80 mm Guidescope Package is
compatible with the dovetail accessory rail.
A Celestron findescope can be attached using the pairs of threaded holes in the rear
cell of the astrograph. These holes have Phillips-head screws in them when not in use.
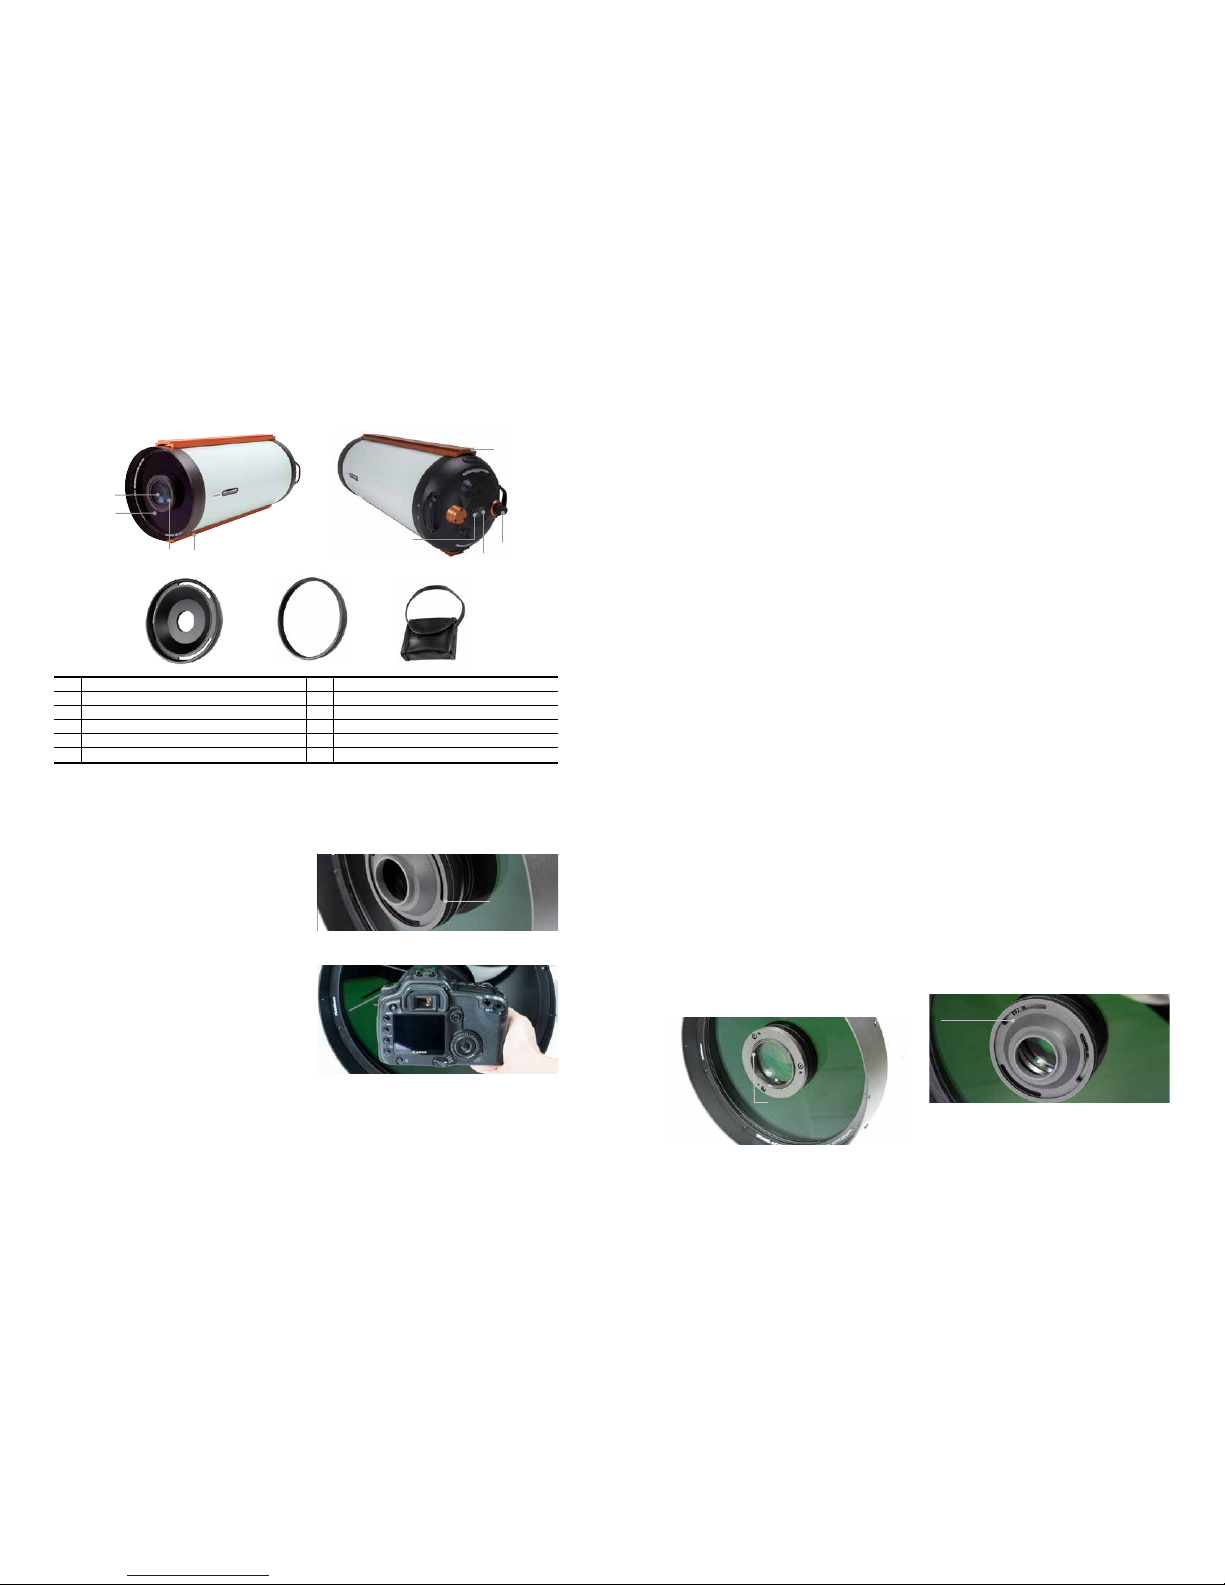
Removing the Optical Window
If using a filter somewhere in the light path, or if the camera has an optical window, it is
recommended to remove the optical window in the front lens cell. This will maintain the
best optical performance of the astrograph.
To remove the optical window:
1. With the camera and camera adapter removed, carefully grab hold of the knurled
cell of the optical window.
2. Carefully unthread and remove the optical window.
Dew Prevention
The Schmidt corrector is especially susceptible to condensation forming because the glass is
exposed to the outside air. If the temperature of the astrograph drops below the dew point,
dew may form on the corrector within minutes. The easiest way to prevent dew is to add
an optional 14” dew shield which shrouds and insulates the corrector. If conditions are
more severe, a dew heater can be added to apply slight heat to the corrector lens to
keep it dry all night.
Do not store the astrograph if covered in dew. Allow it to dry first without the dust cover on.
Storing optics when wet promotes mold growth on the optical surfaces.
Cleaning of the Optics
Dust, debris, and fingerprints on the optics will generally have little effect on imaging with the
RASA 36 cm. However, if the external surfaces of the Schmidt corrector and the lens group
become excessively dirty, they should be cleaned. Dust can be removed with a blower bulb
or a camel hair brush. Then, use optical cleaning solution and lens cleaning tissue to remove
any remaining debris or stains. Apply the solution to the tissue and then apply the tissue to
the lens. Low pressure strokes should go from the center of the corrector to the outer edge.
Use a new tissue for each stroke so as not to spread any oils or debris. Do not rub in circles.
You can use a commercially made lens cleaning solution or mix your own. A good cleaning
solution is isopropyl alcohol (99% pure) mixed with distilled water. The solution should be 3
parts isopropyl alcohol and 2 parts distilled water. You can also use soft white tissue instead
of lens cleaning tissue, as long it doesn’t have added lotions or perfumes.
To minimize the need to clean your astrograph, replace the dust cap once you have
finished using it.
Cleaning the internal optical surfaces should only be done by the Celestron repair department.
If your RASA 36 cm needs internal cleaning, please call Celestron for a return authorization
number and price quote.
Collimation
The RASA 36 cm optics are factory aligned, and should not normally need collimation
adjustments. However, adjustments can be made to the tilt of the lens assembly, if needed,
to collimate the entire optical system. The primary mirror and corrector are permanently
aligned at the factory, and cannot be adjusted.
The astrograph must be collimated with a camera installed. Using a camera that does not
obstruct the light path (i.e. the aperture of the Schmidt corrector) is recommended, as this
makes it easier to see concentricity when stars are defocused.
Equipment needed:
2 mm Hex key
3 mm Hex key
Mount and camera setup, ready to image
1. Install the camera on the astrograph.
2. Slightly loosen the retaining ring and rotate the camera adapter so the three slotted
openings allow access to the collimation screws. Retighten the retaining ring.
3. Point the astrograph at a bright star and focus the camera. Center the star in the
camera’s field of view. Use Polaris, if possible, as it won’t move much over time.
4. Defocus the star by about 1 turn of the focus knob.
Knurled
retaining
ring
Collimation
screws
1
3
4
2
5
7
6
8
Overview
Knurled cell of
optical window
1 Lens Group 7 Cooling Fan
2 Schmidt Corrector 8 12V DC Jack for Cooling Fan
3 Lens Group Housing 9 M48 Camera Adapter
4 Dovetail Mounting Rail 10 Retaining Ring with Teflon Washer
5 Dovetail Accessory Rail 11 8 x AA Battery Pack (batteries not included)
6 Focus Knob
The 36 cm Rowe-Ackermann Schmidt Astrograph (RASA 36 cm) delivers a flat field with no coma or astigmatism across a large (60 mm) image circle and extended spectral range
(400-900 nm). The astrograph can only be used with a camera.
9
10 11
 Loading...