

Ceiva LF4007, LF4008 User Manual 2

ATTENTION
Your CEIVA is currently displaying the
demonstration slideshow.
Exiting the Demonstration Slideshow
To enjoy your own personal slideshow, please follow these three
easy steps:
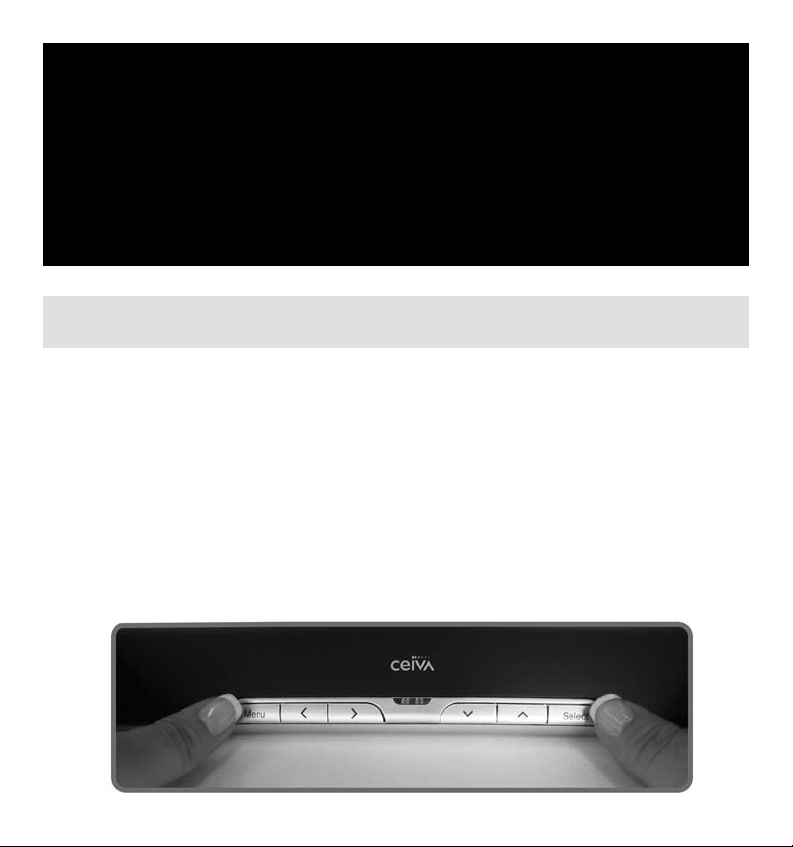
Power on your CEIVA.1.
Confirm that the slideshow is displaying.2.
Hold both the Menu and Select buttons down for one 3.

2
TABLE OF CONTENTS
Table of Contents
Introduction . . . . . . . . . . . . . . . . . . . . . . . . . . . . . . . . . . . . . . . . . . . . . . . . . . . . . . . . . . . . . .p. 3
Components . . . . . . . . . . . . . . . . . . . . . . . . . . . . . . . . . . . . . . . . . . . . . . . . . . . . . . . . . . . . . .p. 4
In the Box . . . . . . . . . . . . . . . . . . . . . . . . . . . . . . . . . . . . . . . . . . . . . . . . . . . . . . . . . . . . . . .p. 5
Getting Started . . . . . . . . . . . . . . . . . . . . . . . . . . . . . . . . . . . . . . . . . . . . . . . . . . . . . . . . . . . .p. 6
Operating Your CEIVA Digital Photo Frame . . . . . . . . . . . . . . . . . . . . . . . . . . . . . . . . . . . . . . . .p. 10
Advanced Features and Menu Options . . . . . . . . . . . . . . . . . . . . . . . . . . . . . . . . . . . . . . . . . . .p. 13
Uploading Photos from the Card Reader . . . . . . . . . . . . . . . . . . . . . . . . . . . . . . . . . . . . . .p. 15
Deleting Photos from the Slideshow . . . . . . . . . . . . . . . . . . . . . . . . . . . . . . . . . . . . . . . . .p. 15
Locking a Photo in the Slideshow . . . . . . . . . . . . . . . . . . . . . . . . . . . . . . . . . . . . . . . . . . .p. 16
Rotating Photos . . . . . . . . . . . . . . . . . . . . . . . . . . . . . . . . . . . . . . . . . . . . . . . . . . . . . . . .p. 16
Ordering Prints . . . . . . . . . . . . . . . . . . . . . . . . . . . . . . . . . . . . . . . . . . . . . . . . . . . . . . . .p. 16
What to Display . . . . . . . . . . . . . . . . . . . . . . . . . . . . . . . . . . . . . . . . . . . . . . . . . . . . . . .p.17
Set Times . . . . . . . . . . . . . . . . . . . . . . . . . . . . . . . . . . . . . . . . . . . . . . . . . . . . . . . . . . . .p. 18
New Photo Indicator
Slideshow Settings (Display Mode,Transition Type, Slideshow Timing)
How to Connect (Telephone, Ethernet,Wireless) . . . . . . . . . . . . . . . . . . . . . . . . . . . . . . . .p. 20
Connection Frequency
Vacation Mode
Telephone Settings . . . . . . . . . . . . . . . . . . . . . . . . . . . . . . . . . . . . . . . . . . . . . . . . . . . . . .p. 22
Frame Information
. . . . . . . . . . . . . . . . . . . . . . . . . . . . . . . . . . . . . . . . . . . . . . . . . . . .p. 19
. . . . . . . . . . . . . . . . . .p. 19
. . . . . . . . . . . . . . . . . . . . . . . . . . . . . . . . . . . . . . . . . . . . . . . . . . .p. 21
. . . . . . . . . . . . . . . . . . . . . . . . . . . . . . . . . . . . . . . . . . . . . . . . . . . . . . . . .p. 22
. . . . . . . . . . . . . . . . . . . . . . . . . . . . . . . . . . . . . . . . . . . . . . . . . . . . . .p. 23
Additional Features and Extras
. . . . . . . . . . . . . . . . . . . . . . . . . . . . . . . . . . . . . . . . . . . . . . . . .p. 24
Frequently Asked Questions . . . . . . . . . . . . . . . . . . . . . . . . . . . . . . . . . . . . . . . . . . . . . . . . . .p. 25
Troubleshooting . . . . . . . . . . . . . . . . . . . . . . . . . . . . . . . . . . . . . . . . . . . . . . . . . . . . . . . . . . .p. 29
Warranty . . . . . . . . . . . . . . . . . . . . . . . . . . . . . . . . . . . . . . . . . . . . . . . . . . . . . . . . . . . . . . . .p.31
INTRODUCTION
Showcase Your Photos and Stay Connected
with Friends and Family
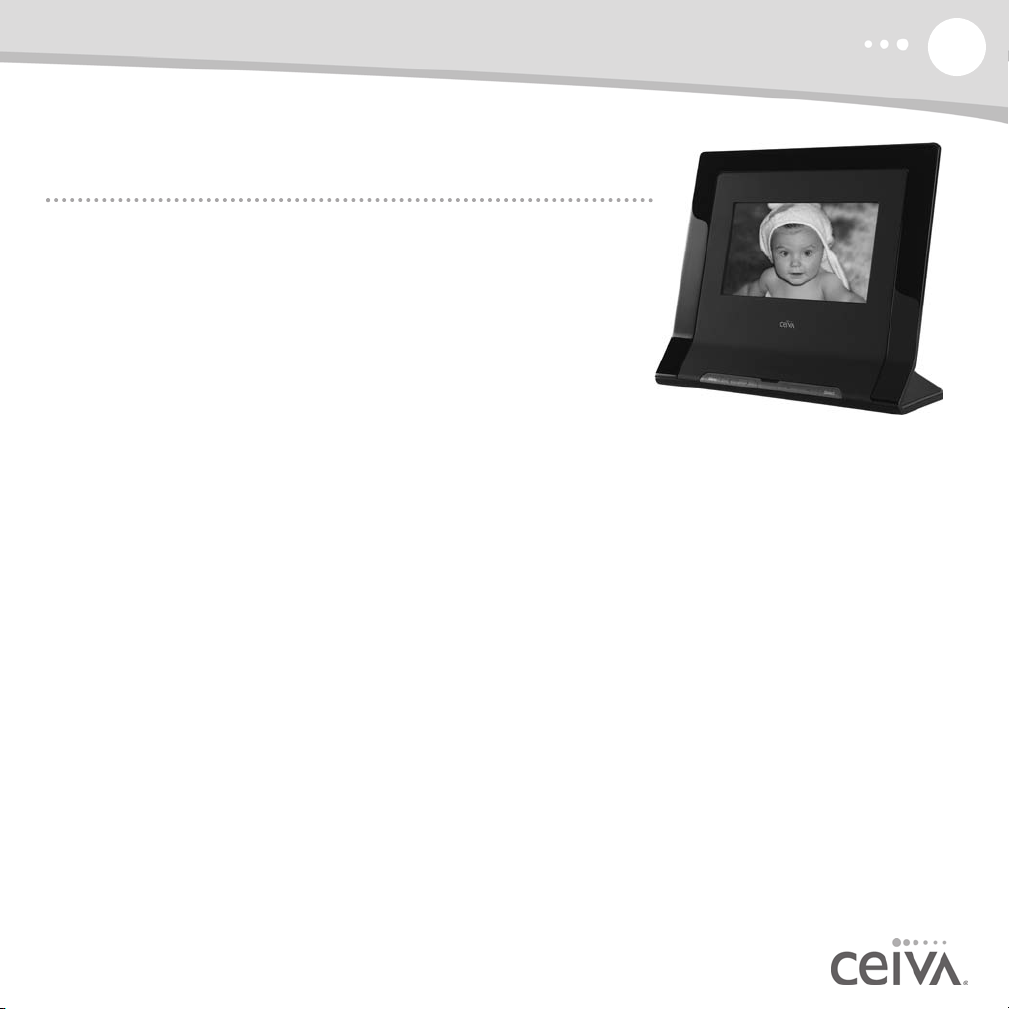
CEIVA Digital Photo Frames™ are the world’s only connected digital
picture frames, renowned for their ease of use and unique patented
technology. With CEIVA
store the photos that mean the most to you.
Display Photos Directly from a Camera Memory
Card Without a Computer
• Instantly display a full color slideshow of photos stored on a
memory card using the built-in card reader.
• Use simple on-screen menus to control display modes, photo rotation and deletion, slideshow
transitions and timing, brightness, and more.
• Set your CEIVA frame to turn on and off automatically so that it’s awake when you are.
Add a CEIVA PicturePlan® and Receive New Photo Updates Automatically
• Receive and display new photos from friends and family around the world automatically, every day.
• Invite anyone you choose to share photos with you for free.
• Send photos directly from your camera phone or your online CEIVA account.
• Store and organize an unlimited number of photos in your secure personal albums on the
CEIVA Network
• Connect your CEIVA frame via an existing phone line, or to a home network using a CEIVA
Broadband™ or CEIVA Wireless™ adapter (both sold separately).
• Upload photos automatically from a memory card over wireless and broadband connections to your
personal albums on the CEIVA Network.
• Order prints directly from your CEIVA frame for delivery via U.S. mail.
• View your choice of daily CEIVA Channel
weather, and more.
• Turn photos into one-of-a-kind greeting cards with personal messages.
®, you have extensive options to see, share and
™.
™ updates for entertainment, news, horoscopes, sports, local
3
4
COMPONENTS
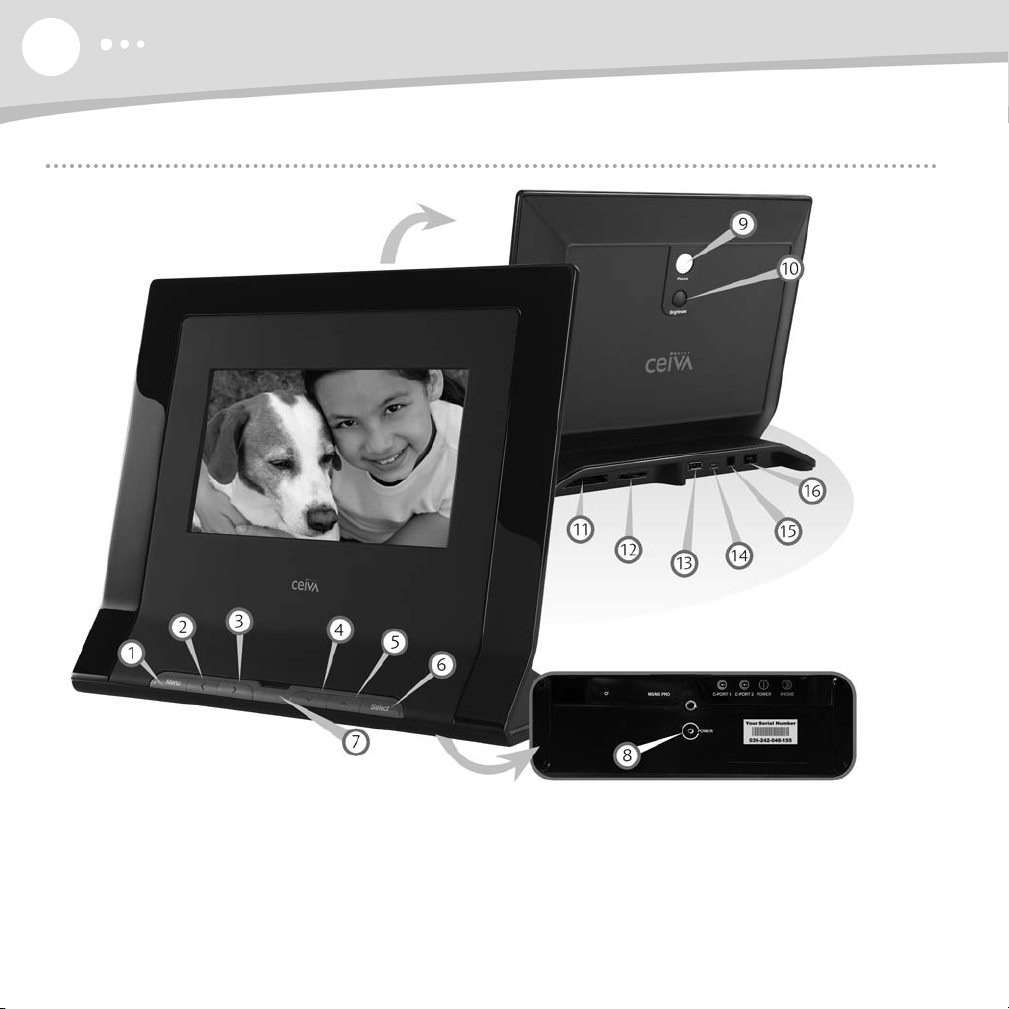
Components
1. Menu Button
2. Left Button
3. Right Button
4. Down Button
5. Up Button
6. Select Button
7. New Photo Indicator
8. Power Light
9. Picture Button
10. Brightness Button
11. CF I/CF II Slot
12. SD/MMC/MS Slot
13. C-Port 1
14. C-Port 2
15. Power Port
16. Phone Port
IN THE BOX
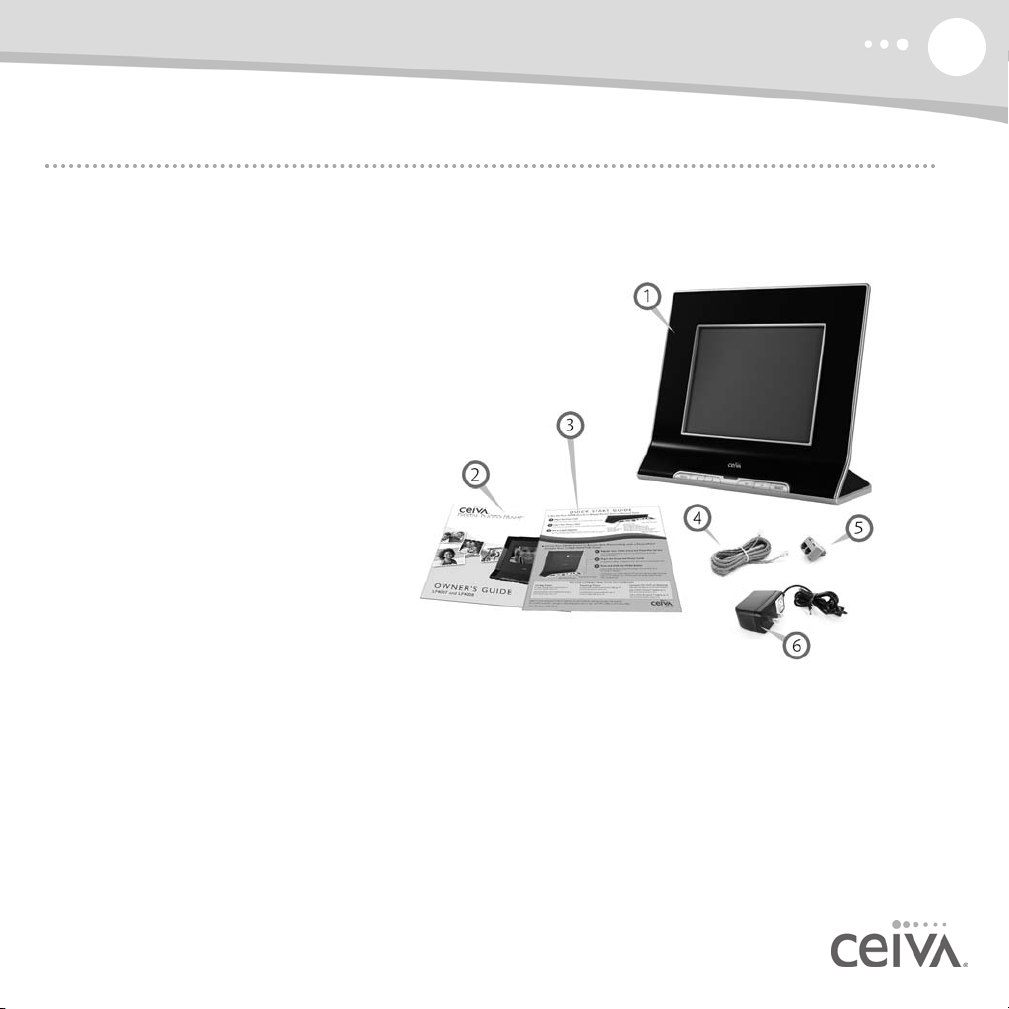
In the Box
Here's everything you need to set up your personal CEIVA Digital Photo Frame and begin displaying photos.
1. CEIVA Digital Photo Frame
2. Owner’s Guide
3. Quick Start Guide
4. Telephone Cord
5. Dual Phone Splitter
6. AC Power Supply
5
Is Something Missing or Damaged?
Locate the 12-digit serial number on the bottom of your CEIVA frame and call 1-877-MYCEIVA
(1-877-692-3482) to speak with the CEIVA
NOTE: Please keep the original product packaging in case you need to return your CEIVA Digital Photo Frame for repairs.
® Customer Care Team.
6
GETTING STARTED
Getting Started — Set-Up is Easy!
How Your CEIVA Frame Works
Your CEIVA frame will display a continuous slideshow of your photos from a camera memory card. If you
choose to activate your PicturePlan service, your CEIVA frame will automatically display new photos every
day after retrieving these photos from the CEIVA Network.The frame connects to the CEIVA Network
through an ordinary analog phone line without interrupting your phone service. You don’t need an extra
phone line. Optional broadband and wireless adapters are available to connect to a home network.Your
CEIVA frame will always display memory card images, with or without a PicturePlan.
Throughout this manual, the words (PicturePlan only) in parentheses denote features and
capabilities exclusively available with the PicturePlan Service.
Create Your Free CEIVA Account, Register Your CEIVA Frame and Activate
Your PicturePlan Service
You must create a free CEIVA Account and register your CEIVA frame in order to activate your PicturePlan
service, get complimentary CEIVA Customer Care, and receive free software updates, special member
discounts and services.
To create your account and register, go to http://gettingstarted.ceiva.com and follow the quick and easy stepby-step instructions, or call CEIVA Customer Care at 1-877-MYCEIVA (1-877-692-3482). Please have your
serial number readily available when registering.The serial number is located on the bottom of your CEIVA
frame.You may also activate your PicturePlan service during the registration process.
Choose a Location for Your Frame
When choosing a location for your CEIVA frame, make sure:
• The CEIVA frame will be easy to see and away from direct sunlight, water, moisture or exposure to
extreme temperatures.
• A power outlet is nearby.
• A telephone jack or a router for a broadband connection is nearby. If you are connecting your CEIVA
frame to a wireless network, you can place it virtually anywhere in your home or office.

GETTING STARTED
Plug In the Power Cord
Plug one end of the power cord into the round power access port (labeled Power) located on the back of
the CEIVA frame. Plug the other end of the power cord into an electrical outlet that is not controlled by a
light switch.We recommend that you use a surge protector power strip to prevent surges of electrical
current from damaging your CEIVA frame.
Plug In the Phone Cord (PicturePlan only)
Insert one end of the phone cord into the square phone access port (labeled Phone) located on the back
of the CEIVA frame. Plug the other end of the cord into a phone outlet. If you need to share the outlet
with an answering machine, fax machine or another phone, use the dual phone splitter (included). If you are
using a broadband or wireless connection, or if you are not using the optional PicturePlan service, you do
not need to plug in the phone cord.
Your CEIVA frame requires an analog phone line to place its daily call to the CEIVA Network.
A digital line could cause damage to the CEIVA frame. Digital lines are most commonly used in
offices and hotels. Please ask your phone company what type of line you have if you are unsure.
If you wish to connect your CEIVA frame to a home or office network with an optional CEIVA Broadband
adapter or CEIVA Wireless adapter, please refer to page 20 of this manual. You can also refer to
http://ceivabr
oadband.ceiva.com and http://ceivawireless.ceiva.com for more information.
7
NOTE: If you try to connect your frame to the CEIVA Network before registering it, the frame will display an error message.
NOTE: If your CEIVA frame is dialing from a location that has “Pulse Dialing”, or if your telephone line requires a dialing
prefix, please refer to page 22 for instructions on setting up these features.
NOTE: If you have DSL, you will need to use a DSL filter (not supplied, check with your DSL provider).

8
GETTING STARTED
Insert a Memory Card to Display Photos
To display photos stored on a memory card, simply insert the card into
the built-in card reader. The CEIVA frame will display a continuous
slideshow of up to 500 photos stored on a memory card. Photos
must be in JPEG format and can be up to a resolution of 12
megapixels. Photos can also be displayed directly from a USB flash
drive. Just plug the flash drive into your CEIVA frame’s C-Port 1 and
watch your photos come to life. To upload photos automatically to
personal albums in your online CEIVA account, please refer to page 15.
Your CEIVA frame will display memory card images with or without a PicturePlan.
The CEIVA frame supports most memory card formats including: Compact Flash®, Memory Stick®,
Memory Stick PRO™, Secure Digital™, MultiMedia Card™ and Microdrive®. The CEIVA frame supports the
following memory card formats using an adapter (not included): Memory Stick Duo™, Memory Stick PRO
Duo™, miniSD™, SmartMedia™, and xD-Picture Card™.
CEIVA is always working on software upgrades to enhance your enjoyment of your CEIVA Digital Photo
Frame. For PicturePlan subscribers, upgrades occur automatically when the frame connects to the CEIVA
Network. If you do not have a PicturePlan subscription, please visit http://softwar
download the most current software. If you do not have internet access or need additional assistance,
contact CEIVA Customer Care at 1-877-MYCEIVA (1-877-692-3482).
eupgrades.ceiva.com to
Receive Photos from Friends and Family with an Optional PicturePlan
Once you've activated your CEIVA PicturePlan subscription and plugged in the power and phone cord or
network connection, you can start enjoying photos of your friends and family right away. Just push and hold
the white Picture button located on the back of your CEIVA frame until you see the message, “You can let
go now, I'm dialing in.” Then, just relax while the frame connects to the CEIVA Network. A status screen
will indicate the connection progress. Once completed, your CEIVA frame is ready to receive and display
photos—automatically!
GETTING STARTED
With an active PicturePlan, your CEIVA frame will automatically retrieve up to 40 new photos (Model LF4007)
or 50 new photos (Model LF4008) each night from your personal Incoming Photos inbox on the CEIVA
Network.You can also manually retrieve new photos anytime simply by pushing and holding the white
Picture button until you see the message “You can let go now, I'm dialing in” appear on the screen.
Invite Friends and Family to Share Photos with You
Anyone you choose, no matter how far away, can send photos to your CEIVA frame for free! All they need
is a free membership/buddy account for you to add them to your Buddy List. Only CEIVA members listed
on your Buddy List are able to send photos to your personal CEIVA frame, so your privacy is always
protected.
If You Have Access to a Computer
Just log in to your online CEIVA account and click on Invite-a-Buddy. Enter the names and e-mail
addresses of your family and friends and we'll send them an invitation to join CEIVA for free. As
members, they will automatically appear on your Buddy List.This safeguards your CEIVA frame
against “spamming” or unauthorized photos being sent to you. You can invite as many buddies to send
photos to you as you wish.
If You DO NOT Have Access to a Computer
Invite your friends and family who do have web access to create free membership/buddy accounts at
http://www.ceiva.com
Team at 1-877-MYCEIVA (1-877-692-3482) to add these names to your Buddy List. It only takes a
minute for your Buddies to be able to send photos to your personal CEIVA frame.
. Then, have them tell you their Sign-In names. Call the CEIVA Customer Care
9
10
GETTING STARTED
Members Send Photos with Ease!
You and all of your Buddies can:
• Send Photos Using Free Software: Edit, crop, rotate and enhance your photos, then send them
quickly and easily to any CEIVA frame with an active PicturePlan, across town or across the globe.
Download free software at http://software.ceiva.com.
• Send Photos from Your CEIVA Account: Easily send one or multiple photos from your account
at http://www.ceiva.com. Scan old photos and upload them to online albums.Then, enjoy them on
your CEIVA frame.
• Send Photos with Personal Messages: It takes just a second to create or edit a special message
to appear on your photos.
Send Photos of Any Size: Your photos are automatically resized and formatted with vivid picture
•
quality for display on your CEIVA frame.
• Send Photos Directly from a Camera Phone: Just snap a photo on your camera phone and send
it to one or multiple CEIVA frames in seconds. Every CEIVA frame has a unique CEIVAMobile™
address that you can save in your phone's address book. Just shoot and send—it's that easy! Please
visit http://ceivamobile.ceiva.com for more information.
Operating Your CEIVA Digital Photo Frame
What Do the Buttons Do?
The CEIVA frame offers an easy 2-button operation for basic functionality, such as adjusting screen
brightness and starting the slideshow. Additional buttons control advanced features and on-screen menus.
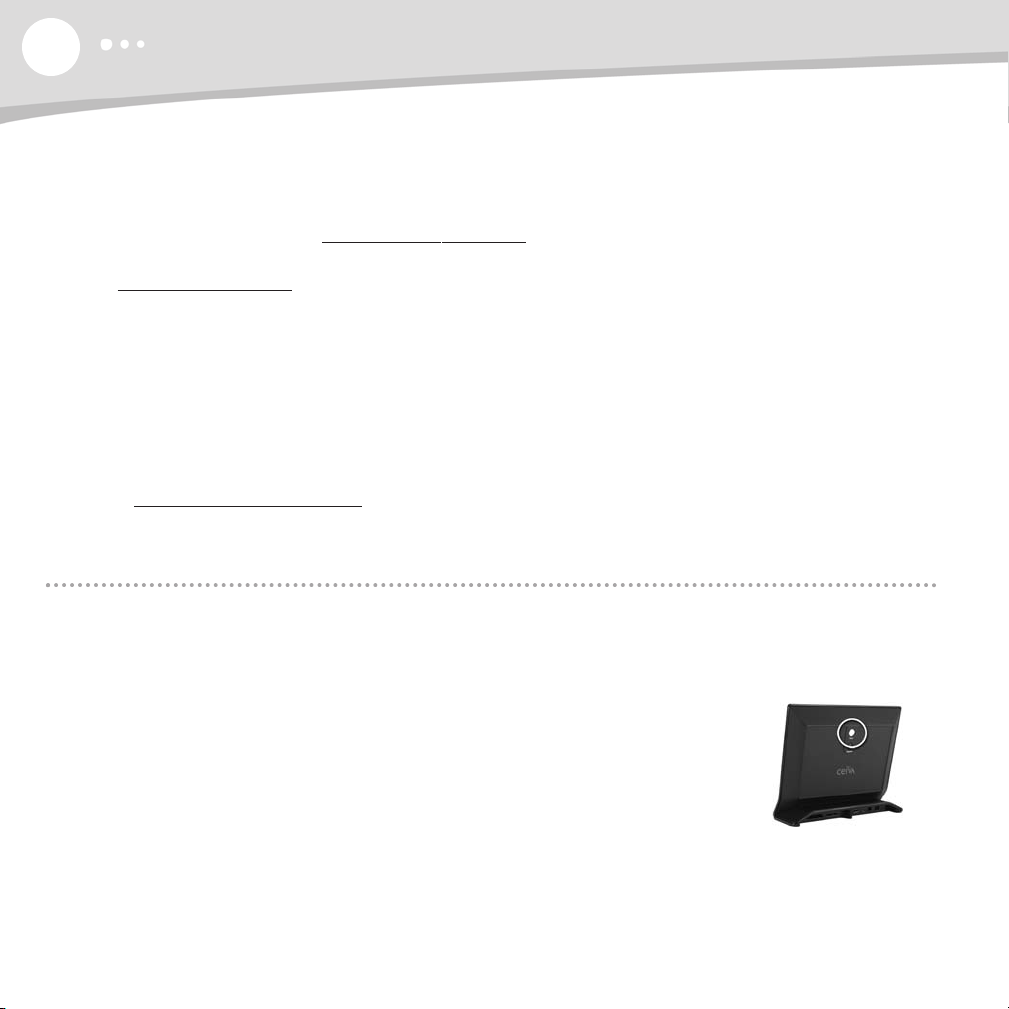
White Button
The white button (labeled Picture) located on the back of the CEIVA frame allows
you to retrieve new photos manually and toggle the picture display between
Slideshow Mode (in which photos rotate continuously) and Static Mode (in which
only one photo appears).
If you have a PicturePlan and want to view new photos right away, rather than waiting until the next day, you
can manually connect the CEIVA frame to the CEIVA Network by simply pressing the white button until the
message, “You can let go now, I'm dialing in” appears on the screen. A status screen will show the progress
of the connection, and your slideshow will start after your frame is finished connecting.
BUTTONS
To stop the slideshow on your favorite photo (Static Mode), simply press the white button once when you
see the photo. An Info Bar will momentarily appear at the bottom of the screen (please refer to page 13).
Your CEIVA frame will automatically resume Slideshow Mode after 30 seconds.To adjust this Auto Start
setting, please refer to page 20.
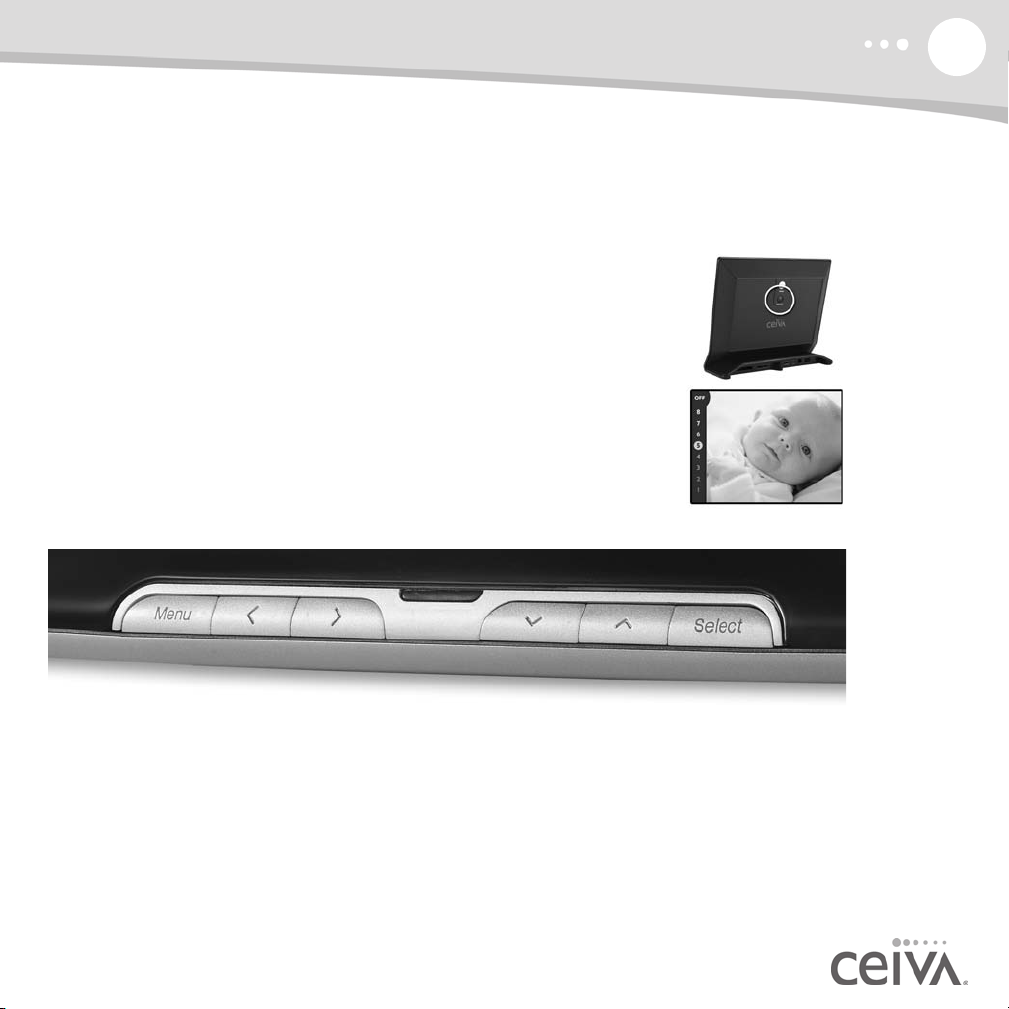
Black Button
The black button (labeled Brightness) located on the back of the CEIVA
frame allows you to adjust the brightness of your screen.When you press
the Brightness button, a “brightness bar” will appear on the left side of
the CEIVA frame’s screen. Press and release the Brightness button to
advance to the next setting, or to turn your CEIVA frame's screen OFF.
Press any button when the screen is dark to turn it back ON. Press and
hold the Brightness button to scroll through the brightness settings.
You can also adjust the brightness by using the Up and Down buttons
on the front of the CEIVA frame.
11
Menu Button
The Menu button enables you to activate the CEIVA frame’s Menu Mode, where you can access numerous
advanced features. Please refer to
more information.
Advanced Features and Menu Options, starting on page 13, for
 Loading...