

Page 1
MC50 & MC60 Microwave
Manual for Installation, Use and Maintenance
Customer Care Department • The Group Ltd. • Harby Road • Langar • Nottinghamshire • NG13 9HY
T : 01949 862 012 F : 01949 862 003 E : service@cda.eu W : www.cda.eu
Page 2
MOUNTING THE APPLIANCE
PRIOR TO CONNECTING
INSTALLATION
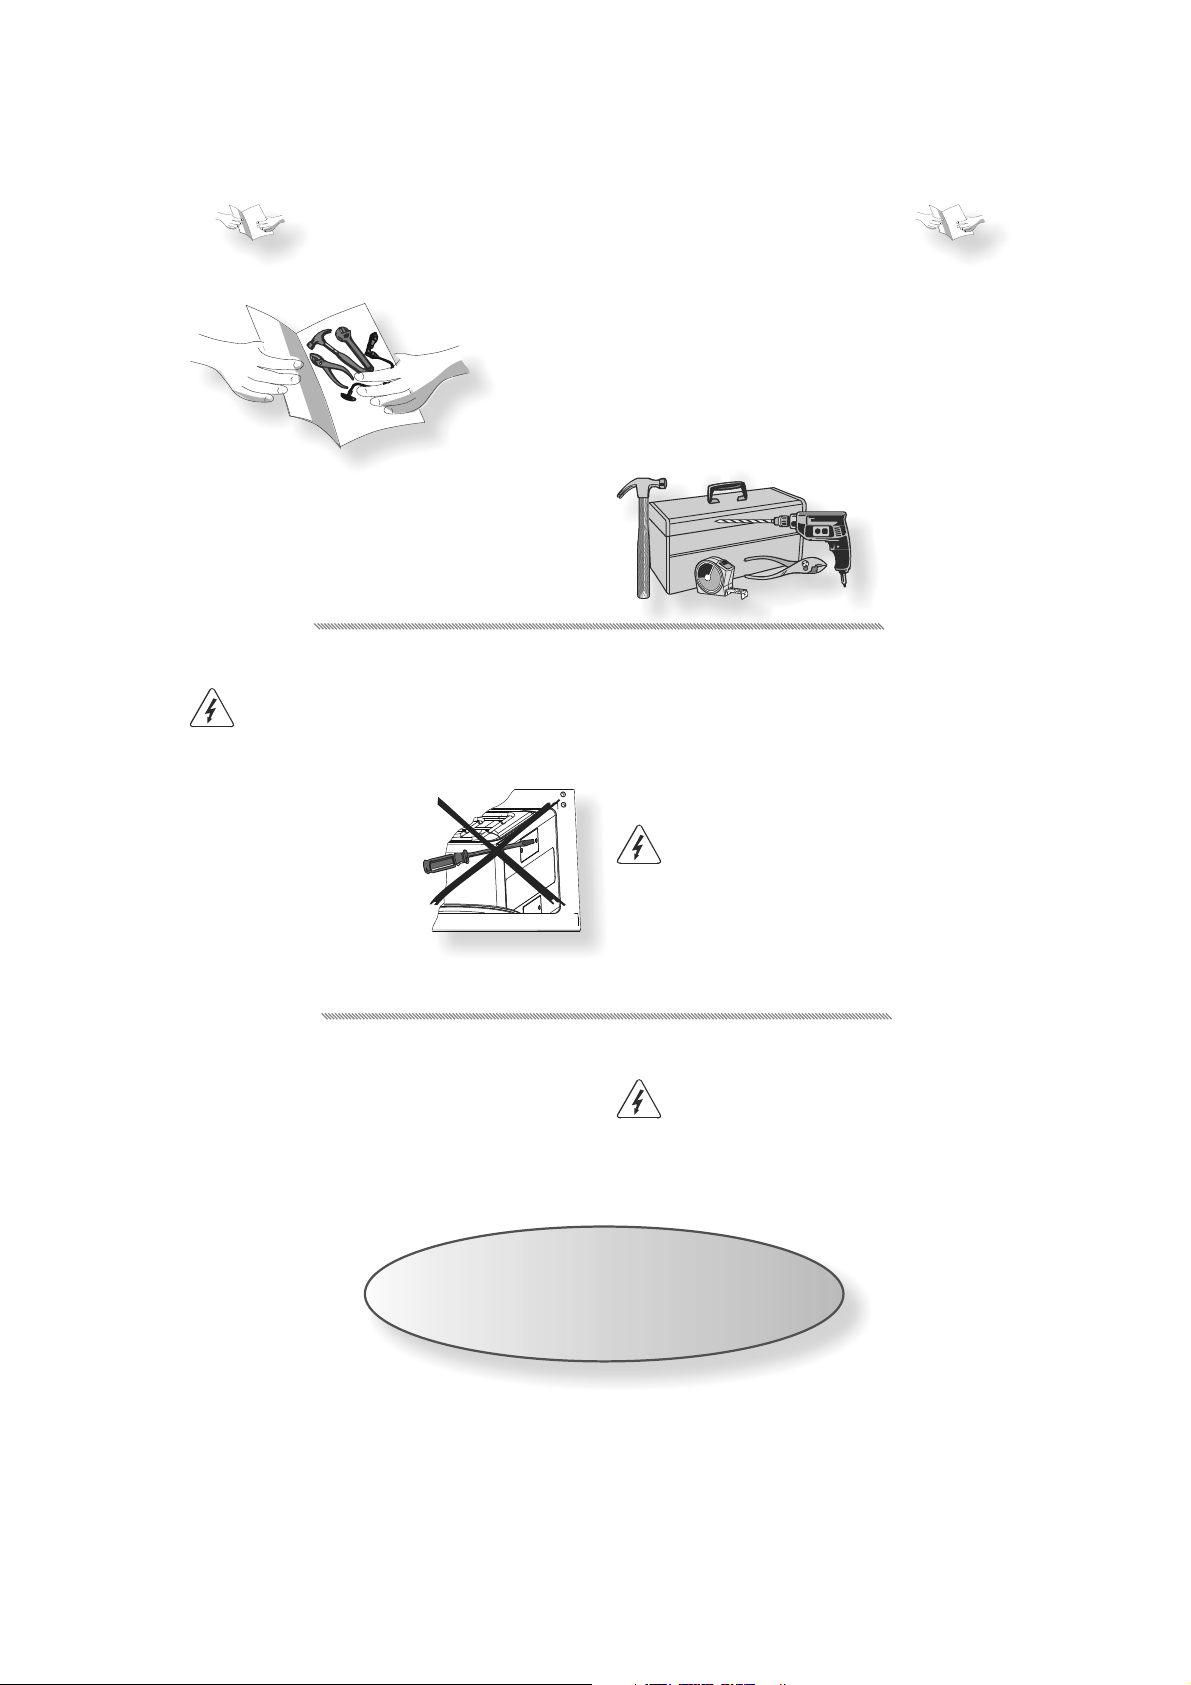
FOLLOW THE SUPPLIED separate mounting in-
structions when installing the appliance.
C
HECK THAT THE VOLTAG E on the rating
plate corresponds to the voltage in your
home.
O NOT REMOVE THE MICROWAVE INLET PROTECTION
D
PLATES located on the side of
the oven cavity wall. They
prevent grease & food particles from entering the microwave inlet channels.
NSURE the oven cavity is
E
empty before mounting.
AFTER CONNECTING
HE OVEN CAN BE OPERATED ONLY if the oven door is
T
fi rmly closed.
The manufacturers are not liable for any
problems caused by the user’s failure to observe these instructions.
NSURE THAT THE APPLIANCE IS NOT DAMAGED. Check
E
that the oven door closes fi rmly against the
door support and that the internal door seal is
not damaged. Empty the oven and clean the
interior with a soft, damp cloth.
O NOT OPERATE THIS APPLIANCE if it has a
D
damaged mains cord or plug, if it is not
working properly, or if it has been damaged or dropped. Do not immerse the
mains cord or plug in water. Keep the
cord away from hot surfaces. Electrical
shock, fi re or other hazards may result.
HE EARTHING OF THIS APPLIANCE is compulso-
T
ry. The manufacturer will accept no responsibility for injury to persons, animals or damage to objects arising from
the non-observance of this requirement.
Page 3
IMPORTANT SAFETY INSTRUCTIONS
READ CAREFULLY AND KEEP FOR FUTURE REFERENCE
DO NOT HEAT, OR USE FLAMMABLE MATERIALS in
or near the oven. Fumes can create a fi re
hazard or explosion.
D
O NOT USE YOUR MICROWAVE oven for drying
textiles, paper, spices, herbs, wood, fl owers, fruit or other combustible materials.
Fire could result.
I
F MATERIAL INSIDE / OUTSIDE THE OVEN SHOULD
IGNITE OR SMOKE IS OBSERVED, keep oven
door closed and turn the oven off . Disconnect the power cord or shut off power at the fuse or circuit breaker panel.
O NOT OVER-CO OK FOOD. Fire could result.
D
O NOT LEAVE THE OVEN UNATTENDED, espe-
D
cially when using paper, plastic or other combustible materials in the cooking process. Paper can char or burn and
some plastics can melt if used when
heating foods.
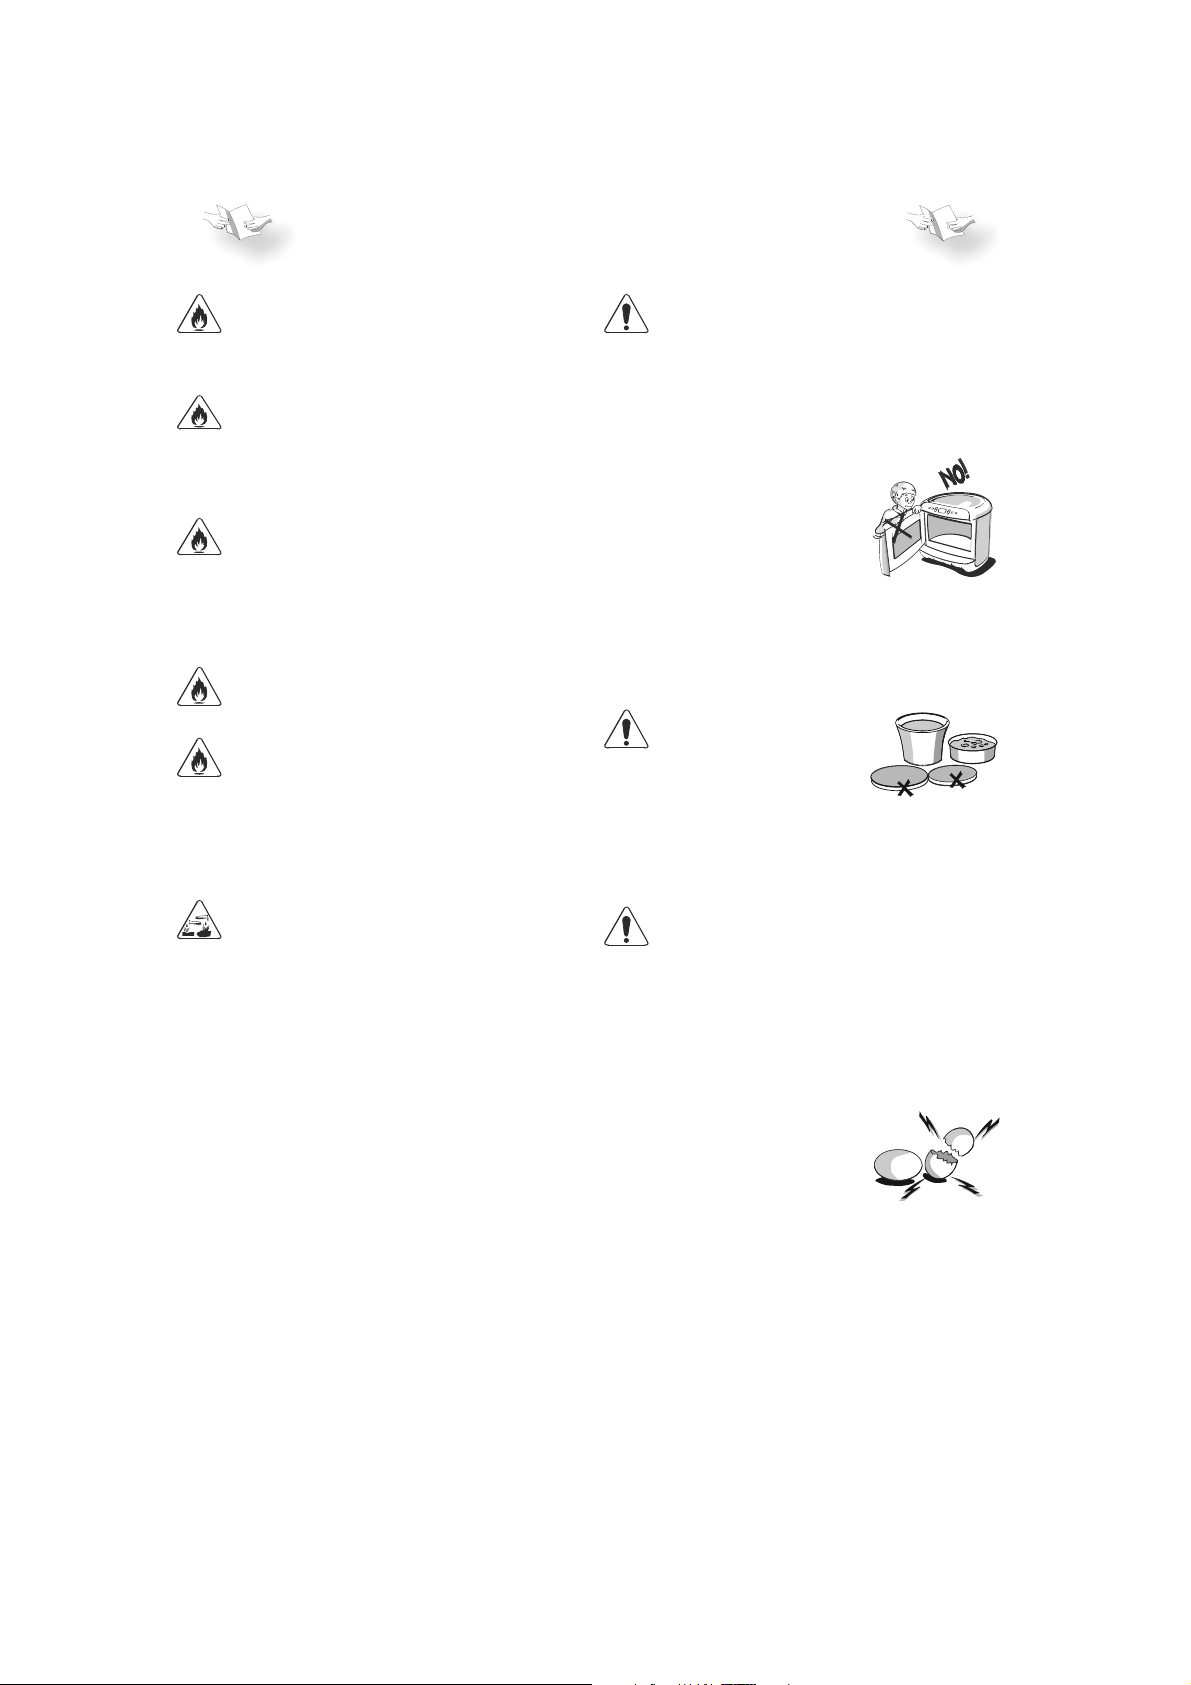
NLY ALLOW CHILDREN to use the oven without
O
adult supervision after adequate instructions have been given so that the child is
able to use the oven in a safe way and understands the hazards of improper use.
The appliance is not intended for use by
young children or infi rm persons without supervision. Young children
should be supervised to ensure that they do not play
with the appliance.
If your oven has a combination mode, children should
only use the oven under adult supervision
due to the high temperatures generated.
O NOT USE YOUR MICROWAVE
D
oven for heating anything in
airtight sealed containers. The pressure increases and may cause damage
when opening or may explode.
O NOT USE corrosive chemicals or va-
D
pors in this appliance. This type of oven
is specifi cally designed to heat or cook
food. It is not designed for industrial or
laboratory use.
HE DOOR SEALS AND THE DOOR SEAL AREAS must
T
be regularly inspected for damage. If these
areas are damaged the appliance should
not be operated until it has been repaired
by a trained service technician.
EGGS
O NOT USE YOU R MICROWAVE oven for cook-
D
ing or reheating whole eggs with or
without shell since they may
explode even after microwave
heating has ended.
Page 4
PRECAUTIONS
GENERAL
HIS APPLIANCE IS DESIGNED FOR DOMESTIC USE ONLY!
T
T
HE APPLIANCE SHOULD NOT BE OPERATED without food
in the oven when using microwaves. Operation in
this manner is likely to damage the appliance.
F YOU PRACTICE OPERATING the oven, put a glass
I
of water inside. The water will absorb the microwave energy and the oven will not be damaged.
O NOT USE THE CAVITY for any storage purposes.
D
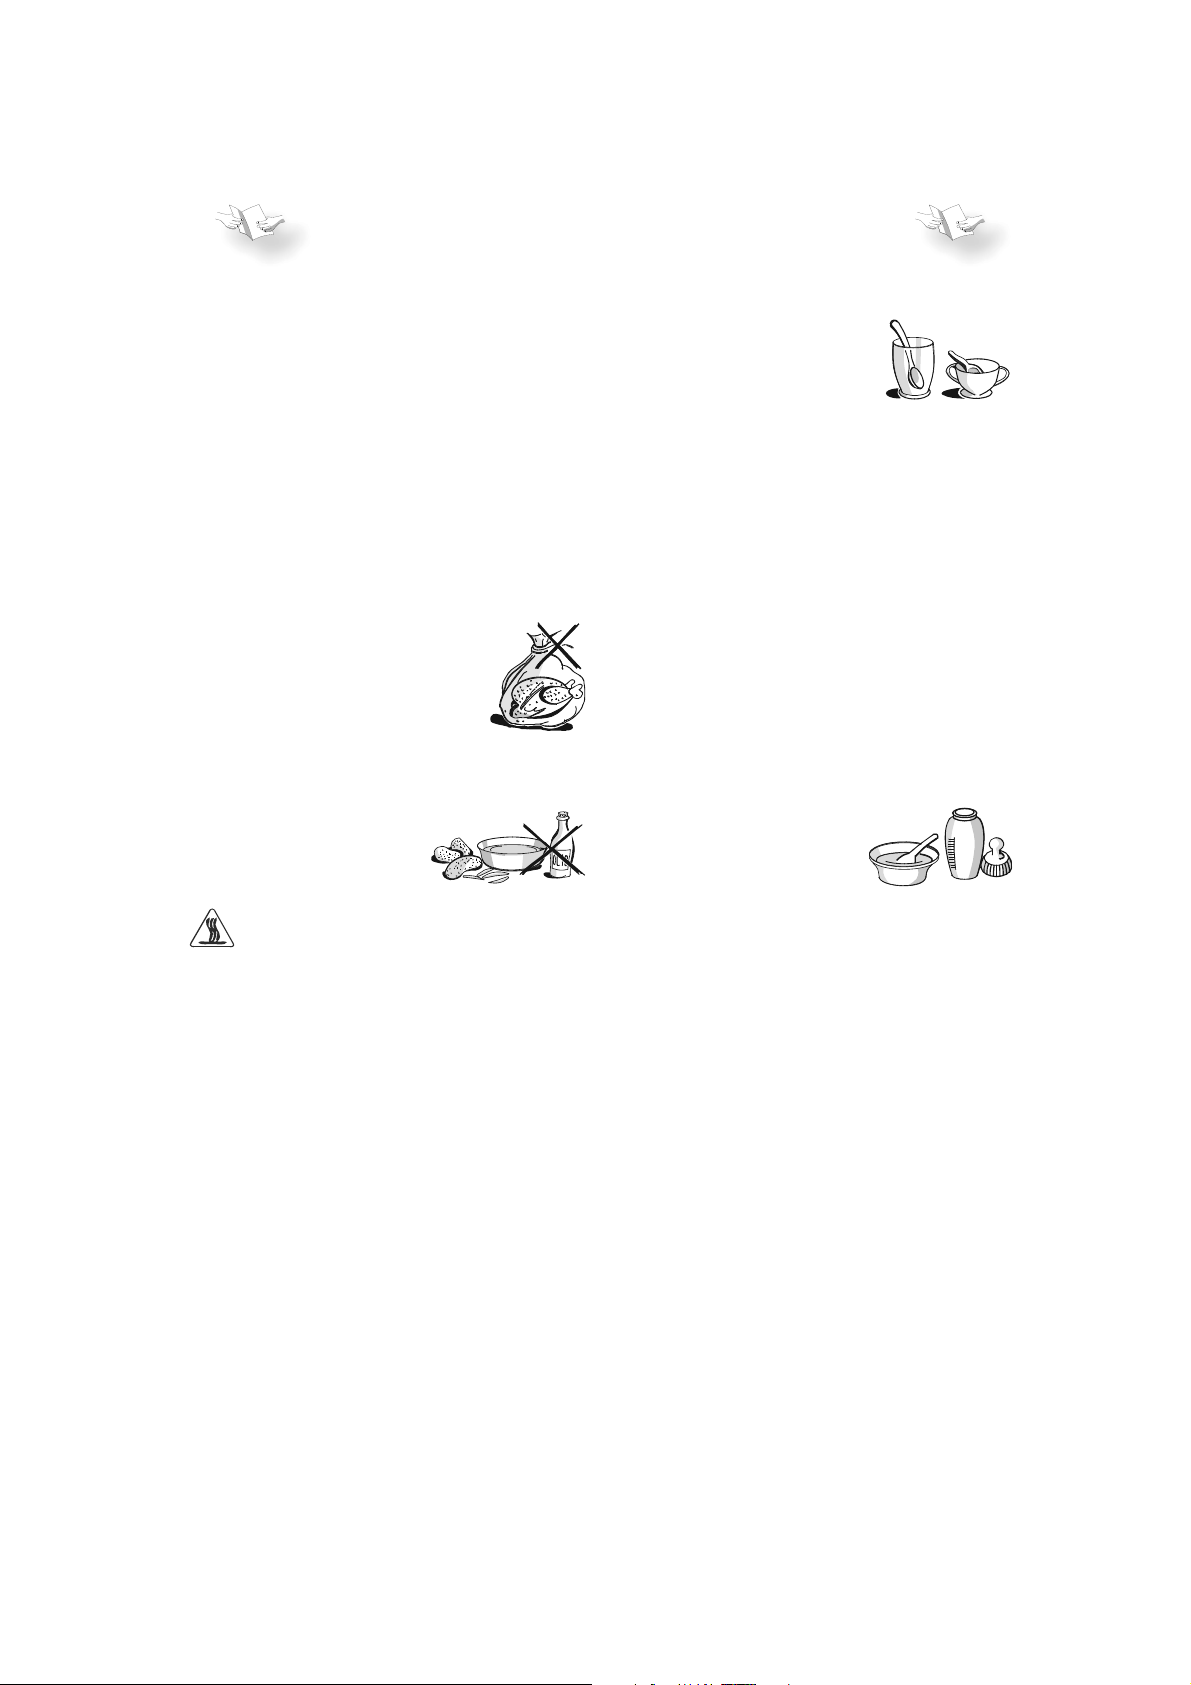
EMOVE WIRE TWIST-TIES from paper or
R
plastic bags before placing bag in
the oven.
DEEPFRYING
D
O NOT USE YOUR MICROWAVE oven for deep-frying,
because the oil temperature cannot be
controlled.
USE HOT PADS OR OVEN MITTS to prevent
burns, when touching containers, oven
parts, and pan after cooking.
LIQUIDS
E.
G. BEVERAGES OR WATER. Overheating the liquid
beyond boiling point can occur
without evidence of bubbling.
This could result in a sudden
boil over of the hot liquid.
To prevent this possibility the
following steps should be taken:
1. Avoid using straight-sided containers with
narrow necks.
2. Stir the liquid before placing the container
in the oven and let the teaspoon remain
in the container.
3. After heating, allow standing for a short
time, stirring again before carefully removing the container from the oven.
CAREFUL
LWAYS REFER to a microwave cookbook for de-
A
tails. Especially, if cooking or reheating food
that contains alcohol.
A
FTER HEATING BABY FOOD or liquids in a
baby bottle or in a baby food
jar, always stir and check the
temperature before serving.
This will ensure that the heat is evenly distributed
and the risk of scalding or burns can be avoided.
Ensure the Lid and the Teat is removed before heating!
Page 5
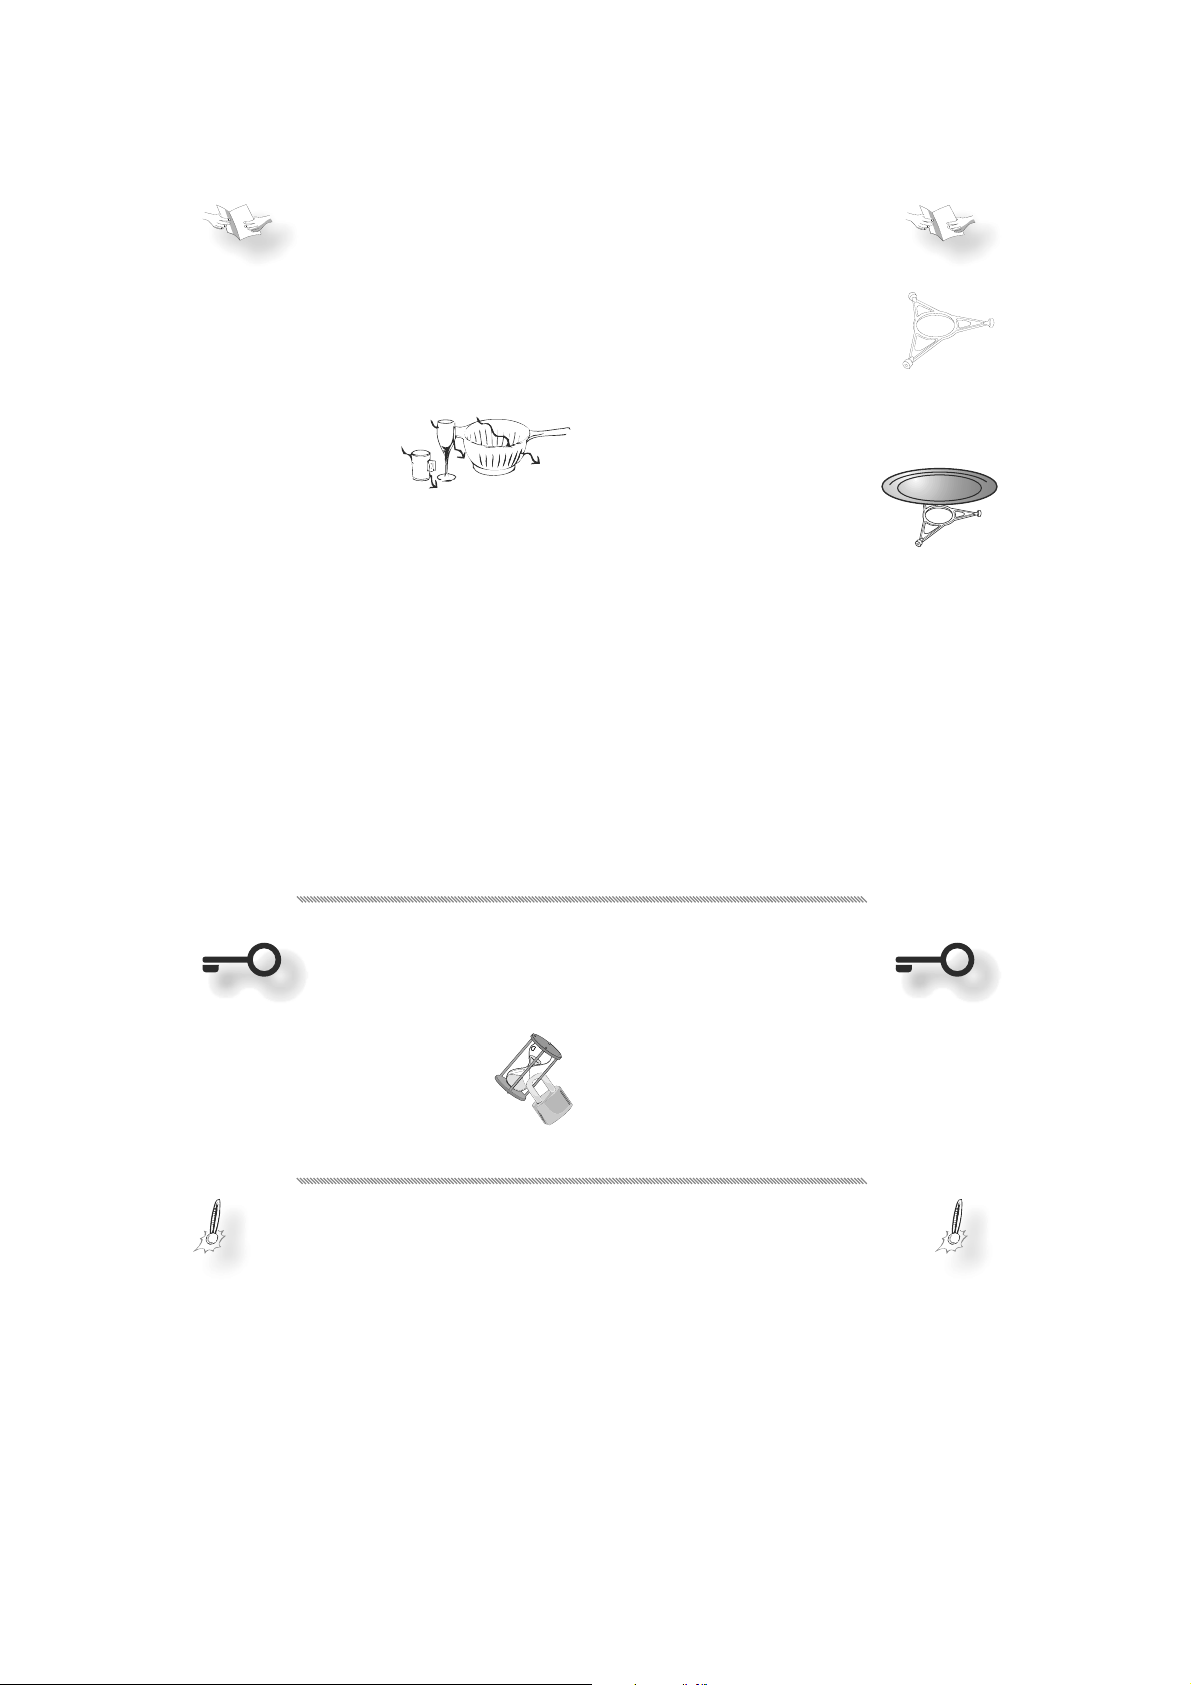
ACCESSORIES
GENERAL
HERE ARE a number of accessories available on
T
the market. Before you buy, ensure they are
suitable for microwave use.
E
NSURE THAT THE UTENSILS YOU USE are oven proof
and allow microwaves to
pass through them before
cooking.
W
HEN YOU PUT FOOD AND ACCESSORIES in the micro-
wave oven, ensure that they do not come in
contact with the interior of the oven.
This is especially important with accessories made of metal or metal parts.
I
F ACCESSORIES CONTAININ G METAL comes in contact
with the oven interior, while the oven is in operation, sparking can occur and the oven could
be damaged.
LWAYS ENSURE that the turntable is able to turn
A
freely before starting the oven.
TURNTABLE SUPPORT
SE THE TURNTABLE SUPPORT under the
U
Glass turntable. Never put any other utensils on the turntable support.
Fit the turntable support in the oven.
GLASS TURNTABLE
SE THE GLASS TURNTABLE with all cooking meth-
U
ods. It collects the dripping juices and food particles that otherwise would stain and soil the interior of the oven.
Place the Glass turntable on the turntable
support.
START PROTECTION / CHILD LOCK
THIS AUTOMATIC SAFETY FUNCTI ON IS ACTIVATED ONE
MINUTE AFTER the oven has returned to
“stand by mode“. (The oven is in
“stand by” when the 24-hour clock is
displayed or if the clock has not been
set, when the display is blank).
COOLING DOWN
WHEN A FUNCTION IS FINISHED, the oven carries out
a cooling procedure. This is normal.
After this procedure the oven switches off automatically.
HE DOOR MUST BE OPENED AND CLOSED e.g. putting
T
food into it, before the safety lock is released.
Else the display will show “
DOOR“.
DOOR
HE COOLING PROCEDURE can be interrupted with-
T
out any harm to the oven by opening the door.
Page 6

Jet Defrost
Stop
Power
JetStart
Jet Defrost
Stop
Power
JetStart
CLOCK
KEEP THE DOOR OPEN while setting the Clock. This
gives you 5 minutes to complete the setting
of the Clock. Otherwise, each step must be accomplished within 30 seconds.
RESS THE CLOCK BUTTON (3 seconds) until the
1. P
left-hand digit (hour’s) fl icker.
RESS THE +/- BUTTONS to set the hours.
2. P
RESS THE CLOCK BUTTON AGAIN . (The two right
3. P
hand digits (minutes) fl icker).
RESS THE +/- BUTTONS to set the minutes.
4. P
RESS THE CLOCK BUTTON AGAIN .
5. P
HE CLOCK IS SET and in operation.
T
.
$
1
3
/
KITCHEN TIMER
OTE: When the appliance is fi rst plugged in or
N
after a power failure, the display is blank. If the
clock is not set, the display will remain blank
until the cooking time is set.
USE THIS FUNCTIO N when you need a kitchen timer to measure time for various purposes such
as cooking eggs or letting the dough rise before baking etc.
RESS THE +/- BUTTONS to set the desired
1. P
length of the timer.
RESS THE POWER BUTTON repeatedly to set the
2. P
power to 0 W.
RESS THE START BUTTON.
3. P
3
.
$
A
N ACOUSTI C SIGNAL will be heard when the timer
has fi nished to count down.
O TURN THE KITCHEN TIMER OFF before the count-
4. T
down have fi nished, press the Stop button.
Page 7

Jet Defrost
Stop
Power
JetStart
COOK & REHEAT WITH MICROWAVES
USE THIS FUNCTIO N for normal cooking and reheating, such as vegetables, fi sh, potatoes and
meat.
RESS THE +/- BUTTONS to set the time.
1. P
RESS THE POWER BUTTON repeatedly to set the
2. P
power.
RESS THE START BUTTON.
3. P
O
The time can easily be increased in 30-second
steps by pressing the Start button. Each press
increases the time with 30 seconds.
OU MAY ALSO ALTER THE TIME by pressing the +/-
Y
buttons to increase or decrease the time.
P
power level. The fi rst press will show you the
current power level. Press the power button
3
repeatedly to change power level.
.
$
POWER LEVEL
MICROWAVES ONLY
OWER SUGGESTED USE:
P
EHEATING OF BEVERAGES, water, clear soups, coff ee, tea or other food with a high water
R
750 W
500 W
350 W S
160 W D
0 W W
content. If the food contains egg or cream choose a lower power. Cooking of fi sh vegetables, meat, etc
ORE CAREFUL COOKING e.g. high protein sauces, cheese and egg dishes and to fi nish cook-
M
ing casseroles.
IMMERING STEWS, melting butter.
EFROSTING. Softening butter, cheeses and ice cream.
HEN USING THE TIMER only.
NCE THE COOKING PROCESS HAS BEEN STARTED:
RESSING THE POWER BUTTON may also change the
Page 8

Jet Defrost
Stop
Power
JetStart
JET START
THIS FUNCTION IS USED for quick reheating of food
with a high water content such as; clear soups,
coff ee or tea.
RESS THE START BUTTON.
1. P
.
MANUAL DEFROST
FOLLOW THE PROCEDURE for “How to cook & reheat
with microwaves” and choose power level 160 W
when defrosting manually.
THIS FUNCTION AUTO MATICALLY STARTS with maximum microwave power level and the cooking
time set to 30 seconds. Each additional press increases the time with 30 seconds.
OU MAY ALSO ALTER THE TIME by pressing the +/-
Y
buttons to increase or decrease the time.
HECK AND INSPECT THE FOOD REGULARLY. Experi-
C
ence will give you the times needed for various amounts.
FROZEN FOOD IN PLASTIC BAGS, plastic fi lms or cardboard packages can be placed directly in the
oven as long as the package has no metal parts (e.g. metal twist ties).
HE SHAPE OF THE PACKA GE alters the de-
T
frosting time. Shallow packets defrost
more quickly than a deep block.
EPARATE PIECES as they begin to defrost.
S
Individual slices defrost more easily.
HIELD AREAS OF FOOD with small
S
pieces of aluminum foil if
they start to become warm
(e.g. chicken legs and wing
tips).
URN LARGE JOINTS halfway through the defrost-
T
ing process.
OILED FOOD, STEWS AND MEAT SAUCES defrost
B
better if stirred during defrosting time.
HEN DEFROSTING it is better to under-
W
thaw the food slightly and allow the
process to fi nish during standing time.
S
TAN DIN G TIME AFTER DEFROSTING ALWAYS IMPROVES
the result since the temperature
will then be evenly distributed throughout the food.
Page 9

Jet Defrost
Stop
Power
JetStart
JET DEFROST
USE THIS FUNCTIO N for defrosting Meat, Poultry,
Fish, Vegetables and Bread.
JET Defrost should only be used if the net
weight is between 100 g- 2.0 kg.
LWAYS PLACE THE FOOD on the glass turntable.
A
RESS THE JET DEFROST BUTTON.
1. P
RESS THE + / - BUTTONS to set the weight of
2. P
the food.
RESS THE START BUTTON.
5. P
.
3
$
HIS FUNCTIO N NEEDS TO KNOW the net weight of
T
the food. The oven will then automatically calculate the needed time
to fi nish the procedure.
F THE WEIGHT IS LESSER OR GREATER THAN RECOMMEND-
I
ED WEIGHT: Follow the procedure for “Cook & Re-
heat with microwaves” and choose 160 W when
defrosting.
M
IDWAY THROUGH THE DEFROSTING PROCESS the oven
stops and prompts you to
Open the door.
TU RN FOOD.
Turn the food.
Close the door and restart by pressing the
Start button.
OTE: The oven continues automatically after
N
2 min. if the food hasn’t been turned. The defrosting time will be longer in this case.
FROZEN FOODS:
F THE FOOD IS WARMER than deep-freeze
I
temperature (-18°C), choose lower
weight of the food.
F THE FOOD IS COLDE R than deep-freeze
I
temperature (-18°C), choose higher
weight of the food.
Page 10

MAINTENANCE & CLEANING
CLEANING IS THE ONLY MAINTENANCE normally re-
quired.
F
AILURE TO MAINTAIN THE OVEN in a clean condition
could lead to deterioration of the surface that
could adversely aff ect the life of the appliance
and possibly result in a hazardous situation.
O NOT USE METAL SCOURING PAD S,
D
ABRASIVE CLEANSERS, steel-
wool pads, gritty washcloths, etc. which can
damage the control panel, and the interior and exterior oven surfaces. Use a sponge with a mild detergent
or a paper towel with spray glass cleaner.
Apply spray glass cleaner to a paper towel.
O NOT SPRAY directly on the oven.
D
T REGULAR INTERVALS, especially if spill
A
overs have occurred, remove the
turntable, the turntable support
and wipe the base of the oven
clean.
F
OR STUBBORN STAINS, boil a cup of water in the
oven for 2 or 3 minutes. Steam will soften the
marks.
D
O NOT USE STEAM CLEANING APPLIANCES when
cleaning your microwave oven.
DDING SOME LEMON JUICE to a cup of water, plac-
A
ing this on the turntable and boiling for a few
minutes can eliminate odors inside the oven.
DISHWASHER SAFE:
URNTABLE SUPPORT.
T
LASS TURNTABLE.
G
T
HIS OVEN IS DESIGNED to operate with the turnta-
ble in place.
O NOT operate the microwave oven
D
when the turntable has been removed
for cleaning.
SE A MILD DETERGENT, water and a soft cloth to
U
clean the interior surfaces, front and rear of the
door and the door opening.
D
O NOT ALLOW GREASE or food particles to
build up around the door.
Page 11

TROUBLE SHOOTING GUIDE
IF THE OVEN DOES NOT WORK , do not make a service
call until you have made the following checks:
The Turntable and turntable support is in
place.
The Plug is properly inserted in the wall
socket.
The Door is properly closed.
Check your Fuses and ensure that there is
power available.
Check that the oven has ample ventilation.
Wait for 10 minutes, then try to operate the
oven once more.
Open and then close the door before you
try again.
HIS IS TO AVOID unnecessary calls for which you
T
will be charged.
When calling for Service, please give the serial
number and type number of the oven (see Service label). Consult your warranty booklet for
further advice.
ENVIRONMENTAL HINTS
I
F THE MAINS CORD NEEDS REPLACING it should
be replaced by the original
mains cord, which is available via our service organization. The mains cord may
only be replaced by a trained
service technician.
ERVICE ONLY TO BE CARRIED OUT
S
BY A TRAINED SERVICE TECHN ICIAN.
It is hazardous for anyone other than a trained person to carry
out any service or repair operation, which involves the removal of any cover, which gives protection against exposure to microwave
energy.
O NOT REMOVE ANY COVER.
D
THE PACKIN G BOX may be fully recycled as confi rmed by the recycling symbol. Follow local disposal regulations. Keep
potentially hazardous packaging (plastic bags, polystyrene etc.) out of the reach of children.
HIS APPLIANCE is marked according to the Euro-
T
pean directive 2002/96/EC on Waste Electrical
and Electronic Equipment (WEEE). By ensuring
this product is disposed of correctly, you will
help prevent potential negative consequences
for the environment and human health, which
could otherwise be caused by inappropriate
waste handling of this product.
HE SYMBOL on the product, or on the docu-
T
ments accompanying the
product, indicates that this
appliance may not be treated as household waste. Instead it shall be handed over
to the applicable collection
point for the recycling of electrical and electronic equipment.
ISPOSAL must be carried
D
out in accordance with local environmental regulations for waste disposal.
OR MORE DETAILED INFORMATION about treatment,
F
recovery and recycling of this product, please
contact your local city offi ce, your household
waste disposal service or the shop where you
purchased the product.
EFORE SCRAPPING, cut off the mains cord so that
B
the appliance cannot be connected to the
mains.
Page 12

TECHNICAL DATA
MC 60 MC 50
UPPLY VOLTAGE 230 V/50 HZ
S
RATE D POWER INPUT 130 0 W
USE 10 A (UK 13 A)
F
OUTPUT POWER 750 W
MW
UTER DIMENSIONS (HXWXD) 382 X 595 X 320 382 X 495 X 320
O
NNER DIMENSIONS (HXWXD) 187 X 370 X 290
I
IN ACCORDA NCE WITH IEC 60705.
HE INTERNATIONAL ELECTROTECHNICAL COMMISSION, has developed a standard for comparative testing of
T
heating performance of diff erent microwave ovens. We recommend the following for this oven:
Test Amount Approx. time Power level Container
12.3.1 1000 g 11 min 750 W Pyrex 3.227
12.3.2 475 g 5 min 750 W Pyrex 3.827
12.3.3 900 g 15 min 750 W Pyrex 3.838
12.3.4 1100 g 28-30 min Forced air 200 ºC + 350 W Pyrex 3.827
12.3.5 700 g 25 min Forced air 200 ºC + 90 W Pyrex 3.827
12.3.6 1000 g 30-32 min Forced air 225 ºC + 350 W Pyrex 3.827
13.3 500 g 2 min 12 sec Jet defrost
-
12
GB
-
Page 13

Page 14

Notes :
Page 15

Notes :
Page 16

To contact our Customer Care Department, or for Service,
please contact us on the details below.
Customer Care Department • The Group Ltd. • Harby Road • Langar • Nottinghamshire • NG13 9HY
T : 01949 862 012 F : 01949 862 003 E : service@cda.eu W : www.cda.eu
 Loading...