

Page 1
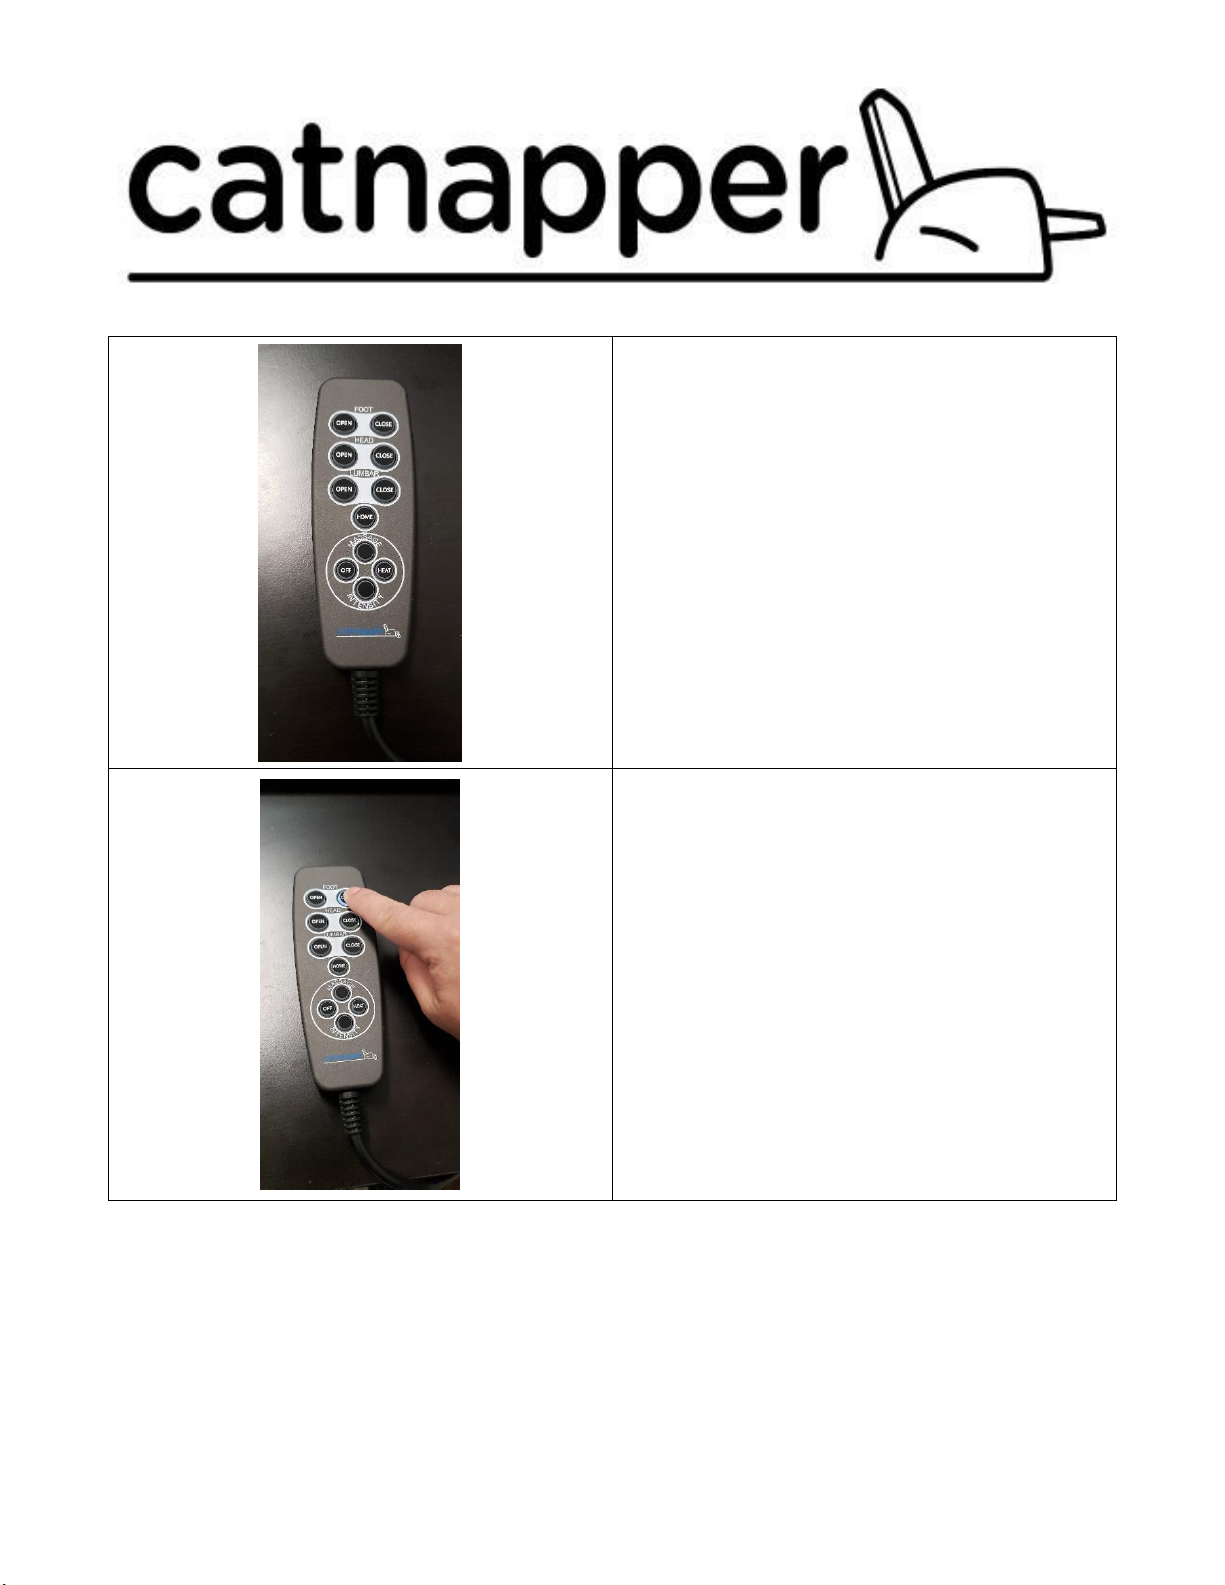
Hand Wand Features:
Power footrest control, power headrest control,
power lumbar control, heat, massage, USB, and LED
backlight.
LED Backlight:
The buttons are each equipped with an indicator LED
that will light up when pressed.
Page 2
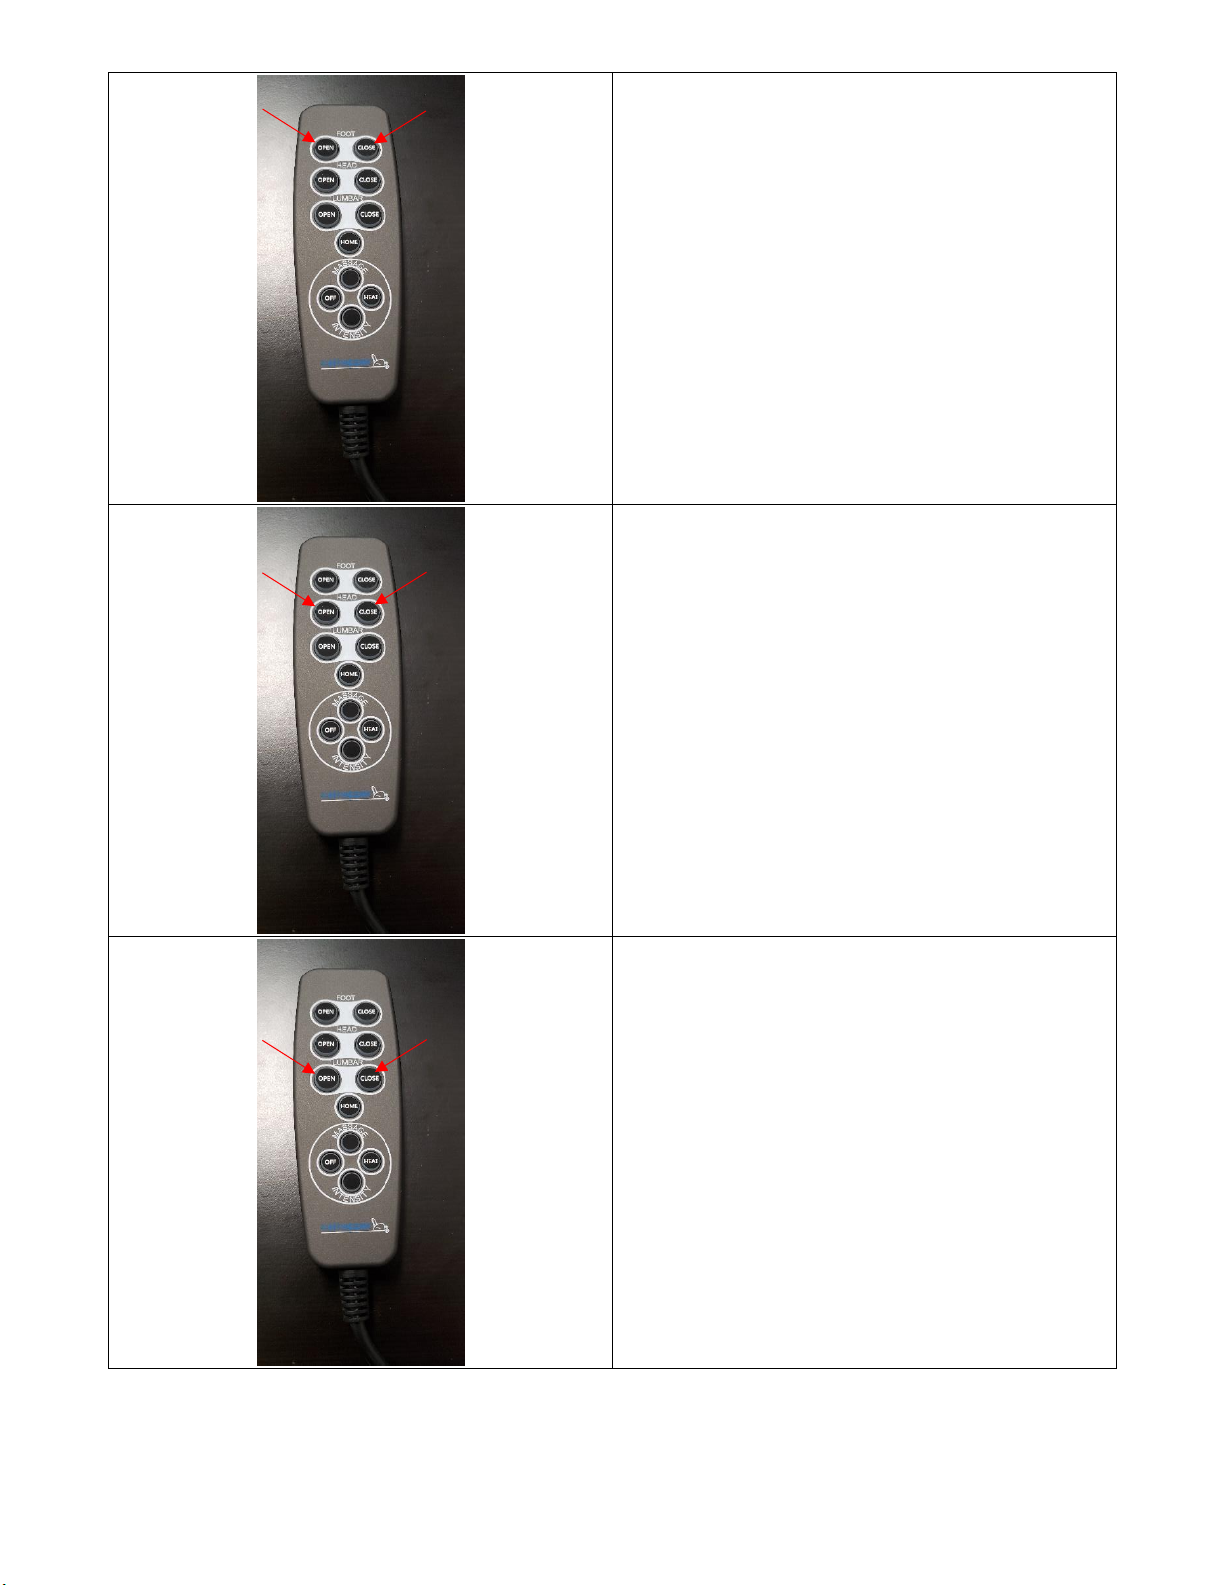
Foot Buttons:
When held down, the Foot “Open” button will recline
the furniture. To stop the furniture in the desired
comfort position simply release the button at any
time.
When held down, the Foot “Close” button will bring
the furniture out of the reclined position and return
to the normal upright seated position. To stop the
furniture in a particular position simply release the
button.
Head Buttons:
When held down, the Head “Open” button will
extend the headrest, to stop the headrest simply
release the button.
When held down, the Head “Close” button will
retract the headrest to the normal closed position, to
stop the headrest in a position simply release the
button at any time.
Lumbar Buttons:
When held down, the Lumbar “Open” button will
extend the lumbar support in the lower back of the
furniture, to stop the lumbar support simply release
the button.
When held down, the Lumbar “Close” button will
retract the lumbar support to the normal closed
position, to stop the lumbar support in the desired
position simply release the button at any time.
Page 3
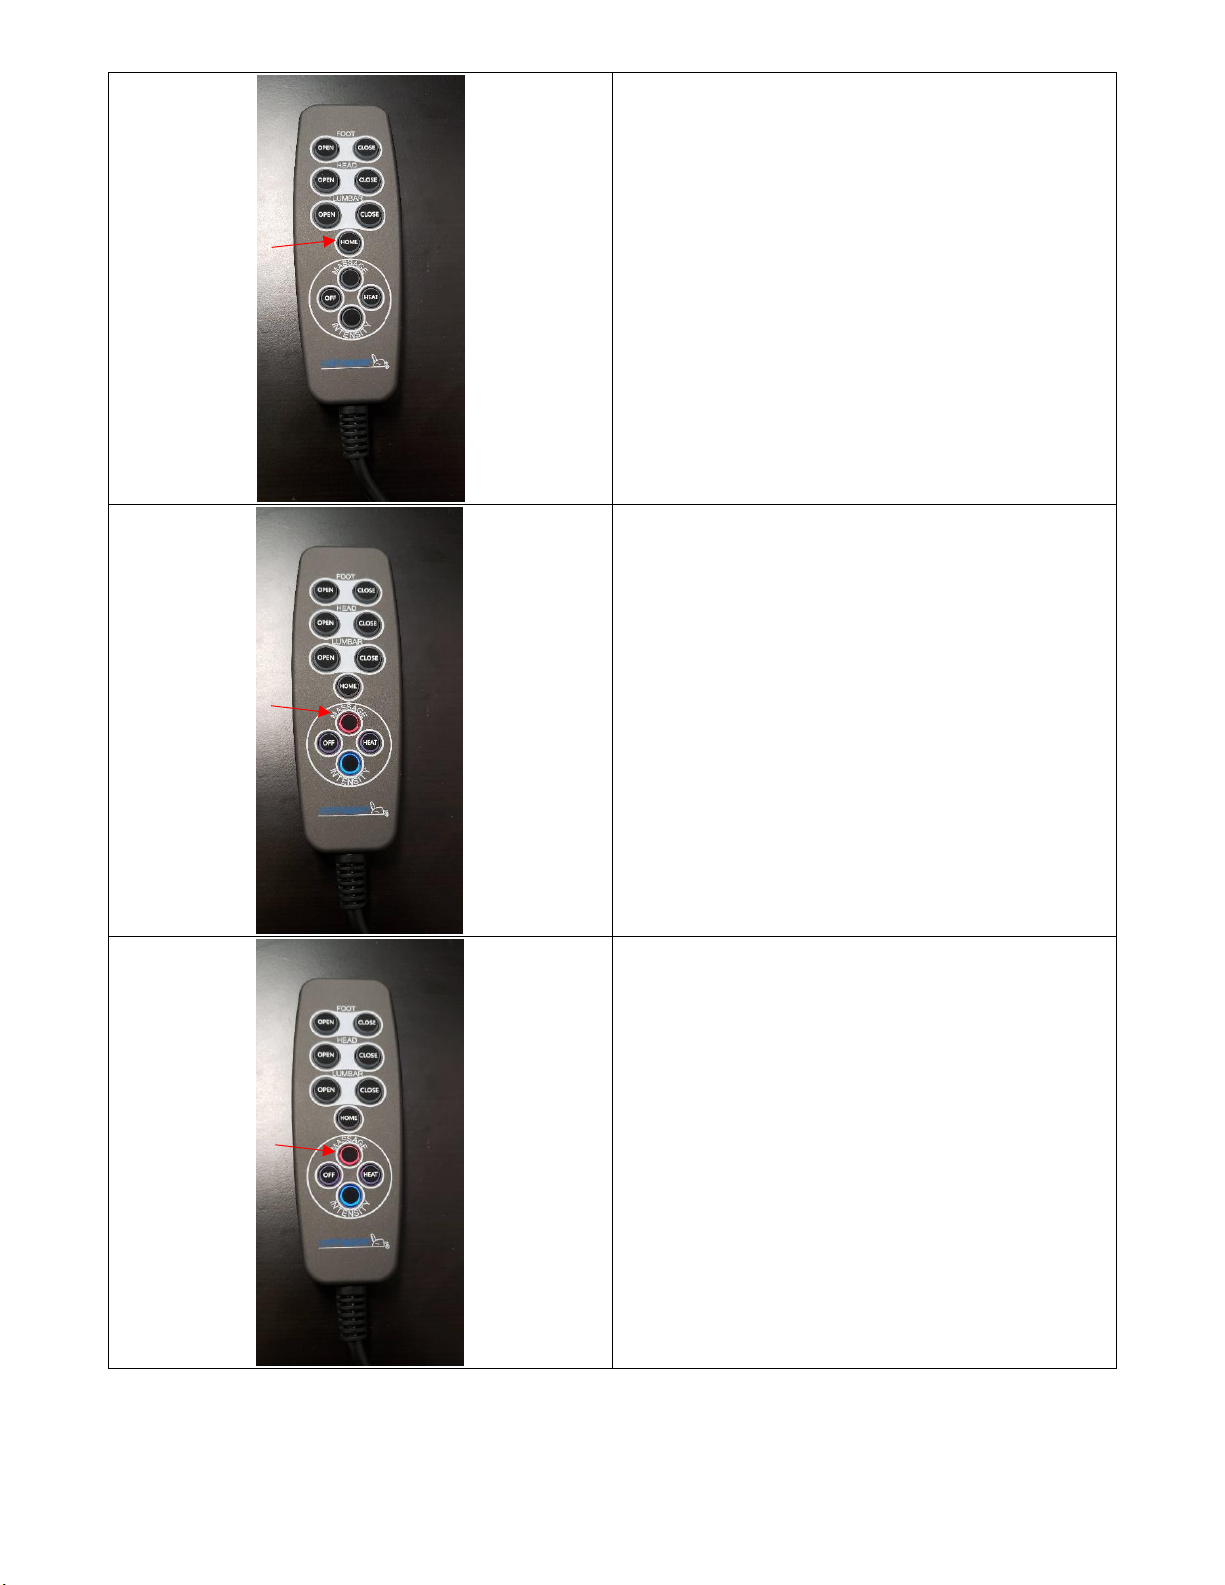
Home Button:
When held down, the “Home” button will return the
furniture to the normal closed position by closing the
head, foot, and lumbar motors.
Massage Mode Button:
Pressing the massage button will activate the
vibrating massage feature of the furniture.
The massage mode button will cycle through the two
massage modes; steady and pulse.
Massage Mode: Pulse
By default the massage feature starts on the “pulse”
mode and “medium” intensity. The “pulse” mode will
alternate the massage motors from “on” to “off” to
“on” in even intervals.
The Pulse massage mode is indicated by the RED LED
under the Massage Label on the hand wand.
The medium intensity setting is indicated by the BLUE
LED on the intensity label on the hand wand.
Page 4
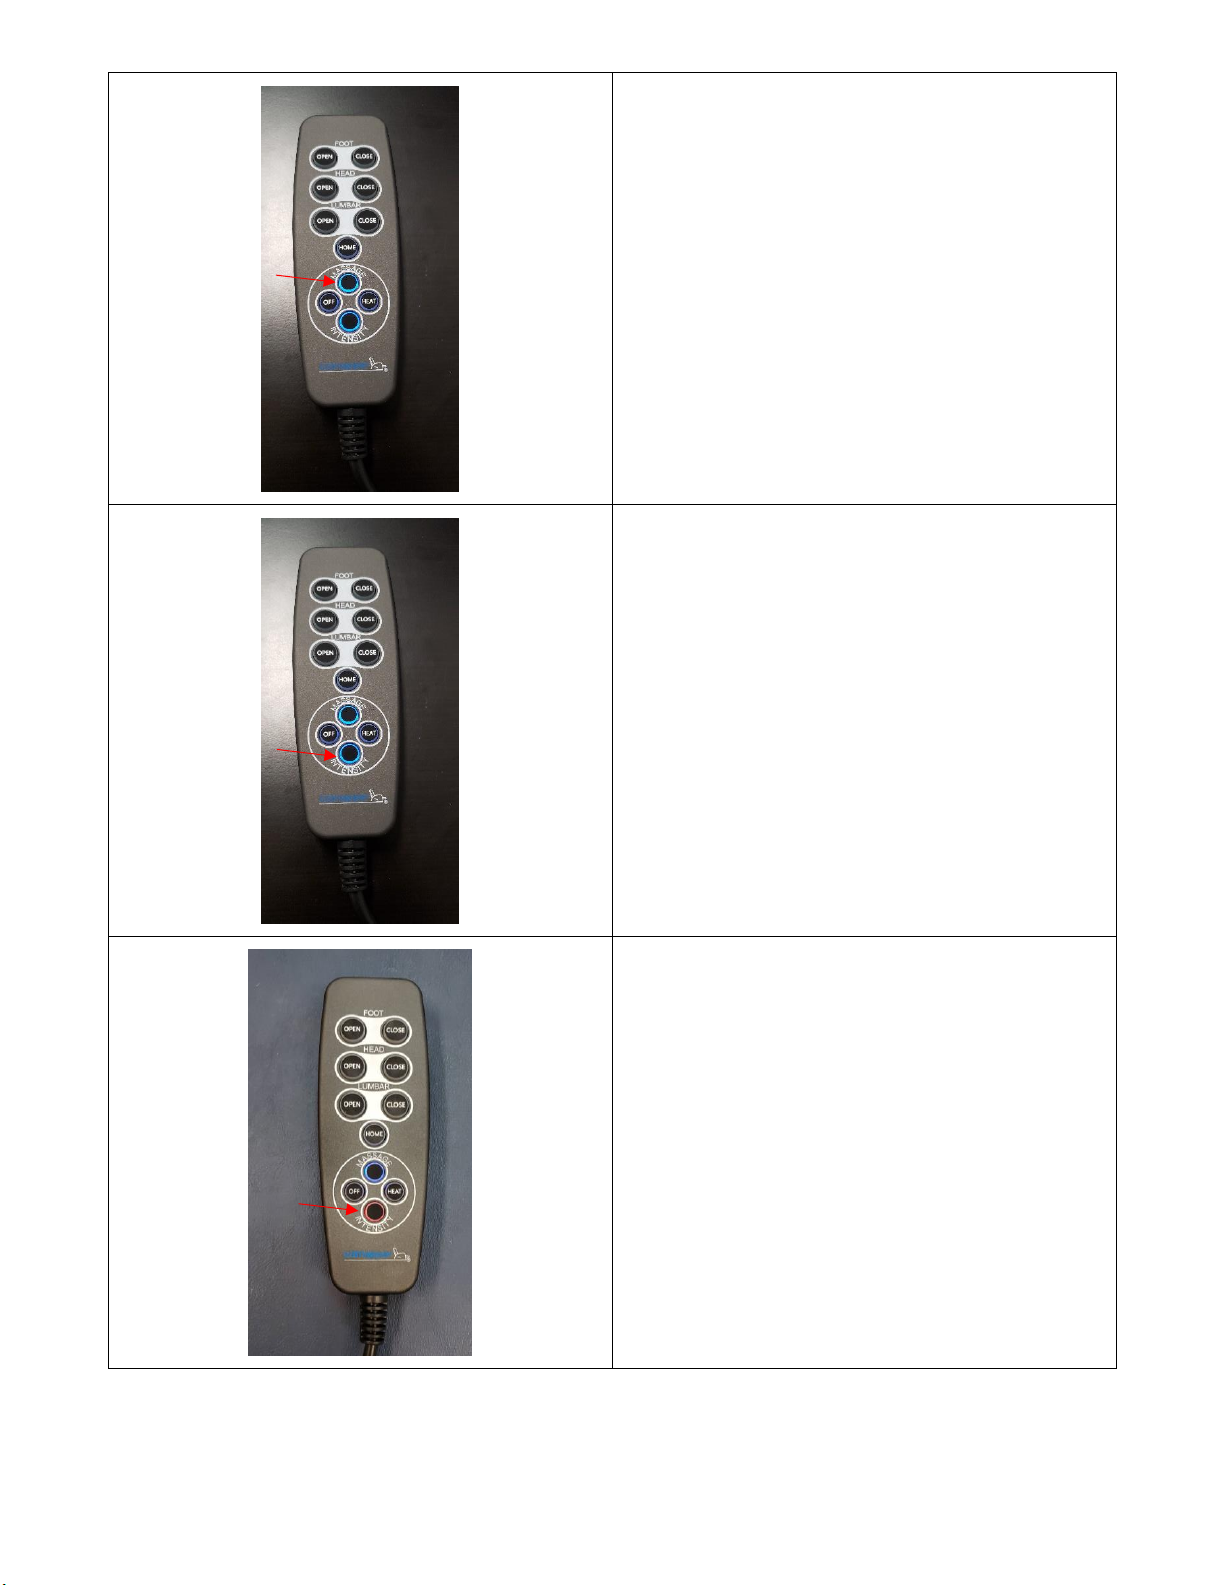
Massage Mode: Steady
Pressing the massage button a second time will
change the massage mode to “steady”. The “steady”
mode will turn on all of the massage motors, the
motors in “steady” mode will run constantly.
The Steady massage mode is indicated by the BLUE
LED under the Massage Label on the hand wand.
Again, the medium intensity setting is indicated by
the BLUE LED on the intensity label on the hand
wand.
Massage Intensity Button:
When the massage feature is enabled, the massage
intensity button will cycle through Low, Medium, and
High intensity settings.
By default the Instensity setting starts on Medium,
which is indicated by the BLUE LED.
Massage Intensity Button:
Pressing the intensity button will change the massage
power from BLUE (Medium) to RED (High).
Page 5
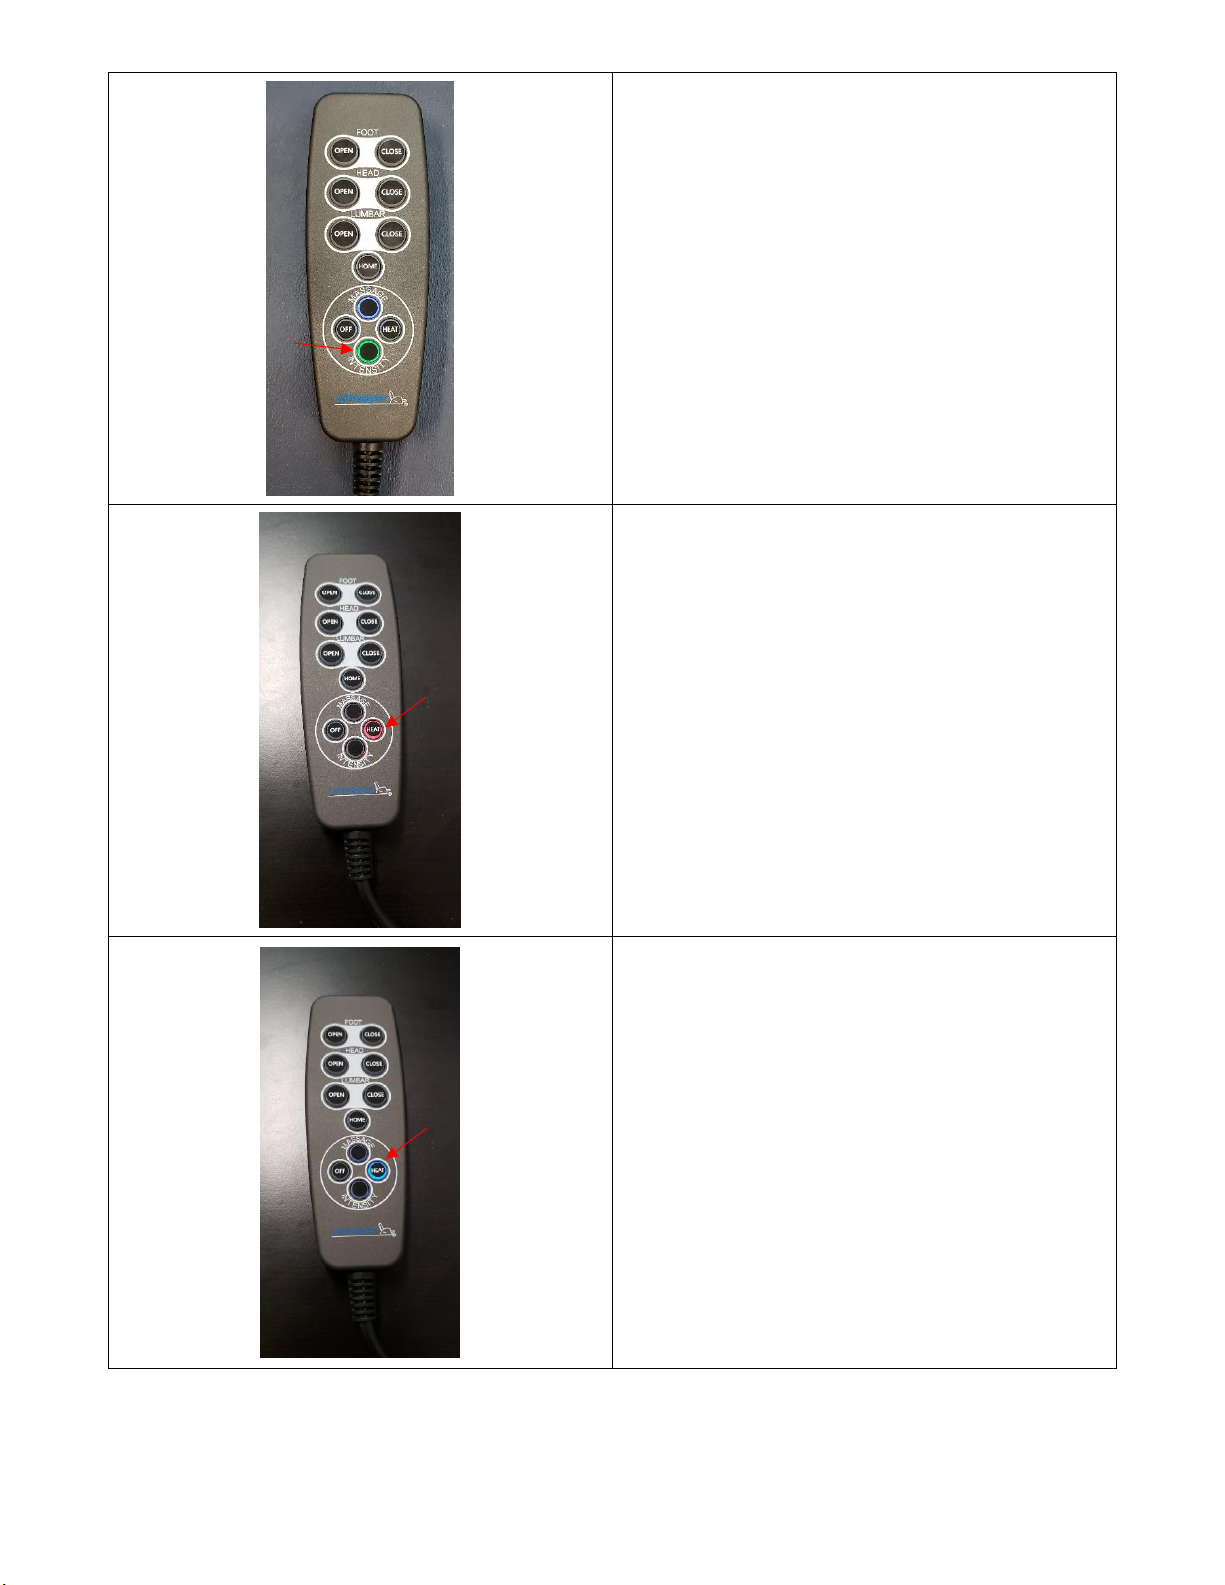
Massage Intensity Button:
Pressing the intensity button again will change the
massage power from RED (High) to GREEN (Low).
Heat Button:
Pressing the heat button will activate the heating
pad. This button will also cycle though the 3 heat
settings; Low, Medium, and High.
By default the heating button will start on RED (High)
mode.
Heat Button:
Pressing the heat button again will cycle the heat
setting from RED (High) to BLUE (Medium).
Page 6
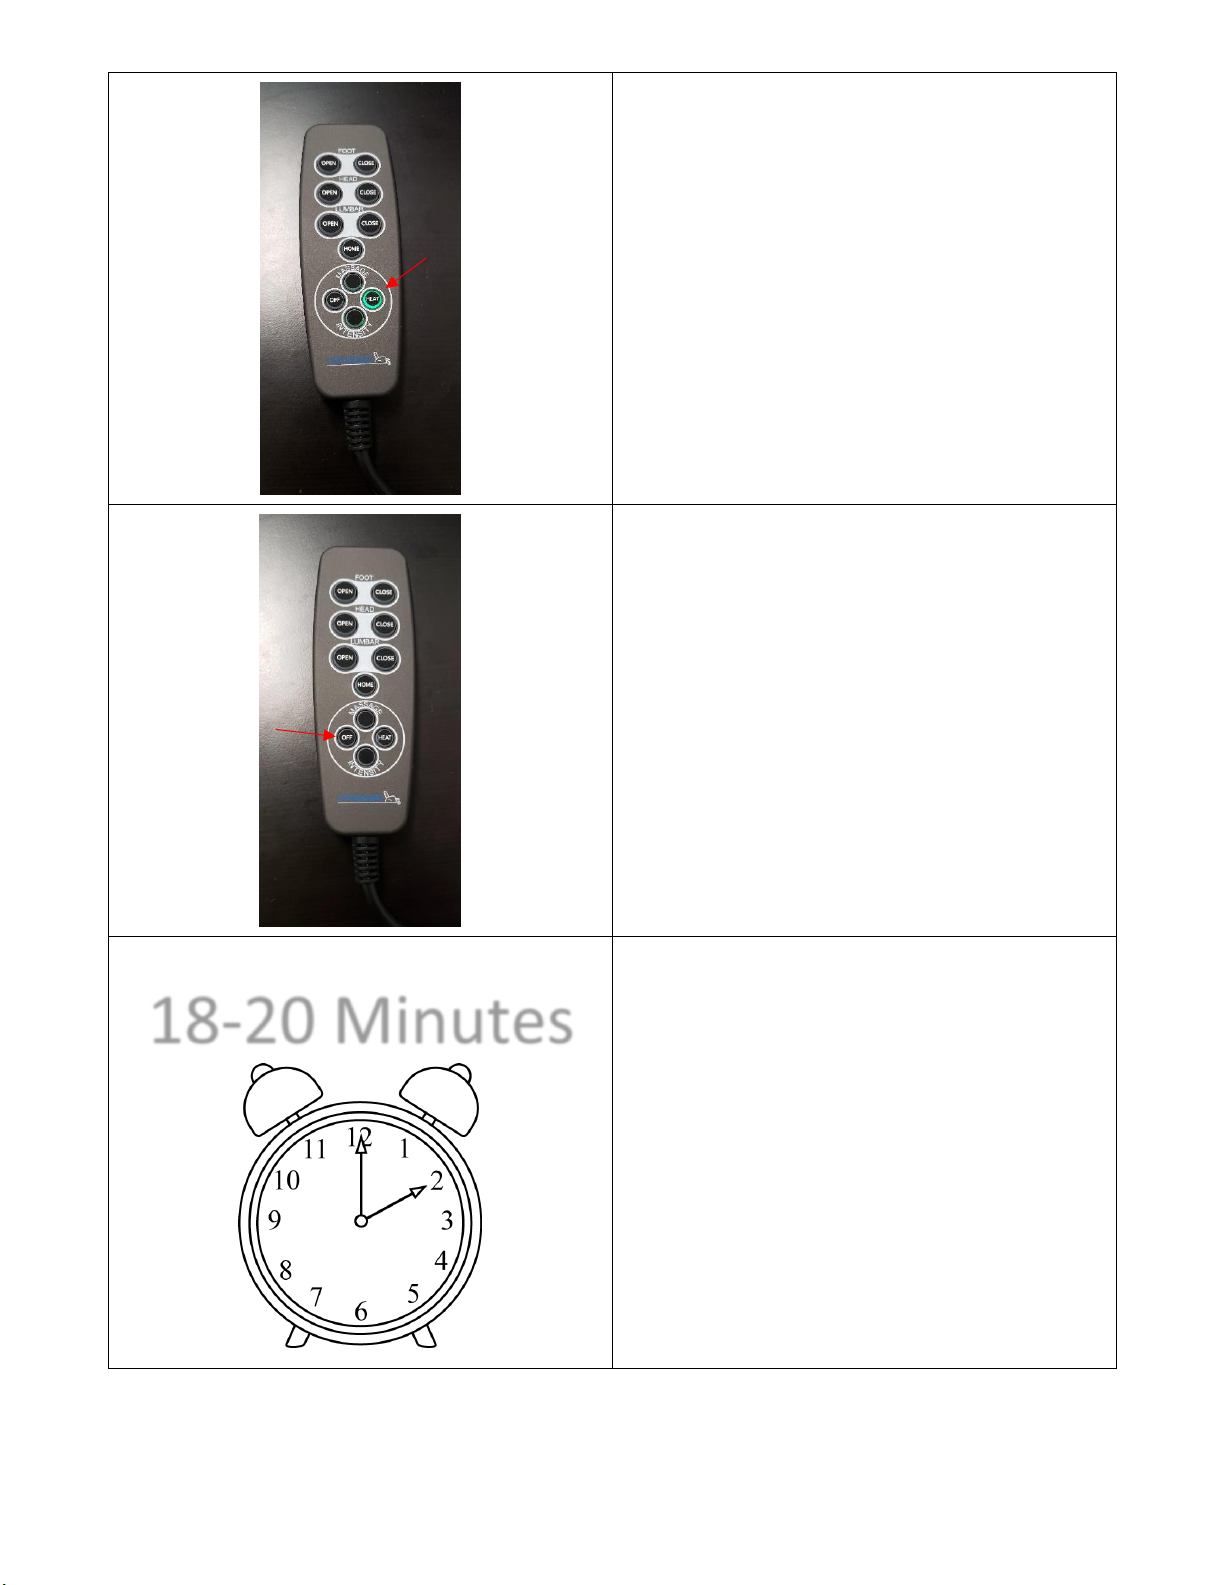
Heat Button:
Pressing the heat button again will cycle the heat
setting from BLUE (Medium) to GREEN (Low).
Off Button:
When pressed, the off button will stop both the
heating and massage functions.
Safety Timer:
This system is protected by a safety timer that will
shut the heating and massage functions off after
approximately 18-20 minutes of runtime.
18-20 Minutes
Page 7
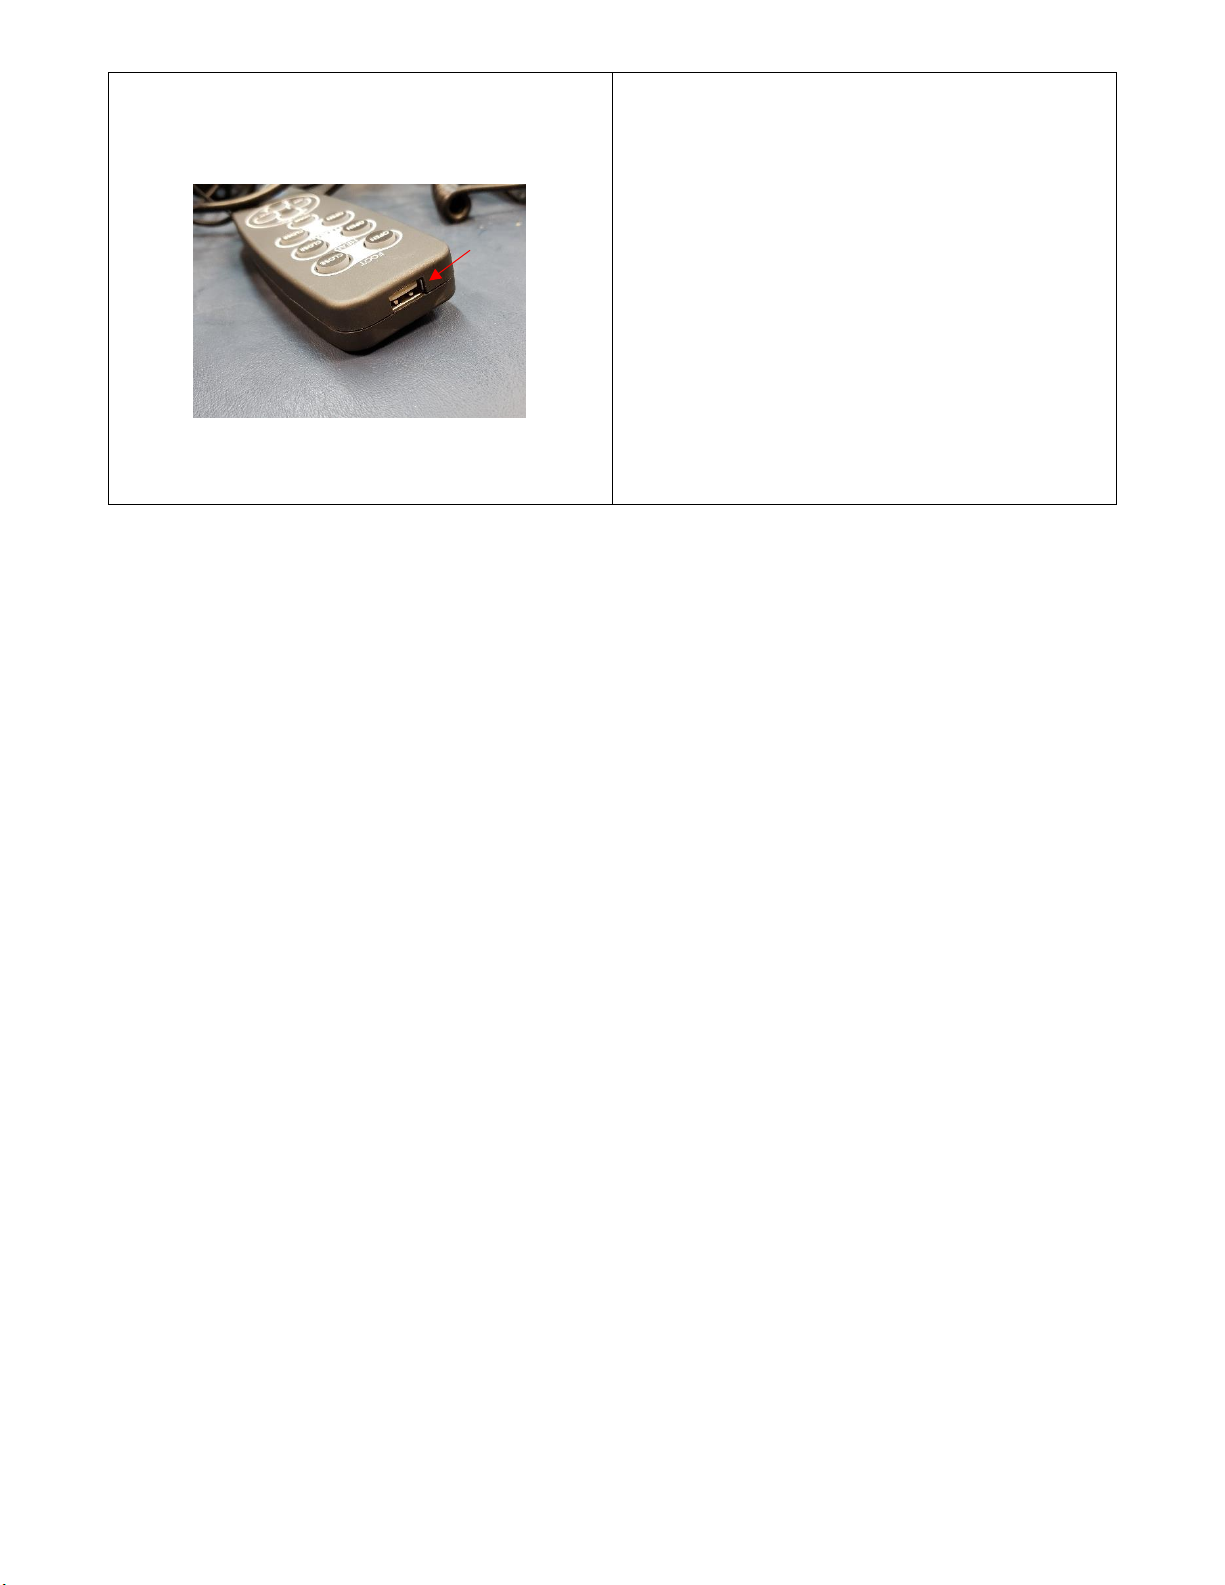
USB:
Always consult the owner’s manual of any device
before plugging it into the included USB charbig port.
Page 8
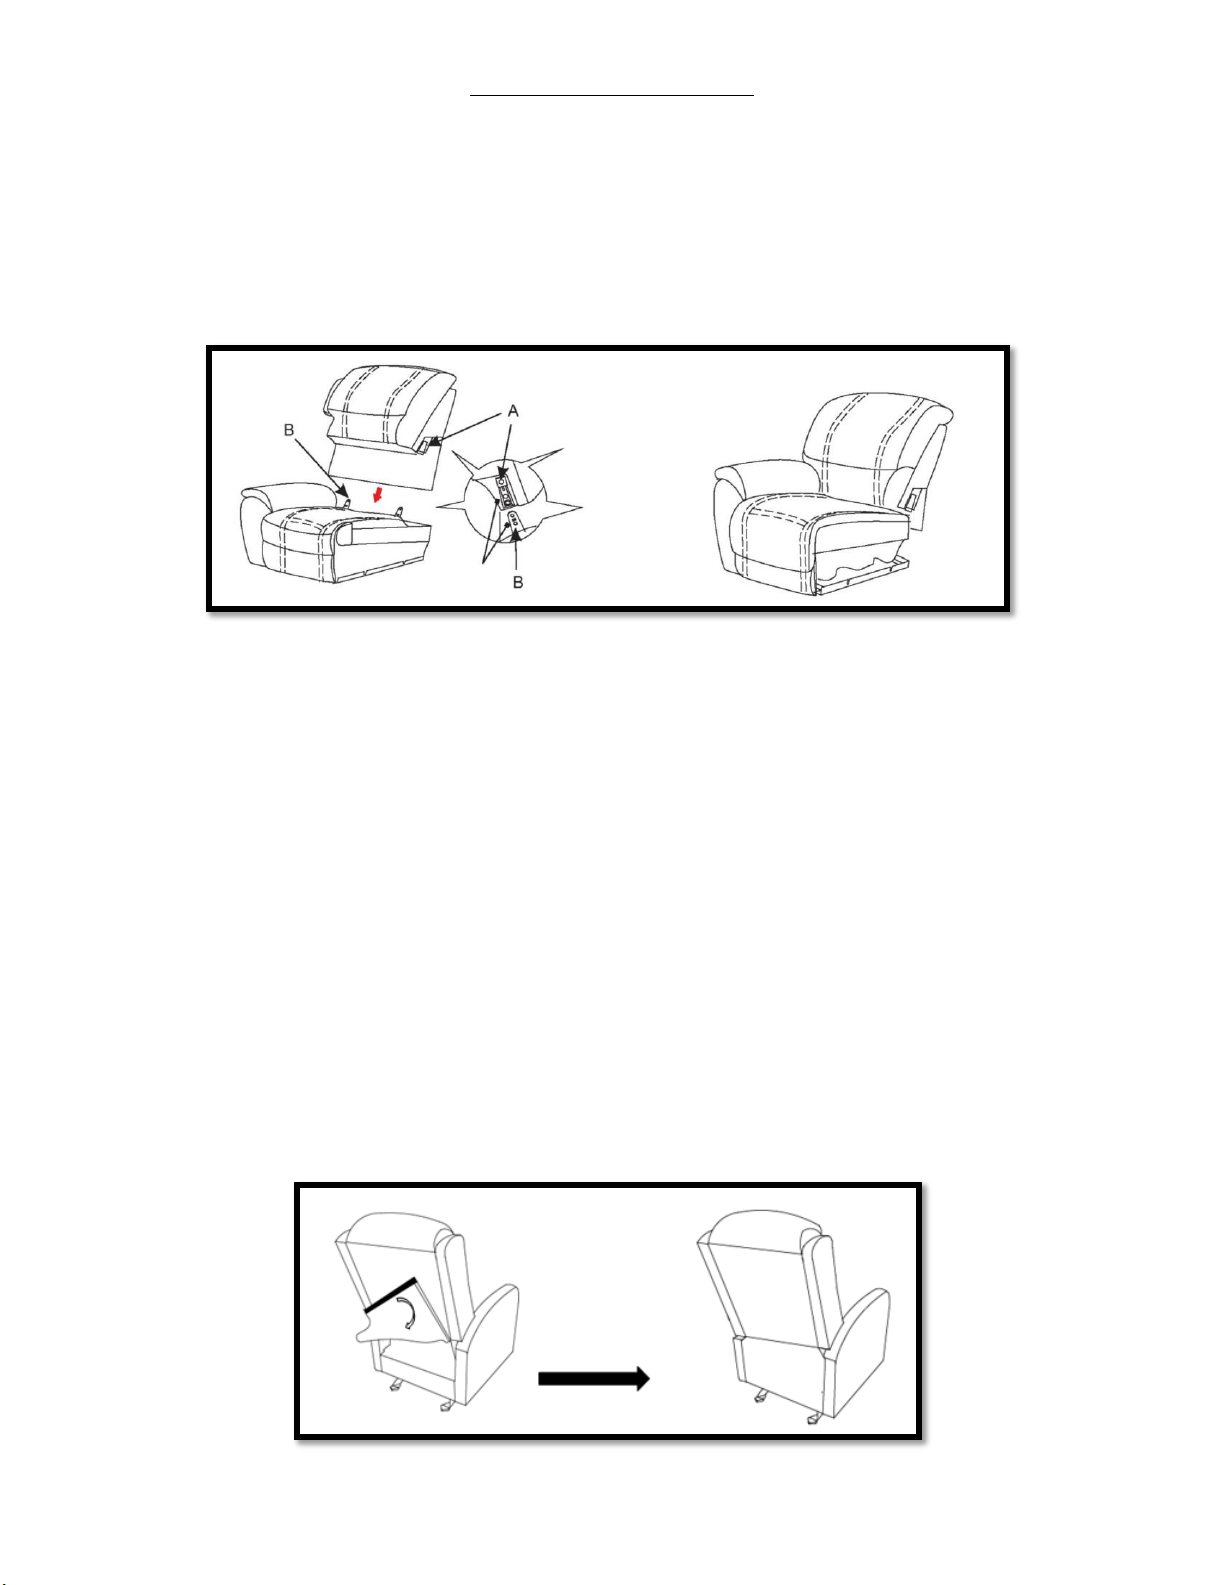
Furniture Assembly Instructions
Your furniture is shipped with the Back Frame disconnected from the rest of the furniture.
Step 1. To connect the Back Frame of the furniture, simply align the female KD brackets (also called KD sleeves) on the
Back Frame with the male KD brackets at the back of the Seat/Arm Frame and push down to lock in place. When the
bracket is successfully locked into place you will hear an audible “click” confirming that the locking tab has been
engaged.
Step 2. With the Back Frame locked into place, carefully flip the furniture over to expose the reclining mechanism. Cut or
remove any bands/ties that were used to restrict the reclining mechanism during shipping. To prevent damage, this
must be done before operating the furniture.
Step 2A. (Power Furniture Only) Power furniture may require additional setup before use
If your power furniture has Heat, Massage, Power Headrest, and/or Power Lumbar feature, lift up the back cover (this is
secured by Hook and Loop fastener like Velcro) and plug in any loose wire/s, the wires are either keyed or color coded to
ensure that they can only go in the intended location.
Step 2B. (Power Furniture Only) All power furniture ships with a power cord that will plug into the wall after setup is
complete.
The power cord is attached to the reclining mechanism under the furniture and can be accessed by carefully flipping the
furniture over. While the furniture is flipped over, detach the power cord and cut any ties that were used to secure the
mechanism during shipping. Note: The power cord is intended to plug directly into a wall outlet, do NOT use an
extension cord with this product.
Step 3. Attach the back cover to the bottom of the Seat/Arm frame (this is done with preinstalled hook and loop
fastener).
Step 4. Test each function of your furniture and enjoy!
 Loading...