

CAS ER Series Owner's Manual
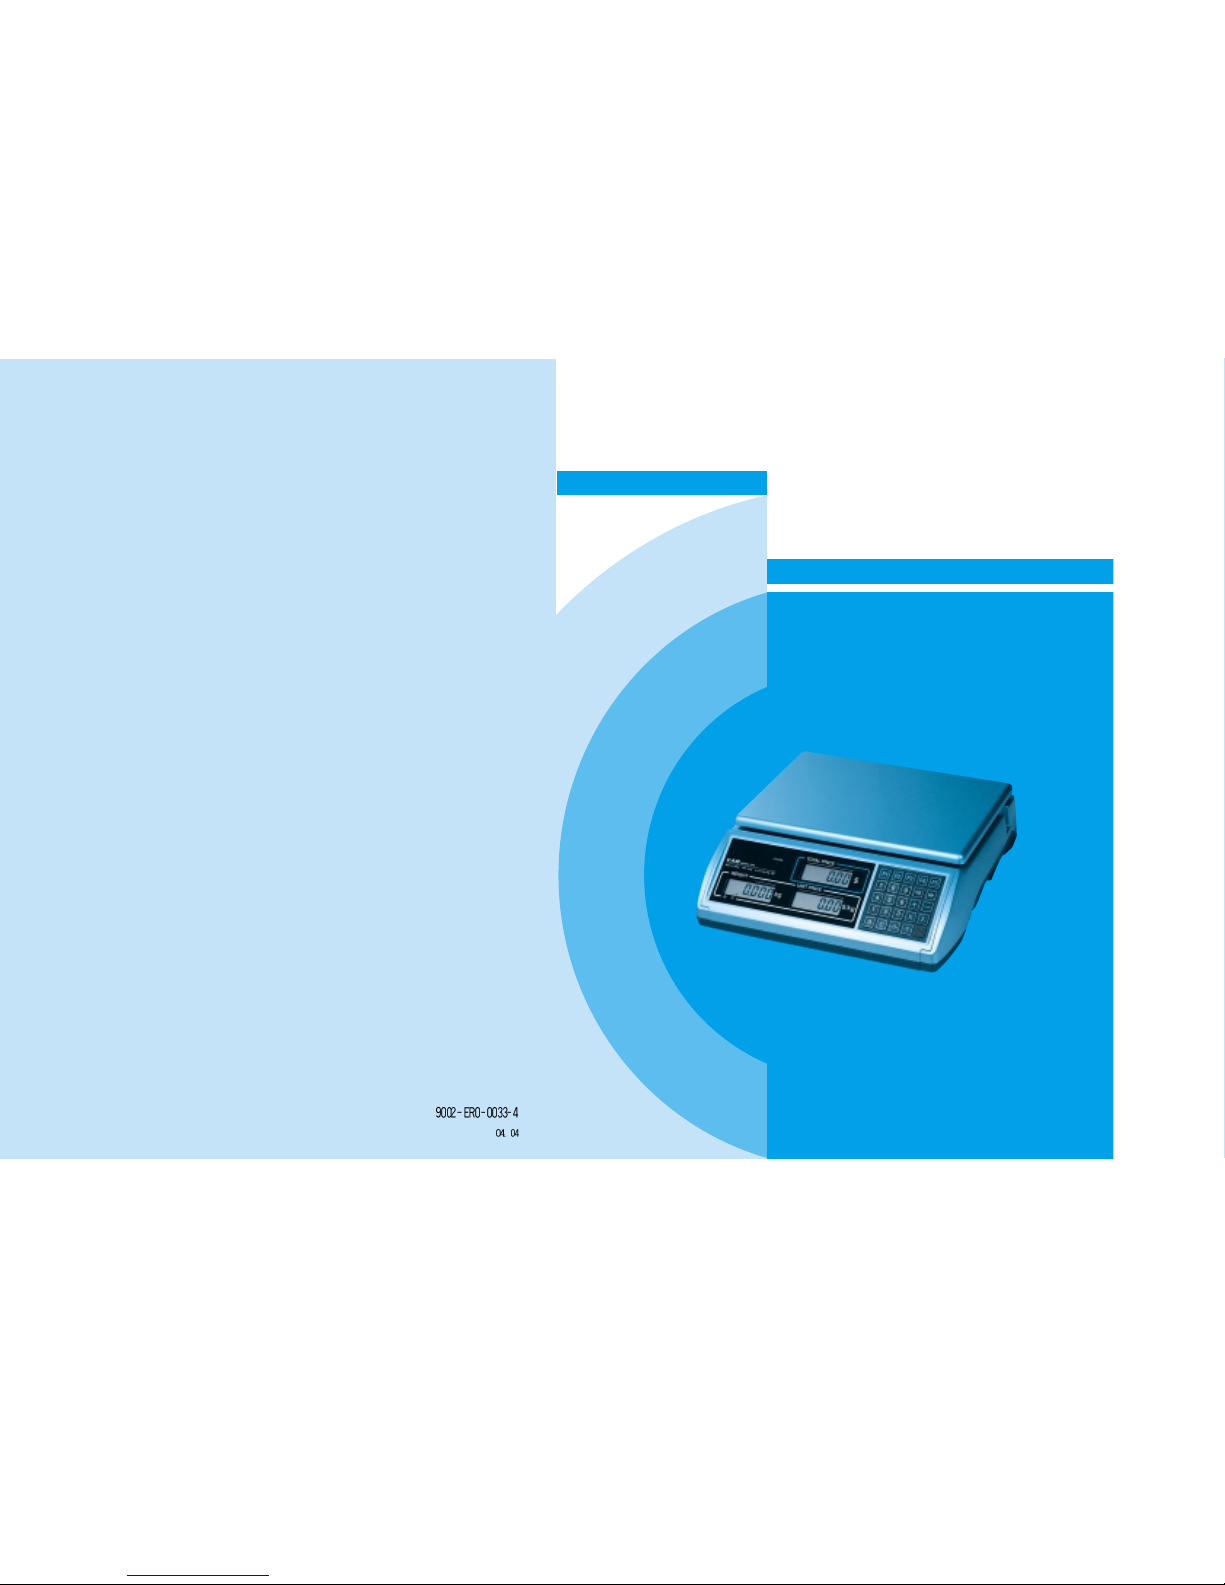
ER Series
Price Computing Scale
OWNER’S MANUAL

CONTENTS
PRECAUTIONS 4
PREFACE 6
OVERALL VIEW OF ER SERIES 6
DISPLAY & KEYBOARD 7
OPERATIONS 11
1. Programming mode 11
Chapter 1. Basic Operation 12
Chapter 2. PLU Saving & Calling - up 13
Chapter 3. User's Set-up Mode 16
Chapter 4. Formatting Printing Receipt 20
2. Sales Mode 24
Chapter 5. Basic Operation 25
Chapter 6. Sales Transaction 27
Chapter 7. Discount & Payment 35
Chapter 8. Daily Total Sales Amount 37
ASCII CODE 39
ERROR MESSAGES 40
SPECIFICATION 41
4
5
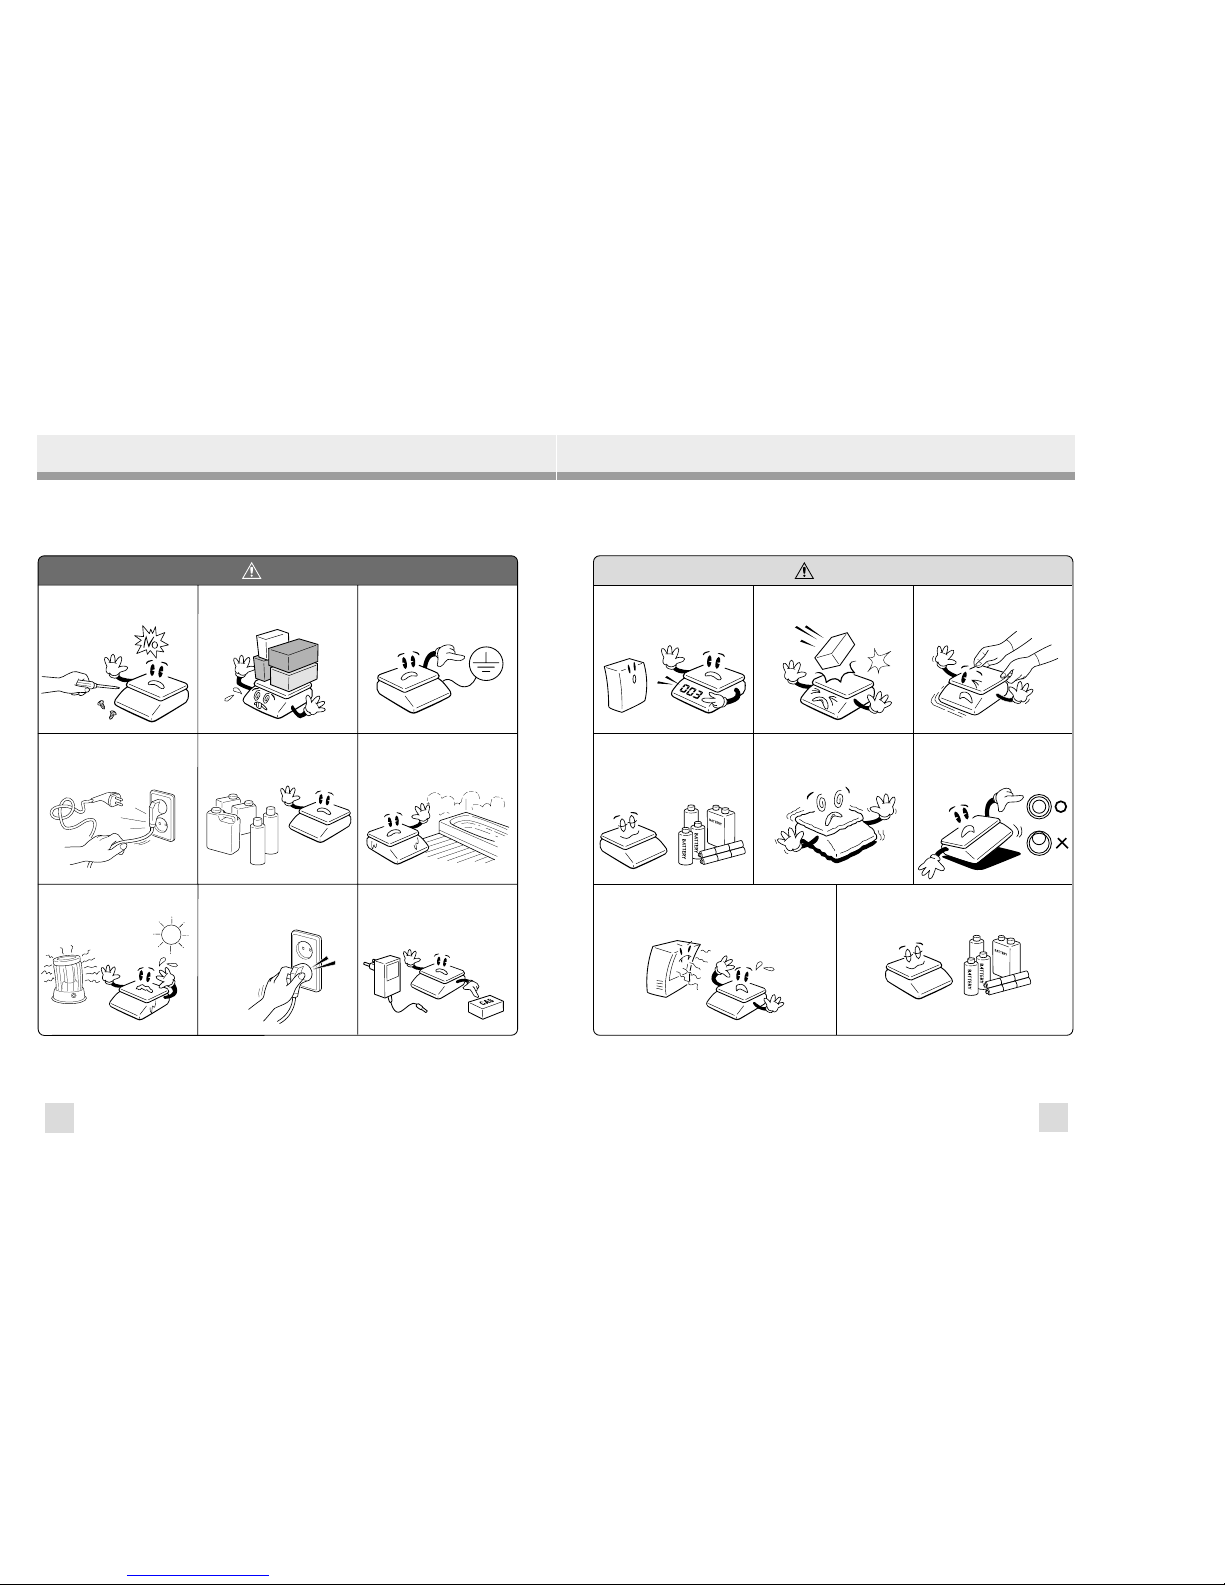
PRECAUTIONS WARNING
Precautions when in stalling the scale. To ensure that you get the most from
your scale, please follow these instruction.
Make sure to plug your scal into the proper power outlet. For maximum
performance, plug into a power outlet 30 minutes before the usage for warm up.
Do not disassemble the scale.
When any damage or defect occurs,
contact your CAS
authorized dealer
immediately for
proper repair.
Do not overload beyond the maximum
weight limit.
Do not pull the plug by its cord when
unplugging. Damaged cord could cause
electric shock or fire.
To prevent from fire occurring, Do not
place or use the scale near flammable or
corrosive gas.
Avoid placing the scale near heater
or in direct sunlight.
Scale must be grounded to minimize
electricity static. This will minimize
defect or electric shock.
Insert plug firmly to wall outlet to
prevent electric shock.
Use proper Adapter. Incorred adapter
could damage the scale.
To reduce electric shock or incorrect
reading, Do not spill water on the scale
or place it in humid condition.
Warning
For consistent and accurate reading,
maintain periodical check by your
CAS authorized dealer.
Avoid sudden shock to the scale.
Internal mechanism could be damaged.
Place the scale on firm and temperature
consistent environment.
Take the battery out when scale is not in
use for long time. Leakage from the
batteries is hazardous.
Keep the scale away from other
electromagnetic generating devices.
This may interfere with accurate
reading.
Risk of explosion if battery is replaced by an incorrect type.
Dispose of used batteries according to the instruction.
Correct type of battery
Grab on the bottom of the scale when
moving. Do not hold by the platter.
Attention
By adjusting 4 corners of the scale, set
the scale even using the built in scale
leveling indicator.
7
6
PREFACE
OVERALL VIEW
Thank you for the purchasing of CAS ER series.
This series have been designed with CAS reliability, under rigid quality control
and with outstanding performance. Your specialty departments can enjoy with
CAS product. We hope that CAS product meets your needs.
The user manual is designed to guide you to understand product operation and
proper care of product.
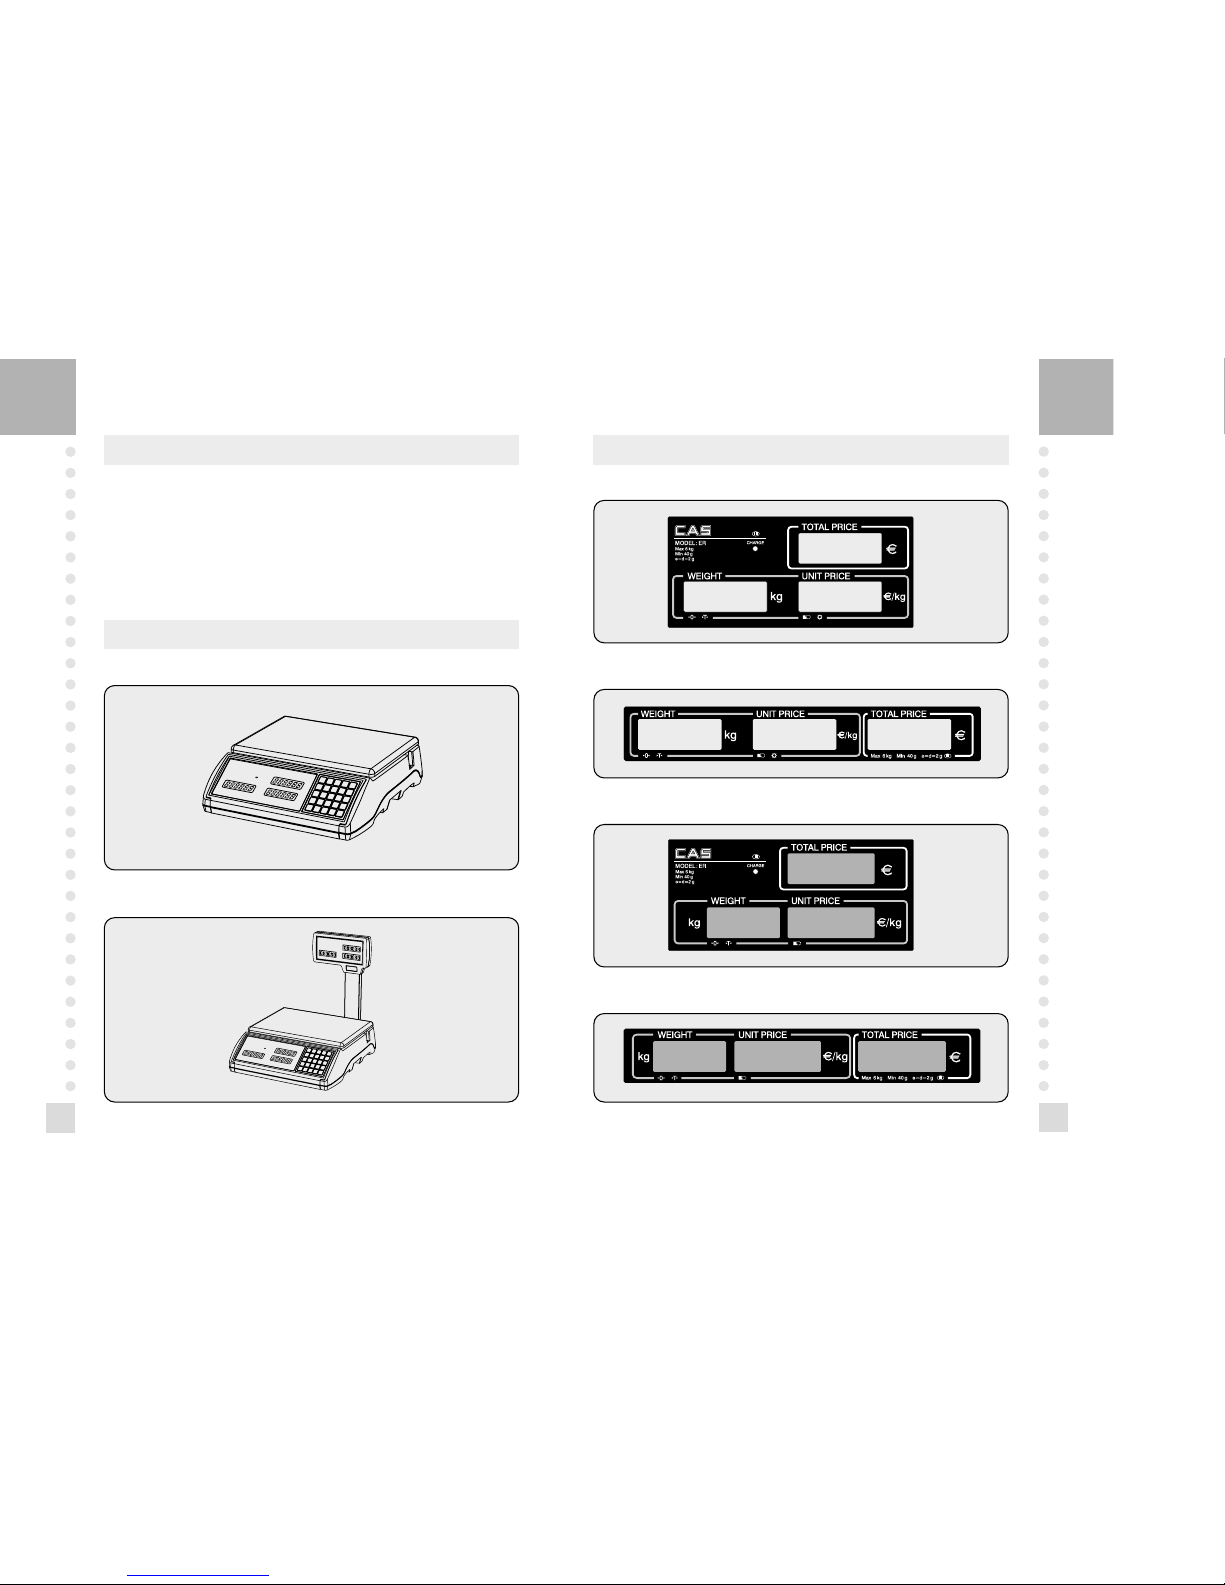
DISPLAY & KEYBOARD
LCD TYPE : Front Display
LCD TYPE : Rear Display
STADARD TYPE
POLE TYPE
VFD TYPE : Front Display
VFD TYPE : Rear Display
9
8
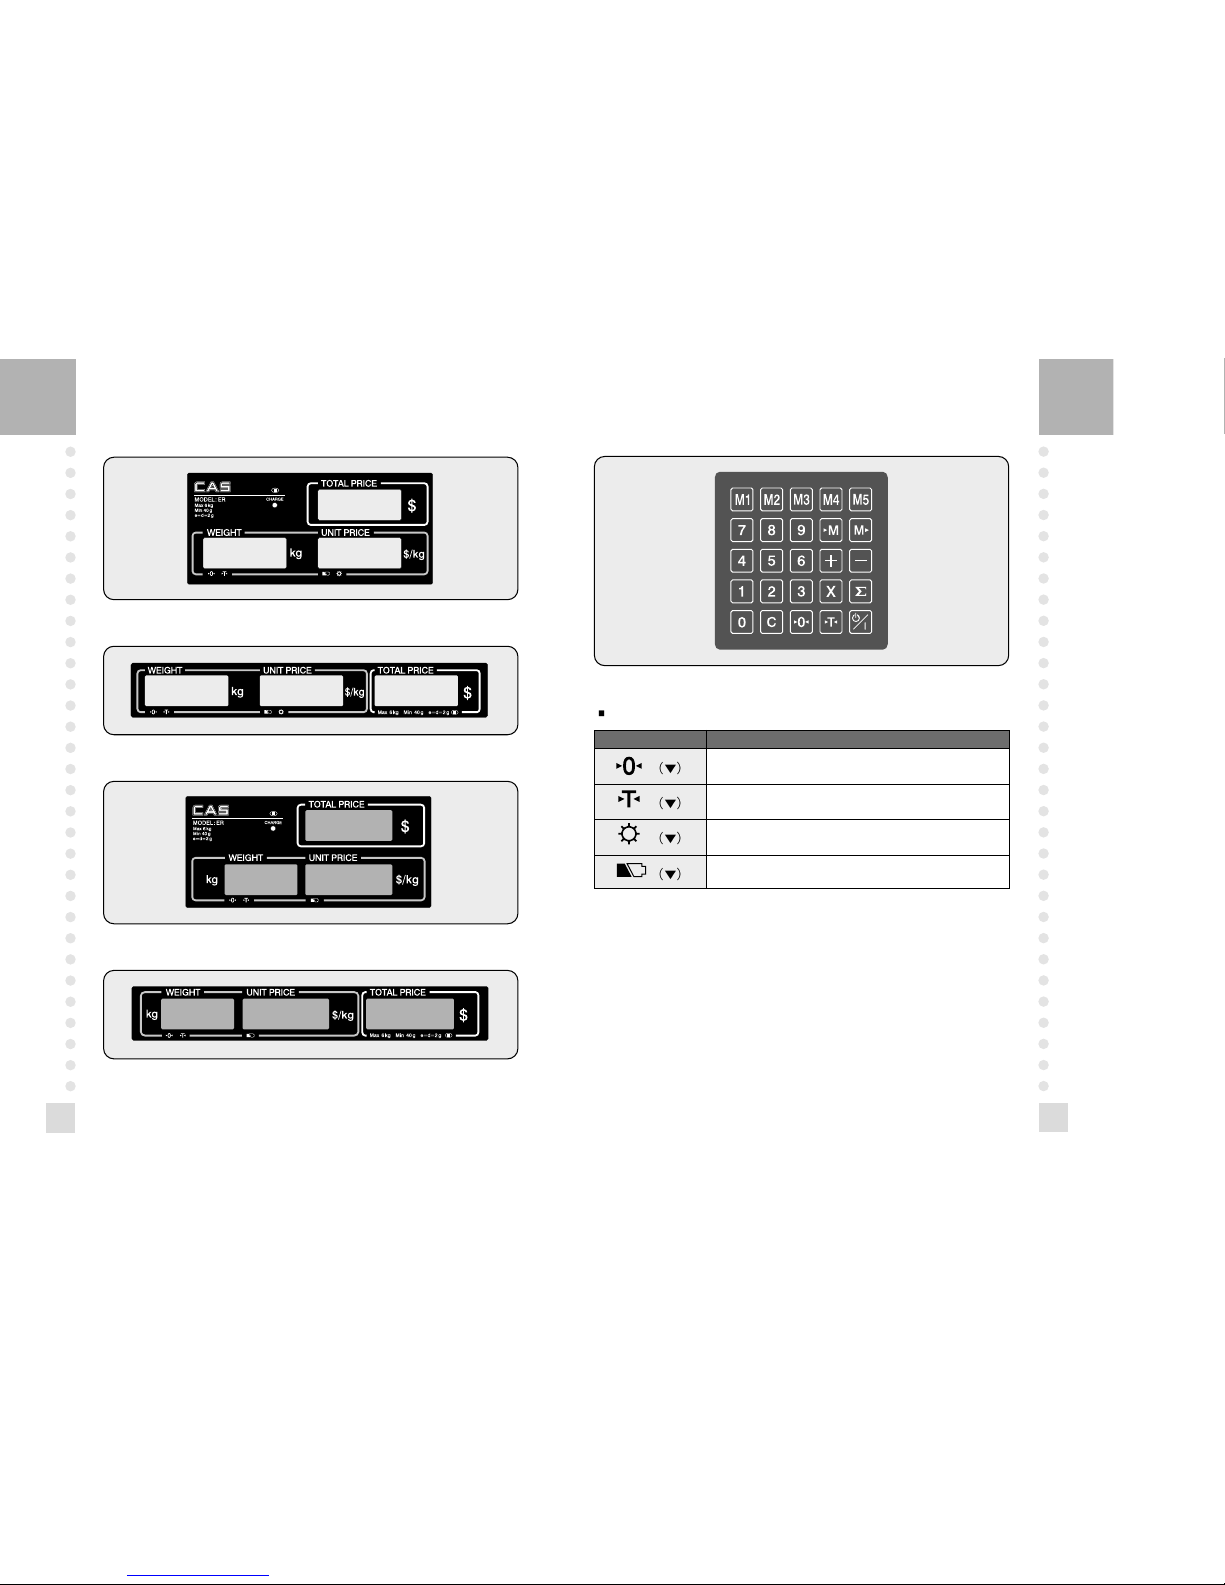
KEYBAORD
Table : Symbols on Display
SYMBOLS DESCRIPTION
To adjust zero
Tare on
Backlight on
Low battery warning
LCD TYPE : Front Display
LCD TYPE : Rear Display
VFD TYPE : Front Display
VFD TYPE : Rear Display
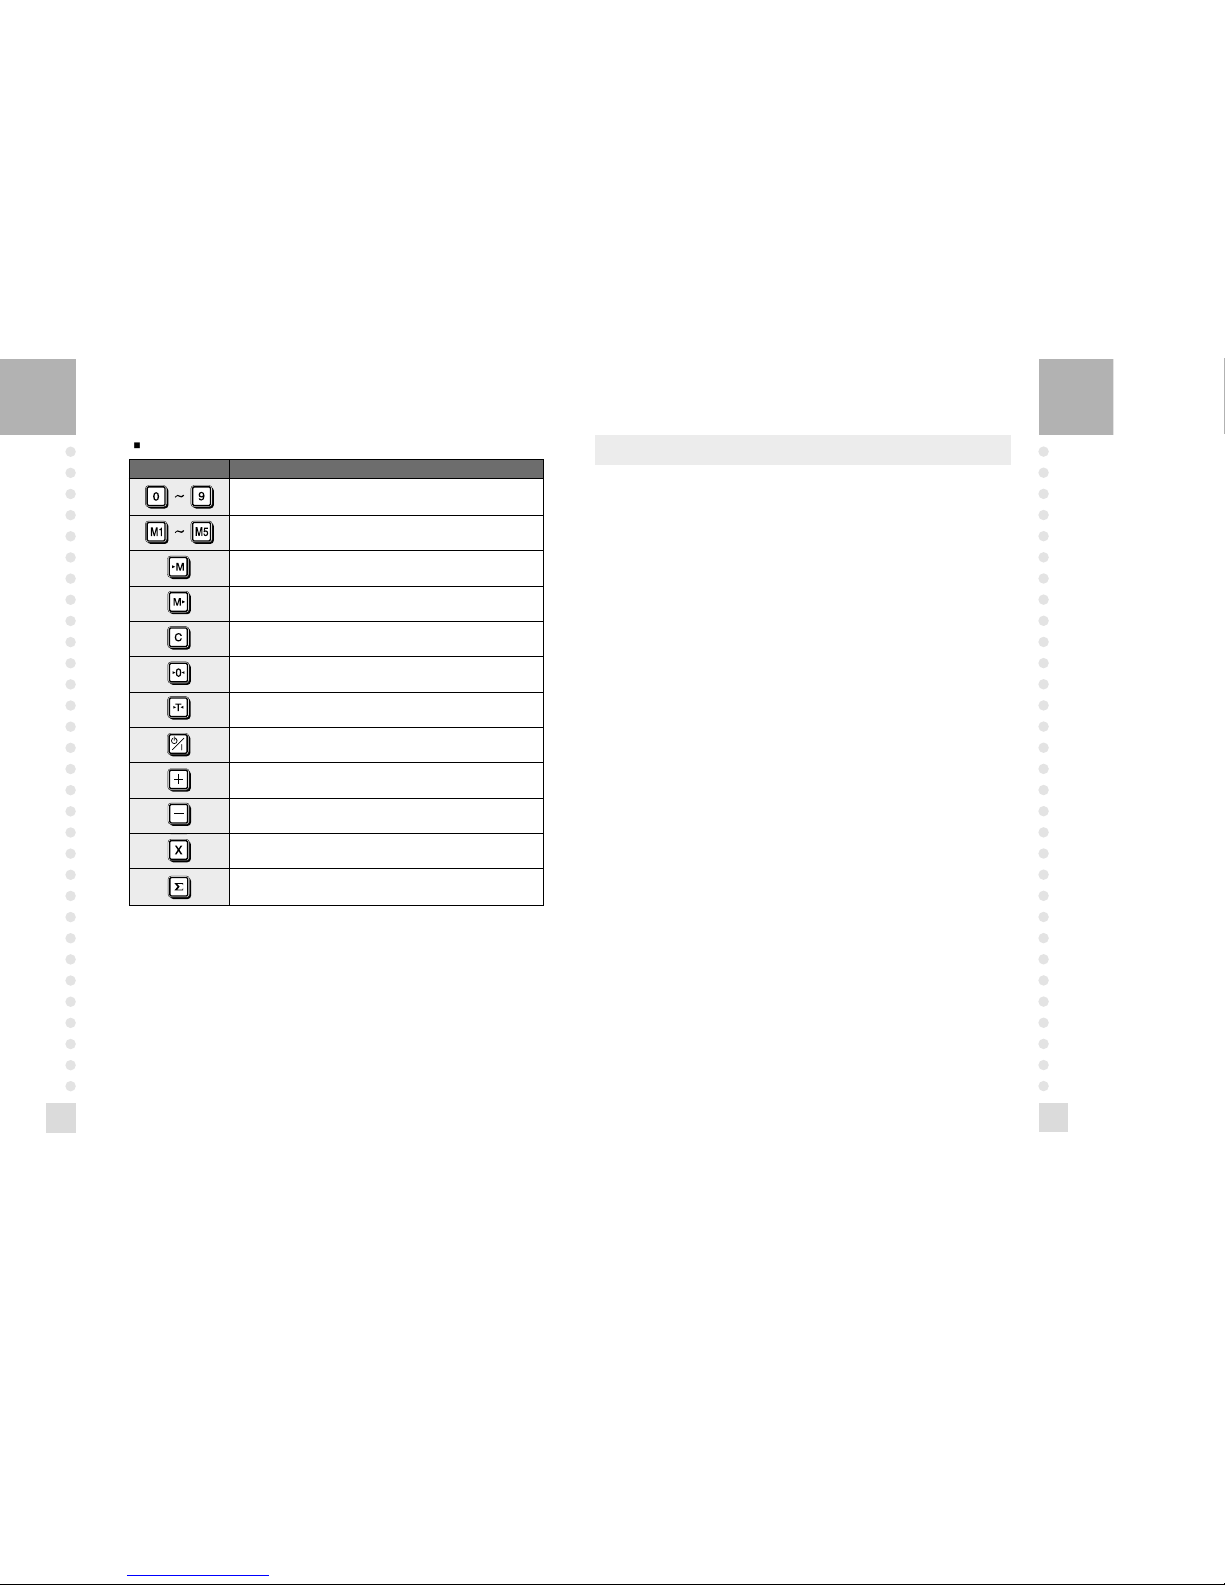
To input all of numerical data
Direct PLU keys
To save PLU
To call up PLU
To clear data
To set zero
To set or clear tare value
To turn on & off the scale or backlight (LCD version only)
To make several sales transaction by adding up
To make discount transaction
To multiply the same item when making sales transaction
To check total sales amount or finalize sales transaction
10
11
OPERATIONS
1. Programming Mode
Chapter 1. Basic Operation
a. Turning the scale on / off
b. Turning backlight on / off (a option in LCD version only)
c. Zero function
Chapter 2. PLU Saving & Calling-up
a. Saving unit price on PLU
b. Saving PLU name (option)
c. Calling up PLU
- Indirect PLU
- Direct PLU (M1~M5)
Chapter 3. User's Set-up Mode
a. Auto power-off
b. EL backlight on / off (backlight option in LCD version only)
c. Selecting printer
d. Option setting for daily total sales amount
Chapter 4. Formatting Printing Receipt
a. Using Printer
b. Receipt header setting
c. Receipt currency (unit) setting
d. Receipt date setting
Table : Key Functions
KEYS FUNCTIONS
12
13
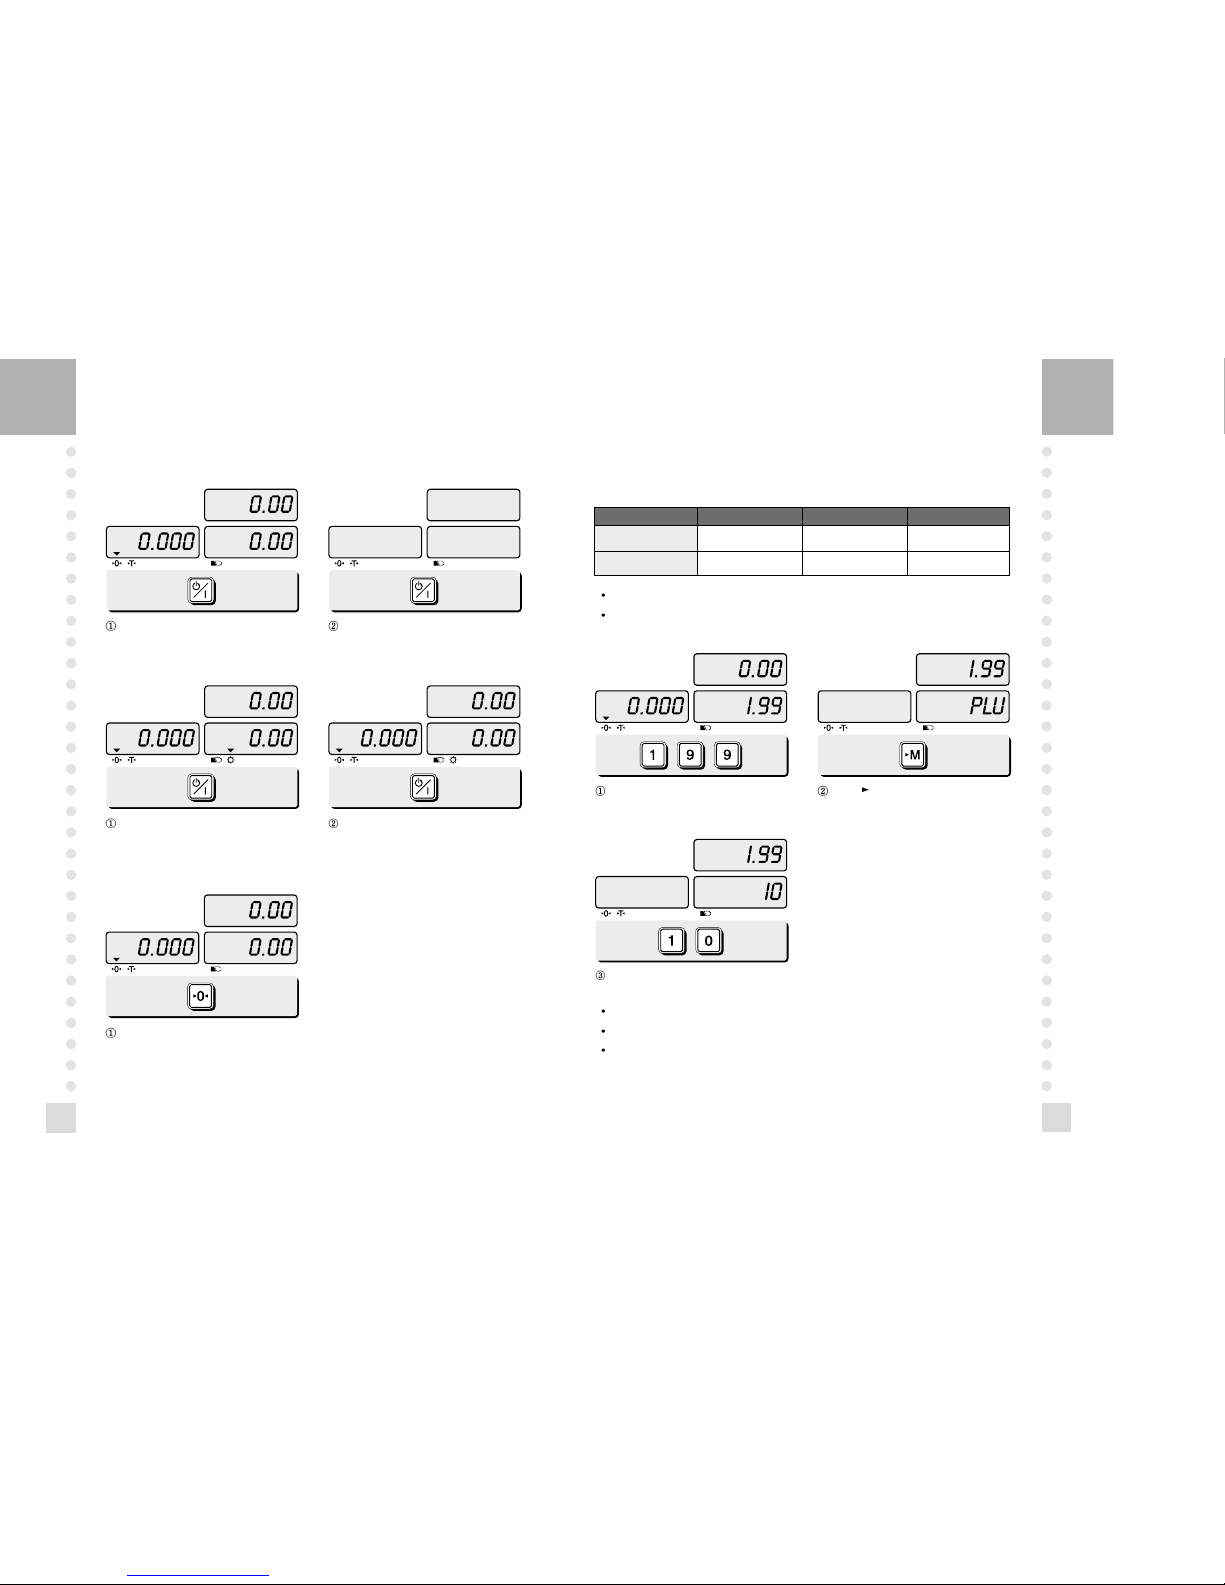
Chapter 2. PLU Saving & PLU Calling-up
a. Saving unit price on PLU
This section explains how to save unit price in PLU.
Number of direct PLU may be different on product model.
“C” key is to clear data input.
Number of PLU Range Remarks
PLU 199 1~199
PLU name (option) 28 1~28
“C” key is to input, save a character, and move to next character (or byte).
“ZERO” key is to move previous character (or byte).
“TARE” key is to move next programming menu.
Press numeric key to input unit price you wish
to have. Ex) 1.99
Press “ M” key.
Press numeric key to input a PLU address.
Ex) PLU 10.
Chapter 1. Basic Operation
a. Turning the scale on / off
Press ON/OFF key to turn on. Press ON/OFF key to turn on.
b. Turning the backlight on / off (Option in LCD version only)
Press ON/OFF key again for a few seconds
under the power on.
Press ON/OFF key again under the backlight
on.
c. Zero function
Press ZERO key to set zero point when the
weight is unstable.
 Loading...