

Captiva PAD 8 GPS User Manual

Contents
1 Intended Use....................................................................................2
2 Safety Precautions..........................................................................2
3Overview
4 Charging............................................................................................6
5 Inserting a Memory Card................................................................6
6 Power on / Power off.......................................................................7
7 Android Home Screen Guides.......................................................8
8 Changing OSD Language & System Time
9 Connecting to Wi-Fi
10 Transferring Contents from PC
11 3G Network
12 HDMI output..................................................................................11
13 Use GPS.......................................................................................11
14 Technical Specifications.............................................................11
15 Package content..........................................................................13
16 R&TTE Directive..........................................................................13
17 Manufacturer................................................................................13
18 GNU General Public License, Version 2 (GPL)................14
19 Troubleshooting...........................................................................15
............................................................................................
..................................
.........................................................................
.................................................
...................................................................................
10
10
5
9
9
1

Notice
Pictures in this manual are for demonstration purpose only and
may differ from the real product.
Used Logos
All brandmarks, trademarks and products are registered by their
respective company.
1 Intended Use
The tablet offers many opportunities for the use. For example
surf internet, read ebooks, look movies, play games,
communication with the whole world and navigation.
The tablet is intended for home and office use and not for
industrial application.
2 Safety Precautions
Read this manual carefully before the product is used
z
Keep the device away from extreme heat, cold, moisture, dust,
z
rain and direct sunlight.
Do not spill any liquids on the device as it may damage the
z
device or cause a fire.
Do not use liquids and chemical cleaners for cleaning the
z
device.
Do not insert any objects into the device, or it may result in
z
short circuit or it might damage the circuit.
2

Do not keep the device near magnetic sources, heaters,
z
microwave ovens, heating up kitchen appliances, or in high
pressure containers, as it may cause the battery leaking, the
device overheating and inflammation.
z Power off the device if you want to install or remove some
external devices which do not support hot-plug.
Do not disassemble the device.
z
Use only the AC adapters, power cords and batteries that are
z
approved for use with this device. Use of another type of
battery or AC adapter may cause fire or explosion or may
cause harms.
z Cleaning. Handle the screen gently. To clear the fingerprints
or dust on the screen, use soft cloth dedicated for camera
leans instead of gauze.
To prevent possible hearing damage, do not
z
listen at high volume levels for long periods.
Caution!
z
This unit containsa battery. If thebattery is defective, it should
not be disposed of with household waste. Batteries can
possibly contain harmful substances that can harm the
environment and people`s health. Please dispose of the
battery commercially or at municipal recycling plants. Return
3

is free of charge and it prescribed by law. Please only dispose
of empty batteries in the containers provided and tape their
terminals.
4
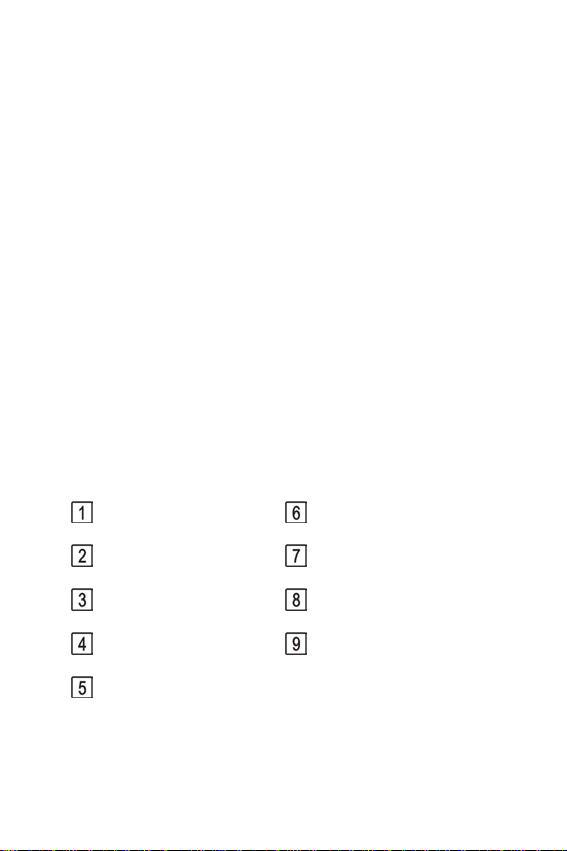
3Overview
VOL +/- Button Microphone
Power Button Headphone Jack
Back camera Micro USB Port
Front Camera Mini HDMI Port
Micro SD Card Port
5

4Charging
Plug the DC end of power adapter to the USB port of the
z
device and plug the AC end to the wall socket for charging.
Please only use a 5V / 2.0A adapter included in the gift box.
Normally it takes approximately 5 hours to fully charge the
z
device. Operating the device during charging with the AC
adapter may extend the time of full charging.
Note:
z
In order the WiFi work fine, the battery should be charged for
a minimum of 20%.
5InsertingaMemoryCard
The device supports micro SD/SDHC cards.
z
To insert a micro SD card, place the card connector towards
z
the front side of the device and the printing side of the card
towards the rear side of the device.
To remove the micro SD card, gently press the edge of the
z
card to release the safetylock and pull the card out of the slot.
Notice
Don’t remove the micro SD card while viewing the file inside or
the device could fail to operate correctly.
6

6 Power on / Power off
1)To turn on the device, press and hold the Power button until
you see the start-up screen then release, it will automatically
enter the Home screen. If it is the first time to use it, it will
enter set-up guide menu. Please follow the on-screen
instructions.
2)Press the Power button once toenter sleep mode and press it
again to open the device.
3)Press and hold the Power button, and then tap on OK to
power off the device.
Notice
If the system halts, press and hold the Power button until it is
turned off completely.
7

7 Android Home Screen Guides
Web Information
search
Shortcuts: touch to open;
touch&hold to move.
: tap to enter Home screen.
: tap to return to the previous page.
: tap to open recent APPs list menu.
: tap to enter APPs Menu.
Status Bar: Slide
down to open quick
settings menu.
8

8 Changing OSD Language & System Time
On the Home menutap on the icon and selectSettings icon
to access the list of options.
Select Settings---Language & input---Language to change
z
OSD language.
Select Settings---Date & time to change system time.
z
9 Connecting to Wi-Fi
OntheHomemenutaponthe
z
icon to access the list of options. Select Wireless &
Networks.
If the Wi-Fi is off, tap on the Wi-Fi line to turn it on.
z
The device will scan for available Wi-Fi networks and display
z
them on the screen.
Tap on the network you want to connect to. Then tap on the
z
wireless password field to enter the required network
information and tap on Enter---Connect.
Your device will now attempt to establish a connection to the
z
Wi-Fi access point with the network parameters you entered.
icon and select Settings
9

10 Transferring Contents from PC
Connect the device to your PC/Notebook via USB cable.
z
Select the contents you want to transfer from your
z
PC/Notebook.
Drag the contents from the PC/Notebook to the device.
z
Please do not disconnect the USB cable during loading. It
z
may cause malfunction of the device and files.
Left click on
z
safely.
to disconnect the device from PC/Notebook
11 3G Network
A 3G network is a mobile network that allows high-speed data
access and advanced network capacity. This tablet supports
external 3G network by a 3G dongle. You can connect the 3G
dongle to the USB port via the OTG converter cable. You can
find the OTG cable in the accessories. However, this tablet
supports some 3G dongles, but not all dongles. If you need a
special dongle to support, please check with the shop before
you buy it.
Below external 3G dongles are supported:
Huawei: E220, E1820, E182E, E180, E1750, E1752Cu, E153,
E261, E176G
ZTE: MF190, MF170, MF626, MF180, MF668A
10
 Loading...