

Captiva PAD 10 3G PLUS User Manual
Tablet PC
Android
7.0
TM
multitouch
Display
Quad Core
1,3 GHz CPU
1 GB
DDR3L RAM
16 GB
Flash Speicher
WLan
Connectivity
V4.0
Cortex A7
kapazitives
PAD 10 3G PLUS

Introduction, Important Notes ................................................................................... 2
Precautions before Use ................................................................................................ 2
Cleaning, Disposal ........................................................................................................ 3
Used Logos, Intended Use, Layout Definitions ....................................................... 4
Power on for the first time ........................................................................................ 6
Power on/off .................................................................................................................. 7
Using touch screen, Desktop ....................................................................................... 9
Settings ........................................................................................................................ 11
Wi-Fi settings .............................................................................................................. 14
Bluetooth settings ....................................................................................................... 14
3G Network & Phone functions ................................................................................ 15
GPS Navigation .................................................................................................... 17
Use of extended storage ............................................................................................. 17
1. Using USB disk ................................................................................................... 17
2. Using SD card ..................................................................................................... 18
Downloading, installing/uninstalling applications .................................................. 18
Connecting to PC ....................................................................................................... 18
Gmail™ ....................................................................................................................... 19
Play music ................................................................................................................... 20
Photos .......................................................................................................................... 20
Camera ........................................................................................................................ 21
FM Radio .................................................................................................................... 22
Battery Charging ....................................................................................................... 22
Information for Energy Saving................................................................................. 22
System Update ............................................................................................................ 23
Specifications .............................................................................................................. 23
Package Content ......................................................................................................... 23
RED Directive, SAR Information ............................................................................. 24
Manufacturer Information ....................................................................................... 24
GNU General Public License, Version 2 (GPL) ...................................................... 24
Troubleshouting ......................................................................................................... 24
1

Introduction
Thank you for purchasing this Tablet PC.
The Tablet PC i s equipped with a built-in wireless -, Bluetooth and 3G UMTS module. Running on
Android™ 7.0, Quad-Core processor und highly responsive capacitive multi-touch screen, it brings
you a wonderful user experience. The Tablet PC allows you to view photos, watch movies, read
e-book* as well as news, make phone calls and communicate with the whole world. This guide
serves to enable users to get to know familiar with the product as soon as possible. Here we have
made a brief introduction to the key layout and definitions in figures and words.
Before beginning, please read this user manual carefully.
*Software not include d
The content of this manual must not be reproduced, also not partial.
Important Notes
1. Charge the battery for at least 12 hours before initial start-up.
2. The display protective film protect the display during storage and transportation. Please
remove this protective film, when the Tablet PC is used.
Precautions before use
1. This product is suitable for use in non-tropic areas below 2,000 meters
2. Prevent this product from falling to the ground, it could be strongly damaged.
3. Keep the product and all accessories out of the reach of small children.
4. Keep the product away from rain, moisture, dust, chemical, direct sunlight and heat source and
heat, for example longer storage in the car. Some parts and the built in rechargeable battery
could be deformed.
5. Avoid using it in the strong magnetic and strong electrostatic environment as well as during
thunderstorms as much as possible.
6. Once any water or other liquid splashes on to this product, close it immediately and do not use
until it dries out.
7. Do not clean this product with any detergent containing chemical element or other liquid to
avoid causing damage due to corrosion and becoming damp. If cleaning is really necessary,
clean it with dry soft cloth tissue paper.
8. Handle the screen gently. To clear fingerprints or dust on the screen, use soft cloth dedicated
for camera lens instead of gauze. Do not place objects on the Tablet PC, the display could be
damaged.
9. Please back up your important files at any time to avoid loss.
10. Please do not disassemble the Tablet PC and power adapter by yourself; otherwise you will
lose the right to warranty.
11. Do not use the product if it is mechanically damaged.
12. Do not disconnect the Tablet PC from power suddenly, when formatting or uploading and
downloading, which can lead to program errors.
2
13. Please use the original power adapter for charging. Nonconforming chargers may cause harms.
14. Protect the power cord. When connect the power cord, do not step onto it or place any object
on it, which may cause extrusion. Protect the connector of the power cord connected devices
specially.
15. Rechargeable battery
The battery in this product cannot be easily replaced by users themselves.
Replacement with incorrect type batteries may cause explosion or fire.
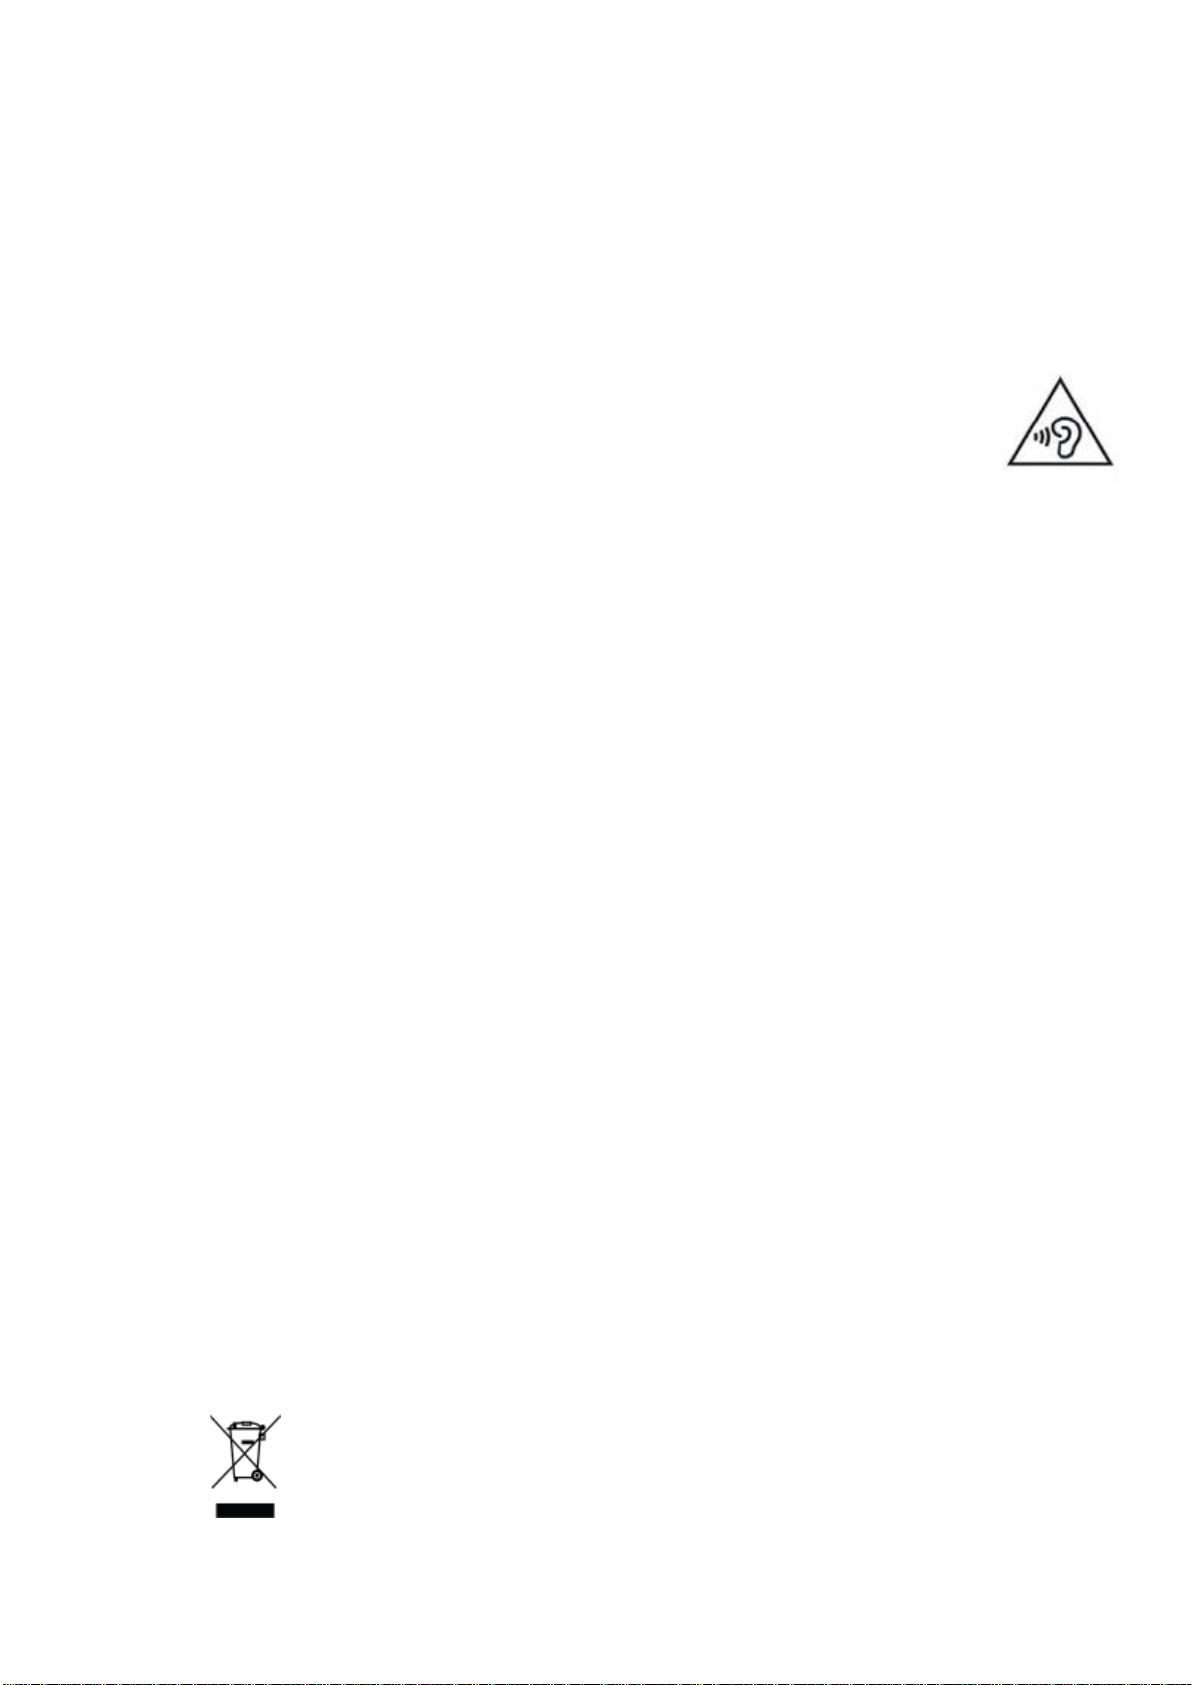
16. While using the earphone, if the volume is excessively high it may cause hearing
damage. So please adjust the volume of the player to a moderate level and balance
the time of using.
Note:
Pictures in this manual are for demonstration purpose only and may differ from the real
product. The manual shows the operation of the Tablet PC and the basic functions of the
Android operating system. There are numerous specialist books and information on the
internet available for further information and explanations regarding Android operating
system.
Cleaning
Handle the screen gently. To clear the fingerprints or dust on the screen, use soft, lint-free cloth
moistened with an alcohol-free glass cleaner.
To clean and disinfect the sides and cover, use a soft microfiber cloth moistened with an
alcohol-free glass cleaner or water with mild soap solution or use static-free cloth wipes.
Note: To prevent electric shock or damage to components do not attempt to clean the product
while it is turned on. The product should be turned off, disconnect external power and all powered
external devices. Do not spray cleaning agents or liquids directly on any device surface. Liquids
dripped on the surface can permanently damage internal components.
Disposal
This unit contains a battery. If the battery is defective, it should not be disposed of with household
waste. Batteries can possibly contain harmful substances that can harm the environment and
people's health. Please dispose of the battery commercially or at municipal recycling plants. Return
is free of charge and is prescribed by law. Please only dispose of empty batteries in the containers
provided and tape their terminals.
3

Used Logos
All brand marks, trademark and products are registered by their respective company.
Intended Use
The Tablet PC offers many opportunities for the use. For example surf internet*, read news and
e-books, look movies, play games, make phone calls and communication with the whole world*.
The Tablet PC is intended for home and office use in normal environmental conditions and not for
industrial application.
*Internet-connection is needed which could c a us e c os t .
Layout and Definitions
Front View
4
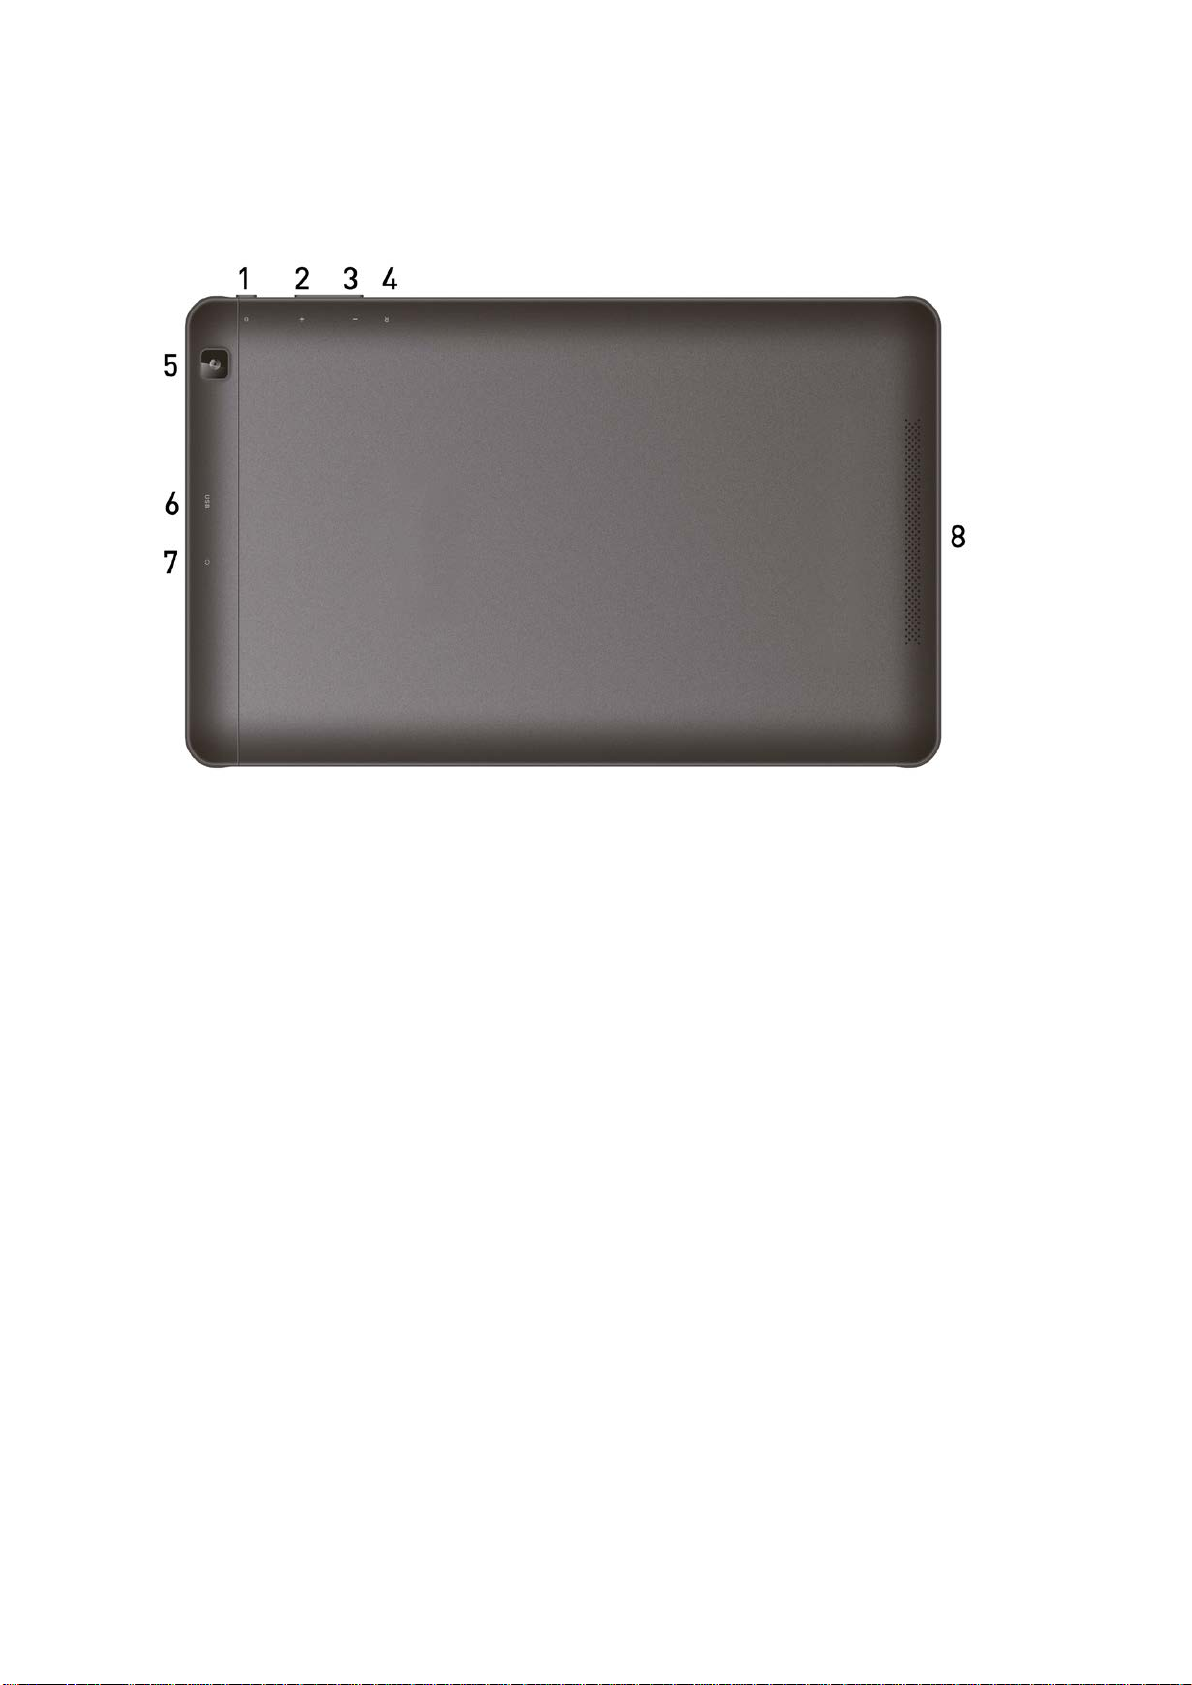
Rear View
1. Power Key: see Power on/off
2. Sound + : raise the volume
3. Sound - : lower the volume
4. Reset pin: reset function
5. Rear camera: 2.0 Megapixel
6. Micro USB port: recharge battery, data transfer to PC and external USB 2.0 devices,
max. 0.5A
7. Headphone connector: 3.5mm, connect headphone or active loudspeaker
8. Speaker outlet
9. Front camera: 0.3 Megapixel
SD Card reader and SIM Card location
• Remove the cover carefully to get access to SD - and SIM card reader.
• Insert the SIM card and/ or SD card and pay attention of the position.
• Close the cover carefully
5
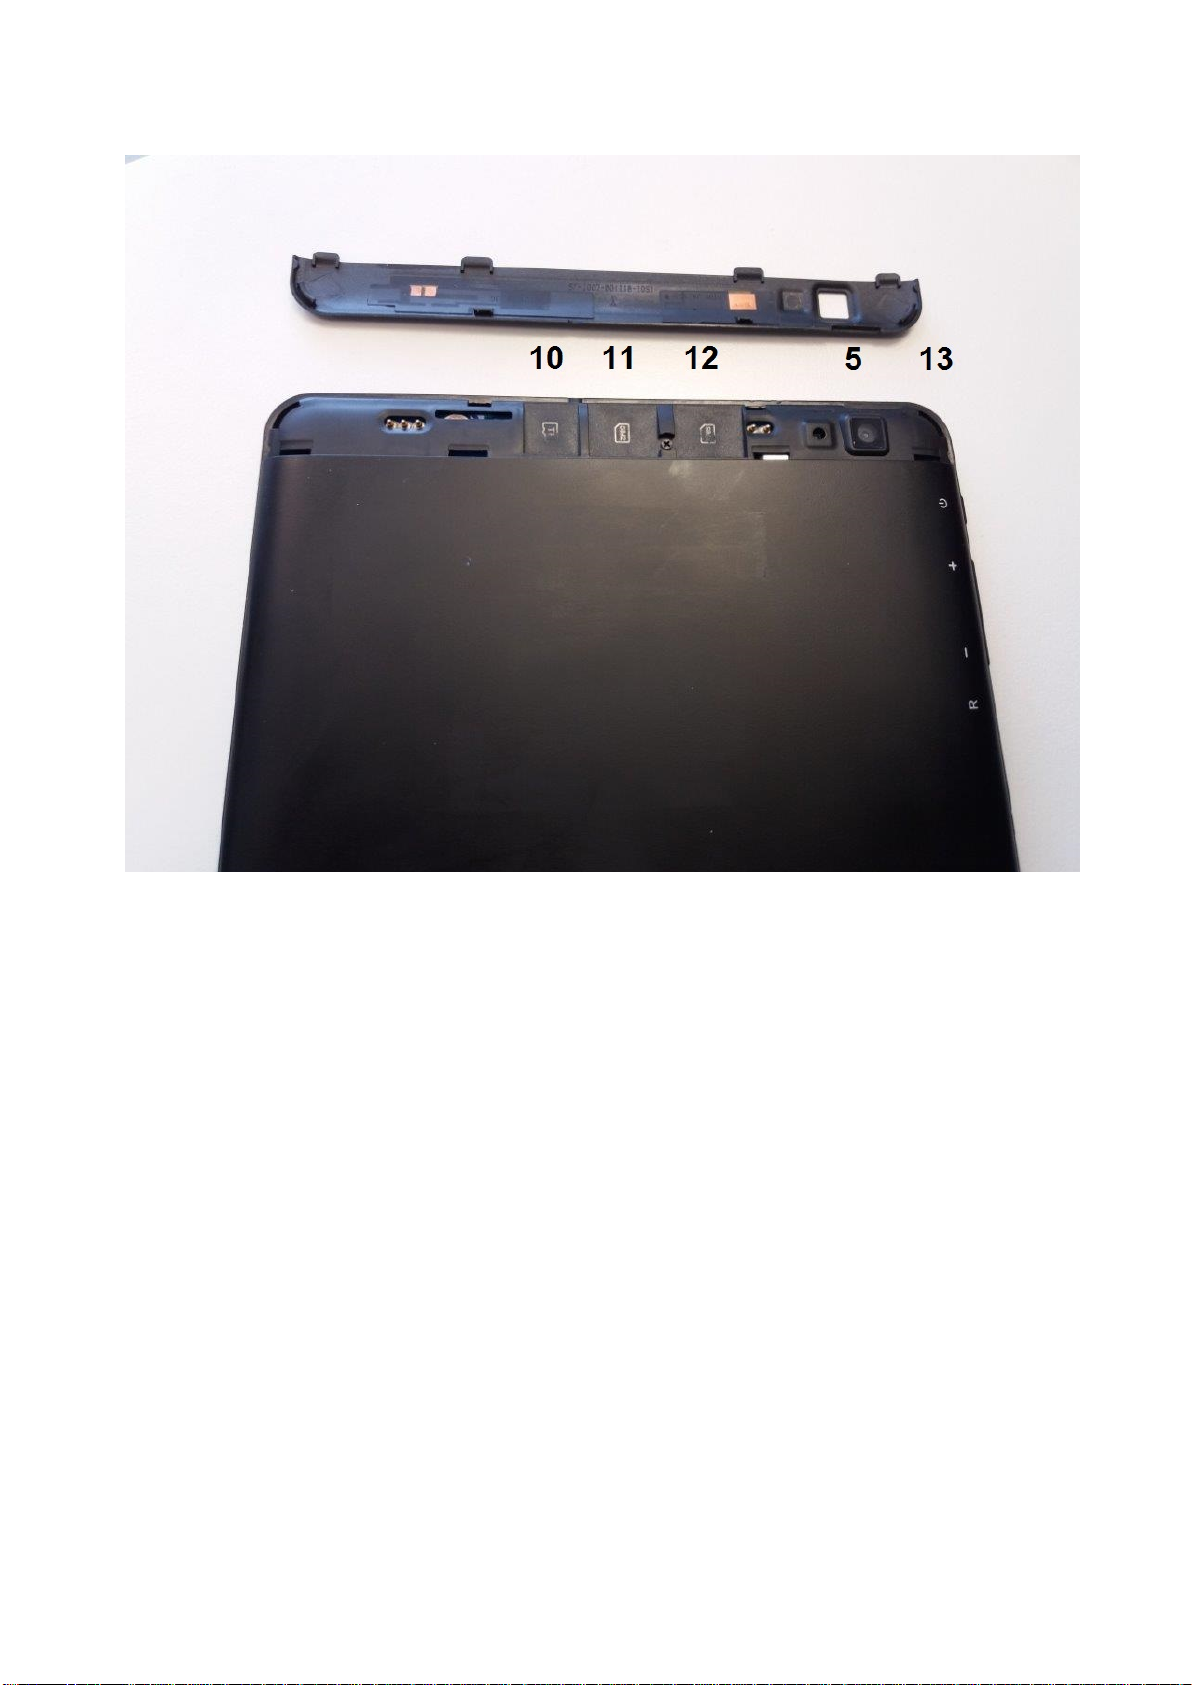
10. Micro SD card slot: supports micro SD and micro SDHC format, max. 128 GB
11. SIM card slot 2: supports mini SIM card 25x15mm (2FF, second form factor)
12. SIM card slot 1: supports mini SIM card 25x15mm (2FF, second form factor)
13: Microphone outlet
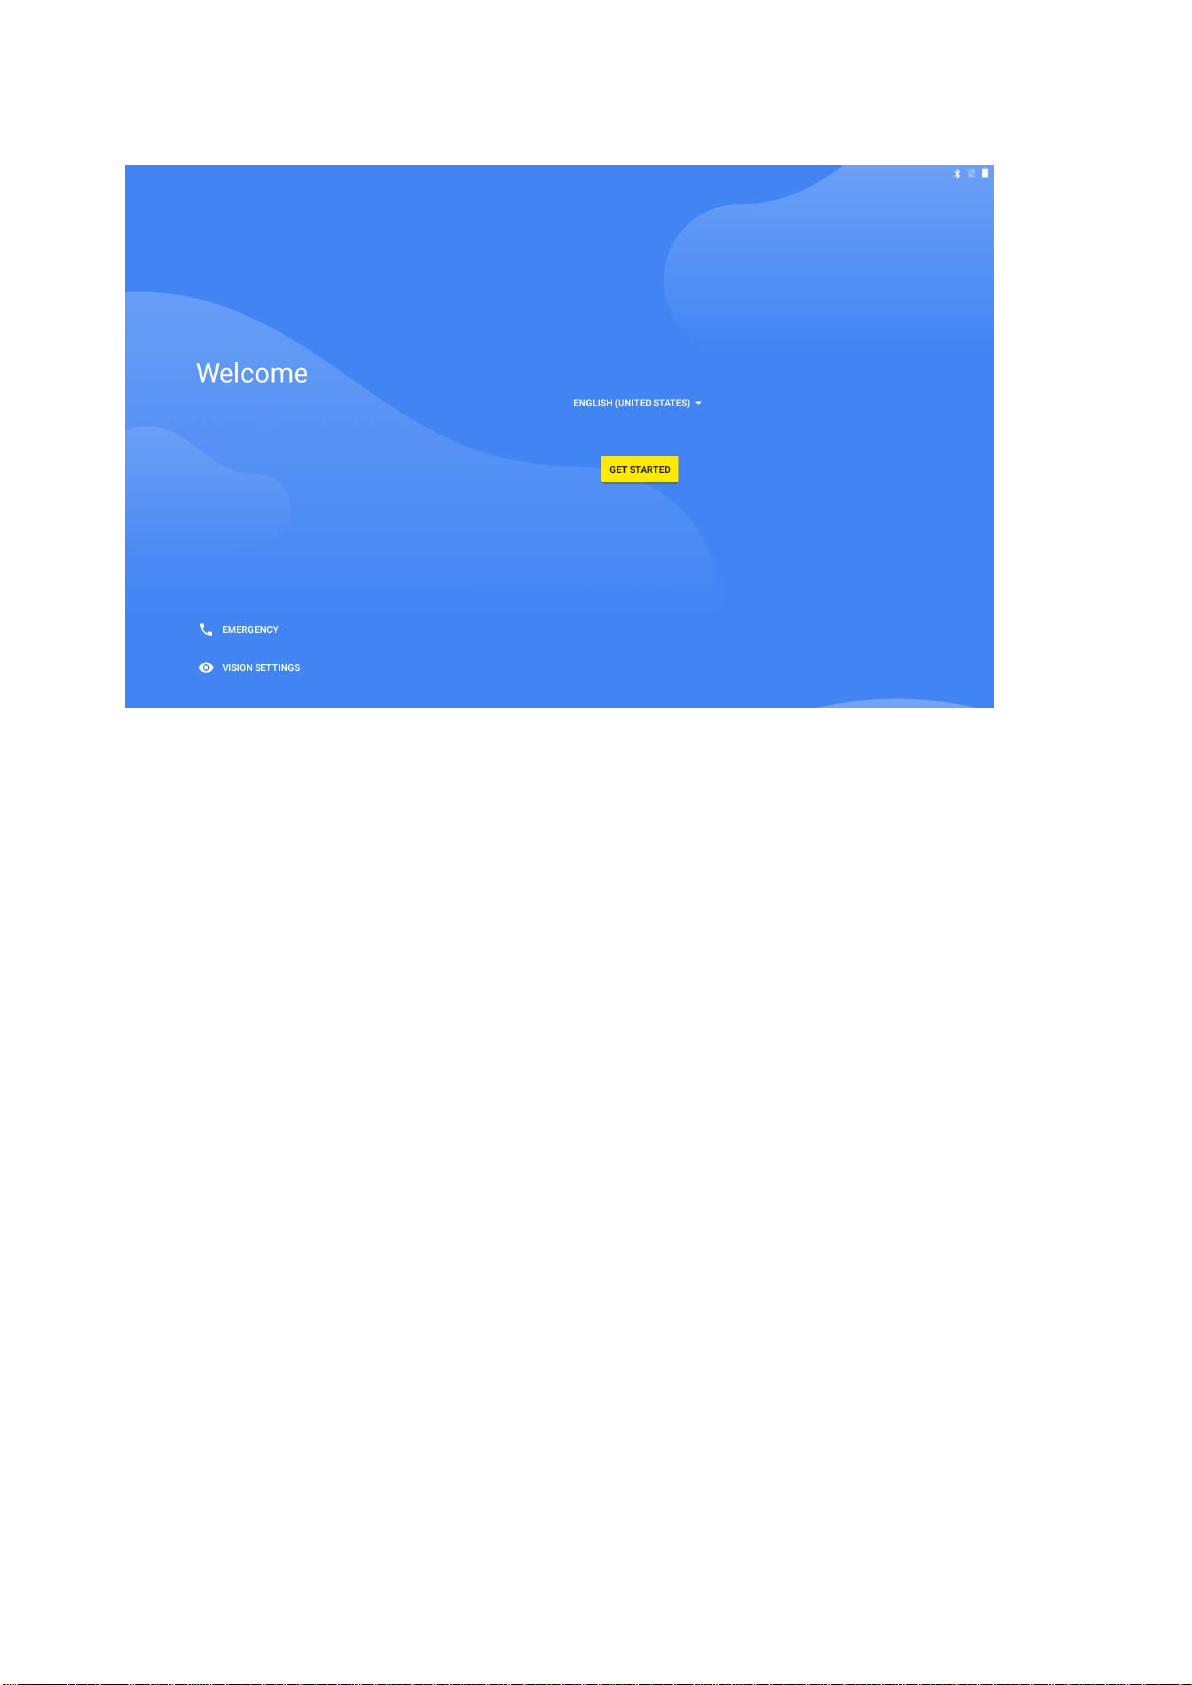
Power on for the fi rst time
Press the power key for about 3 seconds. During the boot up you will see the CAPTIVA® start
screen. After that you will be asked some questions before you can use the Tablet PC.
Please select the language and tap the arrow and follow the rest of questions and instructions.
6
Note: If the screen is black or turned off, than the standby/ power saving mode is entered.
Press shortly the power key to remove from standby/ power saving mode.
It is needed to sign in a Google™ account to use Google Play™ store, Gmail™ and other
Google Apps™ and services.
Power on/off
Power on: press the power key for about 3 seconds. Startup may take about 60 seconds.
Power off: press the power key for about 3 seconds and choose “Power off” in the popup message
Lock/unlock screen/ Power saving mode:
Press the power key shortly to close the screen. The system will enter into standby/ power saving
mode. Press the power button again to wake up the Tablet PC and switch on the screen.
Note: During standby mode, the basic functions of the Tablet PC will not be turned off, only
the screen is turned off.
Forced shutdown: In case of no response of the device, press power key (approx. 30sec.)
to switch off the Tablet PC.
Note: Do not use forced shutdown unless necessary. Shut down the device following power off
steps.
7
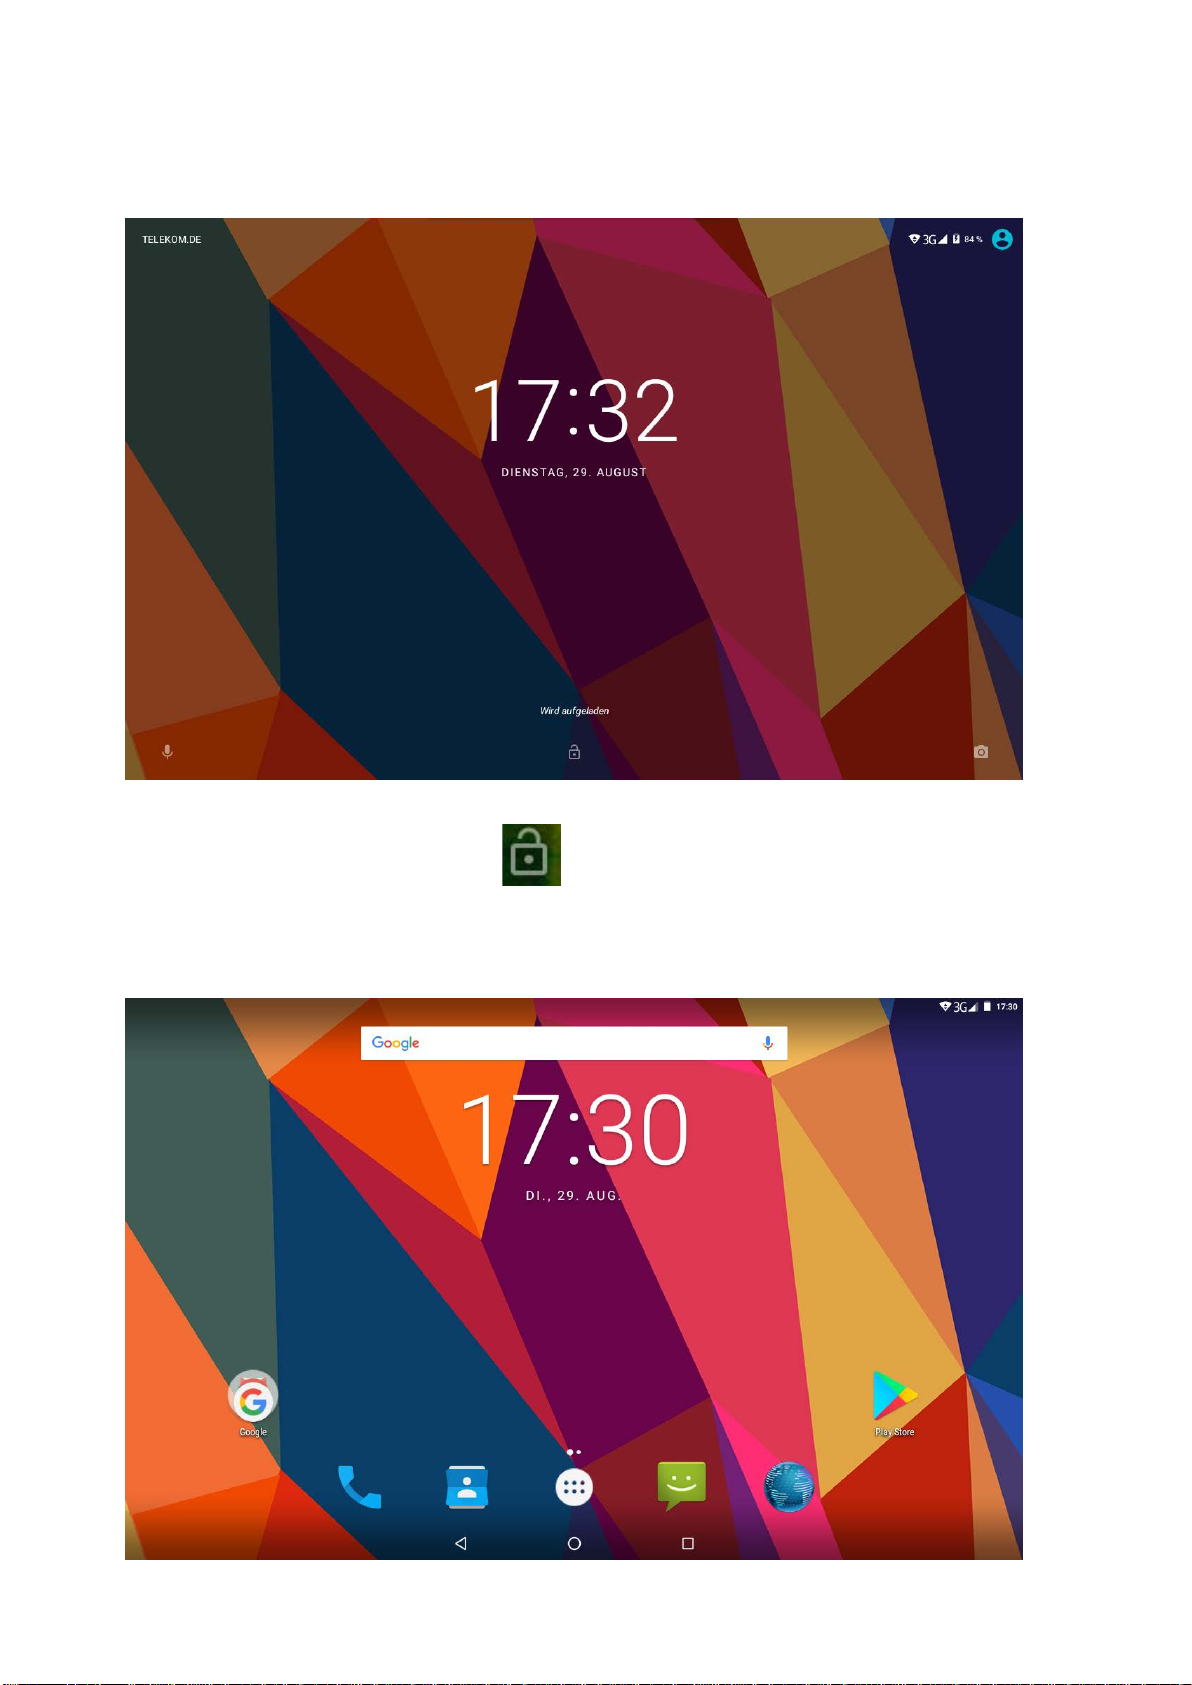
Screen locked
Unlock the screen: Touch and drag up
Screen unlocked
8
Using touch screen
Single click: click an icon to select the option you require.
Press and hold: select an icon and hold to drag it to the desktop.
Drag: drag on the desk to switch among different interfaces.
Note: To avoid scratching or damaging the screen, never put anything on it.
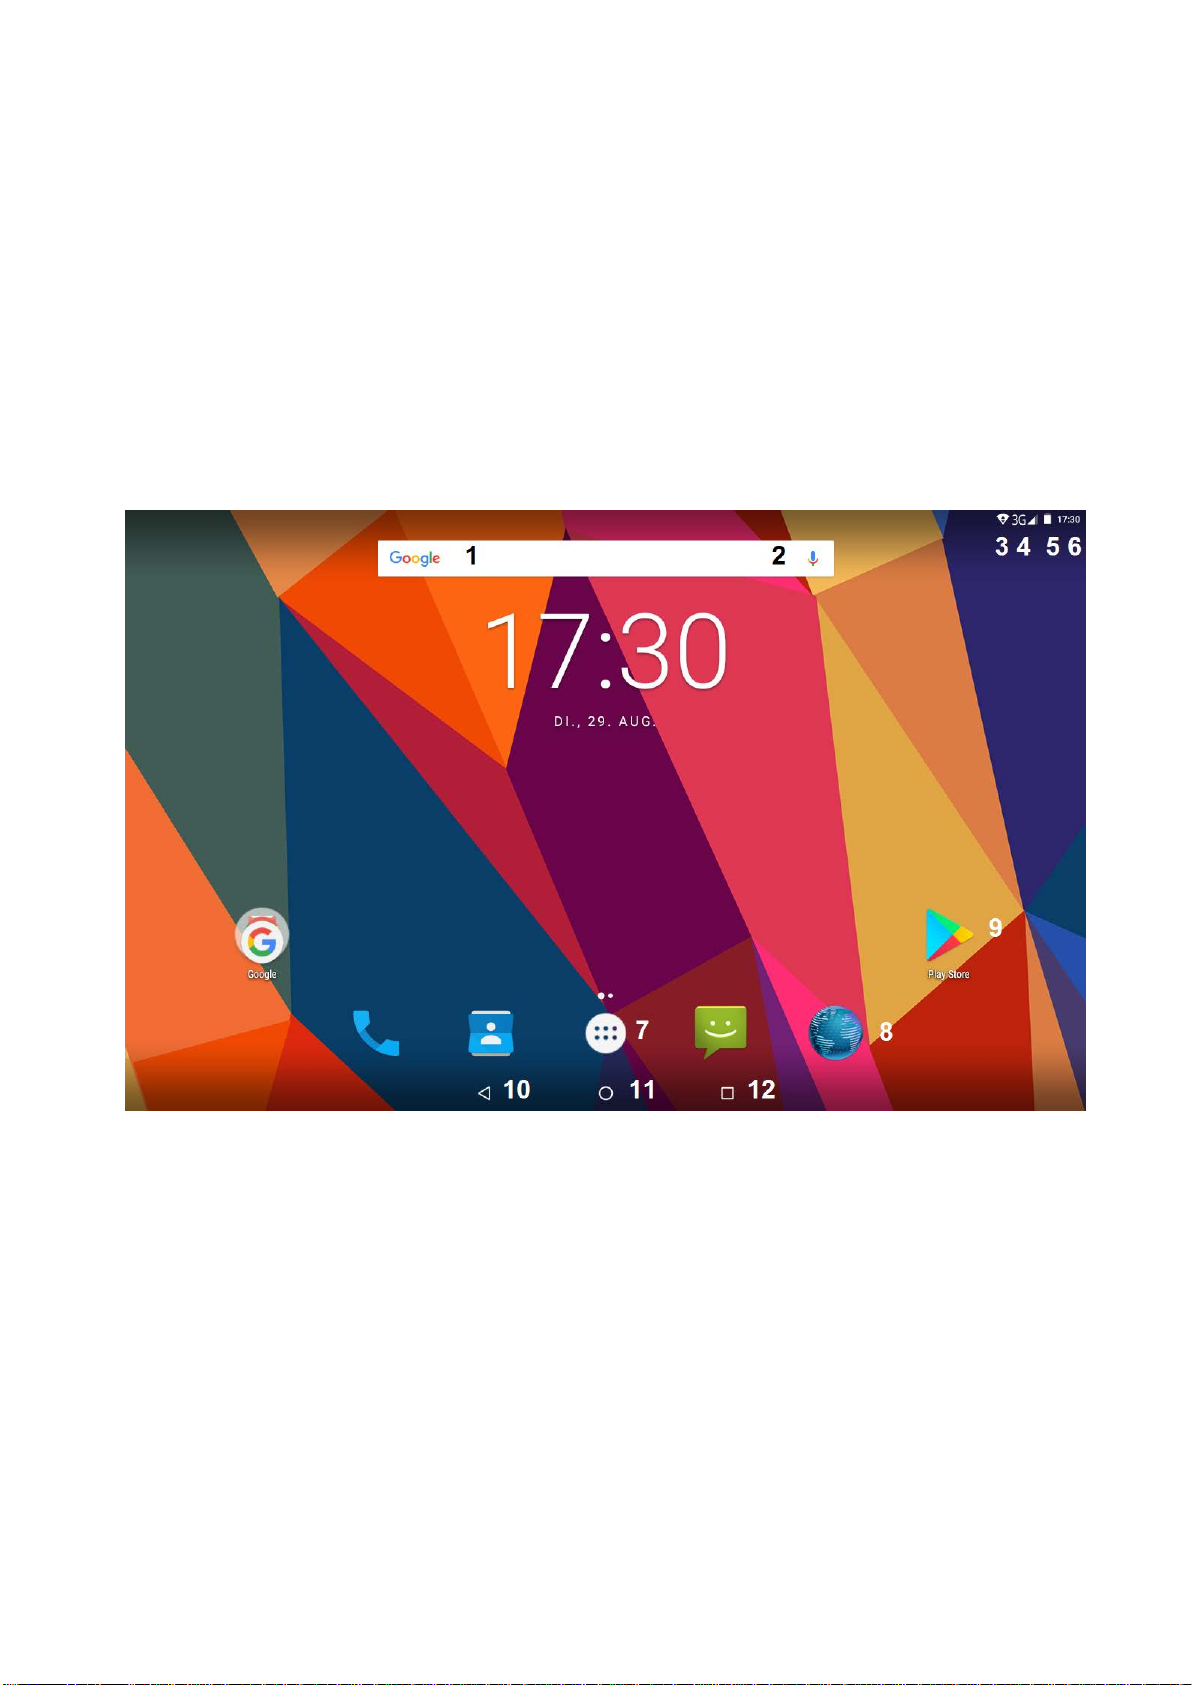
Desktop
1: Google Search: this icon starts a Google search
2: Voice Search: tap to start a voice search
3: Wi-Fi icon: shows the Wi-Fi status and signal strenght
4: 3G icon: shows the 3G status
5: Battery icon: shows battery state of charge
6: Time icon: shows current time
7: App list: tap to see all available applicatio ns (app list)
8: Browser: tap to start the Internet Browser
9: App icon: tap to start the application (in this case Play Store App)
10: Return button: return to previous page
11: Home button: return to Home screen
12: Current Apps: shows all the applications which are executed
9
Note:
On different screens, you can tap to view menu options.
Add apps & widgets to Home Screen
Launch app list, press selected icon and draw them to Home Screen. At Home Screen, press an
icon to drag leftward or rightward to move it to other pages, or delete it.
Wallpaper
Long press blank area of Home Screen, choose different ways of setting wallpapers in the popup.
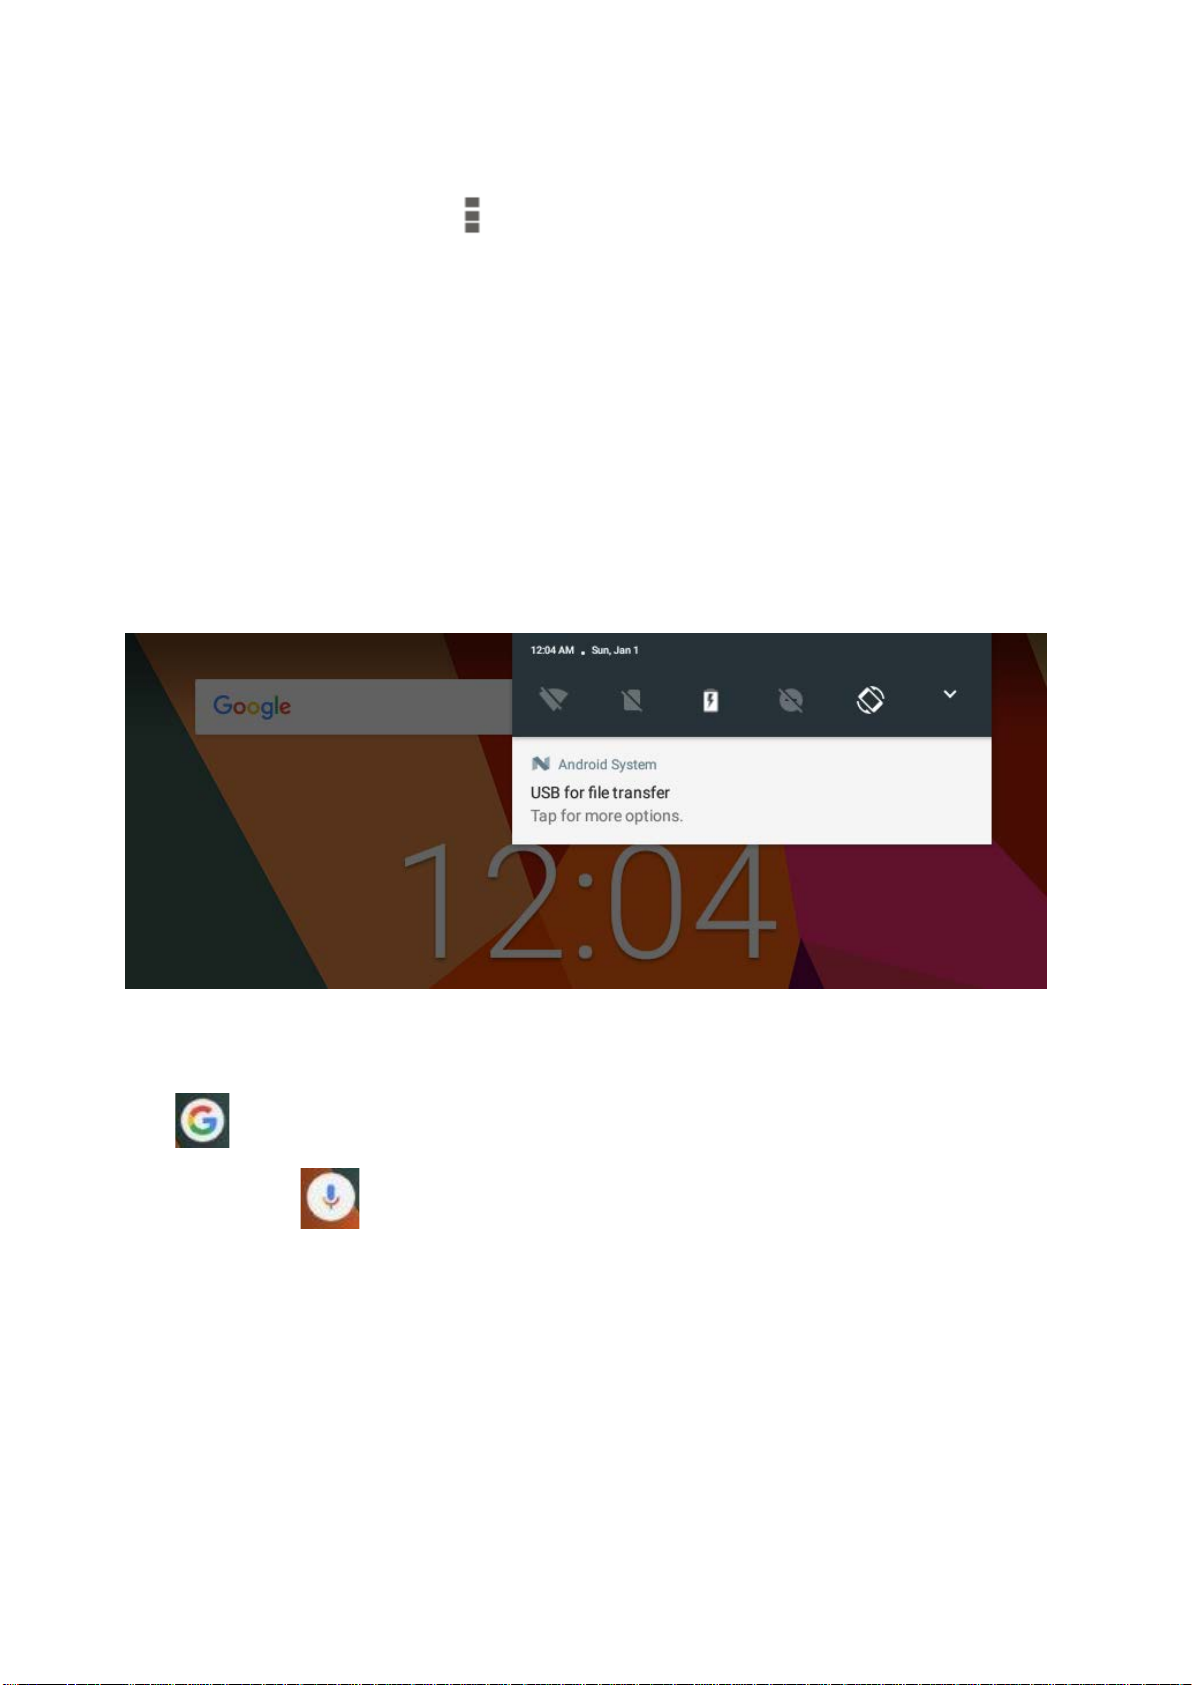
Notification Bar
Slide downwards from top of Home Screen to view Notification Bar, which can show switches of
Wi-Fi, brightness, etc.. Slide upwards to go to Home Screen again.
Search function
Tap to search information on the internet. Voice Search is supported by Google Voice
Search™ service . Tap the search result to access related application.
Note: Internet connection is required to use the search function.
10

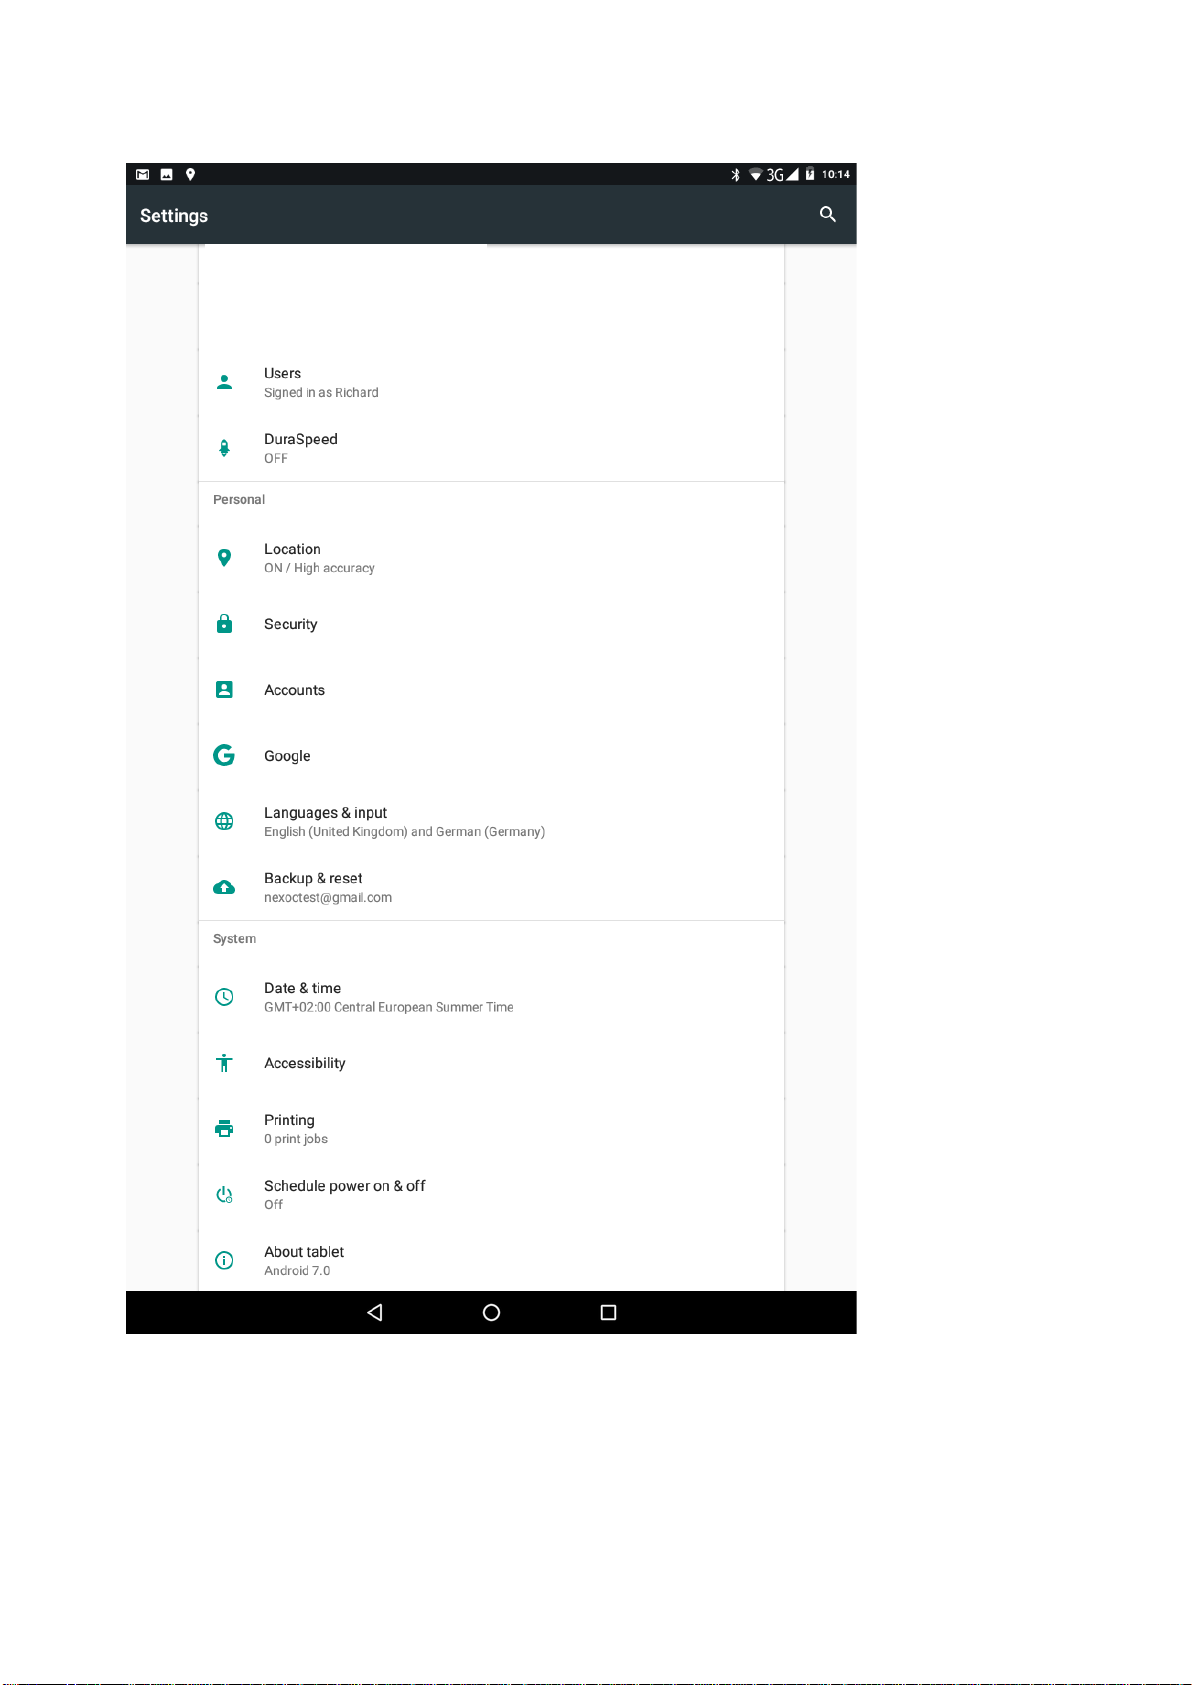
Settings
Open the App-list and tap to open the settings app.
11
12
Wireless & networks
Set and manage wireless access point (refer to WIFI setting
for details).
Bluetooth
Set and manage wireless Bluetooth connections
SIM cards
Set and manage SIM card settings
Data usage
Set and manage data traffic
Airplane Mode
On-/ off wireless connections
Tethering &
portable hotspot
Share mobile data connection with another device
VPN
Configure VPN network
Mobile networks
Adjust using of mobile data
Device
MiraVision ™
Display picture quality optimization
Brightness level
Adjust brightness
Wallpaper
Set wallpaper of home screen
Sleep
Adjust standby/ energy saving mode
Press power
button twice for
camera
Quickly open camera without unlocking your screen
On-OFF
Screen saver
Screen saver settings
Font size
Adjust font size in the interface
Display size
Adjust items on the screen
When device is
rotated
Setting if the screen should be rotate if Tablet PC is rotated
Notification
Set the priority level of notification for each APP
Sound
Adjust volume, ringtone and vibrate
Apps
View and manage apps
Shows the allocation of internal storage (Flash) and mobile
storage (SD card, USB stick)
Battery
Display and manage battery options
Memory
Shows the allocation of internal memory (RAM)
Users
Managing users
DuraSpeed
Boost foreground APP by restricting background APPs
Personal
Location
Display my location and source of location information
Security
Set and manage security options
Accounts
View, add, synchronize and delete accounts (i.e. Google
account)
Google
Set and manage Google services
Languages
& input
Set and manage language, spell checker, keyboard, speech,
mouse/ trackpad
Wi-Fi
More…
Display
Storage
13
Backup &
reset
Backup data, Network settings reset, DRM reset, Factory
data reset
System
Date & time
Set or adjust time and date in the device
Accessibilit
y
Set different options for inputs of the application software
Printing
Manage printer services (may require additional software)
Scheduled
on&off
Time based power on & off of the Tablet PC
About the
Tablet PC
View system updates and status, legal info, model,
version number.
power
Android version and security patch level, core version and
Wi-Fi settings
Many functions require Wi-Fi connection, so we suggest you use the preset Wi-Fi network.
1. Click → Settings → Wireless and network→ Wi-Fi
2. Enable Wi-Fi.
The device will search and list all available Wi-Fi networks automatically. The icon beside
Wi-Fi means you need to enter a password to connect to it.
3. Click the Wi-Fi network you want to connect to → if there is a password, you need to enter
the password → Click Connect. After connecting to Wi-FI network, you will see an icon on
the desktop.
4. Click to return to desktop.
Note: If your Wi-Fi is set to be hidden, it will not be searched automatically. You need to click
add Wi-Fi network and then enter required information to add your Wi-Fi.
Bluetooth settings
1. Make device discoverable
You must pair your Tablet PC with a device before you can connect to it. Once you pair your
Tablet PC with a device, they stay paired unless you un pair them.
14

Under “Settings”, “Wireless & networks” choose “Bluetooth”. Tap “Bluetooth” and
then “On” to turn on. The Bluetooth indicator appears in the status bar.
2. Scan for devices
After scanning, there will be a list of the IDs of all available Bluetooth devices in range. If the
device you want to pair with isn’t in the list, ensure that the other device is turned on and set to be
discoverable.
3. Pair with the Bluetooth device
Tap the name of an available Bluetooth device to pair with. In the popup “Bluetooth pairing
request” dialog, type a PIN.
If the pairing is successful, your Tablet PC connects to the device.
Example: to transmit a photo
Go to “Photos”, choose a photo to share. Tap any spot on the photo to view a submenu. Tap
icon → , and then choose the device name in the Paired devices list. The photo
will then be sent.
You can touch the right icon to unpair the device.
Note: After pairing, it shows under the Bluetooth device “Paired but not connected”, but file
transmission is still possible.
You can see the received files by touching the right corner icon. At present, the Bluetooth function
only supports files transmission.To extend battery life, turn Bluetooth power off when not in use.
4. Bluetooth settings
Tap the icon in the upper-right corner to view and choose menu options, like Refresh,
Rename this device and Show received files.
3G Network & Phone functions
A 3G network is a mobile network that allows high-speed data access and advanced network
capacity. This Tablet PC supports 3G Network. You can access to the Internet via your 3G SIM
card while Wi-Fi network is not available. Please insert your 3G card into the SIM Card slot and
enter
the required PIN number. Please make sure your SIM card is activated.
15
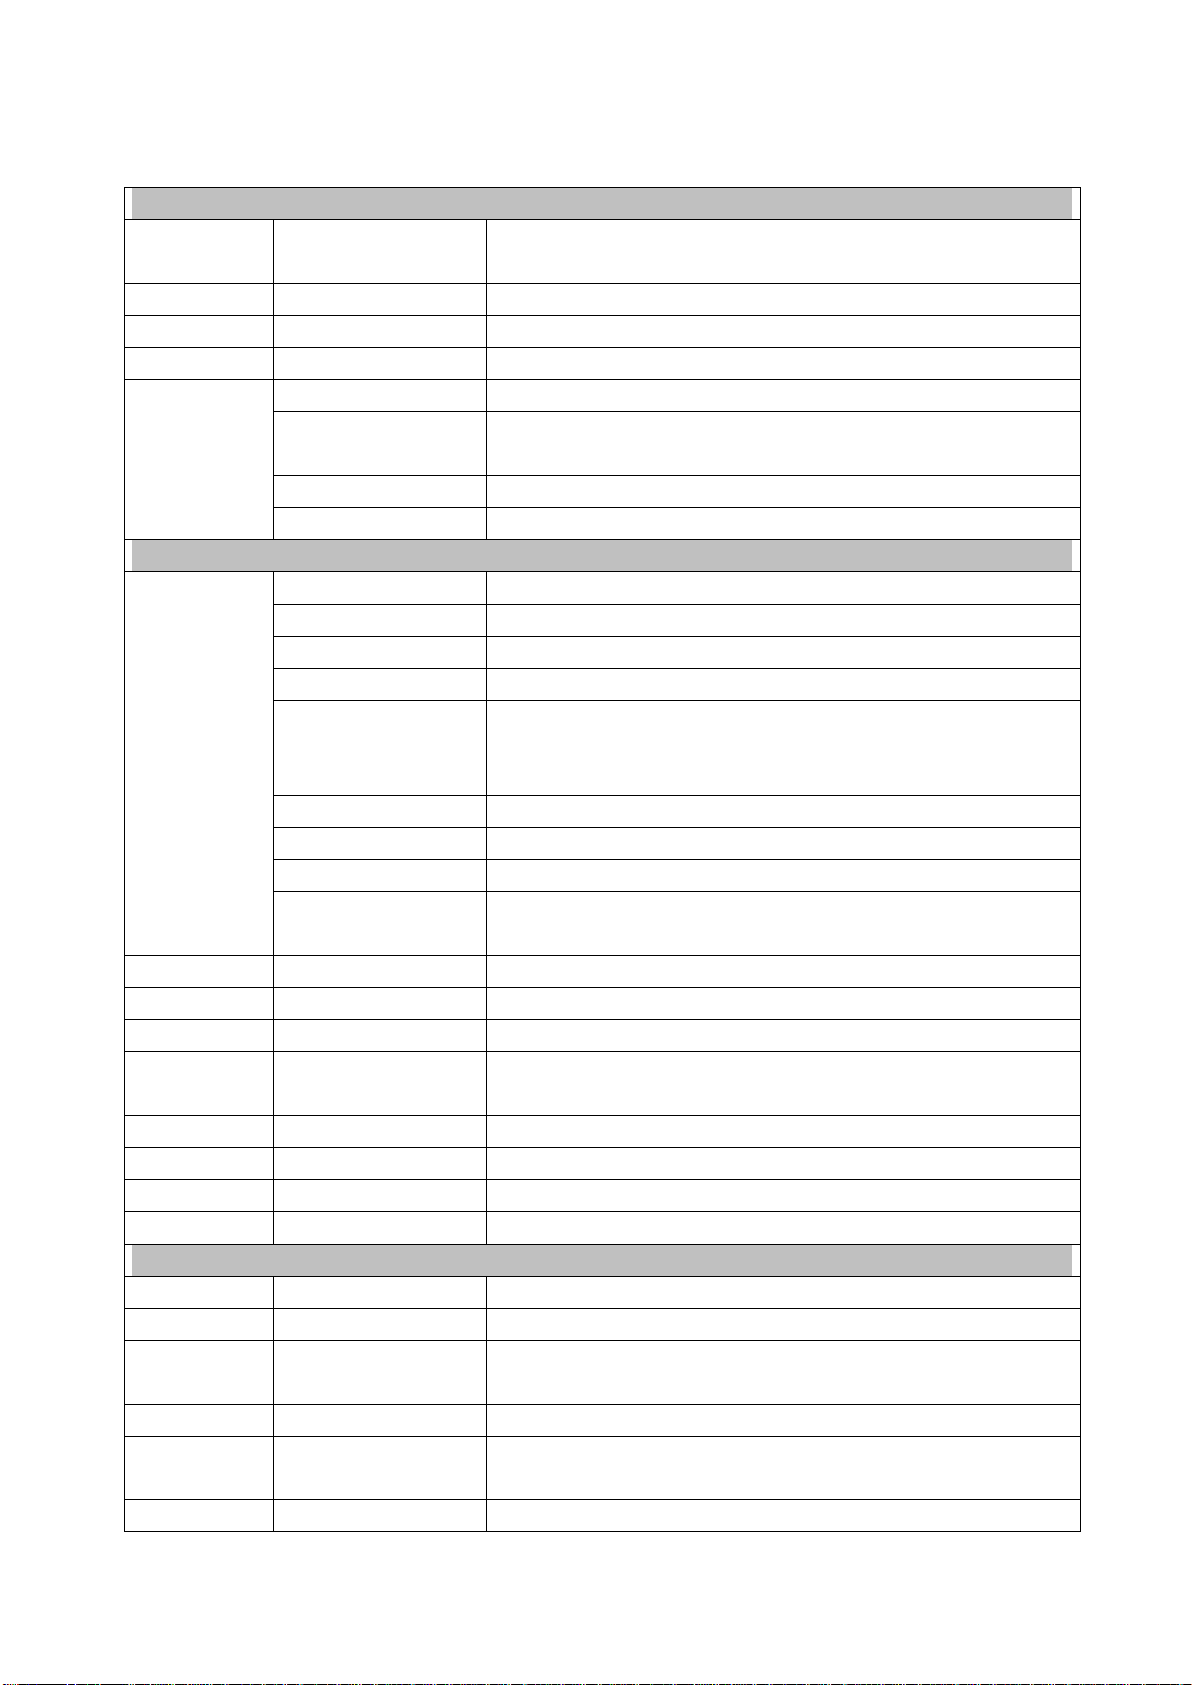
Phone call
• Tap the phone icon to dial
• Input a phone number, tap to dial, or tap “Add to contacts” to save
• Tap to select more options
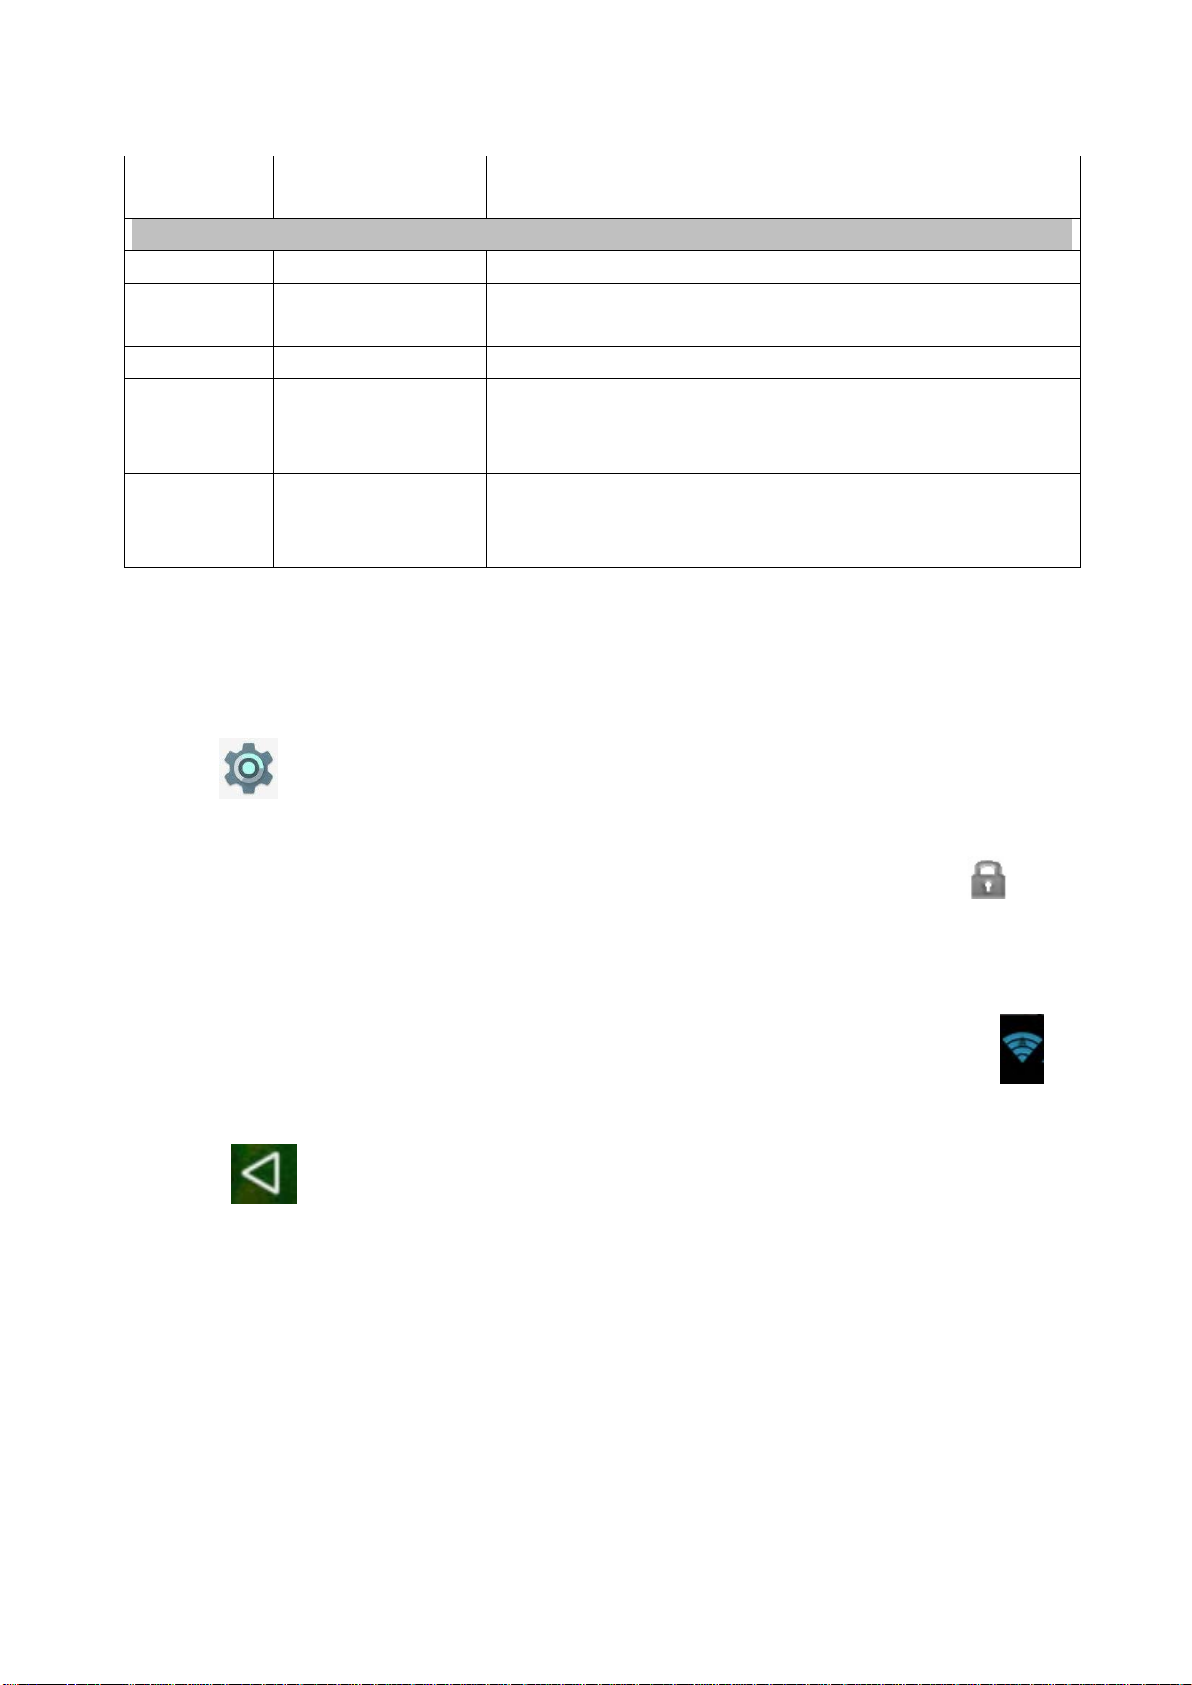
Note: Emergency Call is possible without SIM card. The loudspeaker must be switched on or a
headphone must be connected.
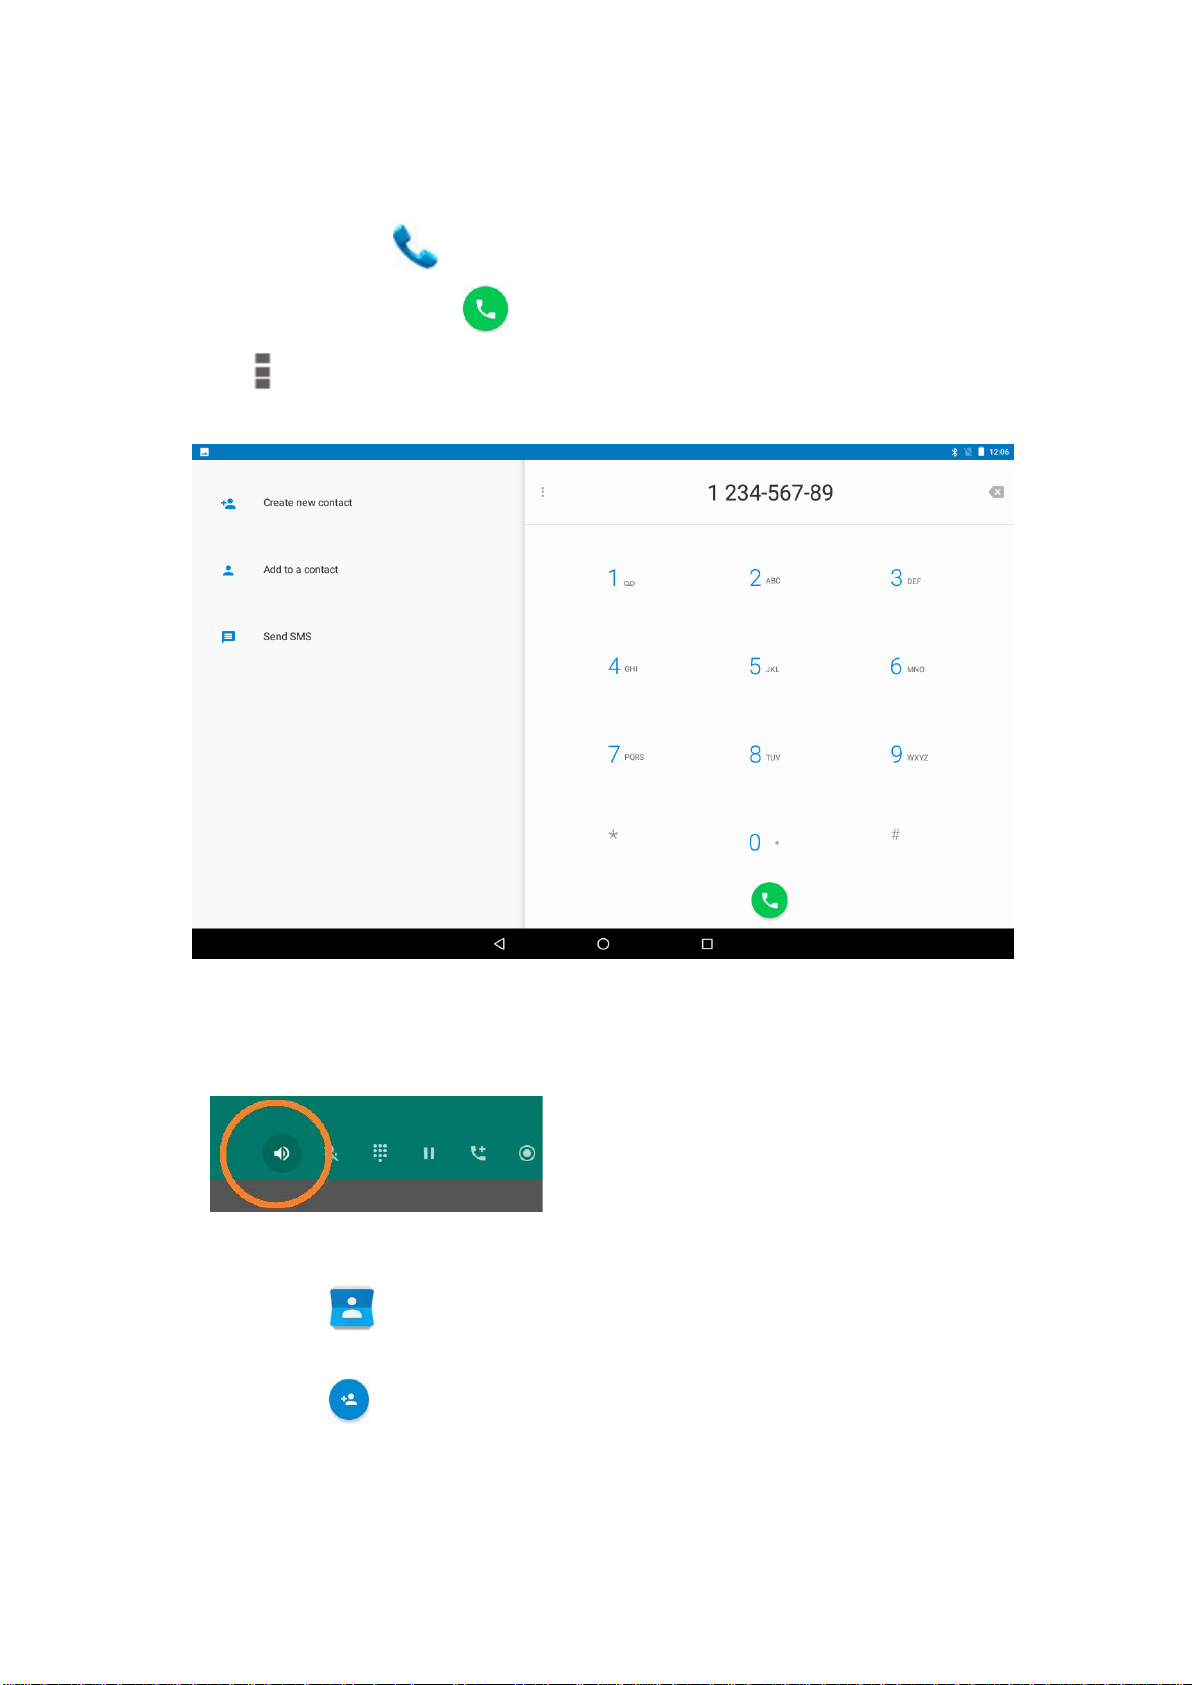
Contacts
• Tap the icon to enter “Contacts”
• Tap contact names to call or send a message
• Tap the icon to add a new contact. Input names and numbers and then tab “back” to
save the contact.
16
 Loading...