

Canyon CNR-MPV4 User Manual
1
Canyon Multimedia MP3 Player
Article: CNR-MPV4x
You can press “RESET” button to recover the default setting if MP3
player is not functioning well.
2
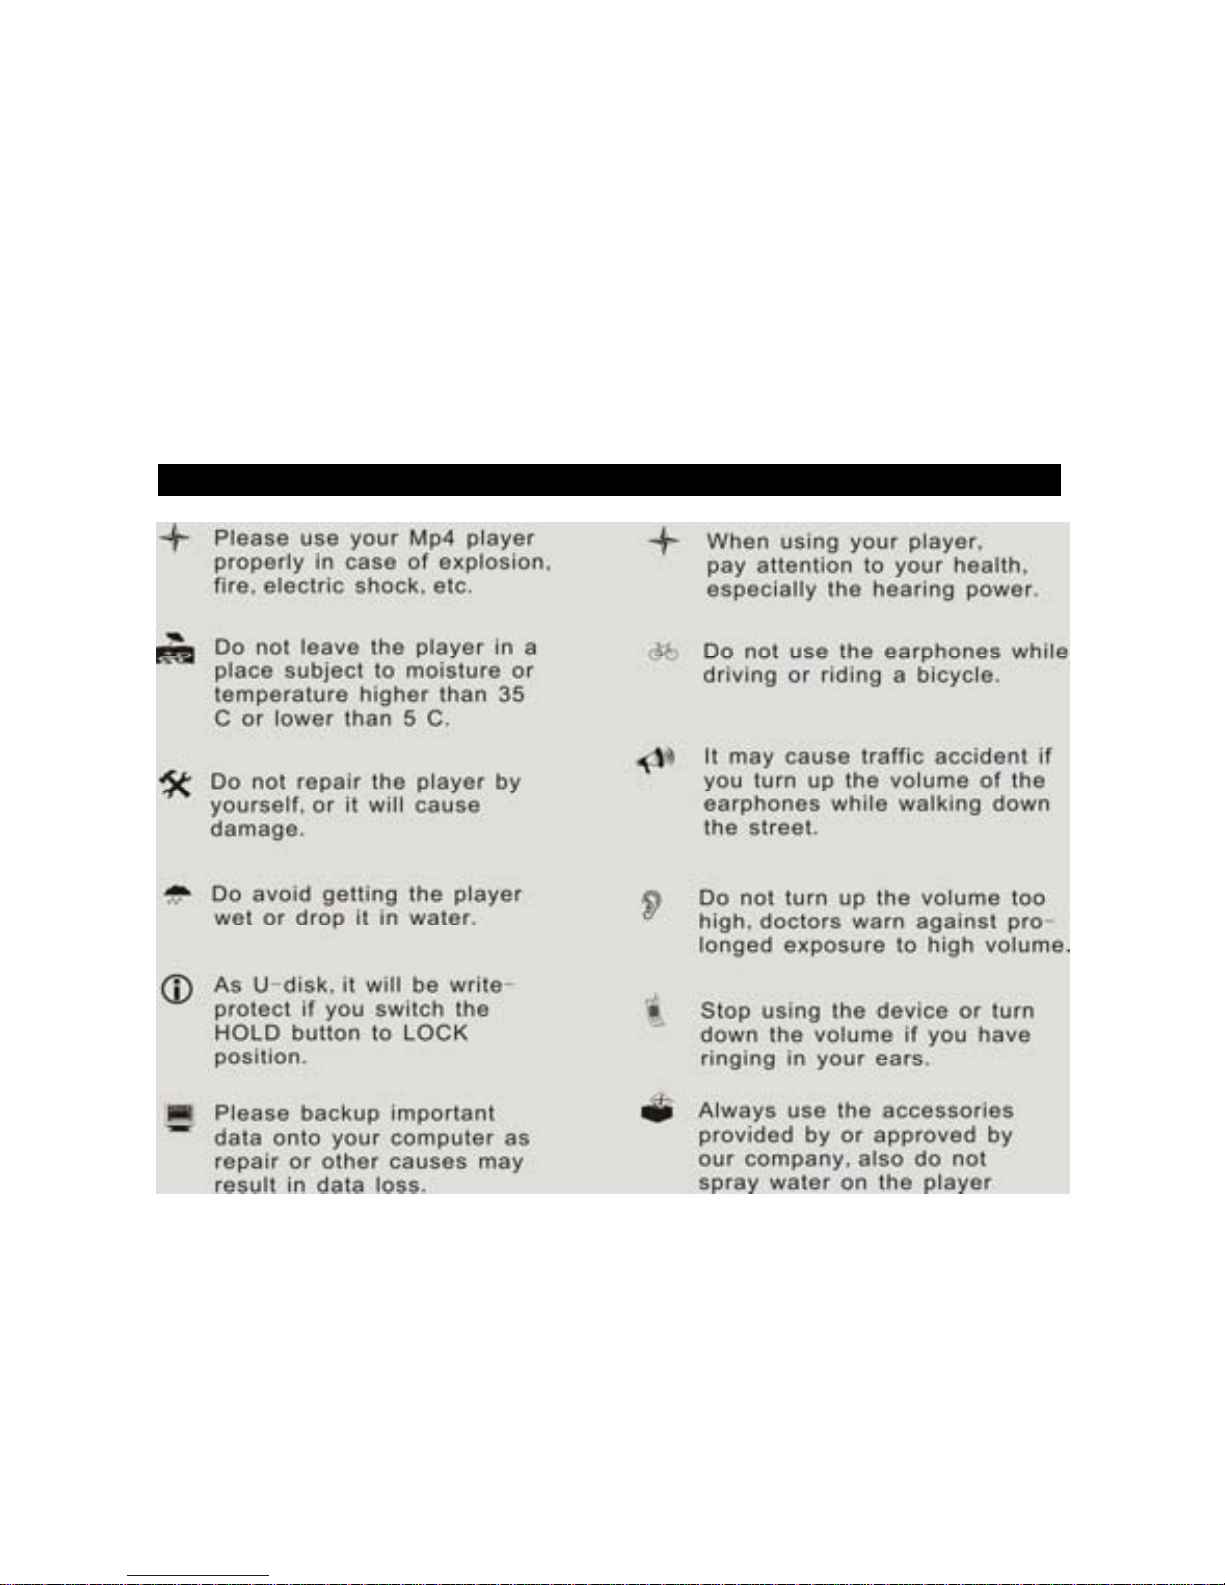
For your safety ─ Read this user guide carefully to ensure proper
use of the product and to avoid any danger of physical damage.
Use Safely
3
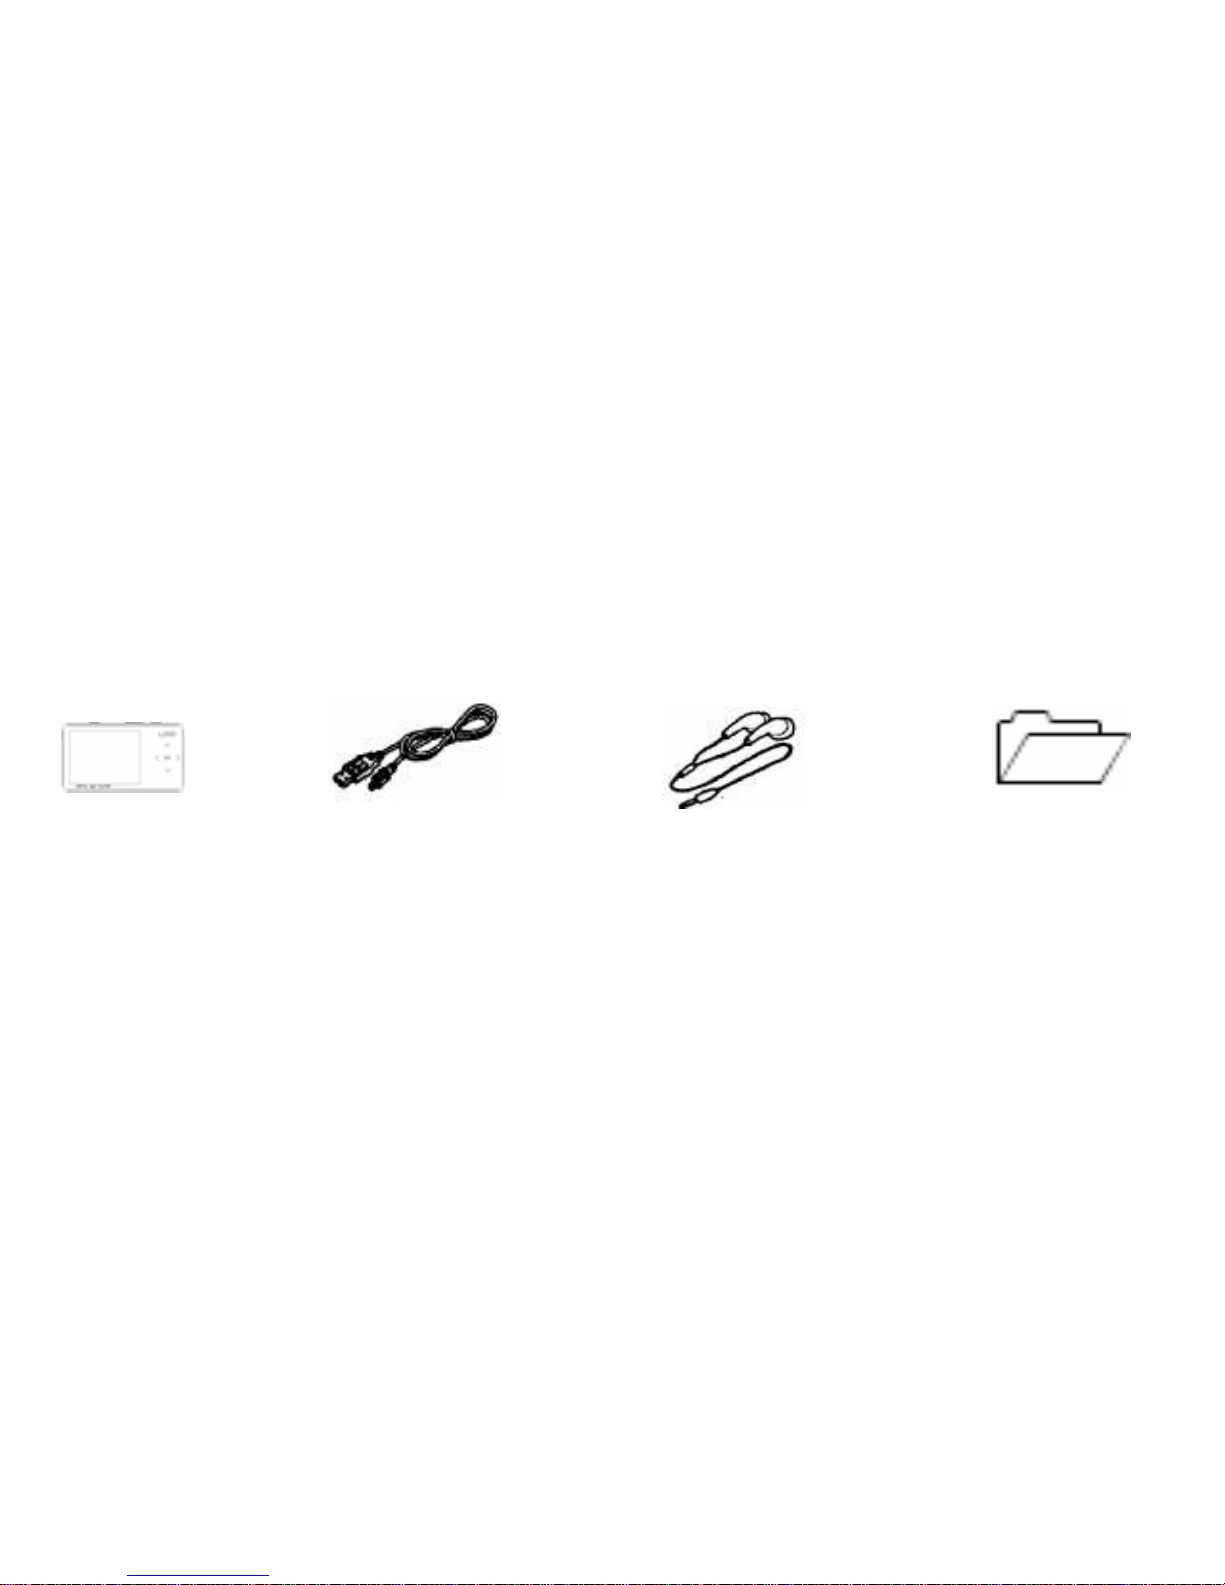
Accessories in the packing
NOTE: The following icons ar e onl y a guide a nd ma y slightl y differ from the actual
product appearance.
Player USB Cable Earphones User Guide
4
Function Features
1. Support USB2.0 high speed, much
faster than USB1.1, to enable faster
communication with your PC.
5. Support multiple languages, like
English, Italian, French, etc.
2. Once full charge, the Li-polymer
battery can playback audio files
continuously for 30 hrs and video files
for 3 hrs
6. The player can playback AVI & WMV
format video files
3. You can select your favorite music
by artist, album, general, also you can
make your own play list.
7. You can listen to music without
earphones if you enabled the speaker
4. Supports various EQ mode,
including normal, PoP, Rock,
Classical, Jazz
8. The player support MP3, WMA,
WAV, OGG, AAC, format audio files
9. The player can record outside voice
and FM radio ( for MPV41 only)
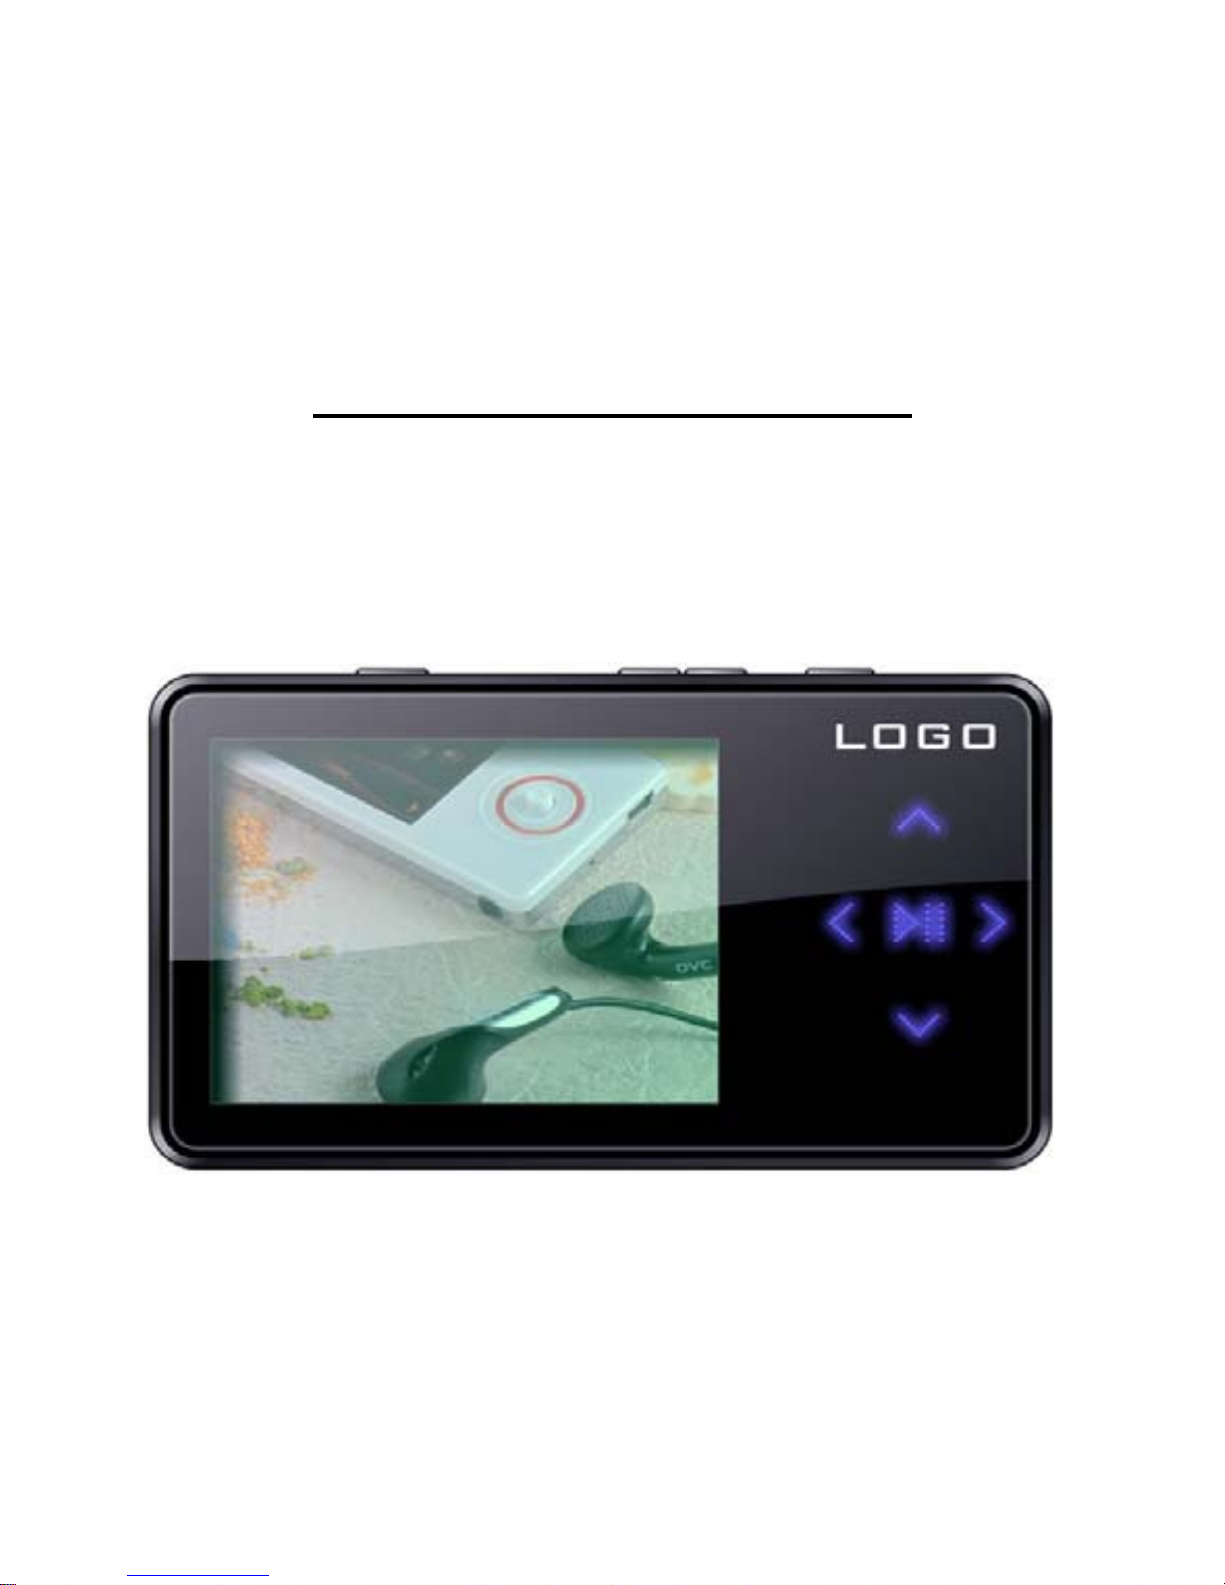
5
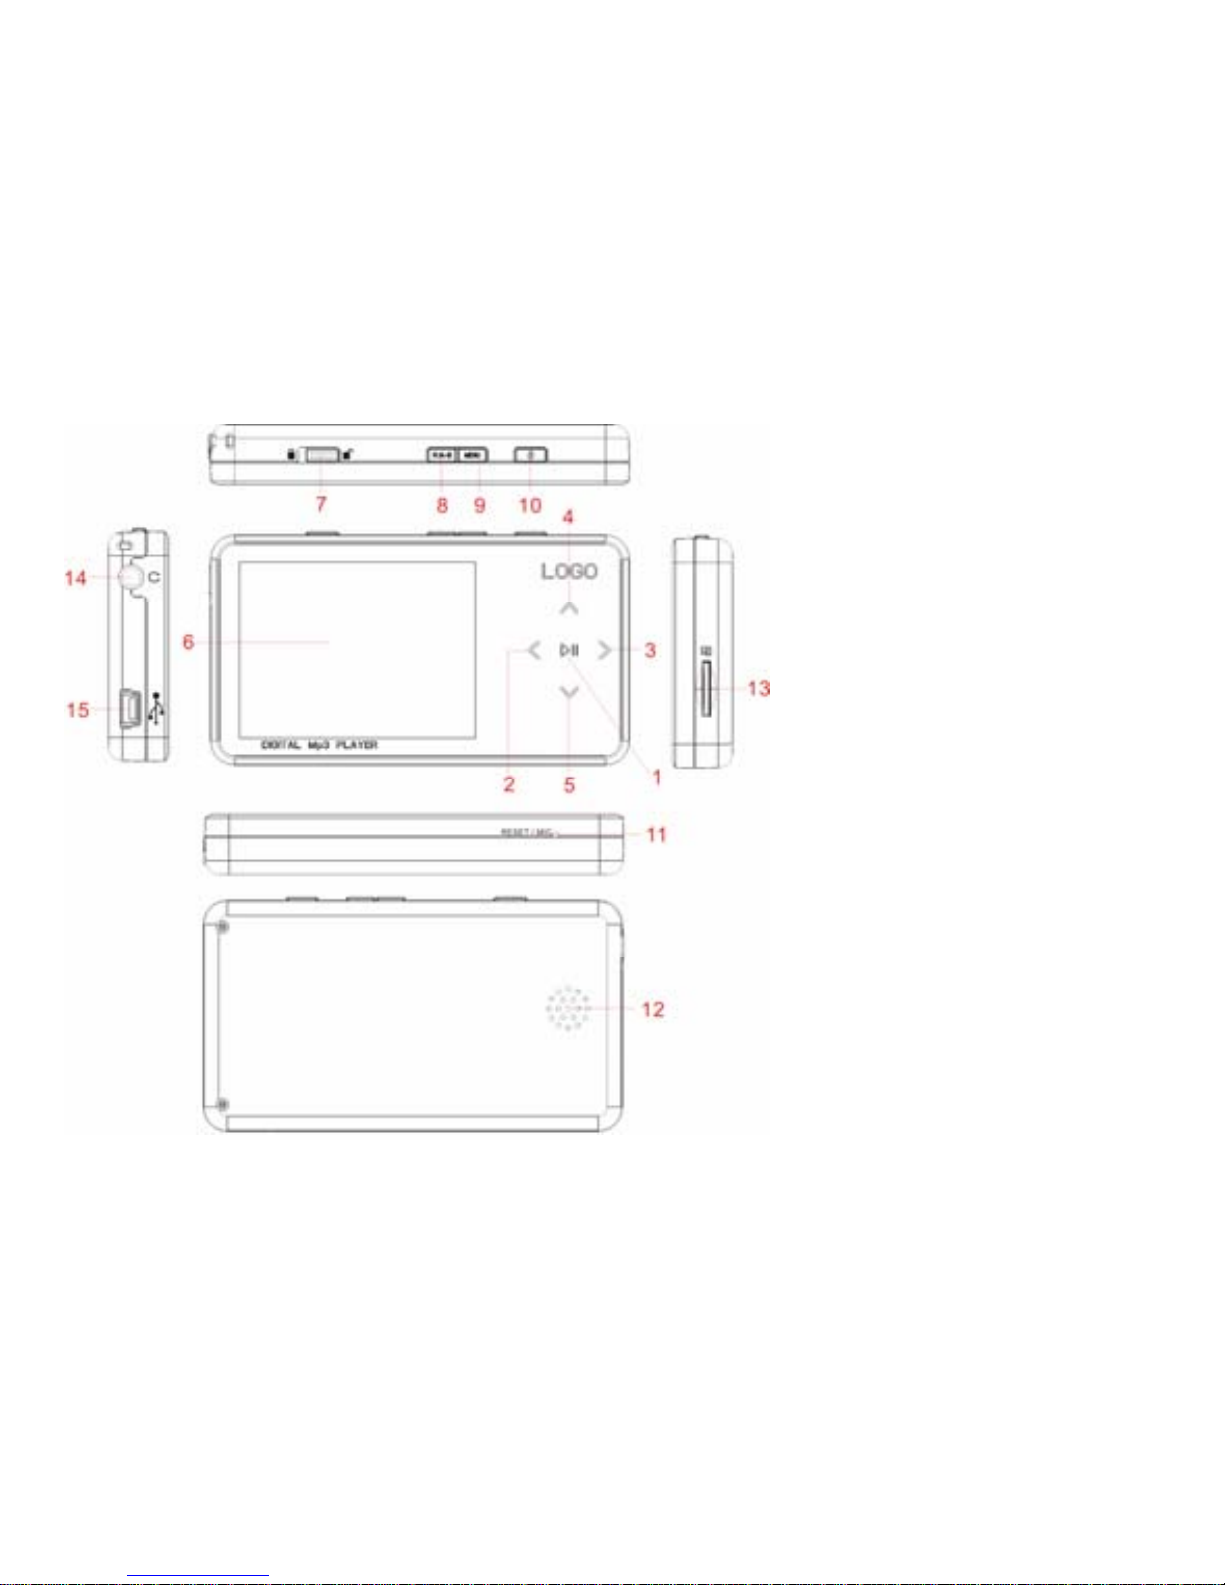
Components and Button functions
1. Play/Pause/Confirm
2. Backward/Previous
one
3. Forward/Next one
4. Volume up
5. Volume down
6. LCD display
7. LOCK button
8. Record( for MPV41
only)/A-B repeat
9. MENU button
10. Power on/off
11. RESET/Microphone
12. Speaker
13. Micro SD/T-flash
card slot
14. Earphone jack
15. USB port

6
Button Definition
Turn power on/off
Press and hold to turn power on/off
Play/Pause/Confirm
Press to play/pause/confirm
< Previous one/Backward
> Next one/Forward
Press to turn to previous one/next one
In playback mode, press and hold for backward/forward
∧∨ Adjust the volume
Press to turn up/turn down the volume
REC/A-B Record
( for MPV41 only)/A-B repeat
Short press for A-B repeat
( for MPV41 only)Press and hold to start to record
MENU Menu button
Press to return to system menu

7
HOLD button In “Audio Playing”, “FM Tuner”, “Video”, “Recording (for MPV41
only)
” mode, all buttons are disabled if you switch HOLD button to “LOCK”
position.
This is helpful when you are doing sports, like walking, jogging, etc.
Note: The HOLD button is disabled in “Settings”, “Browse”, “Text reader”,
“Album” modes.
RESET hole & Microphone( for MPV41 only)
You can reset the system setup of your MP4 player by pressing the RESET hole.
(for MPV41 only)It is used for recording the outside voice or FM radio while the player is
playing record function.
Micro SD/T-flash card slot Support Micro SD/T-flash card.
Note: Please do not install or pull out the Micro SD/T-flash card while your player is
in power on state.
Earphone jack There is an earphone jack on the top left of the player.

8
Screen Display Contents
NOTE: The following picture is only for your reference.
9
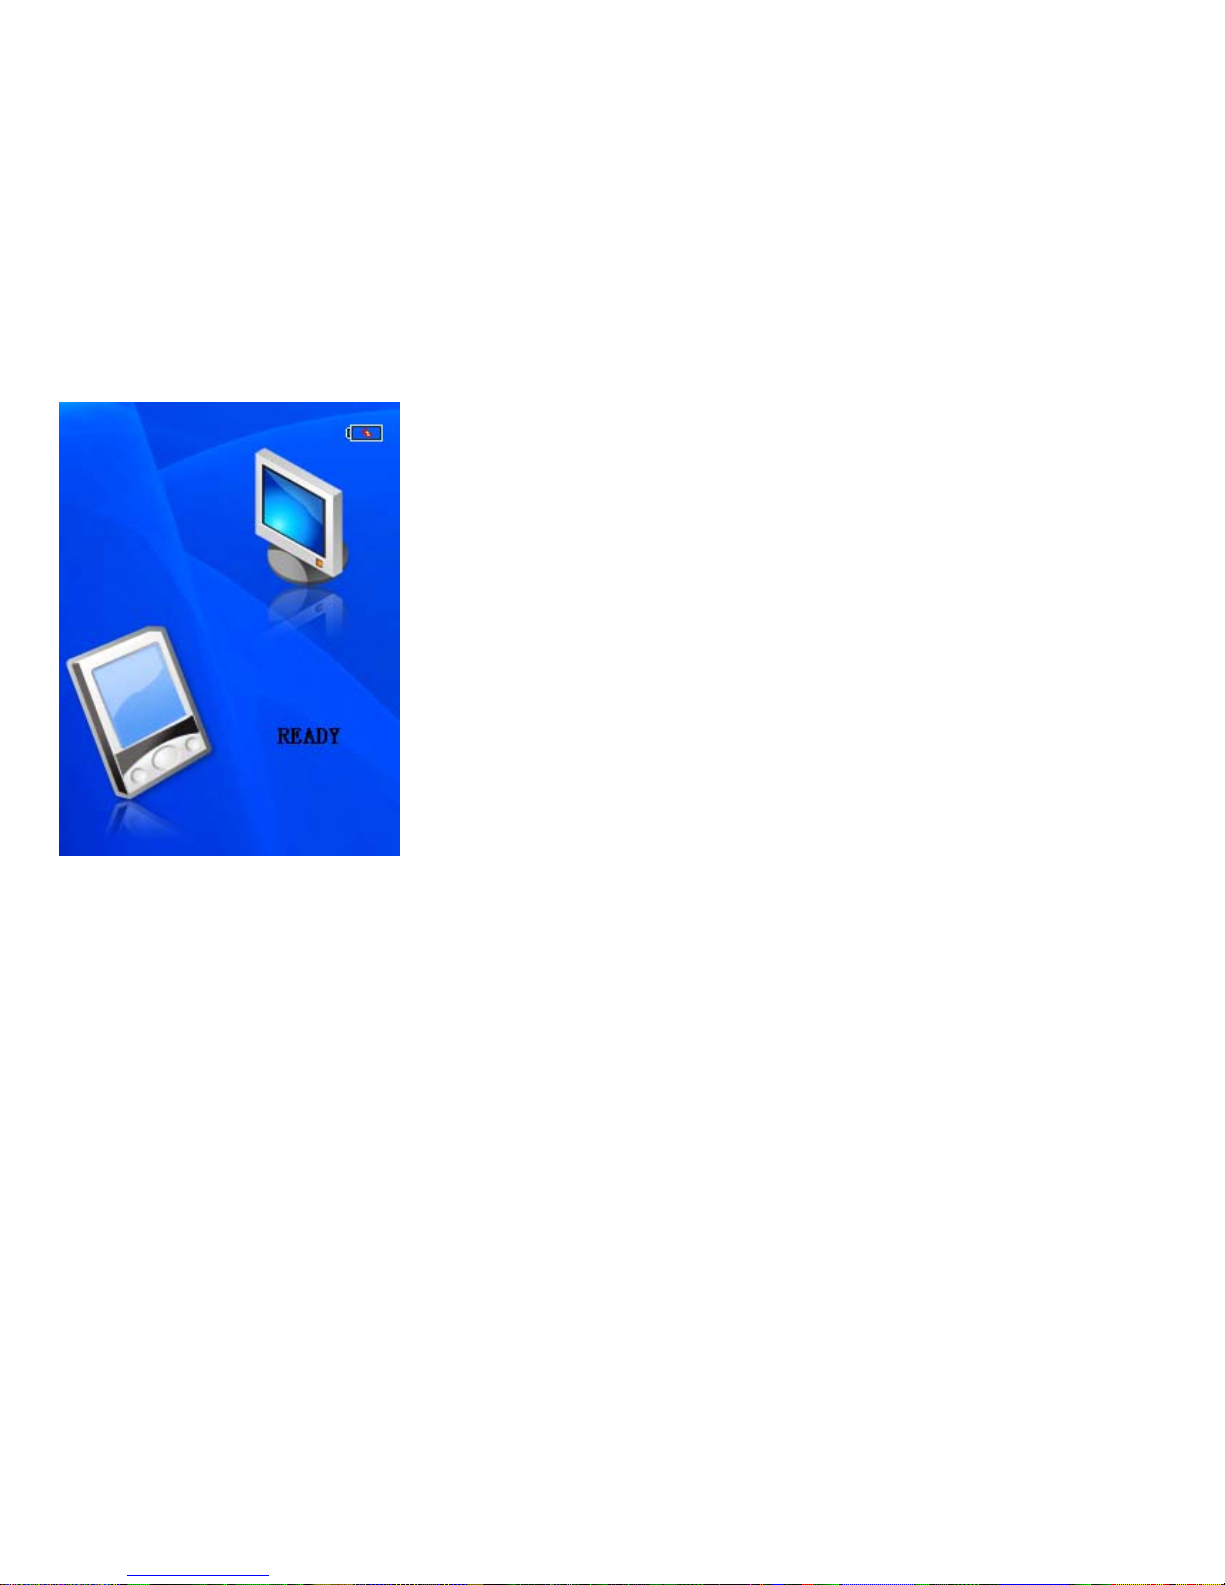
Charging Li–Polymer battery safely
1. Connect the PC USB port and the MP3
player USB port with the provided USB cable,
At this time the screen of your player will
display: READY
2. The charging time is approximately 3 hours,
and the discharge time is 30 hours when
playback audio files, 3 hours when playback
video files.
3. The unit could not be used during charge.
4. To stop recharging, disconnect the USB
cable.
Notes
1. Before your first time use, please recharge your MP3 player.
2. Your computer must be turned on while connected to your player for charging.
CAUTION
1. Danger of explosion if battery is incorrectly replaced. Replace only with the same
or equivalent type.
2. Do not disassemble, crush, short-circuit or incinerate your battery as it may cause
fire, injury, burns, or other hazards.
10
Basic operations
Turn power on
Connect earphones to earphone jack and switch HOLD button to unlock position, then
press
button to power on, it will display Audio Playing mode automatically.
NOTE: The player will power off automatically after a preset period of time in pause mode
(Default time is 2 minutes).
You can select the system menu by touching【
< >】switch:
Audio Playing, Browse, Recording( for MPV41 only), Album, FM Tuner, Settings, Video,
Text reader.
Turn power off
Press and hold
button to turn off the player.
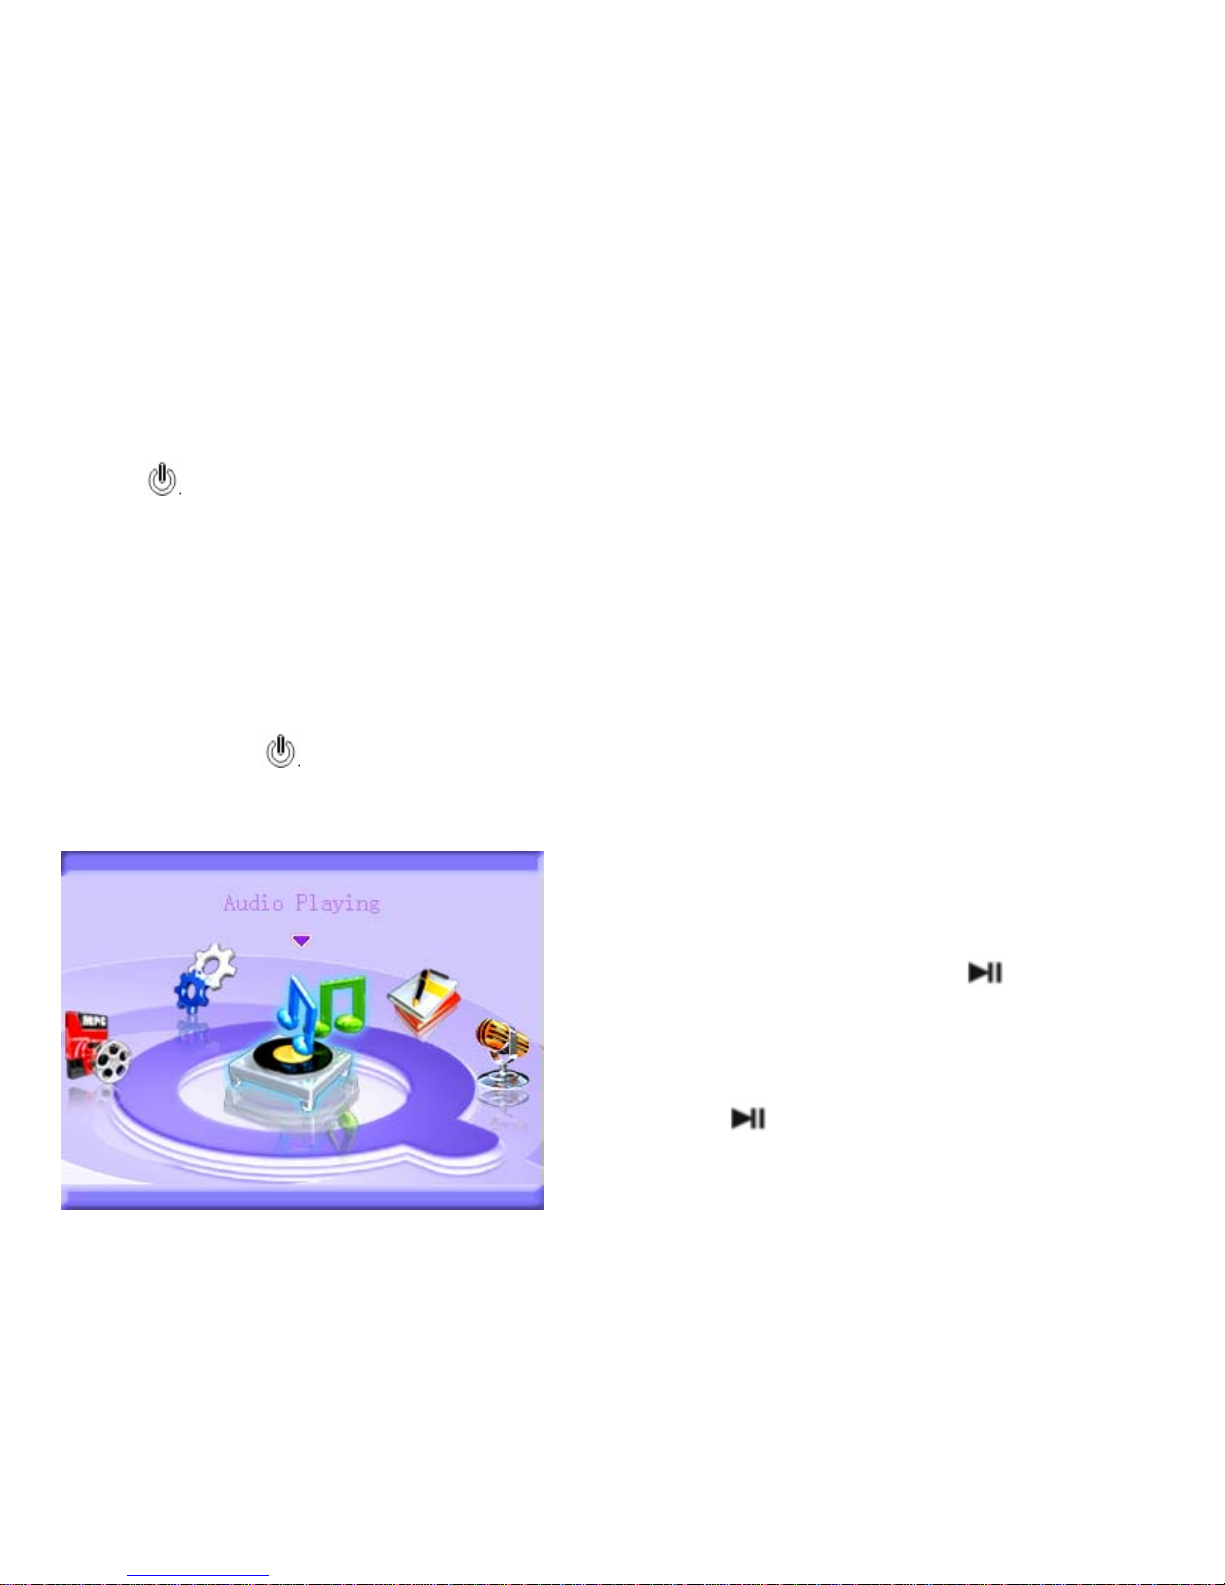
Playback Music
1 Press MENU button to return to Menu
screen.
2 Touch【
< >】 switch to select <Audio
Playing>, then touch
switch to
confirm.
3 Touch【
< >】switch to select one of the
music files in the play list as your opinion.
4 Touch
switch to playback the music
file.

11
NOTE
1. You must add music files into the play list before you can listen to them.
2. You can browse the pictures or read TXT files stored in the player or
setup some parameters of your player while playing music.
Volume Adjustment
In Audio playing, playback video files, or tuning FM radio mode, you can touch【∧∨】
switch to turn up/turn down the volume.
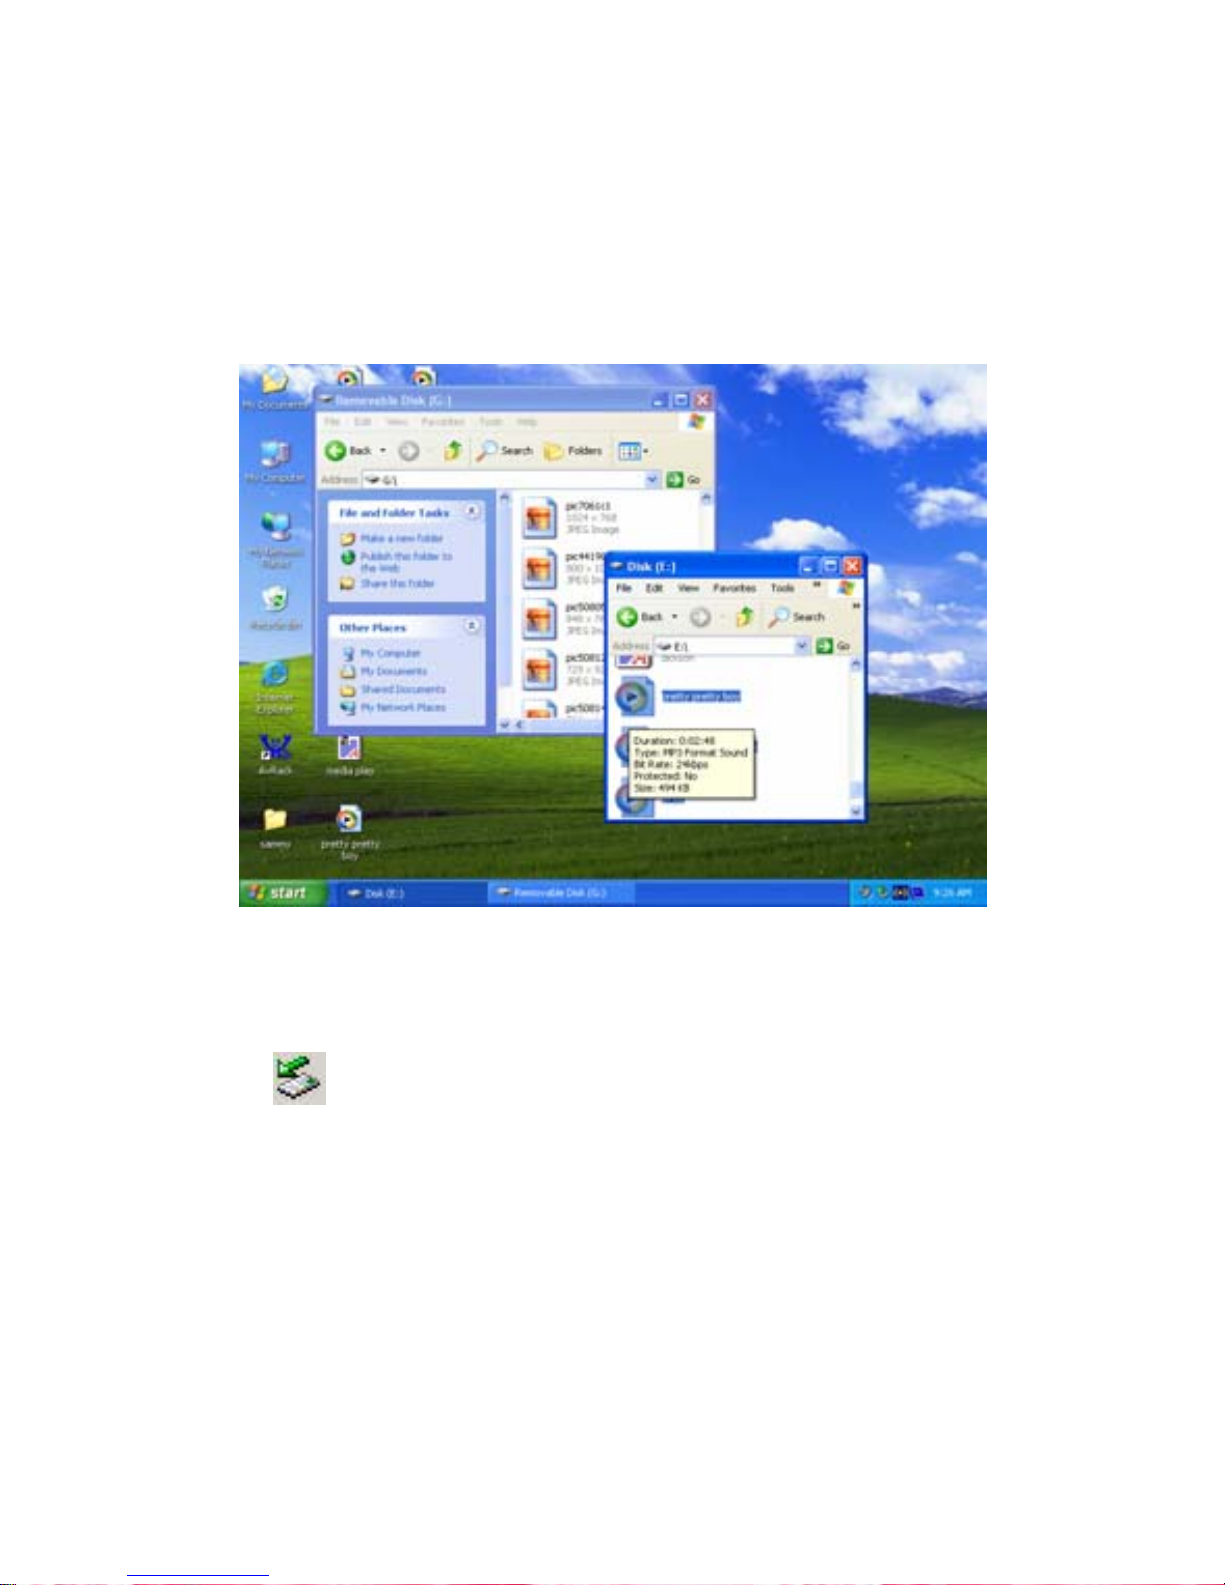
Adding/Removing files/folders – you can use the player as a removable USB storage.
If your PC has not installed Windows Media Pla yer 10, your player will be in MSC
mode while connected with your PC, so you can add/remove files or folders as
following steps:
1. Connect the PC USB port and the MP3 USB port with the provided USB cable.
2. Add MP3 files/folders to the USB storage’s folder.
Ⅰ. Open files/folders to be transferred from your computer.
Ⅱ. Open “My Computer” → “Removable Disk” from the desktop.
Ⅲ. Select the files/folders to be transferred from your computer and draw and put
them to a folder of your choice in the Removable Disk (you also can transfer
files on your PC to the player by using the "Copy" and "Paste" functions).
12
3. Delete MP3 files from the removable USB storage (use the "Delete" command).
Remove the player from PC – please follow the steps in case of damaging the player or
data loss.
1. Click the
icon on the taskbar at the bottom right corner of the desktop.
2. Click the "Safely remove USB Mass Storage Device – Drive (G:)" column.
3. Disconnect the player from your computer.
13
CAUTION:
1. Do not remove the player while files within the USB Mass Storage are being
played on your computer.
2. Do not disconnect the player from your computer while transferring files, or it will
cause damage to the player or data loss.
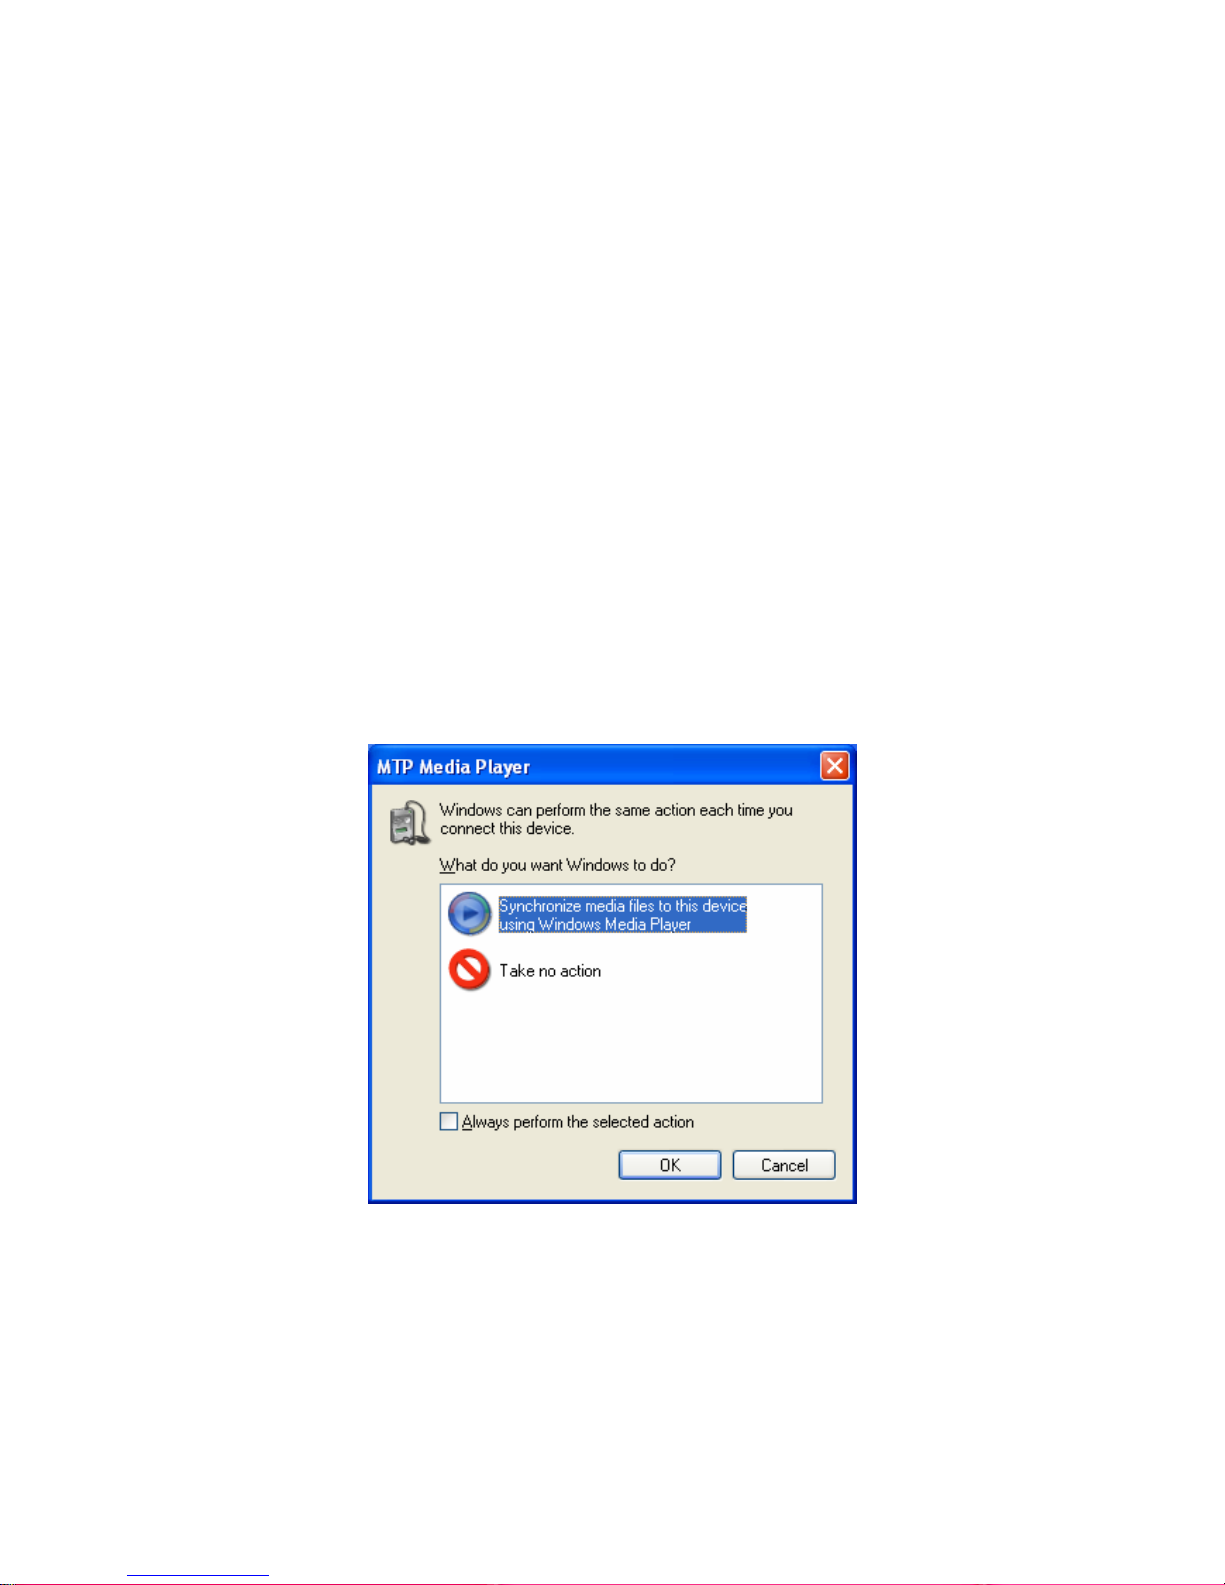
If your PC has installed Windows Media Player 10, your player will be in MTP mode
while connected with your PC, so you can add/remove file s or folders as follo wing
methods:
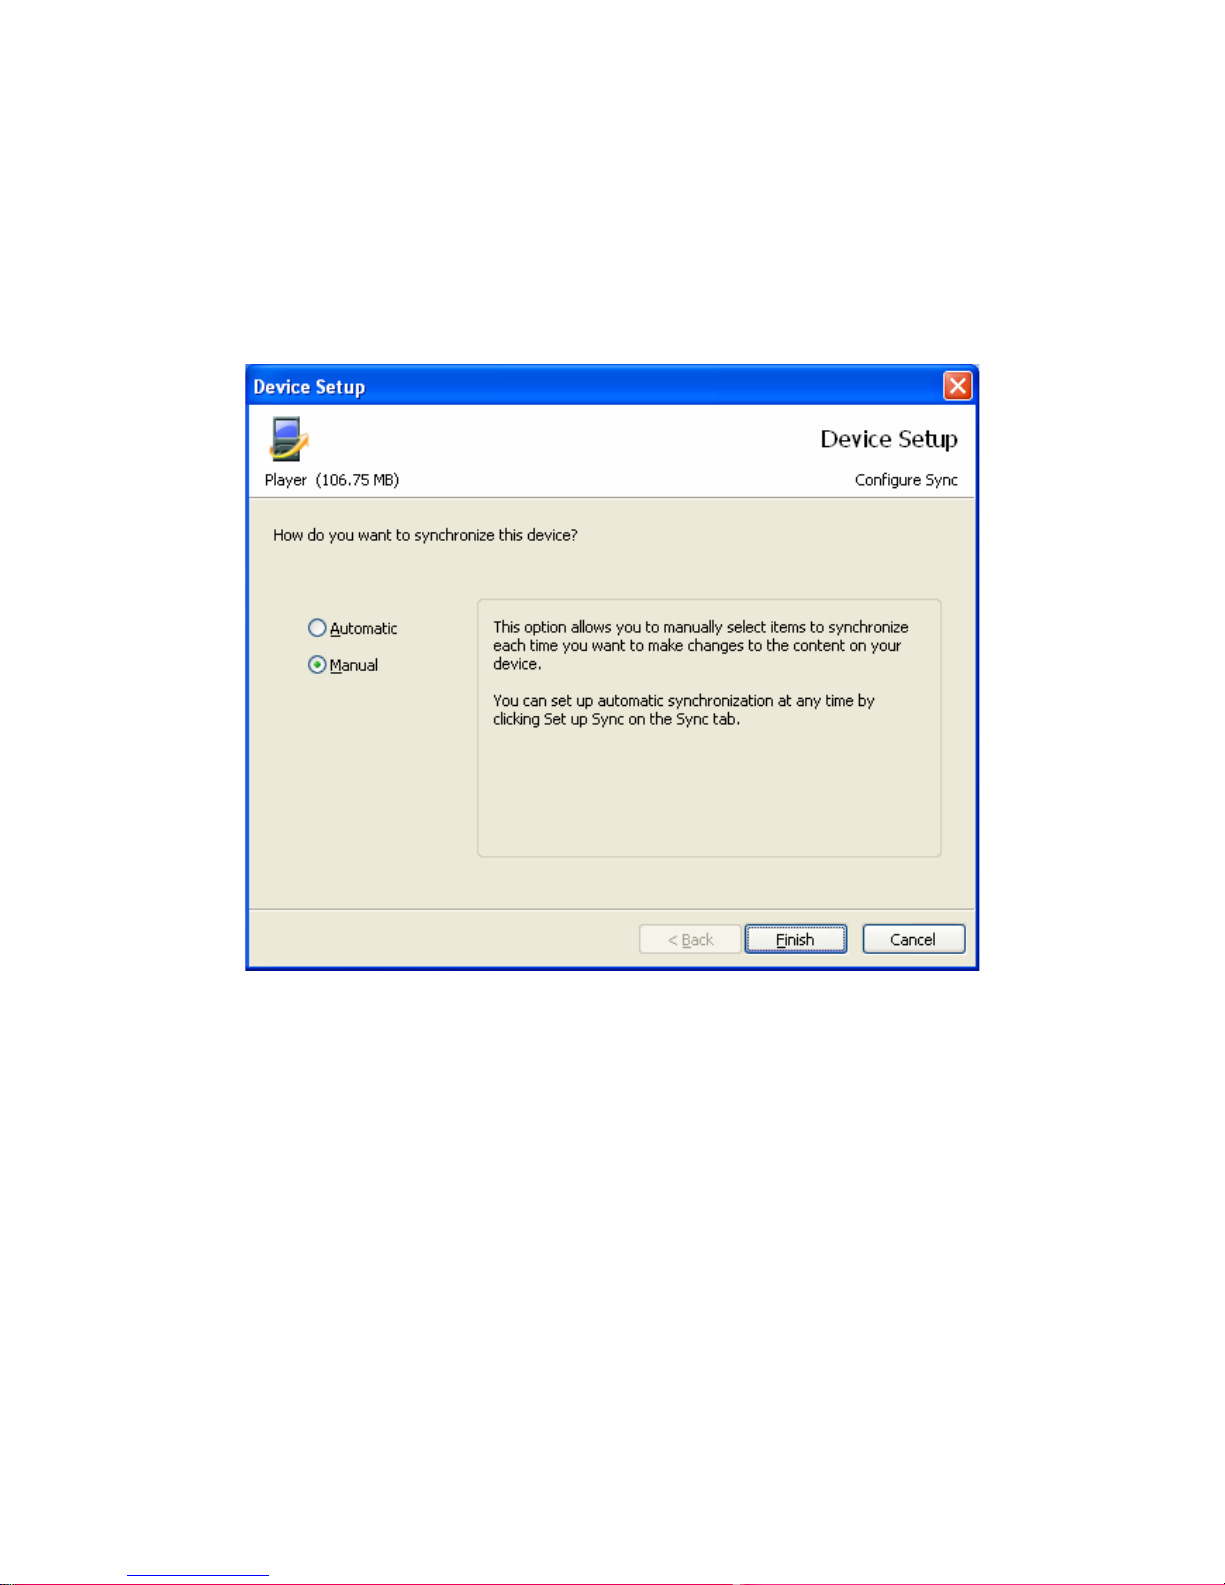
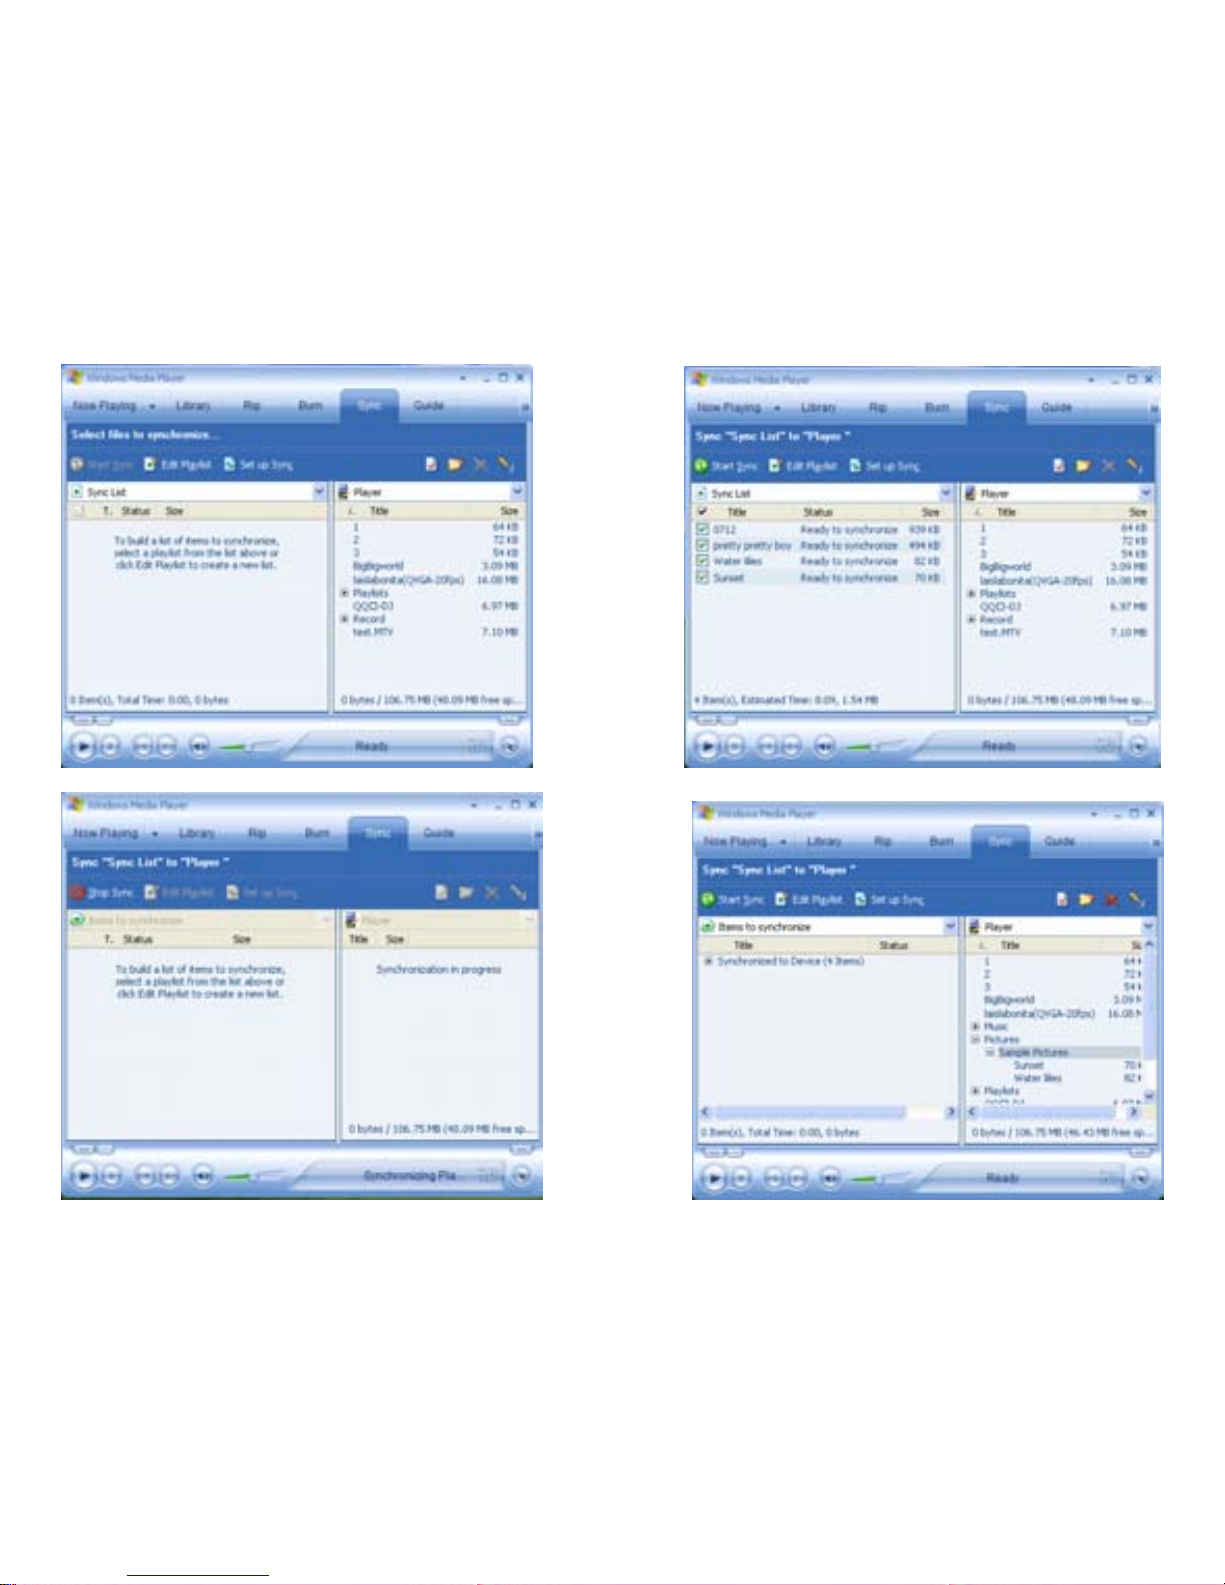
1. Use Windows Media Player 10 <Please refer to: How to synchronize the DRM
songs into your MP4 player?>
14
15

16
2. Open the “MTP Device” in your computer
⑴ Add Media files into the “Media” folder, add other type of files into the
“Data” folder.
 Loading...