

Canon Pro9500 User Manual
Easy-PhotoPrint Pro
Version 1.0
Tutorial
Digital Photo Professional Ver.2.1
®
Adobe
Photoshop® CS/CS2
Easy-PhotoPrint Pro
Contents
Overview of the Easy-PhotoPrint Pro 1
Photo printing work-flow using Easy-PhotoPrint Pro
Install Easy-PhotoPrint Pro 3
Digital Photo Professional
35 mm film single-lens reflex
+ scanner
Adobe Photoshop CS/CS2
Easy-PhotoPrint Pro
Color mode
Monochrome mode
Sheet Printing Paper Dimensions 28-29
RAW Image Adjustment and Picture Style settings
Print RAW images after transferring them directly to Easy-PhotoPrint Pro 5
Convert RAW images to TIFF or JPEG and save them to transfer directly to Adobe® Photoshop® CS/CS2 6
Scan film, then open scanned data using Adobe Photoshop CS/CS2
Add further retouches, then print (Transfer image data directly to Easy-PhotoPrint Pro)
Freely customize colors in PIXMA Pro9500/Pro9000
Enable ICC Profile
Linear Tone
Photo Color
Check "Grayscale Photo"
Getting the right margin
for your photographs
Print with the Color Mode
Printing
Register and call up your settings
Print faithfully to the characteristics of "portrait" or "landscape" in the Picture Style
Accurately print Adobe
Create your favorite picture while adjusting the image for printing
Print images according to your preference for a photograph, based on memory colors.
Print color data in highly expressive black and white gradations without color shift
Print data in your desired colors using Grayscale mode in the Picture Style (Toning effect(None)).
Print data using a filter effect in your desired colors,
using Grayscale mode in the Picture Style (Toning effect(None)).
Printing B/W photographs as beautiful artworks
Use Grayscale mode in the Picture Style to print image data using preferred tones,
such as with sepia, with the colors as they are (Toning effect(On)).
®
RGB (1998) color space
2
4
7
8
9–10
11–12
13
14
15–16
17
18
19-22
23
24-26
27
Canon Inc.
English Version 0.922005
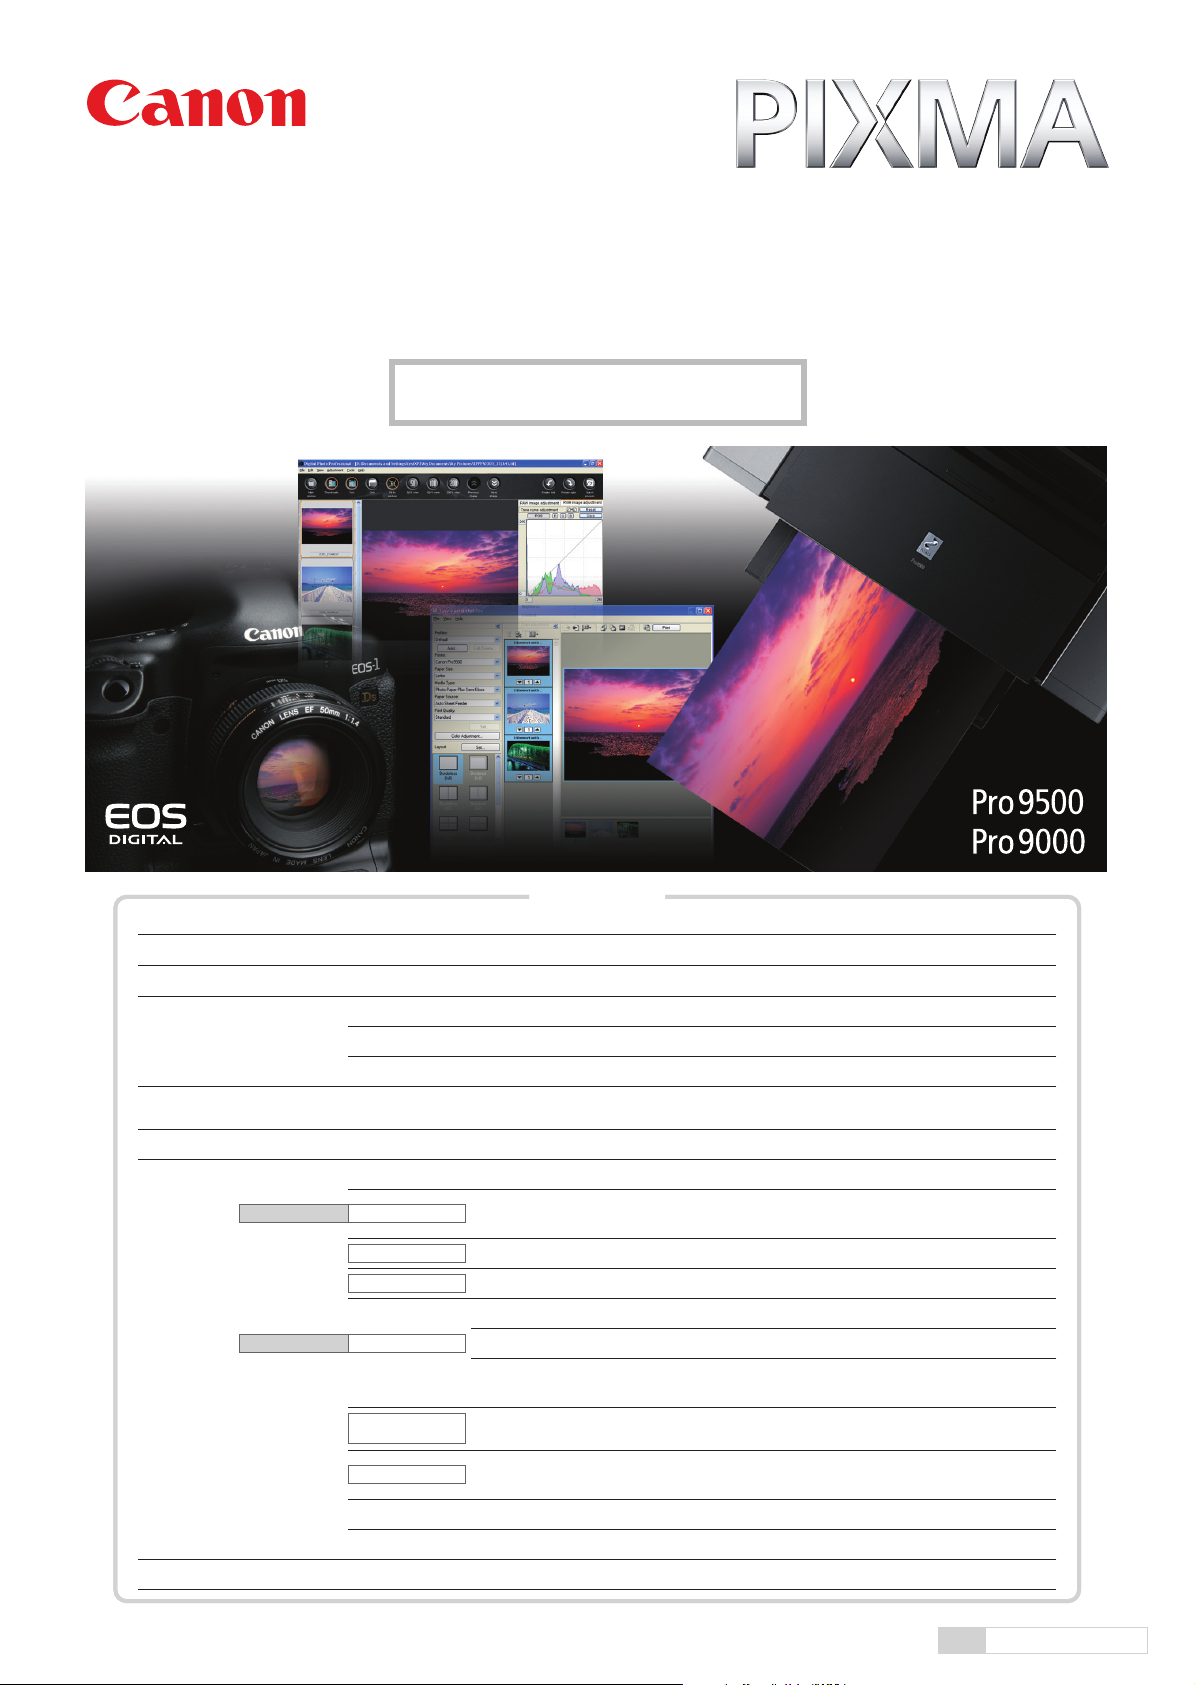
Overview
of the Easy-PhotoPrint Pro
Easy-PhotoPrint Pro is plug-in software for Professional Print.
This powerful software application will satisfy the needs of both professionals and
high-level amateurs by providing effective printing solutions.
PIXUS Pro9500 and Pro9000 professional photo printers support paper sizes larger than A3. These two printers, made
specifically to create photographic works of art, not only enable distinct expressiveness in the final printout, with long shelflife, but they also maximize that performance. This dedicated print software "Easy-PhotoPrint Pro" is bundled to make it easy
for anyone to use these products. That is the essence of the Easy-PhotoPrint Pro. Professionals and high-level amateurs,
including users of the EOS DIGITAL, alike will quickly recognize that the Easy-PhotoPrint Pro eliminates the troublesome and
complicated tasks associated with printing, and that they can easily print out photographs as beautiful as one can imagine.
Startup as plug-in software
Easy-PhotoPrint Pro starts up as a plug-in software program in a version later than Digital Photo Professional Ver.2.1 and in
®
Adobe
Photoshop® CS/CS2. It can directly hand-over image data. Then, after developing and retouching images, this
software application allows you to shift seamlessly and directly to the print work.
Solves problems associated with printing for users of Adobe Photoshop CS/CS2
Specifically, problems like "troublesome print size settings," "can't batch print multiple images," and "color management
settings are complex" are now in the past. Easy-PhotoPrint Pro solves these problems that users of the Adobe Photoshop
CS/CS2 often face when printing.
Faithfully reproduces the original colors found in EOS DIGITAL
Easy-PhotoPrint Pro correctly recognizes the color space information set by Digital Photo Professional or Adobe
Photoshop CS/CS2 and reflects that in the final print, to faithfully reproduce images captured by EOS DIGITAL on the PIXUS
Pro9500/Pro9000.
This not only faithfully reproduces the coloring of the picture style set by Digital Photo Professional, but it also prints with
the wide color space available in Adobe
®
RGB(1998).
New features perfect for creating photographs
Easy-PhotoPrint Pro is provided a whole range of new features developed based on EOS DIGITAL and Adobe Photoshop
CS/CS2 user work-flows. Specifically, this software offers users print modes to satisfy any user need. Users will
immediately find use for features like the "Linear Tone" mode that linearly applies adjustments made to images, or the
"Grayscale Photo" mode that prints authentic looking B/W photographs. Other features include independently setting the
color balance, brightness and contrast of the printer, and registering and calling these settings up.
Easy-PhotoPrint Pro makes it fun and easy to produce beautiful, high-quality photographs.
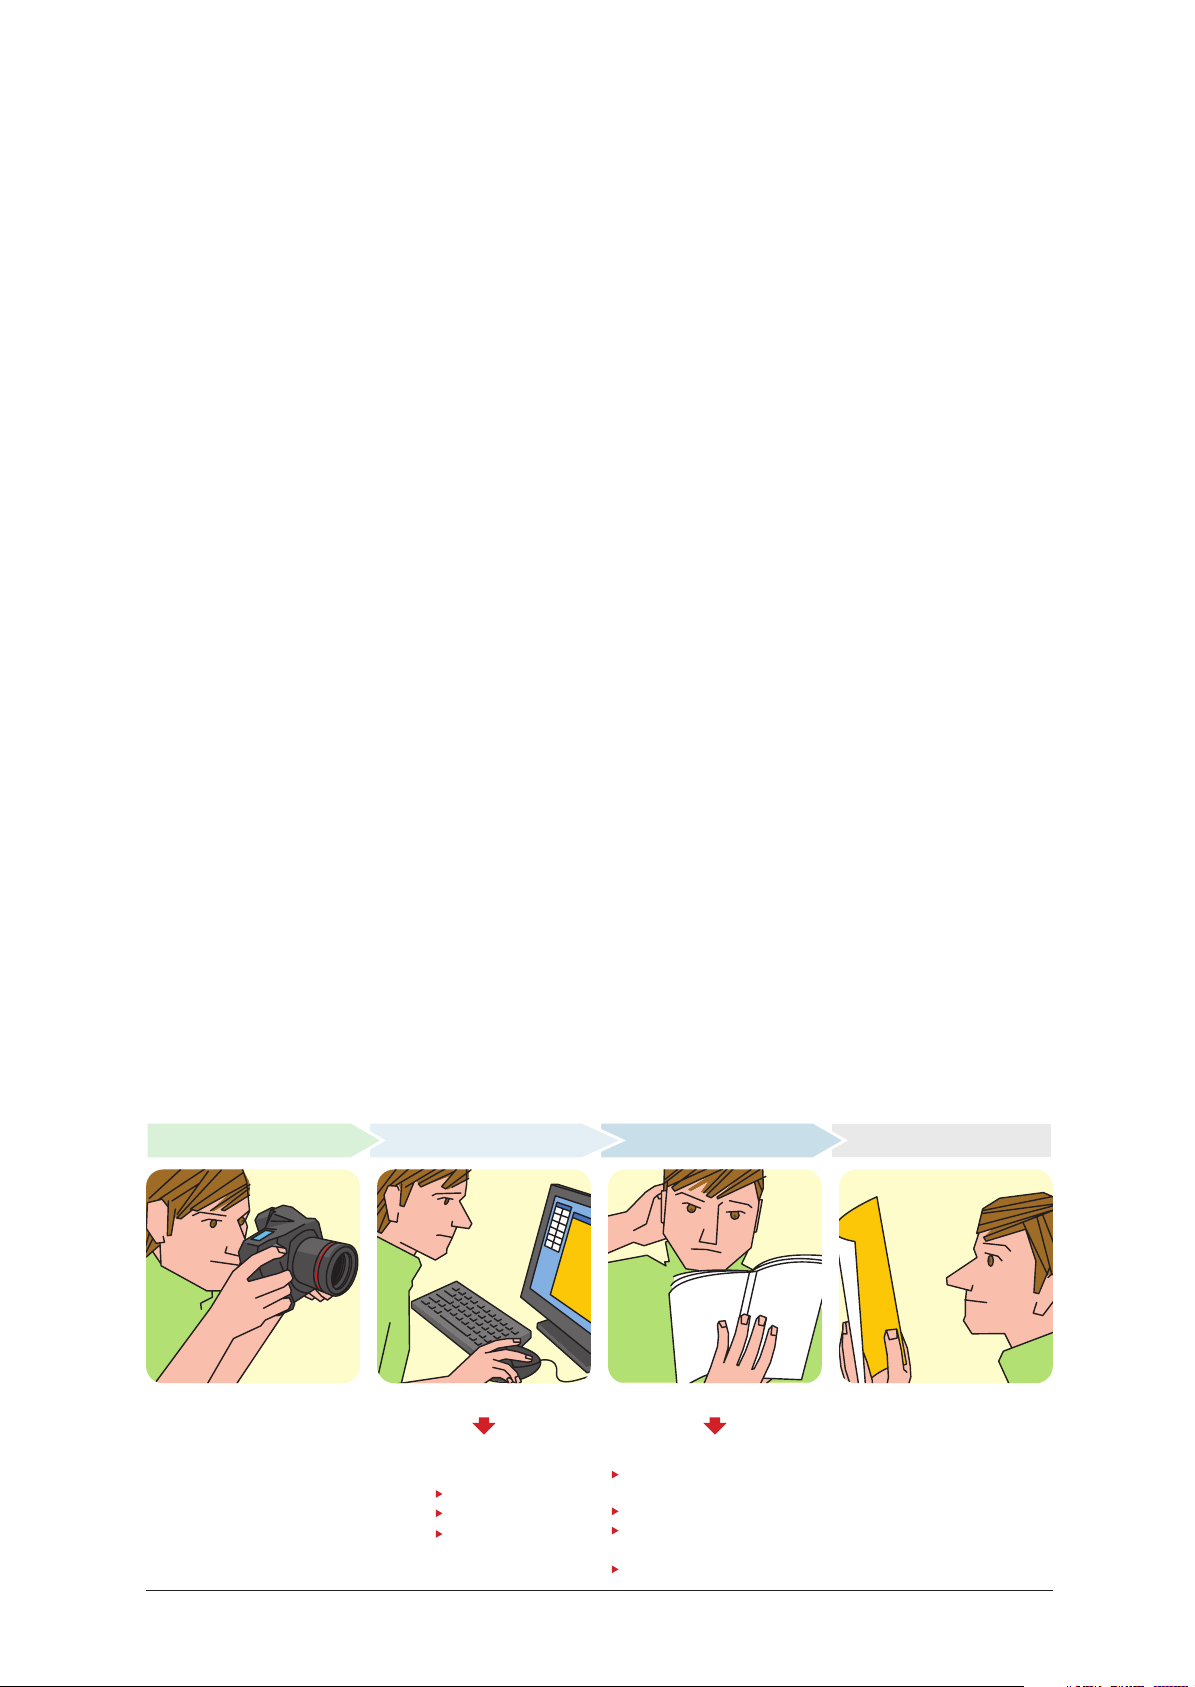
Comfortable, and Easy Photograph Production using the Easy-PhotoPrint Pro
Shooting Retouch Images Set Printing Features Done
Can't Get Your Desired Results
Image Adjustments
on the Easy-PhotoPrint Pro
Color Balance
Brightness
Contrast
Adobe, Adobe Photoshop and Adobe RGB (1998) are either registered trademarks or trademarks of Adobe Systems Incorporated in the United States and/or other countries.
Printer Settings are Troublesome
If You Use the Easy-PhotoPrint Pro
Paper Sizes and Layouts are
Easy to Set
Color Management Settings are Easy
Settings for Beautiful B/W Output
are Easy
Batch Printing of Multiple Images
1

Photo printing work-flow
using Easy-PhotoPrint Pro
Image transfer
Digital single-lens reflex
JPEG
photographs
Digital Photo Professional
1
P4
2
P5
RAW Image Adjustment / Picture Style settings
Image transfer
Seamless linked printing
RAW
photographs
35 mm film single-lens reflex
Convert/Save
RAW images to TIFF or JPEG
3
P6
5
P8
Image transfer
Adobe Photoshop CS/CS2
Retouching/image transfer
Scanner
4
P7
6
P9
color balance, brightness, contrast
7
P11
Print faithfully to the
characteristics of "portrait" or
"landscape" in the Picture Style
Accurately print Adobe
color space
Enable ICC Profile
®
RGB
Easy-PhotoPrint Pro
Color data
Customize printing colors:
14
P23
with the colors as they are.
Color Mode
Color Management
8
P13
Create your favorite picture
while adjusting
the image for printing
Linear Tone Photo Color
Print images according to
based on memory colors.
Plug-in
Use Grayscale mode
in the Picture Style
to print image data
using preferred tones,
such as with sepia,
9
P14
your preference
for a photograph,
10
P15
in highly expressive
10
P15
without color shift
Monochrome
data
Customize printing colors:
color balance, brightness, contrast
Print color data
black and white
gradations
11
P17
12
P18
Monochrome Mode
13
P19
Print data
in your desired colors
using Grayscale mode
in the Picture Style.
Print data
using a filter effect
in your desired colors,
using Grayscale mode
in the Picture Style.
Printing
B/W photographs as
beautiful artworks
15
P24
16
P27
Printing
Registration and call up of settings
2

0
Install Easy-PhotoPrint Pro
With only four easy clicks, you can plug in to and install Digital Photo
Professional and Adobe Photoshop CS/CS2.
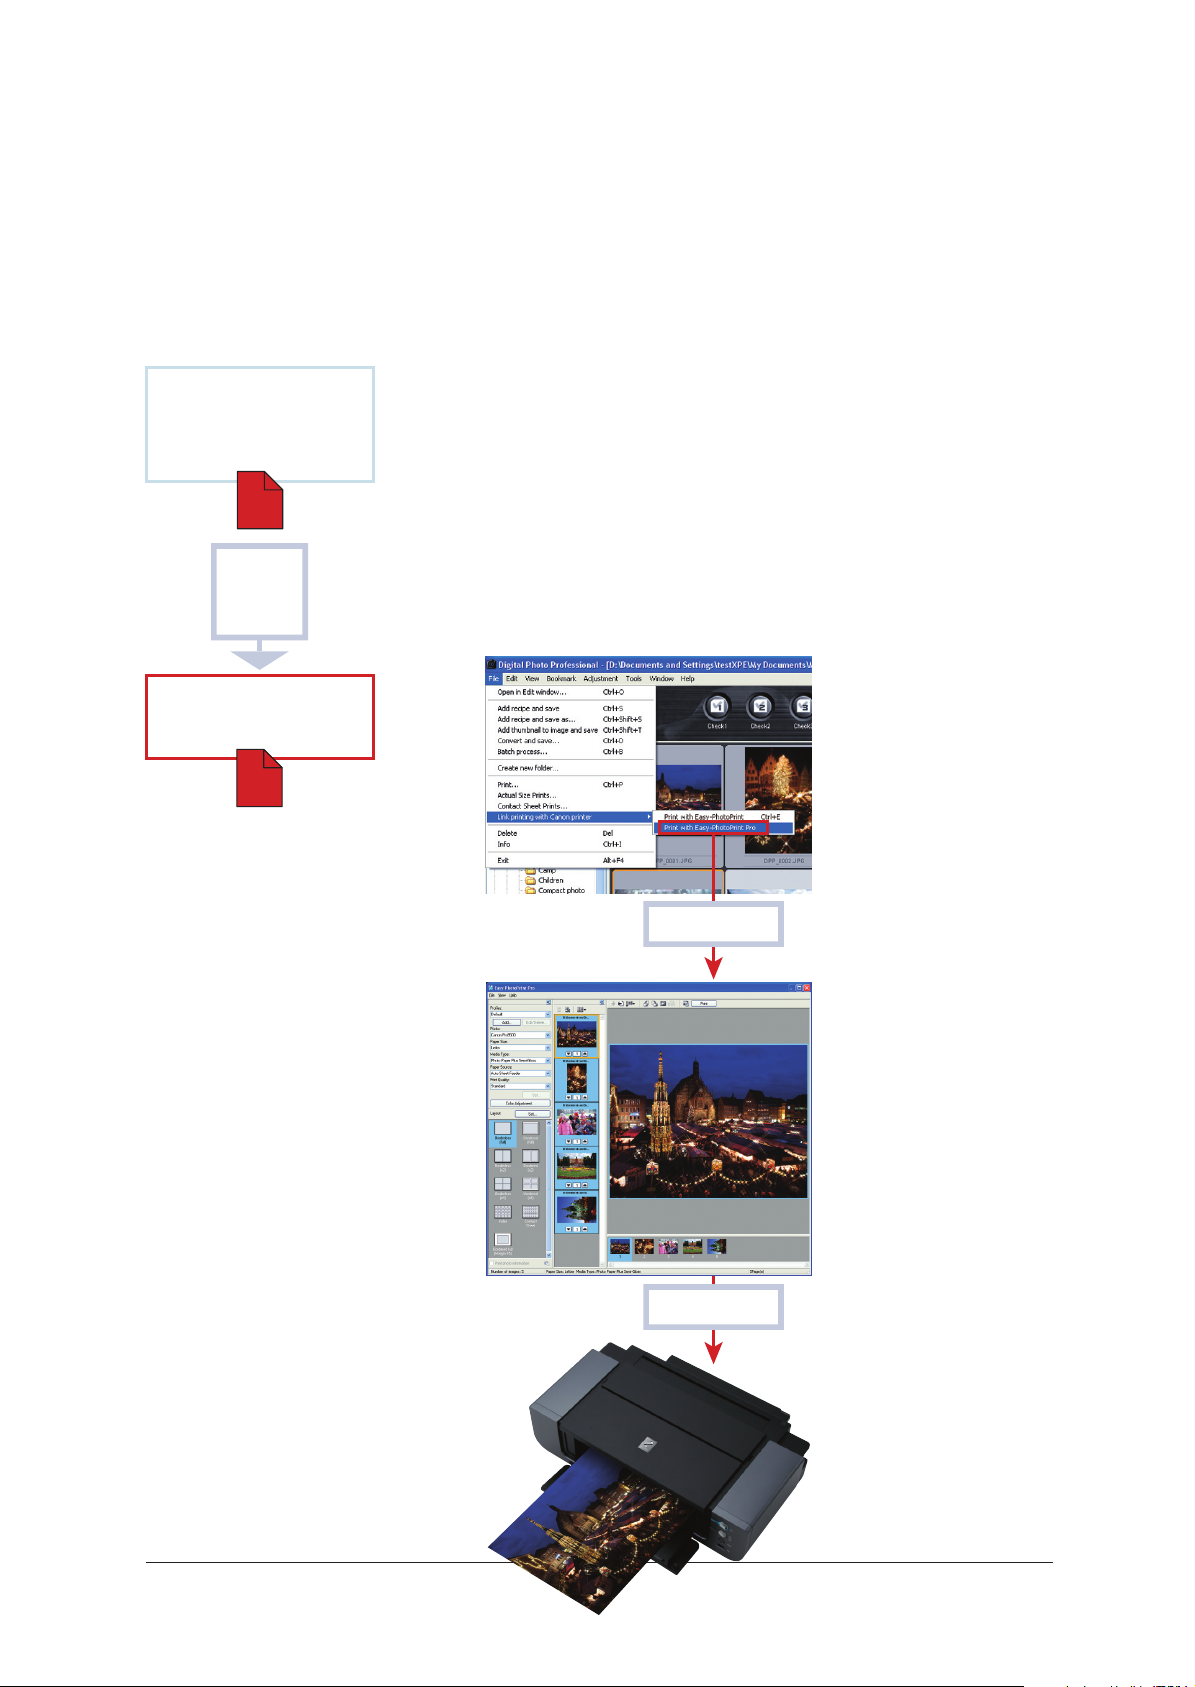
After installation, Easy-PhotoPrint Pro is started from the screen below of Digital Photo Professional Ver.2.1
or Adobe Photoshop CS/CS2.
Digital Photo Professional Ver.2.1
Select[File] [Link printing with Canon printer]
[Print with Easy-PhotoPrint Pro].
Adobe Photoshop CS/CS2
Select[File] [Automate]
[Easy-PhotoPrint Pro].
3
Digital Photo Professional
1
RAW Image Adjustment and Picture Style settings
Adjust RAW images
Digital Photo Professional (bundled with the EOS Digital cameras) is
software that is provided a high-speed RAW developing process, and image
adjusting function that realize a working environment suitable for a
professional work-flow. This includes an editing screen that allows high-
speed previews and multiple image display, and a comparison function
RAW photographs
RAW
Digital
Photo Professional
Ver.2.1
allowing the photographer to compare images before and after adjustments
have been made.
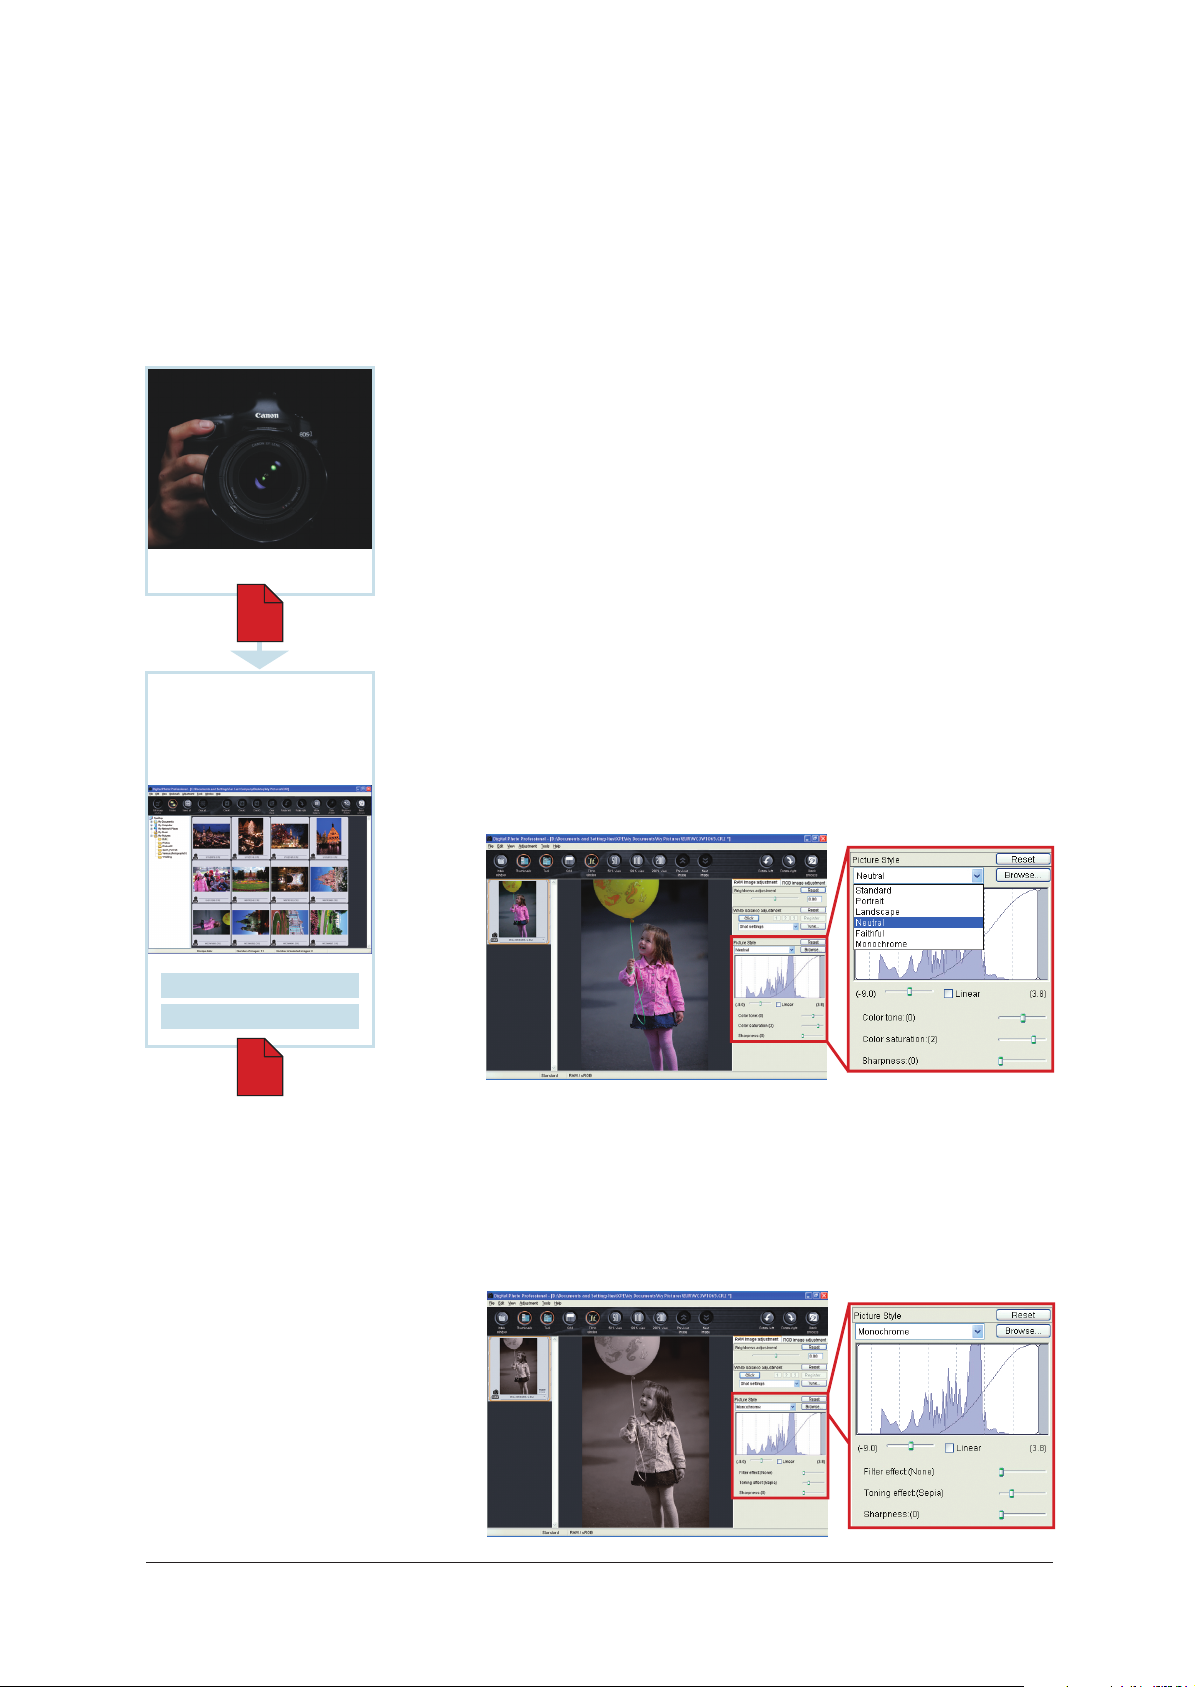
Picture Style
Digital Photo Professional Ver.2.1 uses Picture Style to adjust RAW images.
This allows the photographer to reset Picture Styles for RAW images of EOS-
1D Mark II N/EOS 5D/EOS 30D, and to reflect preferred Picture Styles onto
RAW images captured by an EOS DIGITAL that is not provided with the Picture
Style function. This also allows making adjustments of hue, saturation etc.
Image adjustment
Picture Style
RAW
Digital Photo Professional adjusts RAW
images and saves them as recipes in
separate files.
Set to "Monochrome" in Picture Style
While this can set images to general monochrome, it also enables the user
to apply filter effects of yellow, orange, red and green to the images.
Additionally, using the toning effect allows you to change images into a
monotone in such as sepia and blue.
4
Digital Photo Professional
2
Print RAW images after transferring them directly to Easy-PhotoPrint Pro
Digital
Digital Photo Professional and Easy-PhotoPrint Pro,
Linking these enables printing of RAW images.
Photo Professional
"
Ver.2.1
RAW
RAW image
transfer
To print data of images photographed in RAW format, I have to develop the
images, and then convert them to TIFF or JPEG. So, it takes a lot of effort, and is
quite a bother." Digital Photo Professional and Easy-PhotoPrint Pro will change
all that. By linking these two applications together, you can print RAW images
using PIXMA. This takes away the trouble of converting original data to TIFF or
JPEG images and saving them to print by another application. Furthermore,
RAW images can be transferred directly from Digital Photo Professional Ver.2.1
to Easy-PhotoPrint Pro with one click, without having to be saved.
Easy-PhotoPrint Pro
RAW
RAW image transfer
RAW image print
Digital Photo Professional Ver.2.1
Easy-PhotoPrint Pro
5

Digital Photo Professional
3
Convert RAW images to TIFF or JPEG and save them to
transfer directly to Adobe Photoshop CS/CS2
Digital
Retouch using Adobe Photoshop CS/CS2,
then convert RAW images to TIFF or JPEG and save them.
Photo Professional
Ver.2.1
RAW
Convert/Save
JPEG 8/16bit
TIFF
Image data
transfer
Photographers that want to make further, more detailed retouches using
Adobe Photoshop CS/CS2, use Digital PhotoProfessional to adjust the RAW
images, then convert them to JPEG or 8/16 bit TIFF format for saving. Select
[Convert and save...] from the [File] to develop images one at a time, or select
[Batch process...] to develop a number of images all at once.
Adobe Photoshop
CS/CS2
JPEG 8/16bit
TIFF
Transfer converted and saved RAW images to
Adobe Photoshop CS/CS2
Digital Photo Professional enables transferring files converted to JPEG or
8/16 bit TIFF format to Adobe Photoshop CS/CS2. Select the image, then
simply click [Transfer to Photoshop] in the [Tools] menu. This offers a simple
way to automatically transfer images.
Digital Photo Professional Ver.2.1
Adobe Photoshop CS2
6
35 mm film single-lens reflex + scanner
4
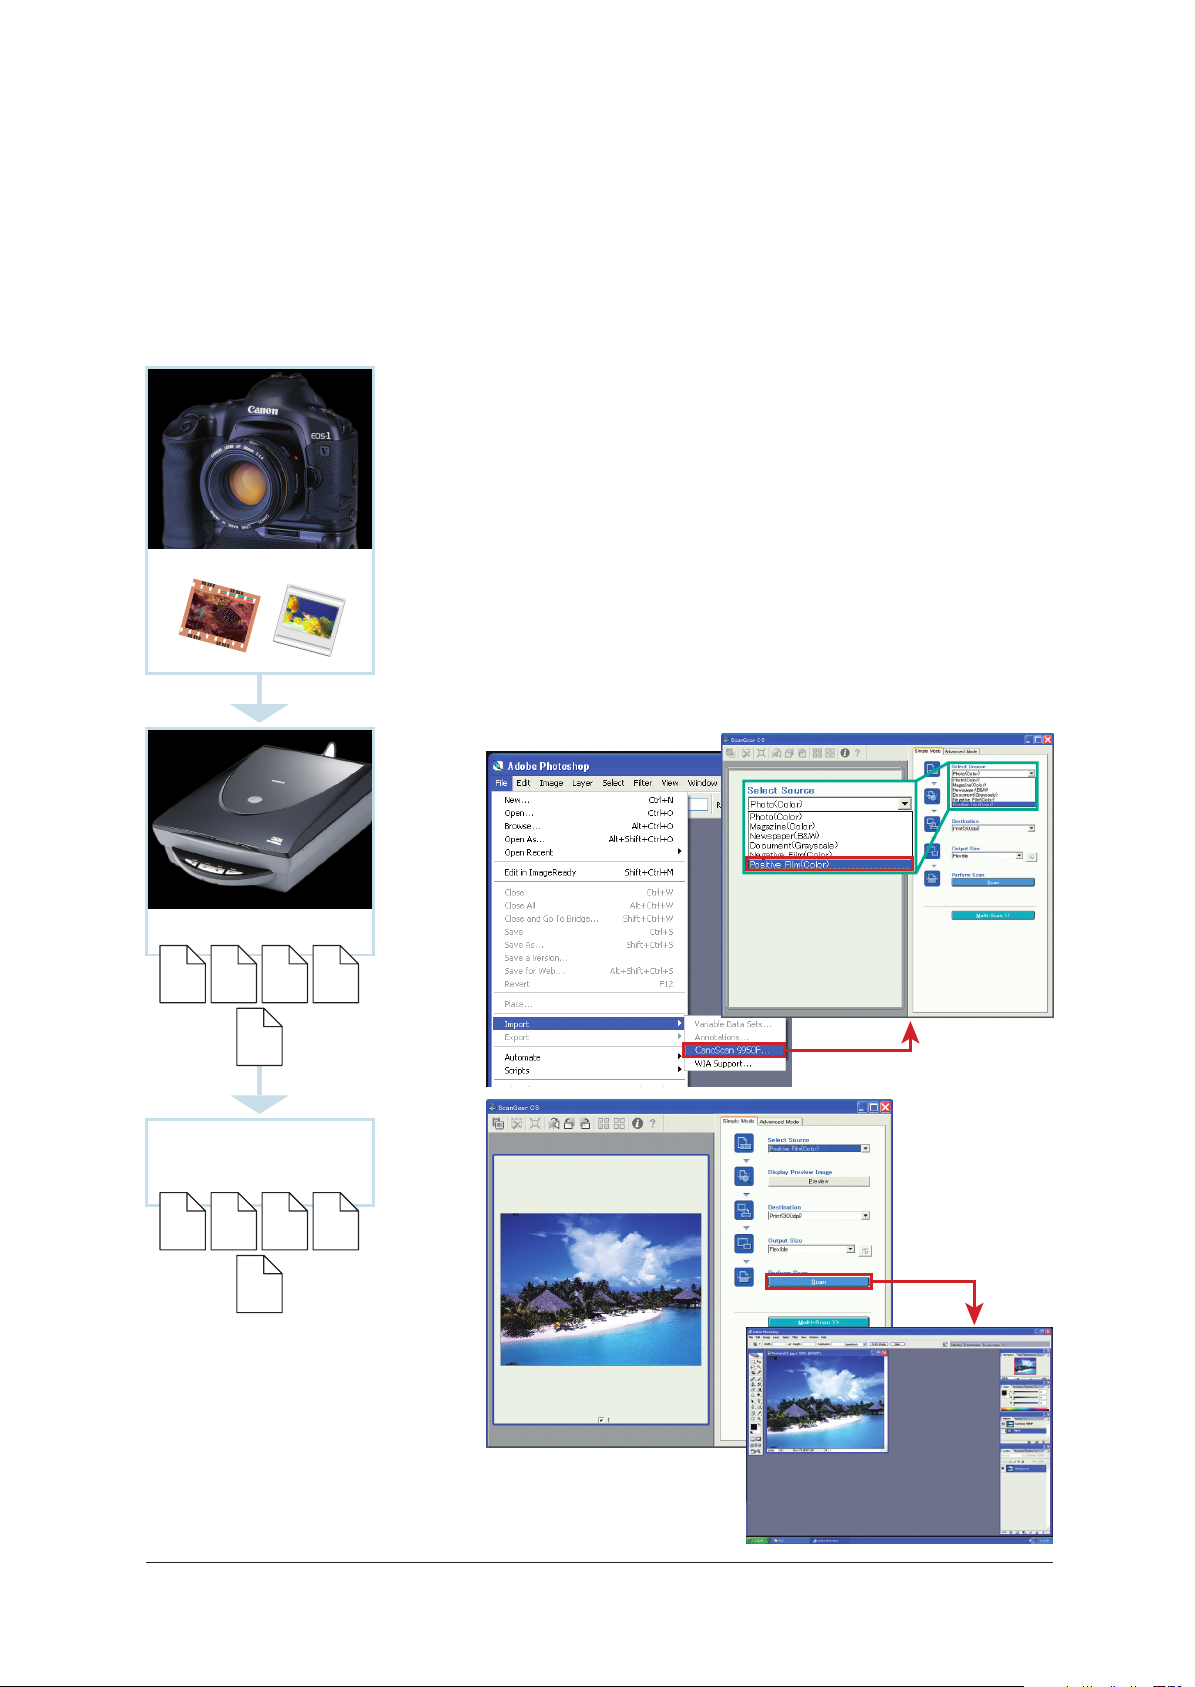
Scan film, then open scanned data using Adobe Photoshop CS/CS2
When printing images captured by a standard film camera, use a scanner to
load image data to Easy-PhotoPrint Pro via Adobe Photoshop CS/CS2.
If using CanoScan9950F, ScanGear CS starts up by selecting [CanoScan9950F]
from [Import] in the [File] menu of Adobe Photoshop CS/CS2. Select source
(negative or positive film), and click the preview button to check the image.
Film photographs
Then, click the scan button to scan the image. The scanned image will open in
Adobe Photoshop CS/CS2.
(See the following page for details on how to transfer images from Adobe
Photoshop CS/CS2 to Easy-PhotoPrint Pro.)
ScanGear CS
Adobe Photoshop CS2
Scan
EPS PSDJPEG 8/16bit
TIFF
Other
RGB
formats
Adobe Photoshop
CS/CS2
EPS PSDJPEG 8/16bit
TIFF
Other
RGB
formats
ScanGear CS
Adobe Photoshop CS2
7
Adobe Photoshop CS/CS2
5
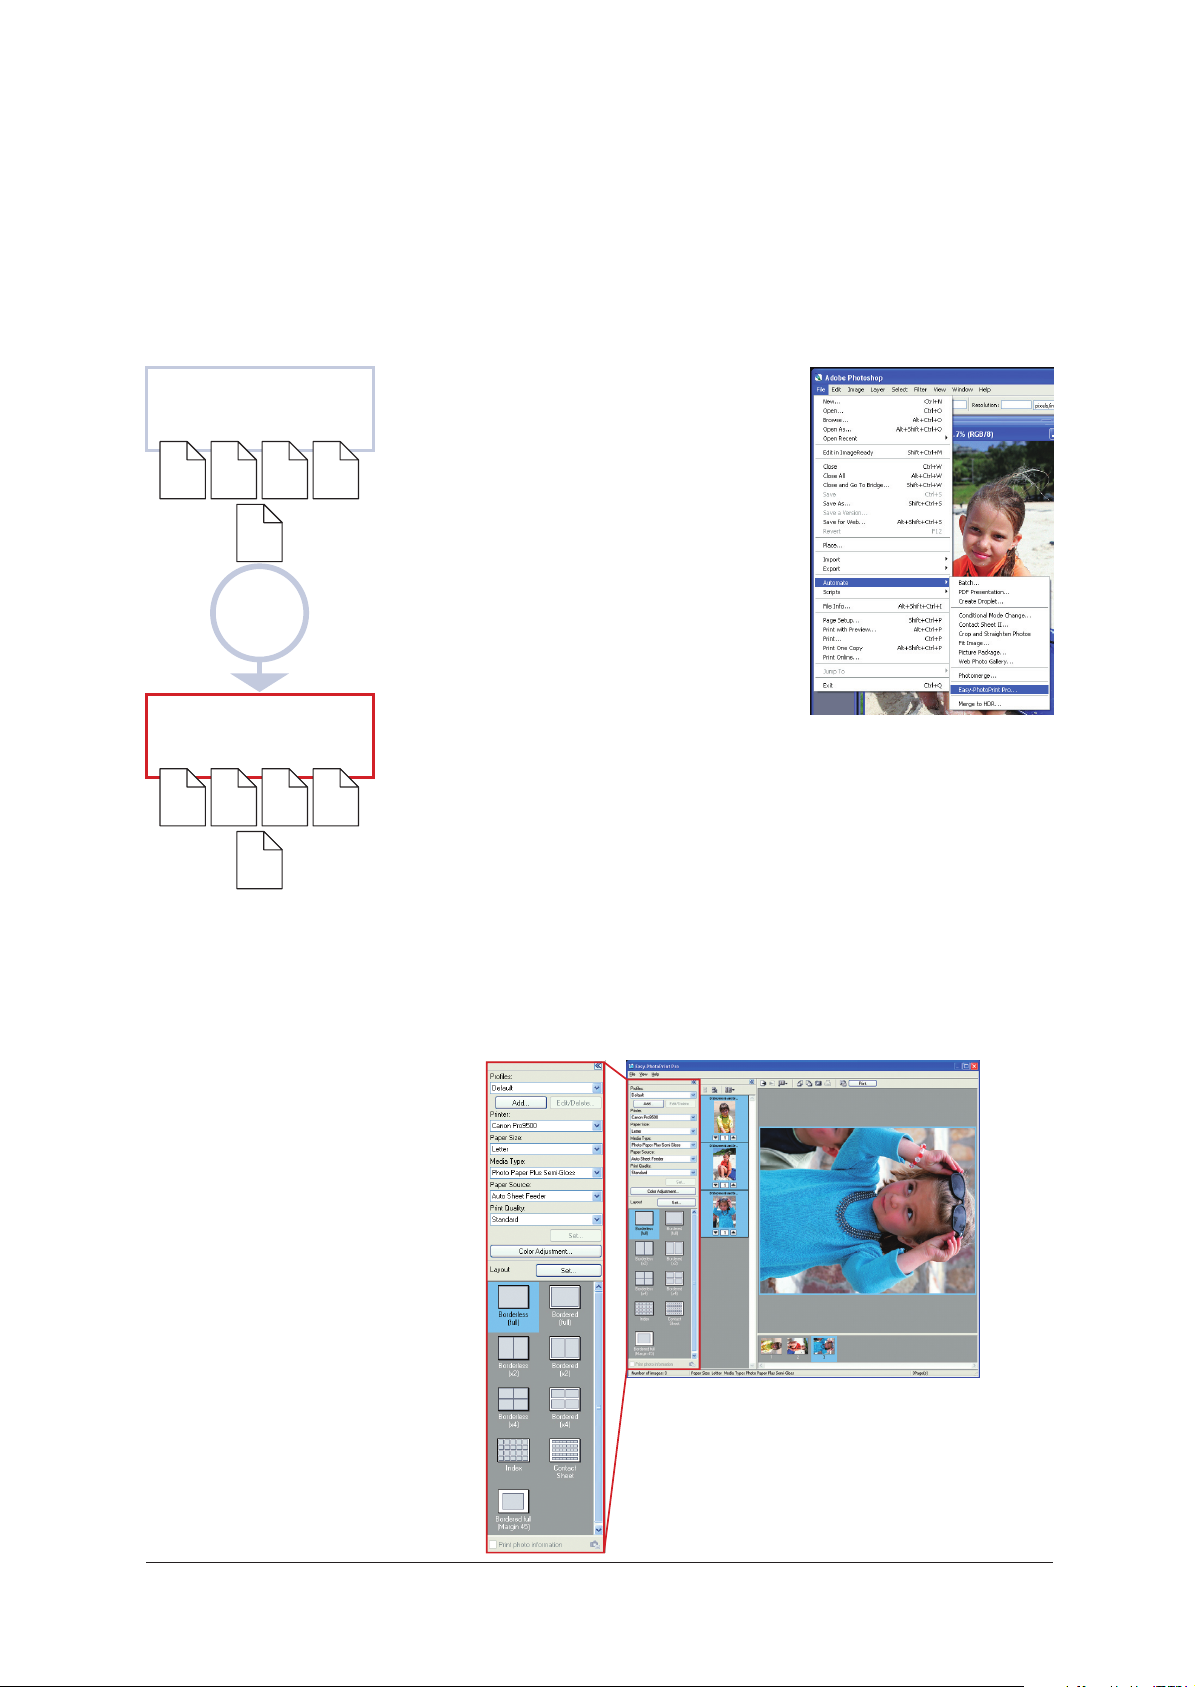
Add further retouches, then print
(Transfer image data directly to Easy-PhotoPrint Pro)
Photoshop
®
Start Easy-PhotoPrint Pro plug-ins
from Adobe Photoshop CS/CS2
CS/CS2
Transfer images retouched using Adobe
EPS PSDJPEG 8/16bit
TIFF
Other
RGB
formats
Plug-in
startup
Easy-PhotoPrint Pro
EPS PSDJPEG 8/16bit
TIFF
Photoshop CS/CS2 to Easy-PhotoPrint Pro.
This offers seamless transfers simply by
clicking [Automate] in the [File] menu in
Adobe Photoshop CS/CS2, then [Easy-
PhotoPrint Pro]. Then, shift to your print
work. This easy-to-use application is like
Adobe Photoshop CS/CS2's printing
function has been upgraded.
Batch transfer images opened
using Adobe Photoshop CS/CS2 to Easy-PhotoPrint Pro
You can batch-transfer up to 400 images for display. Furthermore, it handles all file
formats (PSD, EPS etc.) supported by Adobe Photoshop CS/CS2 in the RGB format.
Other
RGB
formats
Easy print settings for simple, carefree printing work
When printing from Adobe Photoshop, there were many complicated tasks like
making complex settings for print layouts and color management. Another problem
was that multiple printings could not be performed at one time. Easy-PhotoPrint
Pro solves all those issues. All print-related tasks for Adobe Photoshop CS/CS2
users are now uniformly controllable with Easy-PhotoPrint Pro, a unified
management solution.
Images are displayed in the order in which the images were created
using Adobe Photoshop CS/CS2.
All images are set to print one-at-a-time in default.
8

Easy-PhotoPrint Pro
6
Freely customize colors in PIXMA Pro9500/Pro9000
Independently set and register color settings
Easy-PhotoPrint Pro
Color Balance Adjustment
in the printer driver
With Easy-PhotoPrint Pro, colors can be freely adjusted in the PIXMA
Pro9500/Pro9000. Adjustments include Color Balance, Brightness and
Contrast. This new system reflects the user's intended coloring, by allowing
color settings for specific types of art paper, or creating colors finely-tuned
for each object of shooting.
Color Balance Adjustment
1. Slide bars
For users who have specific target/intented colors in mind, slide bars are
provided to make fine adjustments to cyan, magenta and yellow values.
2. Pattern Print
For users that are not quite sure which color value to increase or decrease,
or would like to preview the changes first on the actual printout, "Pattern
Print" function is offered. This automatically creates simulated images with
varying color balance as specified by the user, and prints out the results on a
sheet of paper. Users can then determine color balance after previewing
that printout. Users can also keep the printed sheet for another print
opportunity, so that they can reproduce the same settings as a basis for a
new color adjustment.
Print All Directions
Single Hue
(Example: print in Direction R)
InputInput
The cyan, magenta and yellow parameter values are
printed out right below each image. That way, users
can simply type in those values to return the color
balance to their preferred one.
Prints samples where yellow, red, magenta,
blue, cyan and green are varied based on the
original image (shown in the red frame). This
allows users to select their most preferred
coloring by checking the actual printout,
including slight color differences.
Users that want to make even more detailed
changes to the color balance can use the
function that prints samples where yellow,
red, magenta, blue, cyan and green can be
individually varied. When wanting to
increase red, choose to print in Direction R
and up to 48 simulated images are output.
Original image is at the bottom left.
9
 Loading...