

Canoga Perkins HS8000 Quick Start Manual

Quick Start Guide
HS8000 Hardened
10/100 Ethernet Switch
Overview
This document provides instructions for installation and initial configuration of the Canoga
Perkins model HS8000 Hardened 6-port 10/100 Ethernet Switch. The HS8000 is suitable for use
in environments with inhospitable high / low temperatures providing two built-in 100Mbps full
duplex switched fiber ports. These fiber ports are coupled with six switched 10/100Mbps copper
(RJ45) ports for easy connectivity to local nodes and devices.
The HS8000 is available with AC or DC power, which can be easily deployed in an existing and
mixed vendor Ethernet network. The software supports managed edge-switch functions including
Menu-driven User Interface for ease of use, SNMP, QoS, Telnet, Password Security, Port
Settings Control, Spanning Tree Protocol, Port-based VLAN, BootP / DHCP etc. The two built-in
fiber ports are designed with full-duplex 100Mbps switched capability, and the six copper (RJ-45)
ports come with full / half-duplex-10/100 auto-negotiating ability.
Parts List
1 x HS8000-S-MP62-AC (Six UTP ports, two 20km singlemode optical ports, AC power)
or
1 x HS8000-S-MP62-12VDC (Six UTP ports, two 20km singlemode optical ports, DC power)
1 x AC power cord
1 x DB9 EIA 232 null modem cable (female to female, not included)
1 x Small flat head screwdriver (for DC powered switches)
Step 1: Unpacking
Unpack the HS8000 and check the unit for damage. If the unit is damaged, contact Canoga
Perkins’ Tech Support line, (800) 360-6642, and ask for an RMA.
Step 2: Power Up
Initial set up consists of power up and configuring the unit through the user interface. To power
up the AC powered HS8000, install the output cord from the Power Source module to the switch
and hand tighten it. See figure 1. Plug in the provide AC power cord to an AC outlet and the
input of the HS8000 Power Source.
Canoga Perkins Corporation, 20600 Prairie Street, Chatsworth, CA 91311-6008
Phone: (818) 718-6300, FAX (818) 718-6312 www.canoga.com
P/N 6943465 Rev A Page 1 of 7

Figure 1. AC powered HS8000
This section describes the proper connection of the DC leads to the DC power terminal block on
the HS8000. The DC terminal block is located on the left front of the unit and is equipped with
three screw-down lead posts. The power terminals are identified as positive (+) and negative (-),
and they are floating inside the unit so that either may be grounded by the user if desired. The
chassis is “earth” or ground (GND).
Simply insert the DC leads to the power terminals, positive (+) and negative (-) screws. The use
of Ground (GND) is optional and connects to the chassis of the switch. Ensure that each lead is
securely tightened. When power is applied, the green PWR LED will illuminate.
Step 3: Management Access
To access the user interface of the HS8000, a VT100 session must be created through
HyperTerminal or a comparable VT100 terminal. Connect a DB-9 EIA-232, null modem cable
from your PC or laptop (COM 1 or any open COM port) to the console port of the switch.
Canoga Perkins Corporation, 20600 Prairie Street, Chatsworth, CA 91311-6008
Phone: (818) 718-6300, FAX (818) 718-6312 www.canoga.com
P/N 6943465 Rev A Page 2 of 7
Figure 2. DC terminal block for the HS8000
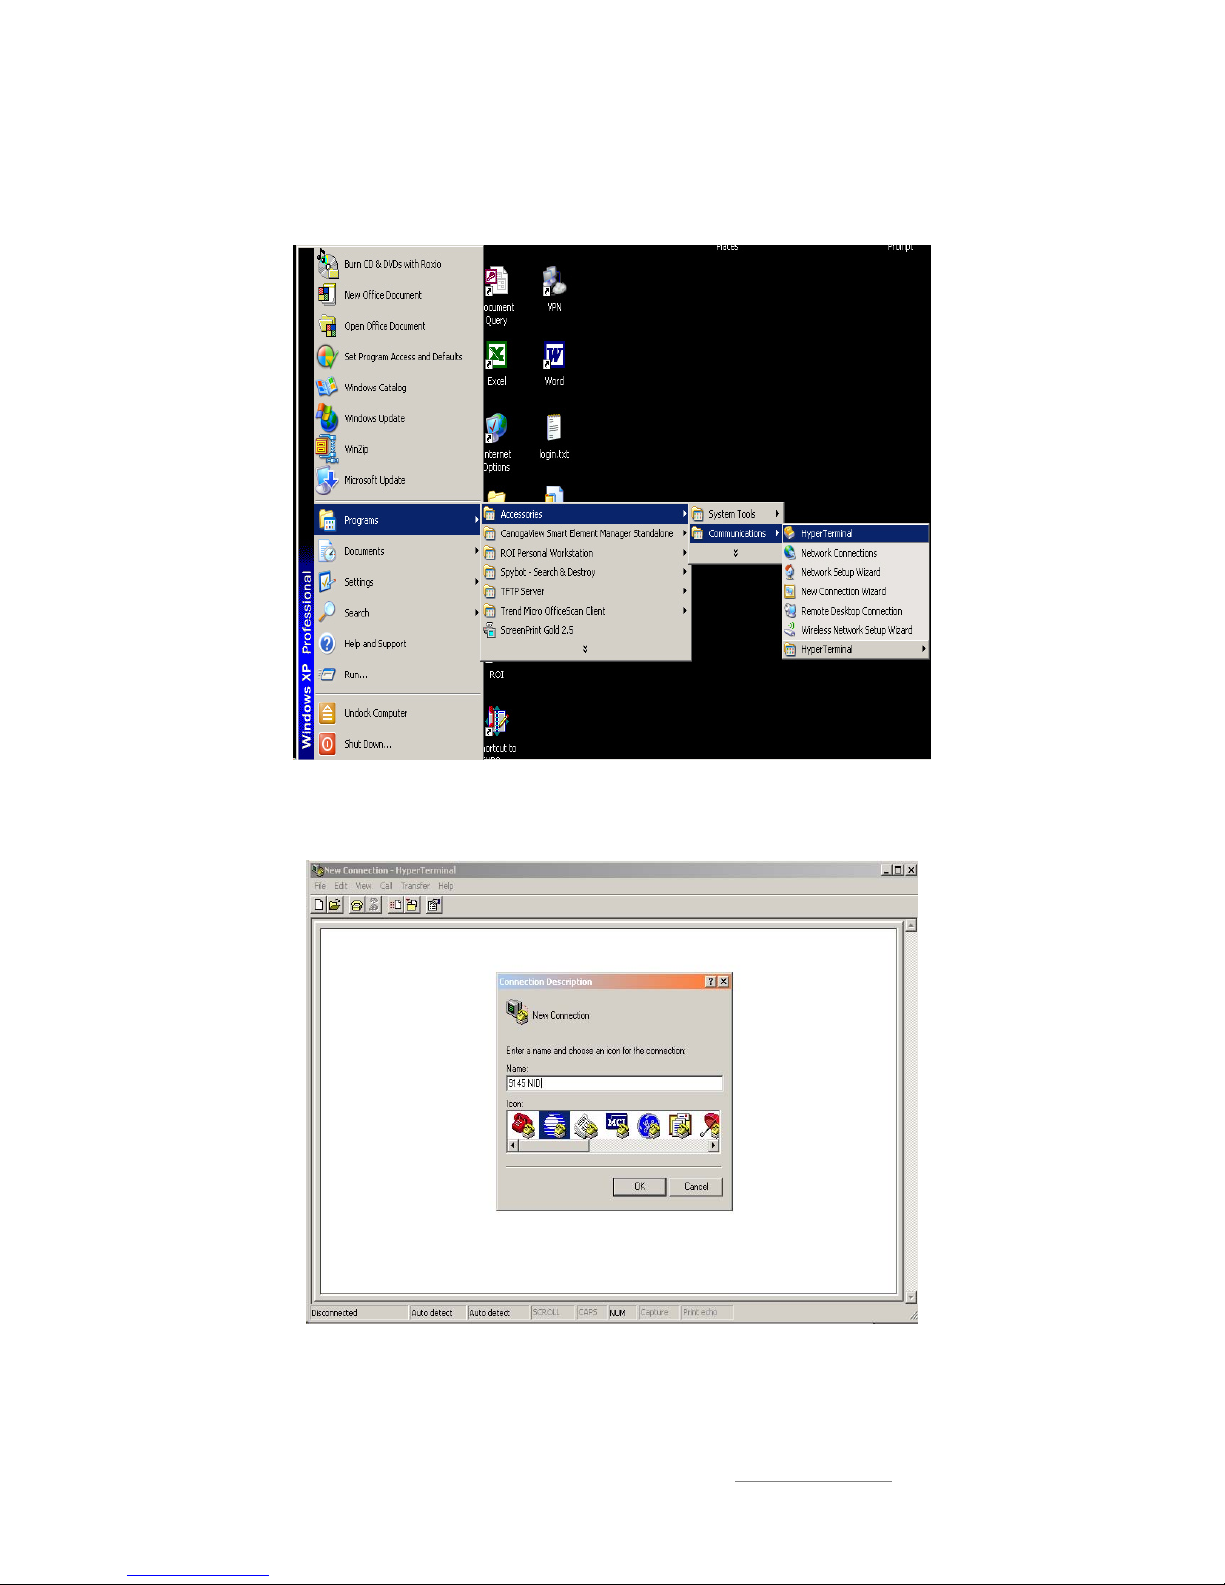
Create a HyperTerminal session from your laptop or terminal through the
Programs/Accessories/Communications/HyperTerminal menu.
Figure 3. Accessing HyperTerminal
Assign an icon and a name for the session.
Figure 4. Connection Properties
After a name and icon is assigned, the COM port properties menu will appear. Configure the
connection settings to the following values:
Canoga Perkins Corporation, 20600 Prairie Street, Chatsworth, CA 91311-6008
Phone: (818) 718-6300, FAX (818) 718-6312 www.canoga.com
P/N 6943465 Rev A Page 3 of 7
 Loading...