

Page 1

D807e / D807es
Tumbler Dryer
INSTRUCTION MANUAL
:
Made in China
WWW.CAMPOMATIC.COM
Page 2

D807e / D807es
2
English .................................................................................................................... 2
French ..................................................................................................................... 22
Electric diagram
ENG
Page 3
D807e / D807es
3
Possible electric shocks
ENG
Page 4
D807e / D807es
4
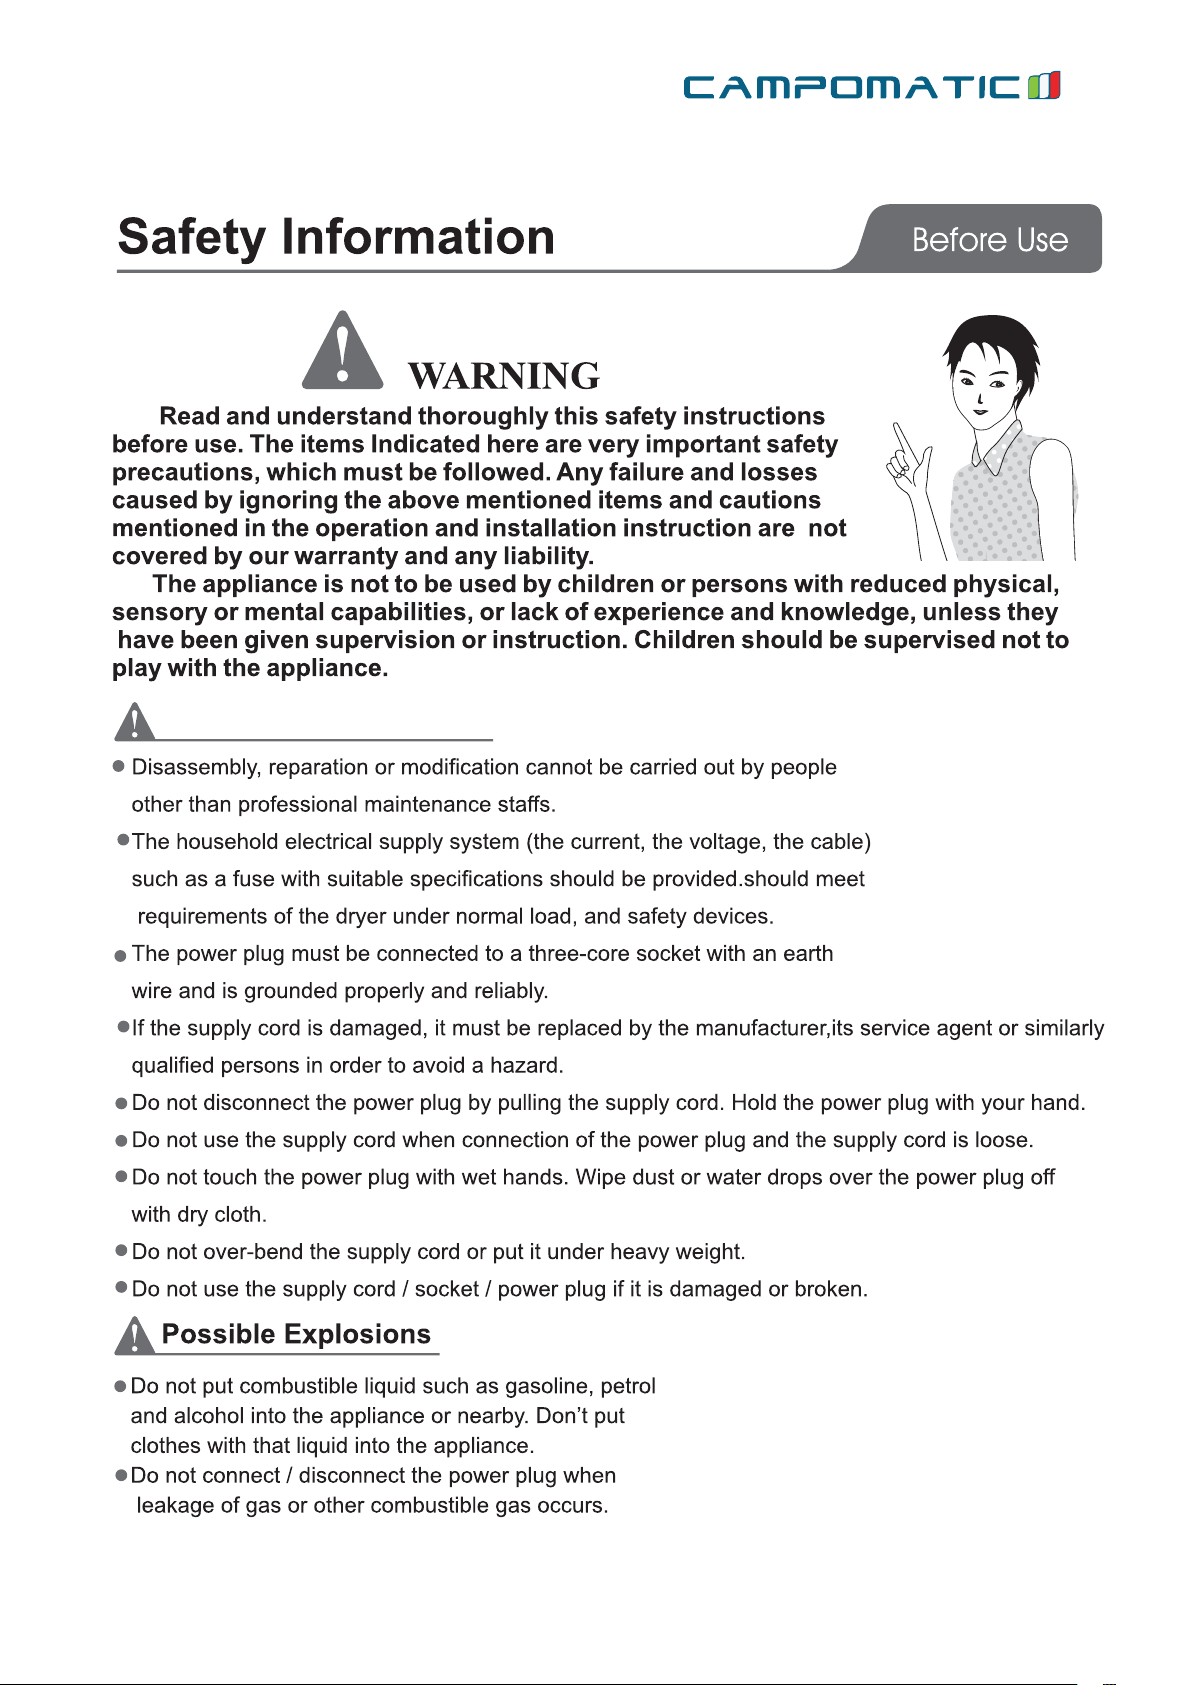
This appliance is not intended for use by persons (including children) with reduced physical,
sensory or mental capabilities, or lack of experience and knowledge, unless they have been
given supervision or instruction concerning use of the appliance by a person responsible for
their safety.
ENG
Page 5

D807e / D807es
5
This appliance is designed for domestic use.It must not be used for purposes other than those for
which it was designed.
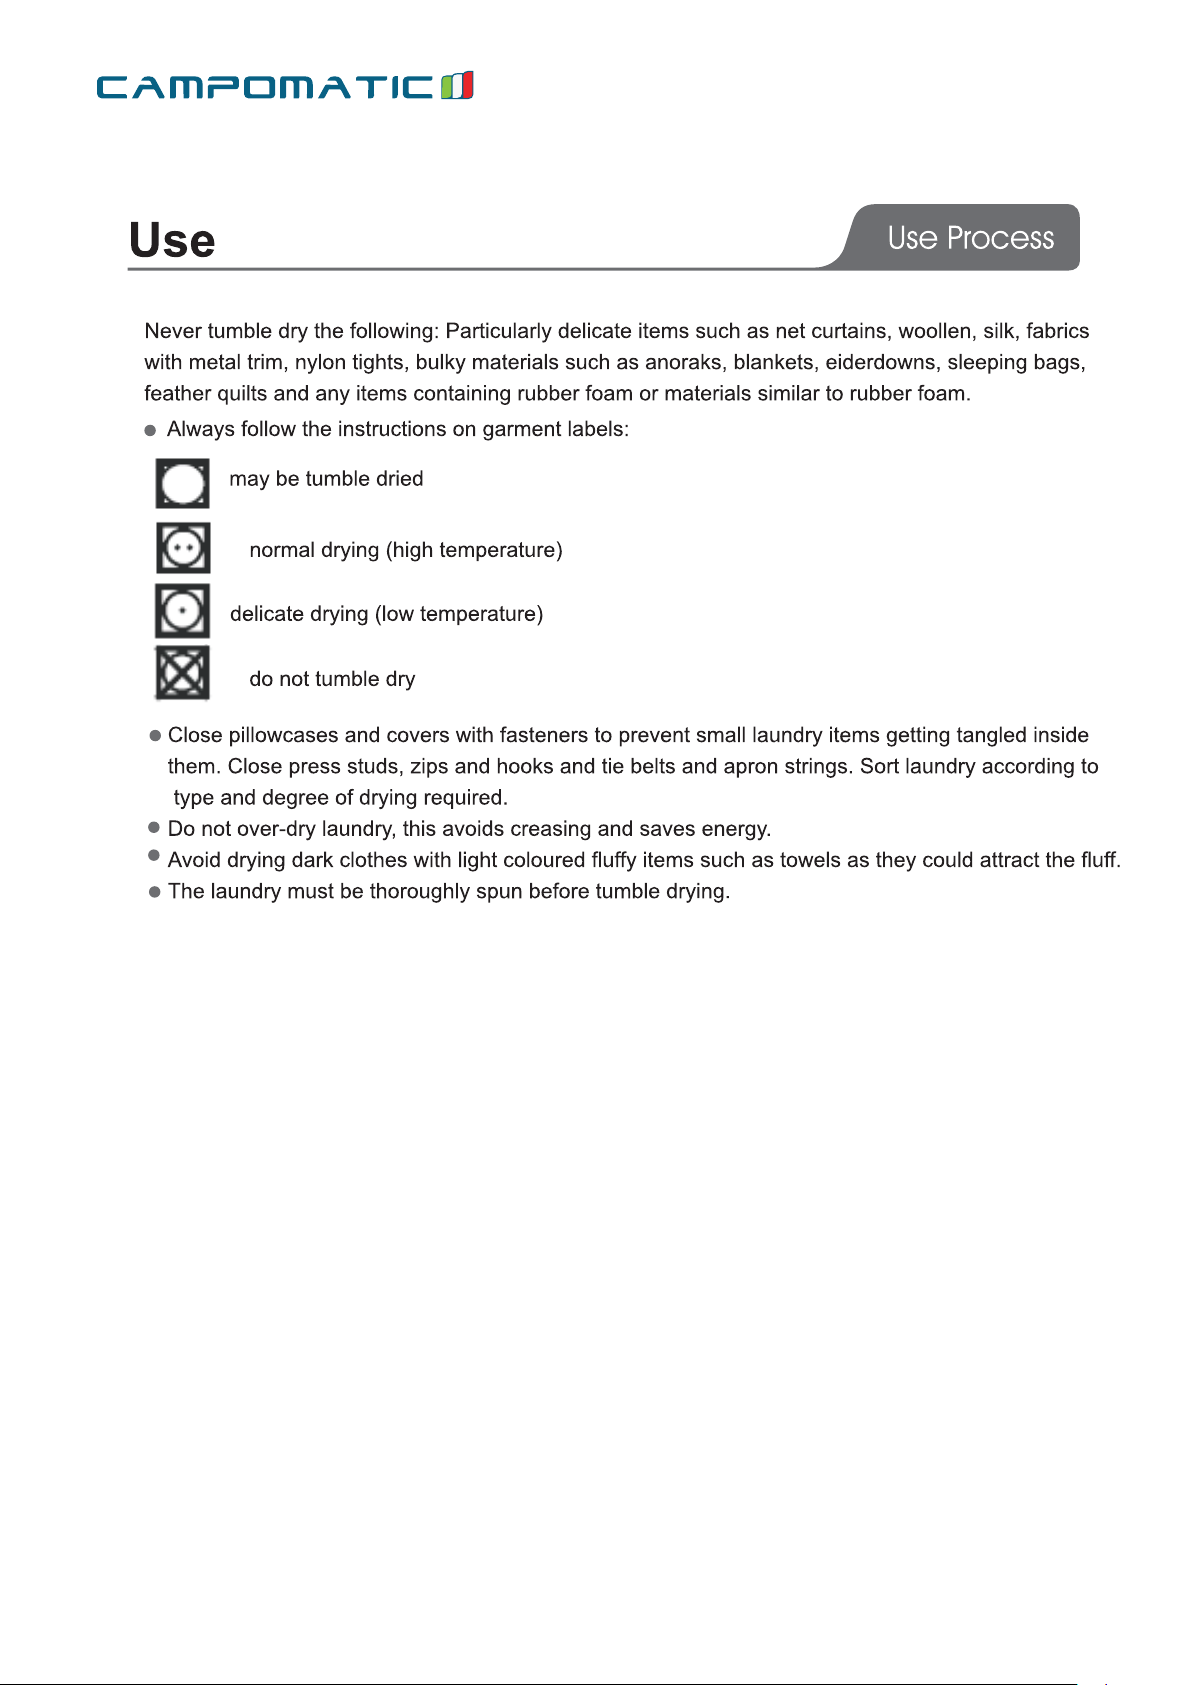
Only wash fabrics which are designed to be machine dried.Follow the instructions on each garment label
Any electrical work required to install this appliance should be carried out bya qualified electrician or
competent person.
If the machine is situated on a carpeted floor,please adjust the feet in order to allow air to circulate
freely under the appliance.
Do not climb onto the dryer or rest heavy objects/heating devices or items with water or liquid
leakage on the dryer,lest deformation of the face panel and the plastic component occur.
Any objects such as coins,safety pins,nails,screws,stones or any other hard,sharp material
can cause extensive damage and must not be placed into the machine.
After having installed the appliance,check that it is not pressing or standing on its electrical supply
cable,or vent hose.
Items such as foam rubber(latex foam),shower caps,waterproof textiles,rubber backed articles
and clothes or pillows fitted with foam rubber pads should not be dried in the tumble dryer.
Always unplug the appliance after use,clean and maintenance.
Do not overload the appliance.See the relevant section in the user manual.
Clothes which are dripping wet should not be placed in the dryer.
Garments which have been in contact with volatile petroleum products should not be machine
dried.If volatile cleaning fluids are used,care should be taken to ensure that the fluid is removed
from the garment before placing in the machine.
Never use the tumble dryer if the power supply cable,the control panel,the working surface or the
base are damaged so that the inside of the tumble dryer is accessible.
The tumble dryer is not to be used if industrial chemicals have been used for cleaning.
The lint must not to be allowed to accumulate around the tumble dryer.
Do not dry unwashed items in the tumble dryer.
Fabric softeners or similar products should be used as specified by the fabric softener instructions.
The final part of a tumble dryer cycle occurs without heat (cool down cycle) to ensure that the items
are left at a temperature that ensures that the items will not be damaged.
That exhaust air must not be discharged into a flue which is used for exhausting fumes from
appliances burning gas or other fuels.
That the appliance must not be installed behind a lockable door,a sliding door or a door with a
hinge on the opposite side to hat of the tumble dryer,in such a way that a full opening of the
tumble dryer door is restricted.
That adequate ventilation has to be provided to advoid the back flow of gases into the room
from appliances burning other fuels,including open fires.
The exhaust air must not be discharged into a fule which is used for exhausting fumes from
appliances burning gas or other fuels.
ENG
Page 6
D807e / D807es
6
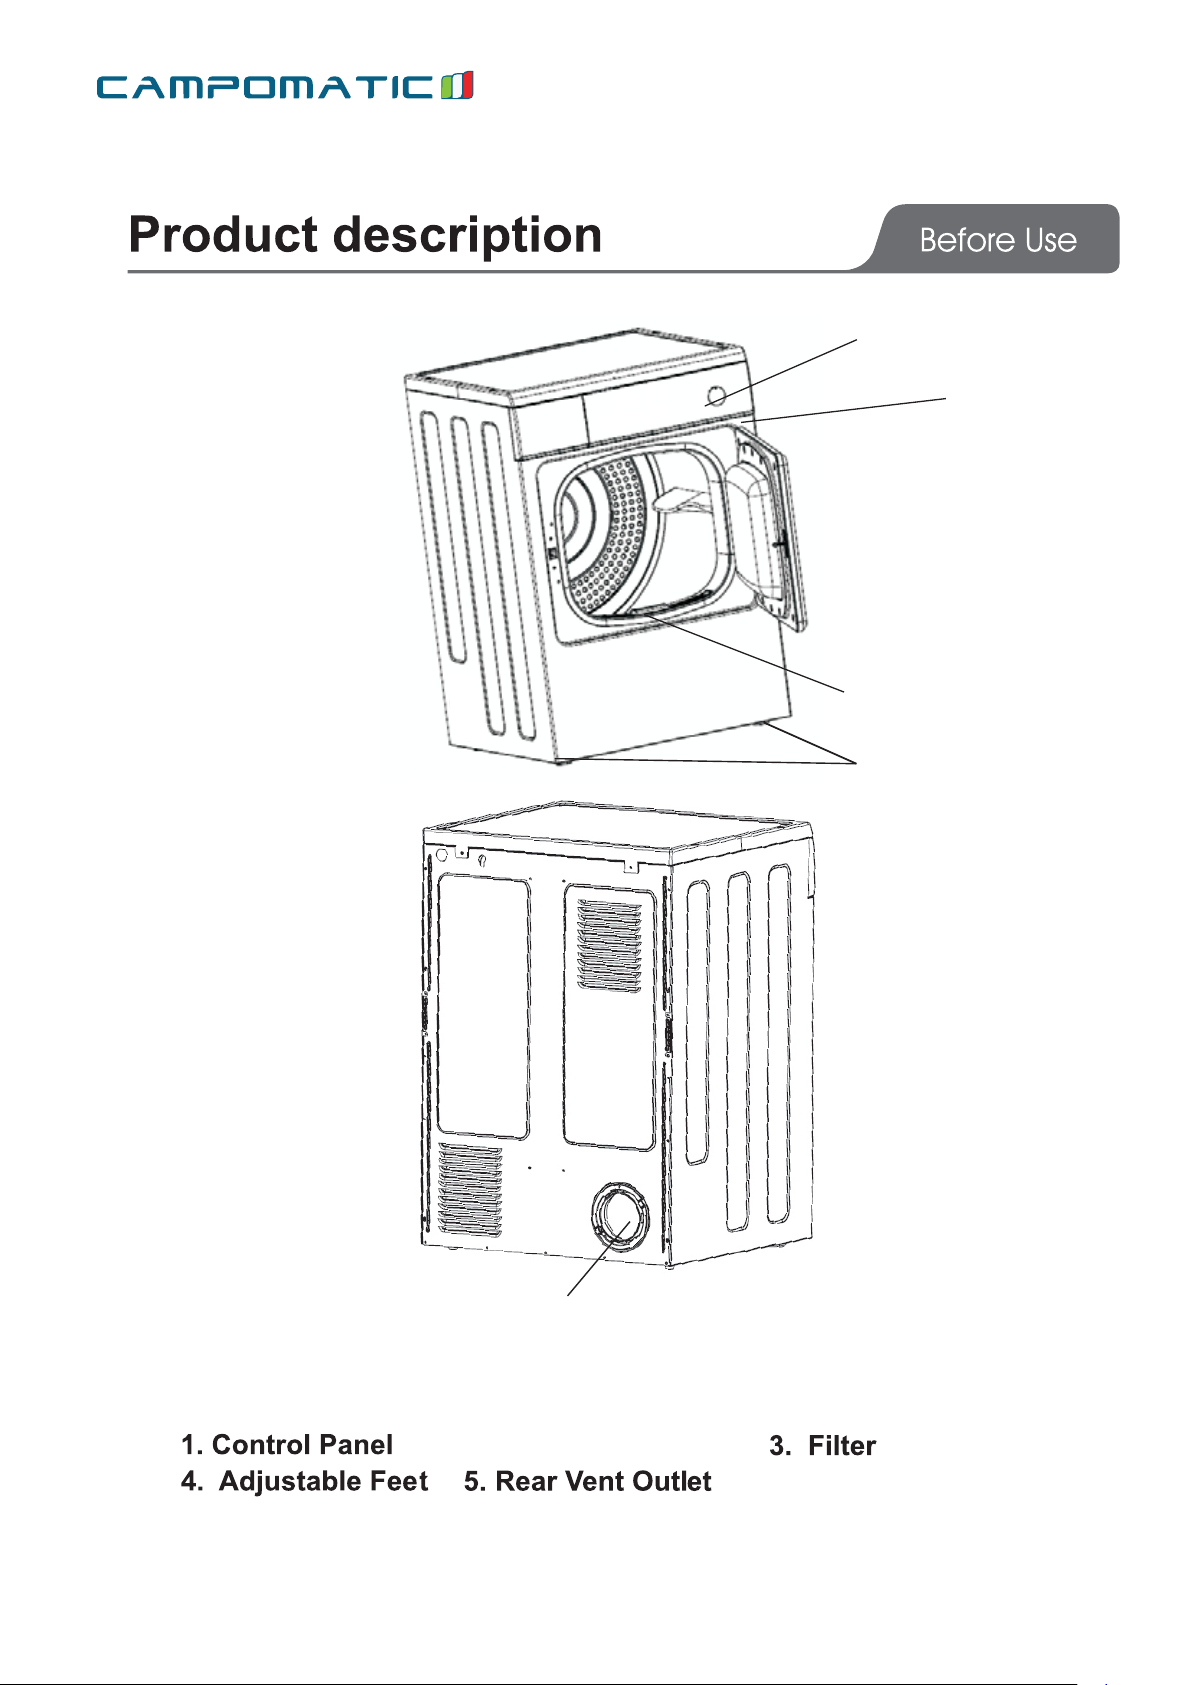
1
2
3
4
5
2.C a bin te
ENG
Page 7
D807e / D807es
7
3
6
5
4
2
1
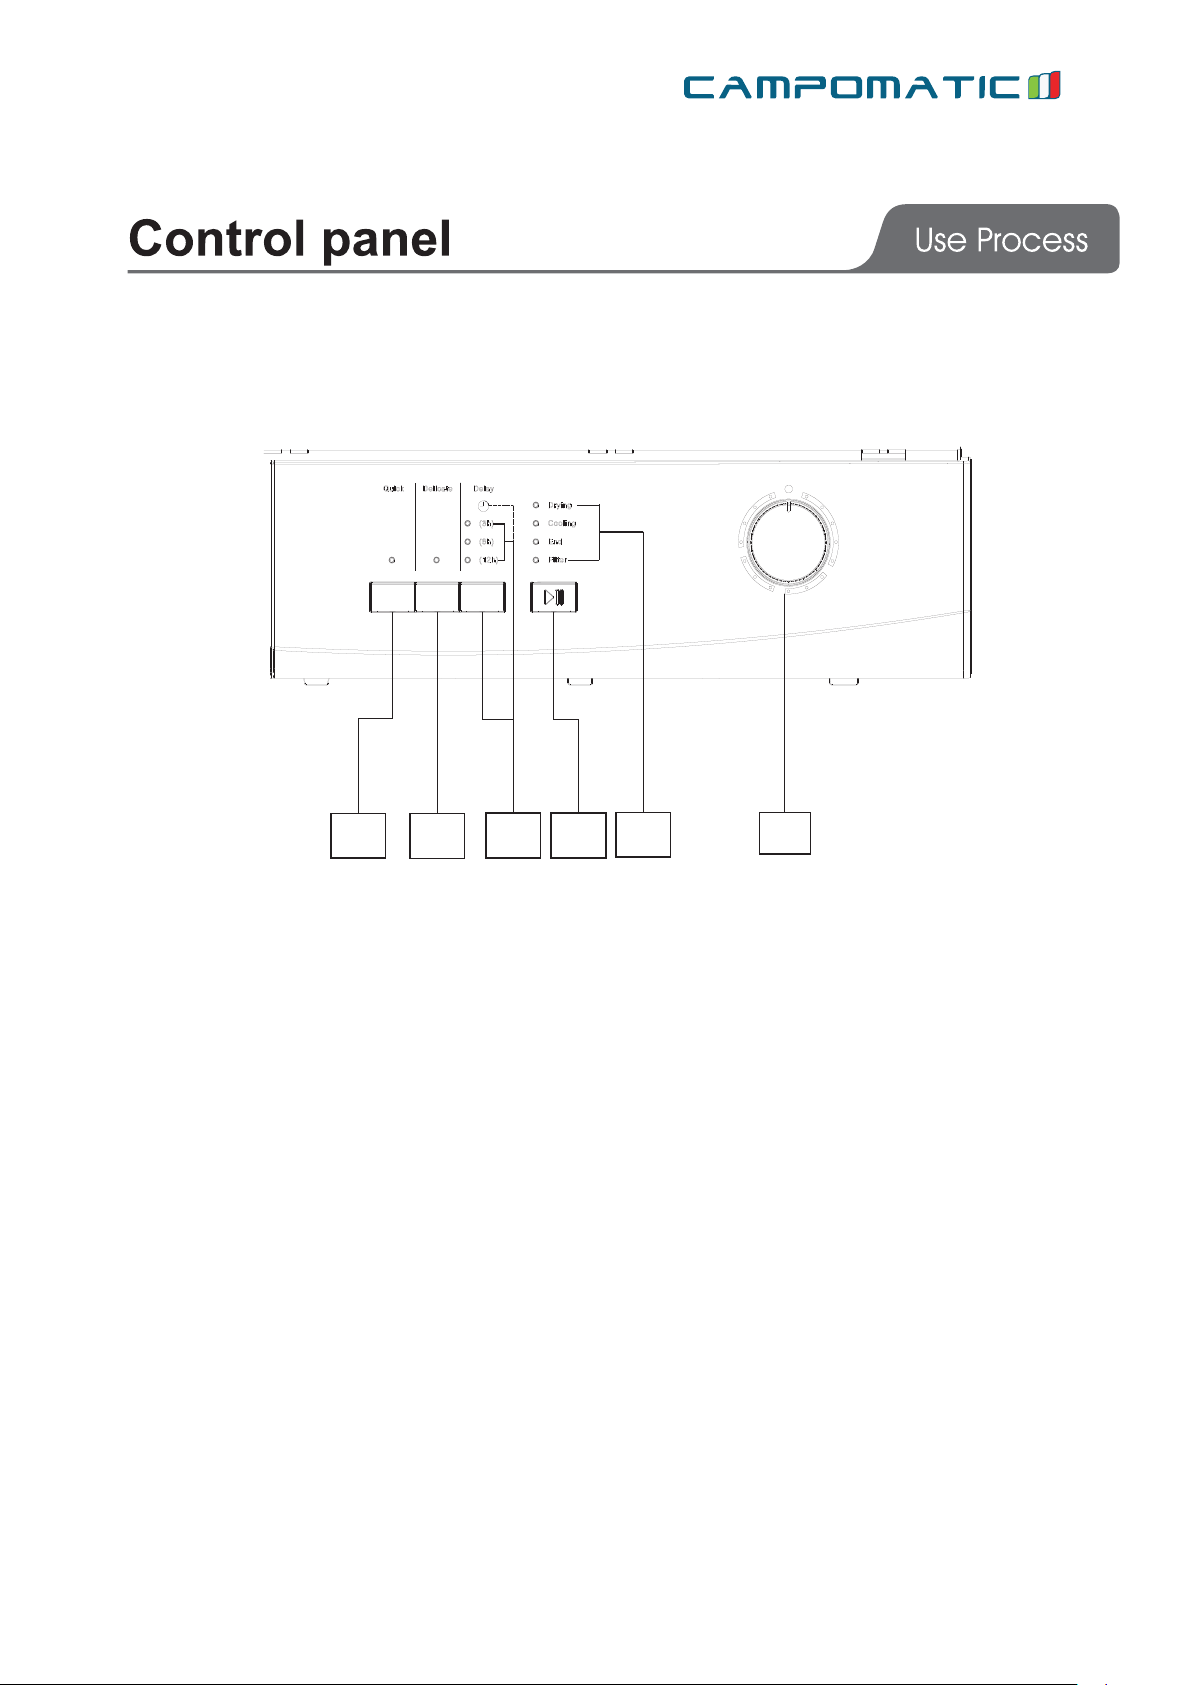
1.Programme selector Dial 3.Start/Pause
2.Sequence lindicator Lights 4.Delay Button and Lights
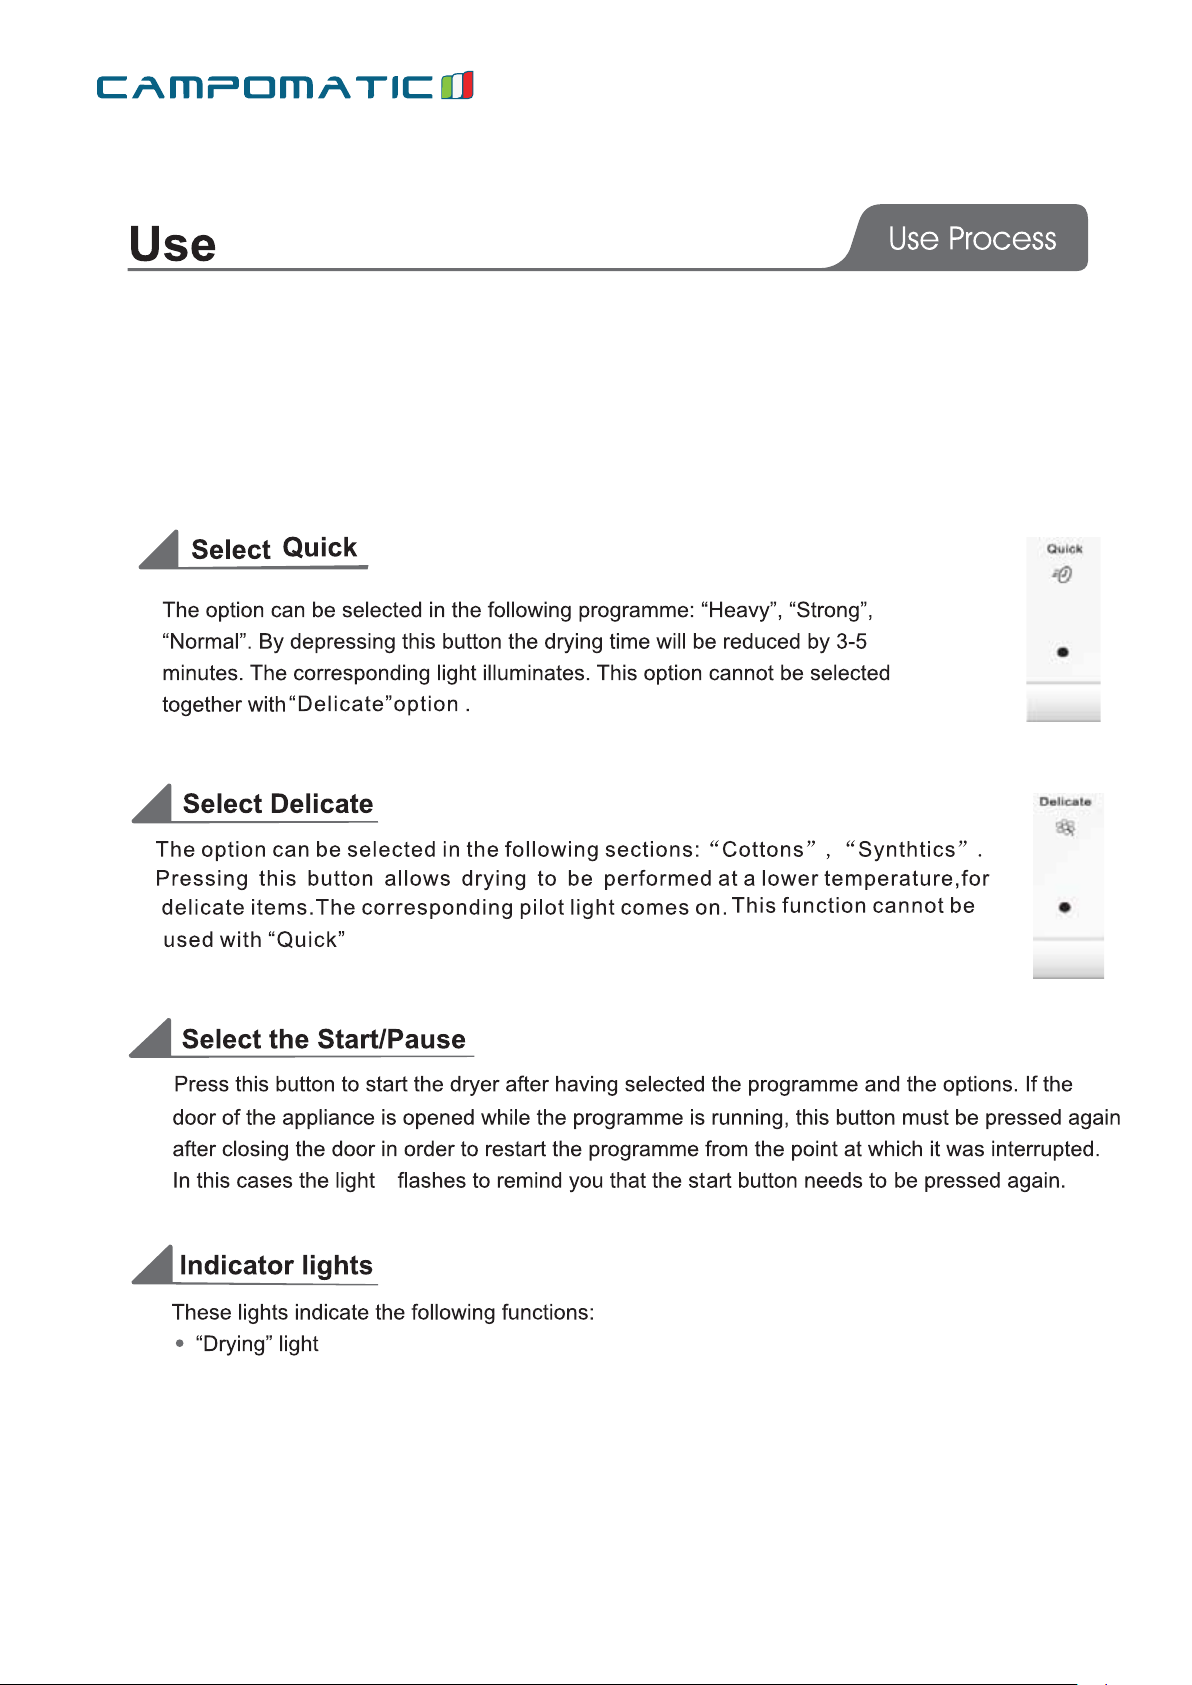
Drying 5.Delicate
Cooling 6.Quick
End
Filter
ENG
Page 8

D807e / D807es
8
The programme indicator will be put out and turn to
standby mode if you have not pressed the Start/ Pause
button for 1 0 minutes. The filter indication light will still
keep on until power off.
ENG
Page 9
D807e / D807es
9
.
and after selecting option progra mme (Quick,Delicate).
The countdown begins af
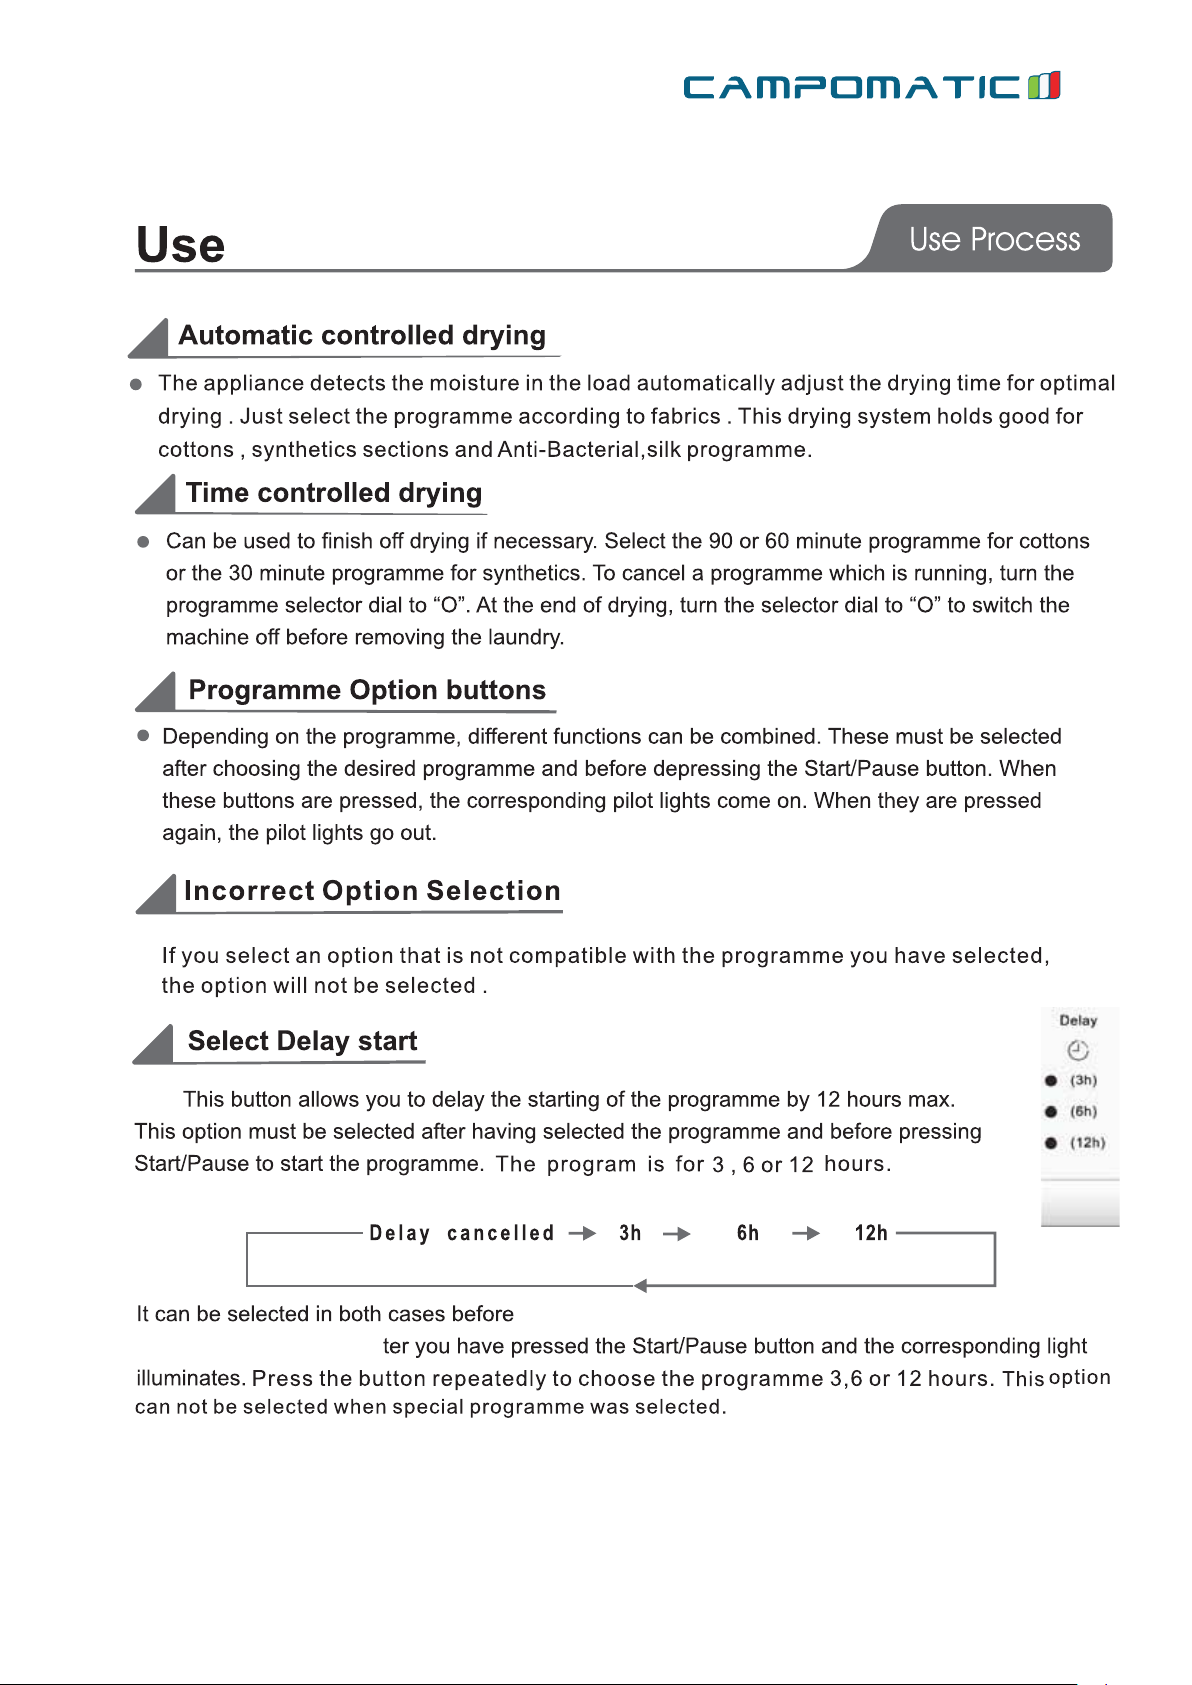
If you have selected a delay time by means of the relevant button, the light shows it.The
ENG
Page 10
D807e / D807es
10
countdown is calculated automatically after you press the "Start/Pause"
button. The appliance will start the delayed process. If you
(a)press one more "start/pause", the unit will not pause and still countdown.
(b)turn the rotation knob be "off", the program will be cancelled.
(c)want to change the program, then you have to turn the rotation knob be
"off" and make the program selection again.
and program "30min","60min" and "90min".
s
ENG
Page 11
D807e / D807es
11
“Filter”
. 10 minutes later, all the lights go out.
ENG
Page 12
D807e / D807es
12
ENG
Page 13
D807e / D807es
13
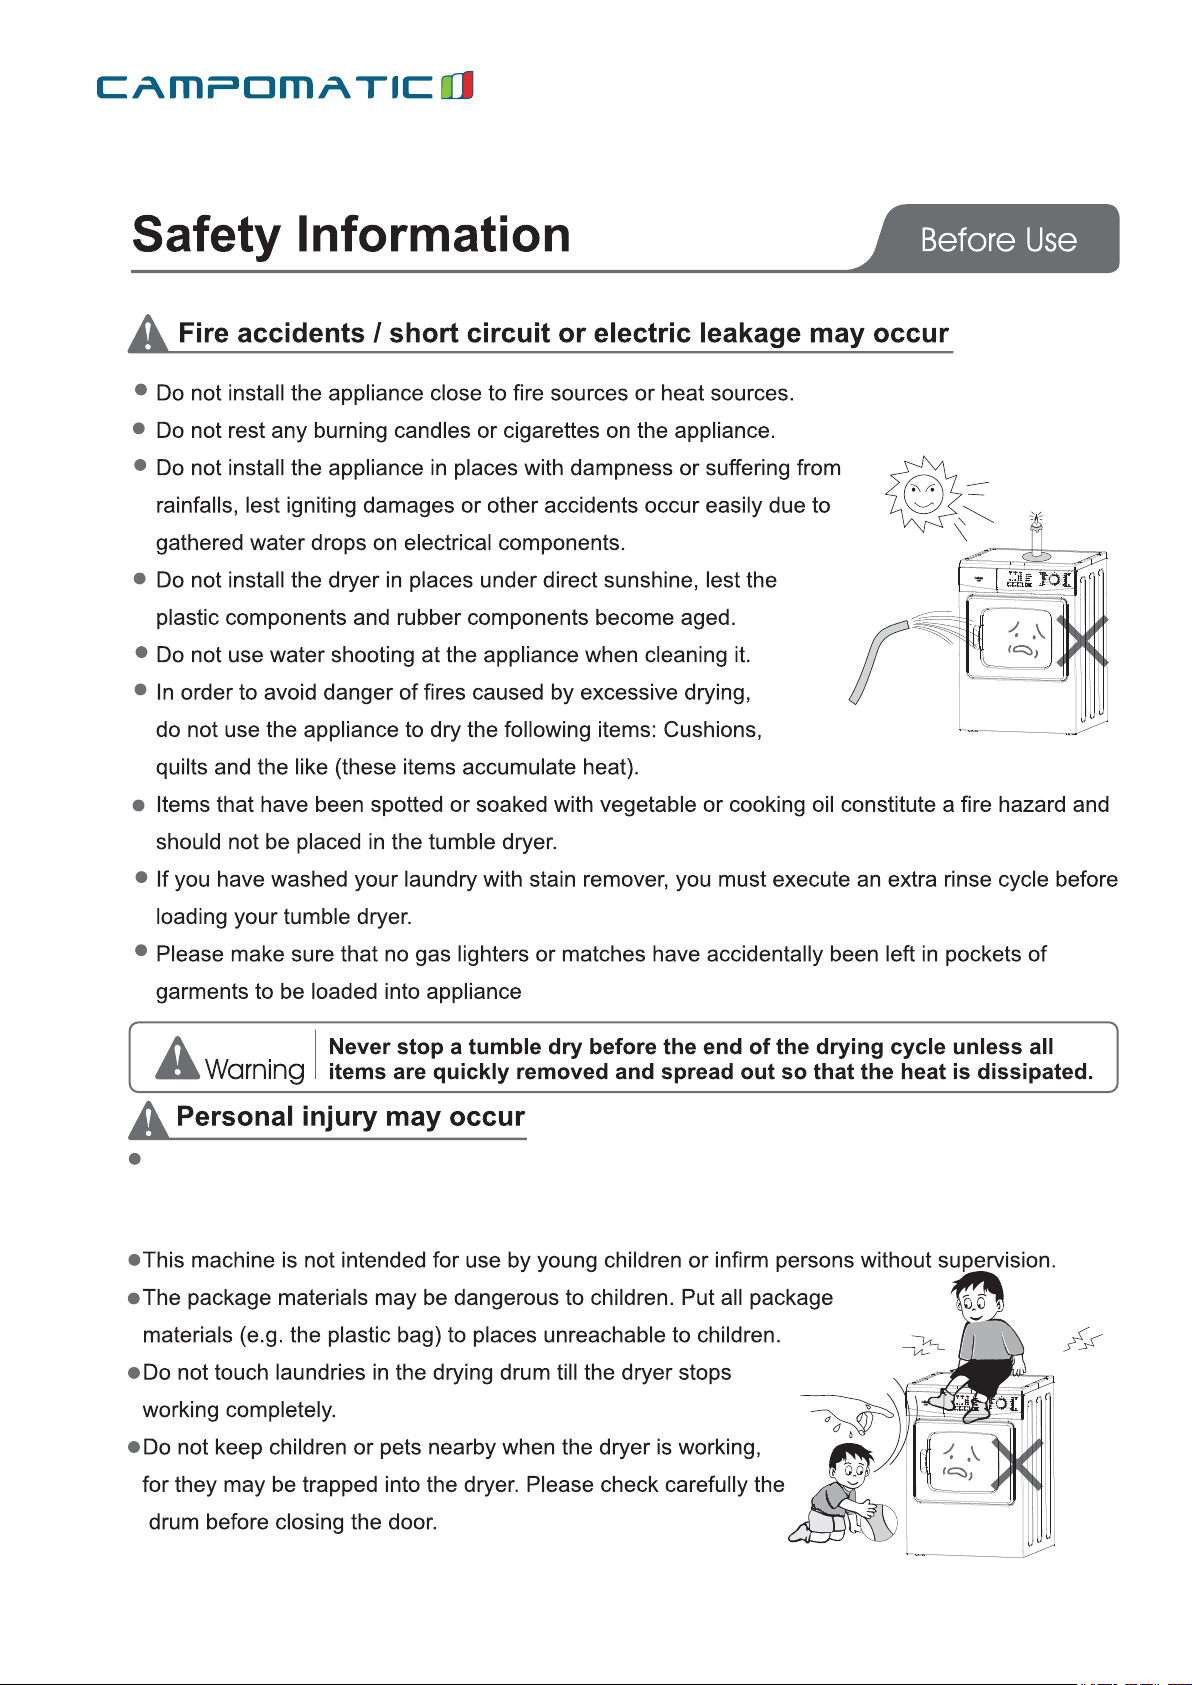
Clothes that have been soiled with substances such as cooking oil, acetone, alcohol, petrol,
kerosene, spot removers, turpentine, waxes and wax removers should be washed in hot water
with an extra amount of detergent before being dried in the tumble dryer.
Remove all objects from pockets such as lighters and matches.
ENG
Page 14
D807e / D807es
14
Normal
Humid
Iron
Heavy
Normal
Iron
30’,60’,90’
8kg
8kg
8kg
8kg
8kg
3kg
3kg
3kg
8kg
Drying thick or multi-layered textiles,
e.g.terry towelling items.For drying individual
items of laundry or for small volumes.
ENG
Anti-Bacterial
Silk
Fresh Dry
Air Dry
3kg
1.5kg
3kg
2kg
Page 15

D807e / D807es
15
ENG
Page 16

D807e / D807es
16
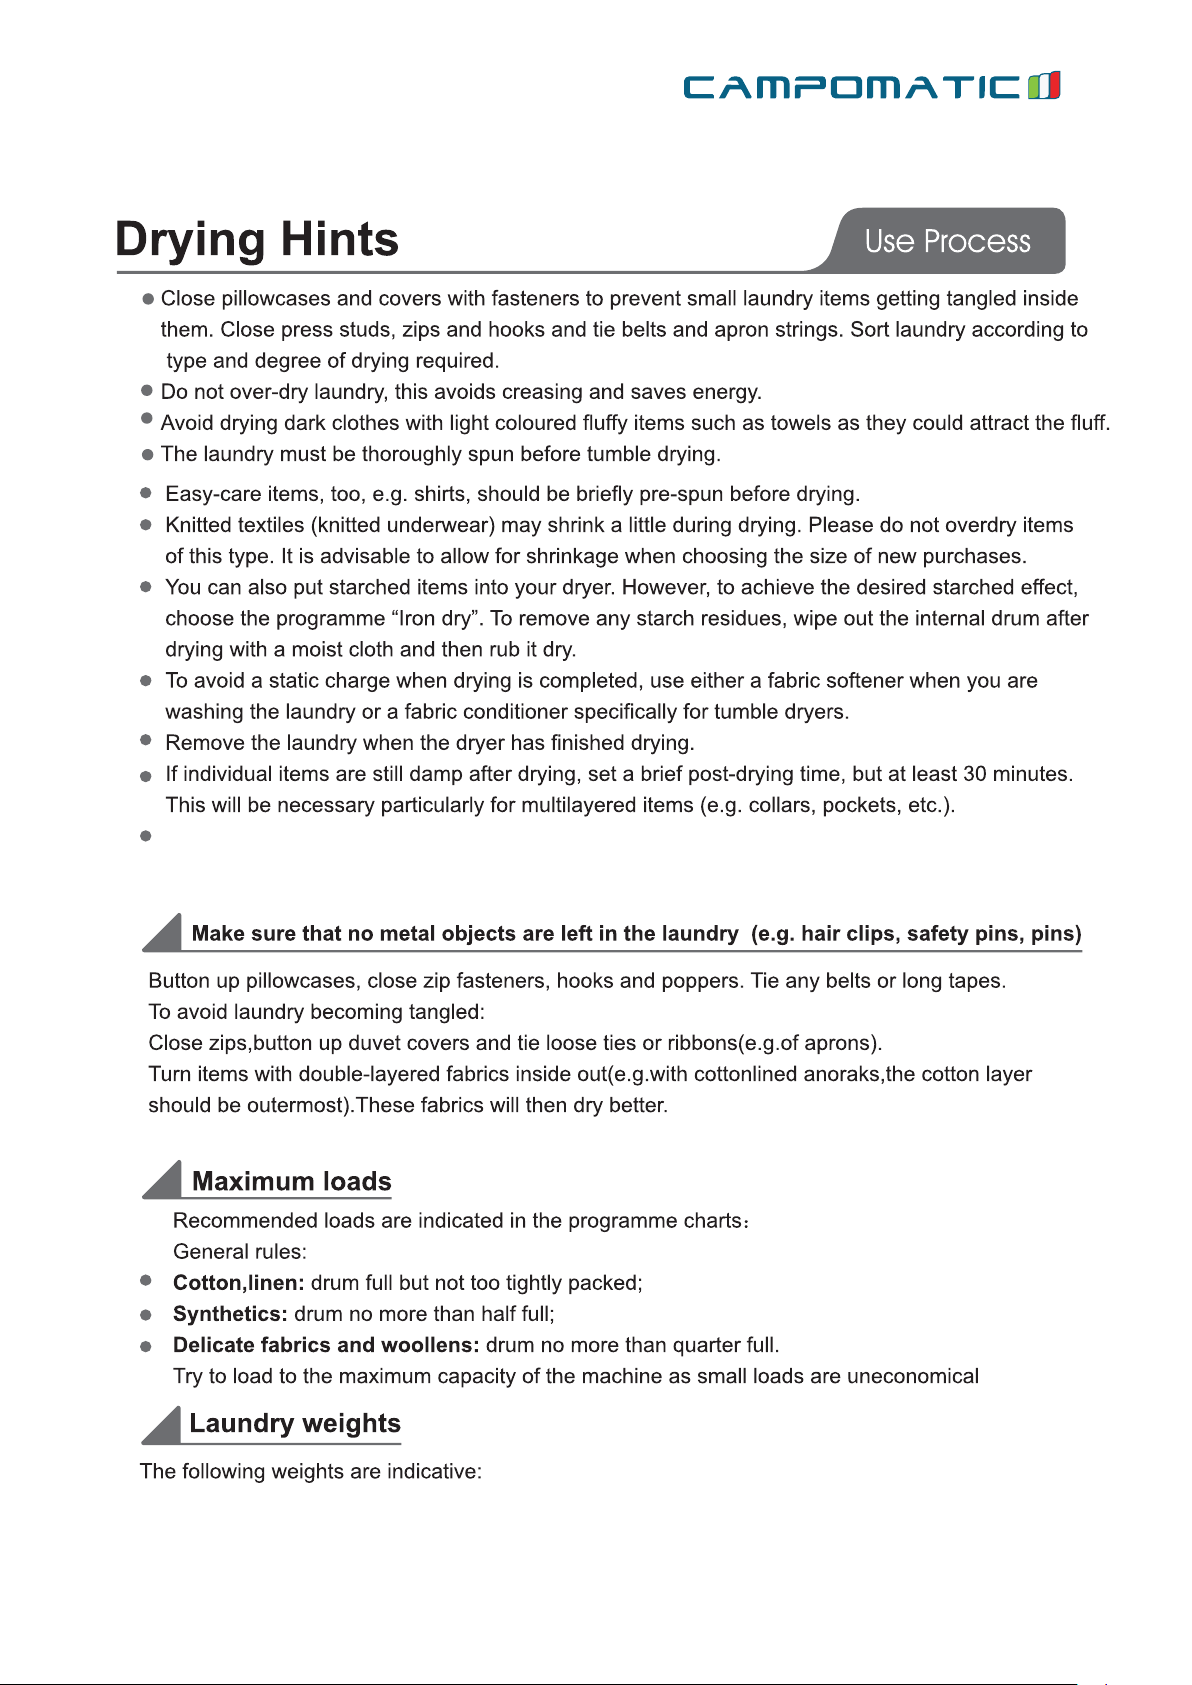
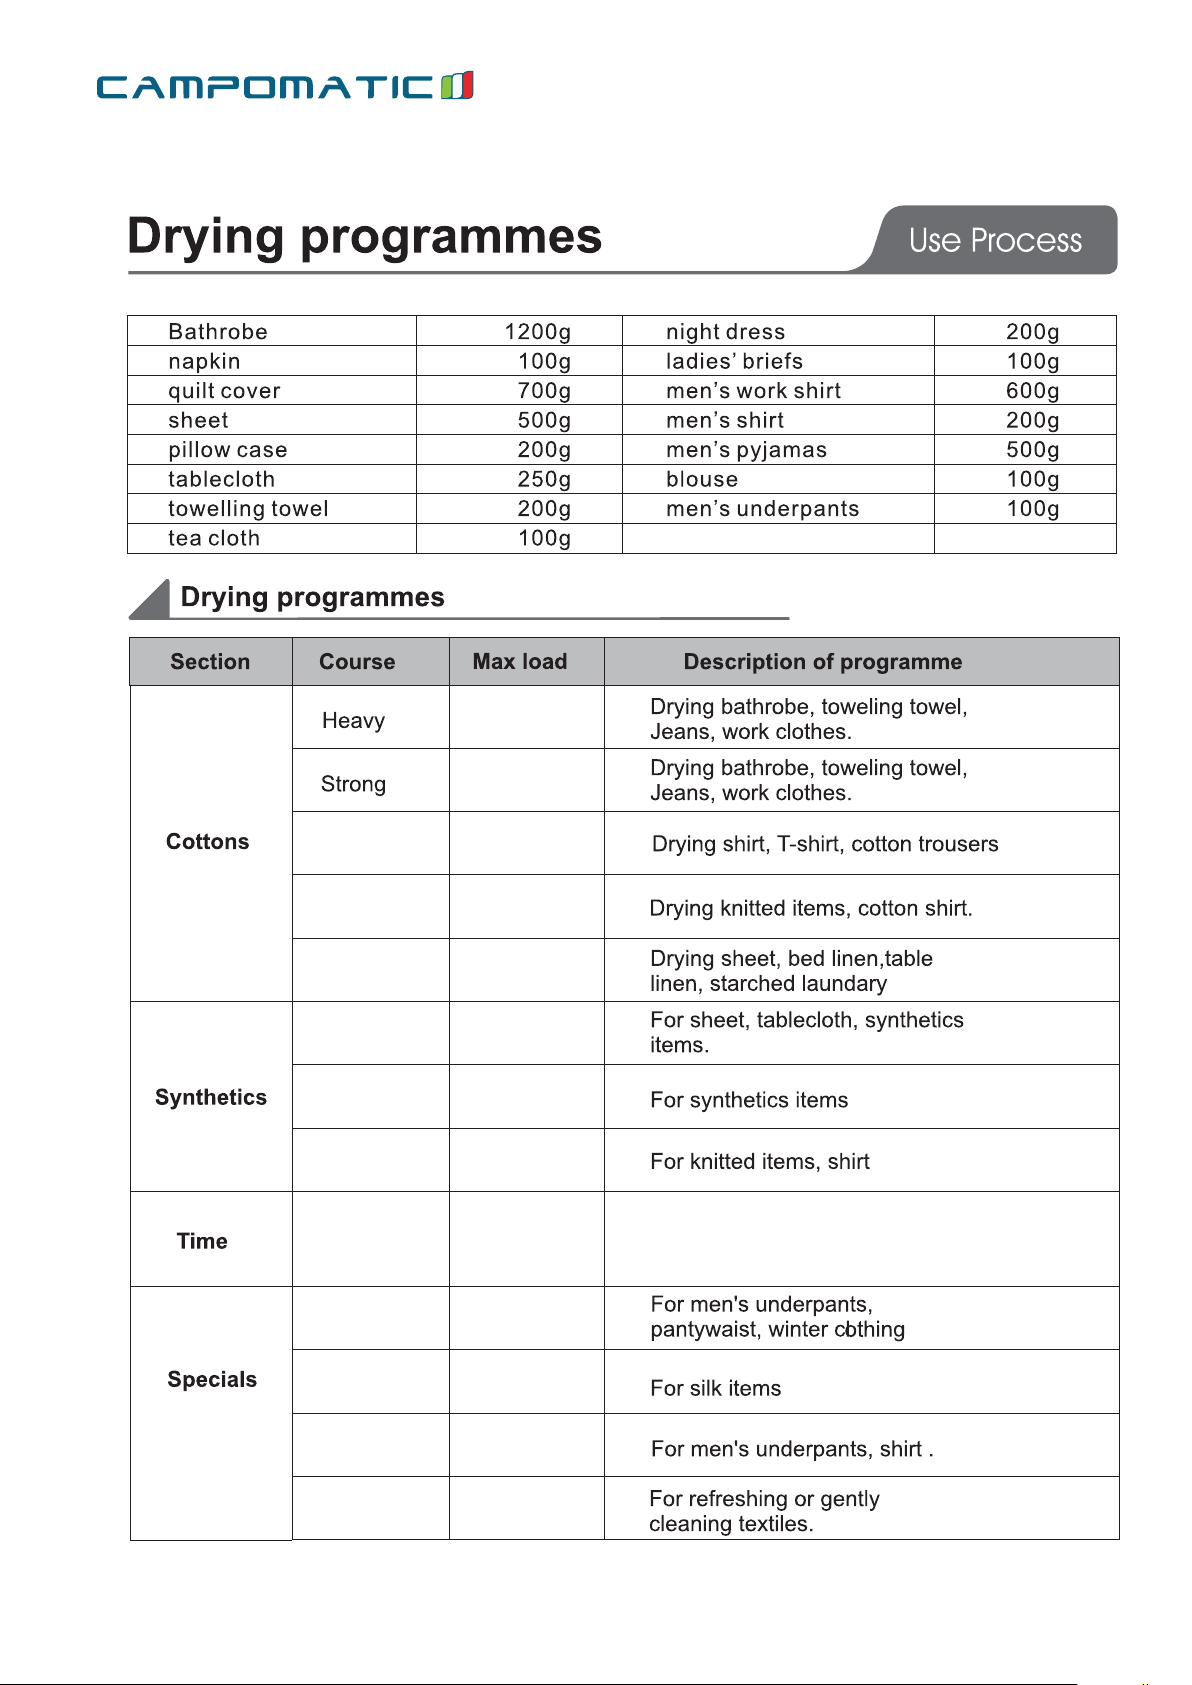
Use Process
(opti on)
ENG
Page 17

D807e / D807es
17
8.0
595*555*850
Vent Hose
Quantity
1
Manual
1
ENG
Page 18

D807e / D807es
18
Loose
Loosen the locknuts
Adjust the adjustable feet to lower the dryer by turning
right and to ascend it by turning left.
Tighten the locknut after insuring the dryer is level.
High
Locknuts
Locked
Low
Adjustable foot
ENG
Page 19

D807e / D807es
19
Installation
Connect the hose to whichever is the more convenient by pulling the ring nut (A) from the vent
outlet at the back, aligning arrows of hose and ring nut,fastening by screwing hose to the direction
of arrow and pushing it firmly back into place.
Appendix
A
Advice:
If the hose is long and the room temperature low, the moisture
might condense inside the hose. This is an unavoidable natural
phenomenon. To prevent this water from Iying in the hose or
flowing back into the tumble dryer, it is advisable to drill a small
hole (dia. 3 mm) in the lowest point of the hose and to place a
small container below it.(See picture, point B).
Once connected to the dryer, run the vent hose to the desired
outlet point, it contains no more than two bends. As to the outlet
itself, if you have decided on a fixed wall/window grille, a good
local builder's merchant should be able to supply you with the
necessary fittings and installation advice.
ENG
A
B
Page 20

D807e / D807es
20
Installation
flue pipe designed to carry the exhaust from a fuel burning appliance.
ble hose to carry its auste outside the kitchen.
In order to prevent the appliance from overheating, it is important that the steam exhaust is
unobstructed.
If the dryer is fitted next to kitchen units, make sure that the vent hose is not squashed. If
he hose is partially squashed, drying efficiency will be reduced, resulting in longer drying times and
t
higher energy consumption. If the hose is completely squashed, the safety cut-outs with which the
machine is fitted may operate.
When operating the tumble dryer, the room temperature must not be lower than +5°C and
higher than +35°C, as it may affect the performance of the appliance.
appliances burning other fuels, including open fires.
It is important not to connect the vent hose to, for example, a cooker hood, or a chimney or
Note that to avoid condensation problems, it is essential that the dryer be fitted with the flexi-
That adequate ventilation has to be provided to avoid the back flow of gases into the room from
For appliances with ventilation openings in the base, that a carpet must not obstruct the openings.
Appendix
Stacking kit
Door reversal
To make it easier to load or unload the laundry the door can be reversed. This operation must be
carried out by qualified personnel .Please contact the nearest our Service Centre. This will be a
chargeable option.
Electrical connection
Any electrical work required to install this appliance should be carried out by a qualified electrician
or competent person.
Warning
The manufacturer declines any liability should this safety measure not be observed.
Before switching on, make sure the electricity supply voltage is the same as that indicated on the
appliance's rating plate.
Should the plug need to be replaced for any reason, proceed as described below.
The wires in the mains lead are coloured in accordance with the following code:
Green and Yellow-Earth
Blue-Neutral
Brown-Live
The wire coloured green and yellow must be connected to the terminal marked with the letter
or by the earth symbol or coloured green and yellow.
THIS APPLIANCE MUST BE EARTHED.
ENG
Page 21

D807e / D807es
21
Electric diagram
Electric diagram
Thermos
Lam
Heater
M
~
Capacitan
Appendix
Earth
Guides ensor
Temperatures ensor
CN3
Control
board
CN1
Door
CN2
E
L
N
CN4 P2
Operation
panel
ENG
Page 22

D807e / D807es
22
FR
Page 23

D807e / D807es
23
FR
Page 24

D807e / D807es
24
FR
Page 25

D807e / D807es
25
FR
Page 26

D807e / D807es
26
FR
Page 27

D807e / D807es
27
FR
Page 28

D807e / D807es
28
FR
Page 29

D807e / D807es
29
FR
Page 30

D807e / D807es
30
FR
Page 31

D807e / D807es
31
FR
Page 32

D807e / D807es
32
FR
Page 33

D807e / D807es
33
FR
Page 34

D807e / D807es
34
FR
Page 35

D807e / D807es
35
FR
Page 36

8kg
36
8kg
8kg
8kg
D807e / D807es
8kg
8kg
FR
Page 37

D807e / D807es
37
FR
Page 38

D807e / D807es
38
FR
Page 39

D807e / D807es
39
8
FR
Page 40

D807e / D807es
40
FR
Page 41

D807e / D807es
41
FR
Page 42

D807e / D807es
42
FR
Page 43

D807e / D807es
43
FR
Page 44

D807e / D807es
44
FR
Page 45

D807e / D807es
45
FR
 Loading...