

Camden Door Controls CX-247-12, CX-247-24, CX-247H-12, CX-247H-24 Installation Instructions
Page 1
!
!
!
!
!
!
!
!
!
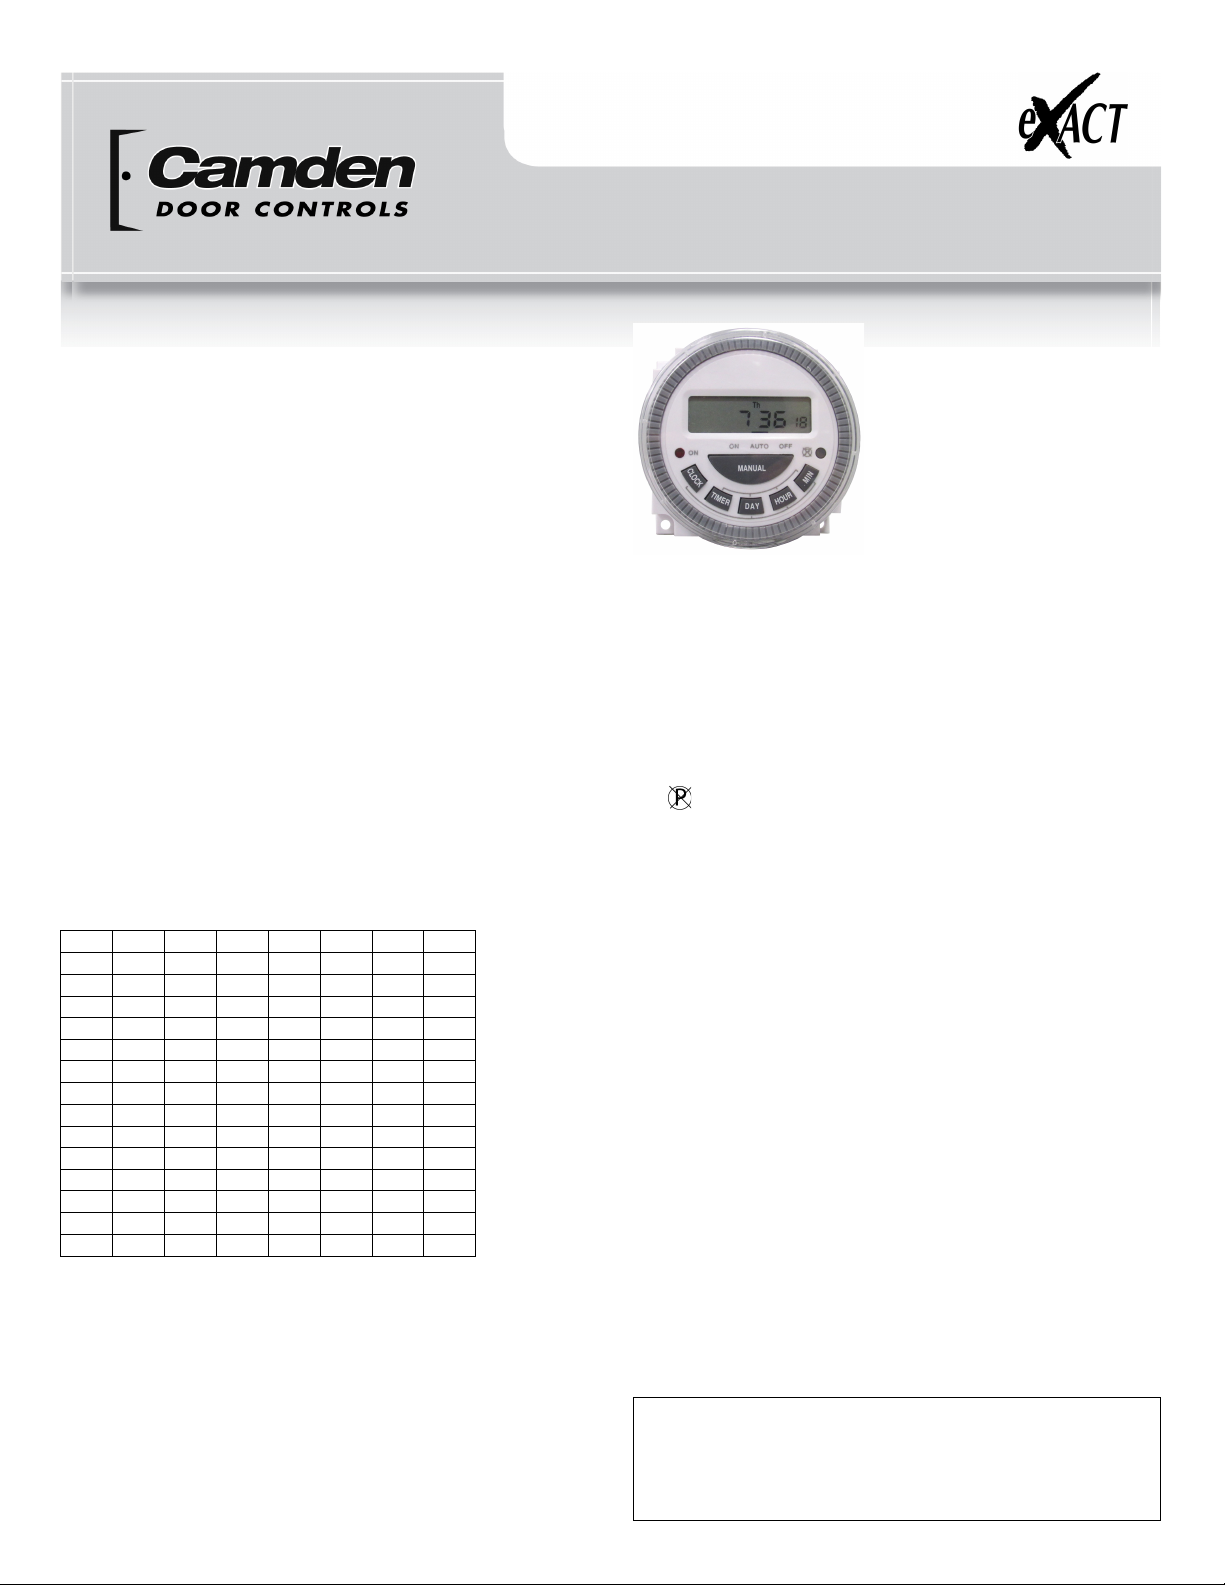
CX-247 Ver. 8
Programmable Timer
Installation Instructions
General Description
• 16 ON and OFF events
• May be programmed for individual days and/or
8 different weekday groups
• Minimum switching period one minute
• Easy to read LCD display
• Manual override button
• Battery back-up
• Optional “first-man-in” relay
Setting The Clock Time
The timer has a 24 hours clock. Press and hold the CLOCK
button. Then press on the DAY button to select the correct day,
then the HOUR button to select the correct hour and the MIN
button to select the correct minutes. When the MIN button is
released the time will be set. The seconds will start from 00.
Either holding down or repeatedly pressing the appropriate
button will advance the days, hours and minutes.
Programming the Switching Times
The Auto Time Switch has the capacity for 16 ON/OFF
switches. By using the blocks of days available, you can save
program capacity. The block days are:
1
MO
TU
WE
TH
FR
SA
SU
2
MO
3 TU
4
WE
5 TH
6
FR
7 SA
8
SU
9
MO
TU
WE
TH
FR
10 SA
SU
11
MO
TU
WE
TH
FR
SA
12
MO
TU
WE
13 TH
FR
SA
14
MO WE FR
15 TU TH SA
For each ON time and each OFF time, the days, hours and
minutes must be set.
Press the TIMER button once to set the first ON time - you will
see “on” and the number ‘’1’’ appears on the left of the LCD
display. This indicates that you can now enter the first ON time.
Press the DAY button to choose the required day or block of
days, and then set the hour and minutes using the HOUR and
MIN buttons.
When you have completed
setting the required ON time,
press the TIMER button to set
the entry, and move onto the
first OFF time. You will see
“OFF” and the number” 1”
appear on the left of the LCD
display. This indicates that you
can now enter the first OFF time
by using the DAY, HOUR and
MIN buttons as above.
Programming the Timer #1
Functional description to buttons on panel
1. TIMER: Programs review & setting programs
2. MANUAL: To select “ON, AUTO or OFF”
3. CLOCK: To adjust current DAY and TIME
4. DAY: To adjust day of week
5. HOUR: To adjust Hour
6. MIN: To adjust minute
7. Reset Timer’s setting
8. LED: To indicate ON/OFF status
Press the TIMER button to validate this entry.
Repeat the same steps for the remaining 7 ON/OFF settings
as required.
When you have set the required ON/OFF settings, press the
CLOCK button to return the display to the clock.
The timer will now be ready to operate.
Note that you can check the settings you have programmed by
pressing the TIMER button repeatedly - each setting will
appear on the screen
Manual Override
You can choose permanent Manual ‘ON’ or permanent Manual
‘OFF’, however, the program settings will only operate when
the unit is left in the ‘Auto’ mode.
Reset Button
To reset the unit, including the time and programmed ON/ OFF
settings, press the RESET button using a ballpoint pen.
Important Safety Precautions
• Do not use on an extension cord
CAUTION! This electronic timer has a maximum loading
printed on the rating label and under no circumstances should
this be exceeded. Read the section on IMPORTANT SAFETY
PRECAUTIONS
Page 2
CX-247 Ver.8 Installation Instructions
!
!
!
!
!
!
!
!
!
!
!
!
www.camdencontrols.com
Toll Free: 1.877.226.3369
File:CX-247_MAN_NF_Rev8.doc
Revised: January 25, 2017
Part No.:40-82B083
5502 Timberlea Blvd.,
Mississauga, ON Canada L4W 2T7
• Do not plug this timer into another timer switch
• Do not plug any device performing mechanical
movement directly into the timer
• Do not exceed the maximum load (shown on the
rating label on the product)
• Fan heaters and heaters with exposed elements
should not be left unattended, and it is recommended
that these types of appliances not be connected to
timers
• Do not insert needles or any other metal objects into
the main outlet
• Avoid moisture, extreme temperatures, shock and
vibration.
• Use indoors only. Recommended ambient
temperature 14°F (-10°C) to 104°F (40°C).
• Do not open the timer. Repairs must only be
performed by a Camden approved technician.
• To clean casing and display use a soft cloth. Do not
use chemical or scouring agents.
• Do not submerge in water.
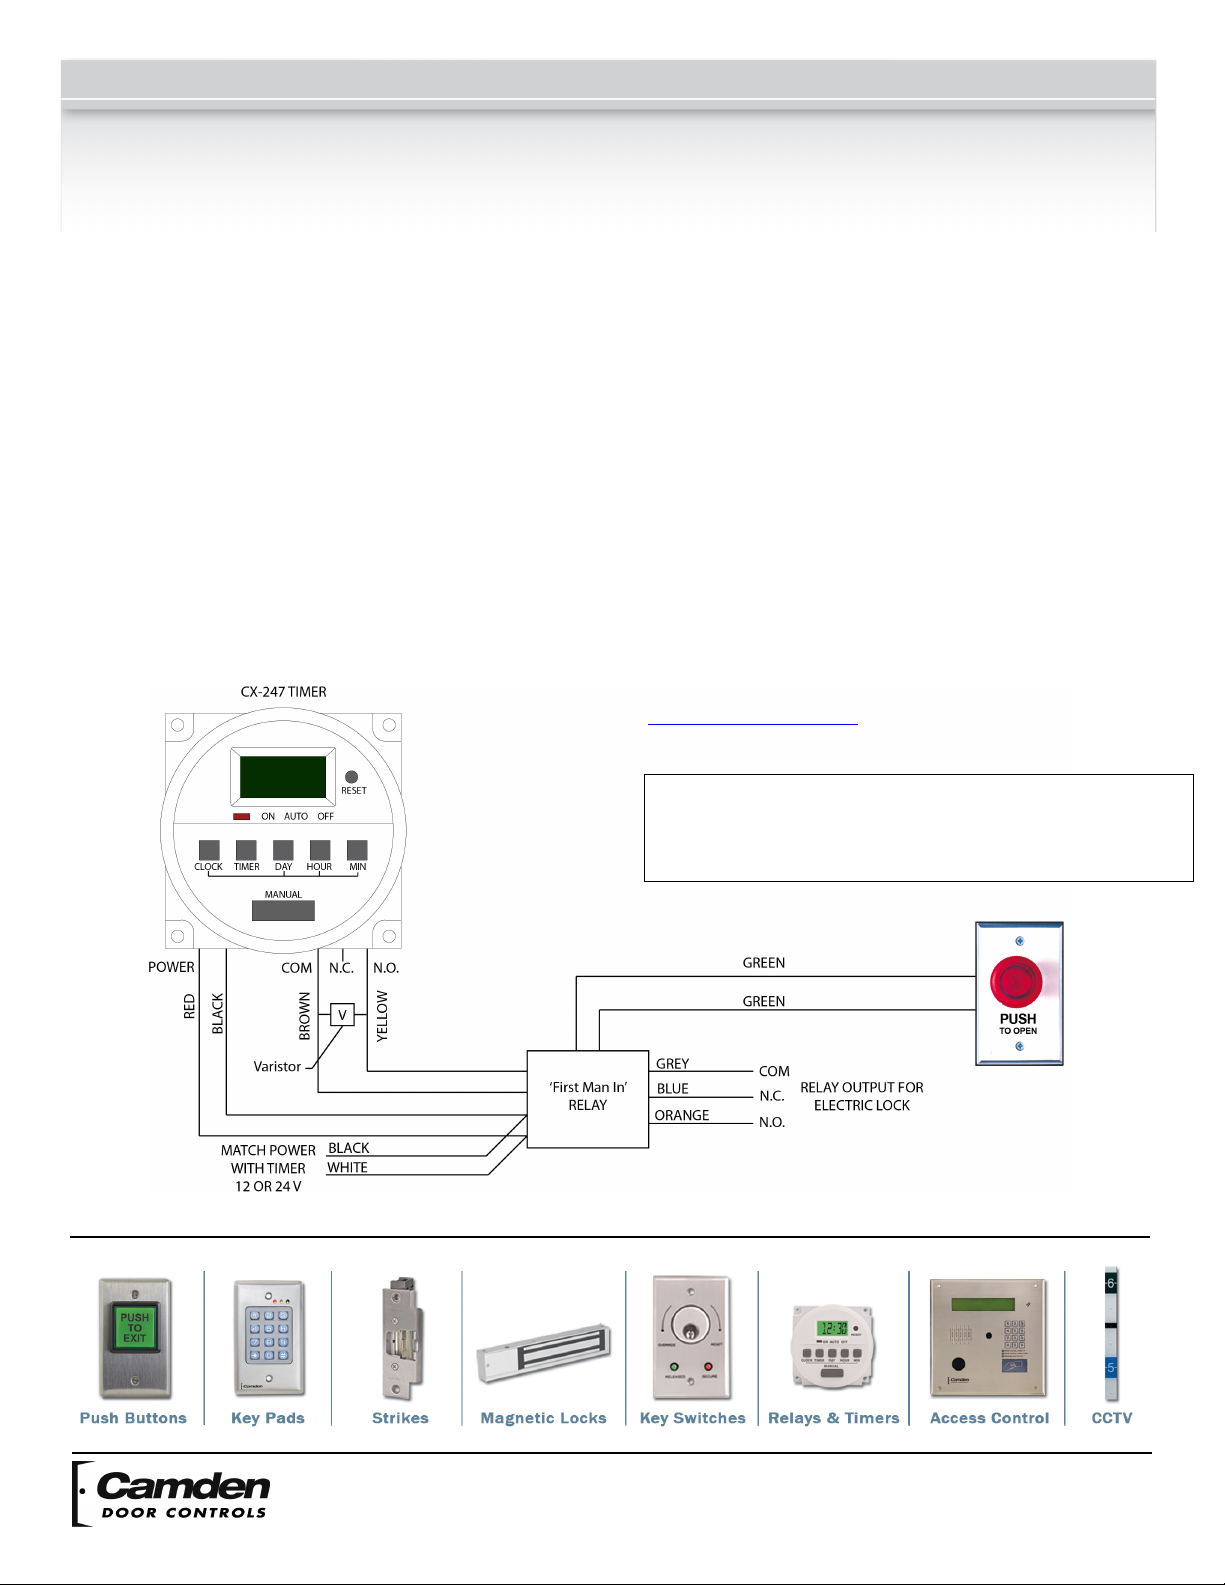
‘First Man In’ Relay
The ‘First Man In’ relay, is an option that provides additional
security/ keeps the door locked during holidays, or if personnel
do not make it on site (for example a snow day).
The CX-247, when set in auto mode, will unlock the door at the
pre-programmed start time and re-lock the door at the preprogrammed end time (for example unlock Monday 8am and
re-lock Monday at 5PM. But if Monday is a holiday, the door
should remain locked, unless personnel are on site and wish
the door to be open.
With the ‘First Man In’ option, the pre-programmed schedule
does not engage until someone enters the premises and
activates a switch/pushbutton. Now CX-247 follows its preprogrammed schedule. If no one enters, then the door remains
locked. If someone enters and does not activate the
switch/pushbutton, then the door remains locked and the
schedule is not followed.
Warranty
Camden Door Controls Inc. guarantees the CX-247 to be free
from manufacturing defects for 3 years from date of sale. Visit
www.camdencontrols.com for more information regarding our
warranty policy.
FIGURE'1!–!First!Man!in!Rela y !
NOTE: If activating an electromechanical device, place the supplied
Varistor across the timer outputs as shown above. The ‘First Man
In’ relay already has a Varistor installed and therefore, it is NOT
required across the timer outputs.
 Loading...