

Page 1

Instructions for:
The Surround 5.1 &
The Surround II 5.1
Speakers
by Henry Kloss
Contents
Introduction ............................................................................................. 1
Unpacking And Checking For Shipping Damage ...................................... 2
Multipole Technology ............................................................................... 3
Placement ................................................................................................. 4
Speaker Connections ................................................................................ 5
Finalizing Your Installation ..................................................................... 6
Surround Configuration Options .............................................................. 7
About Amplifier Power ............................................................................. 7
Cleaning The Cabinets .............................................................................. 8
Difficulty? ................................................................................................. 8
10-Year Limited Warranty ........................................................................ 9
Page 2
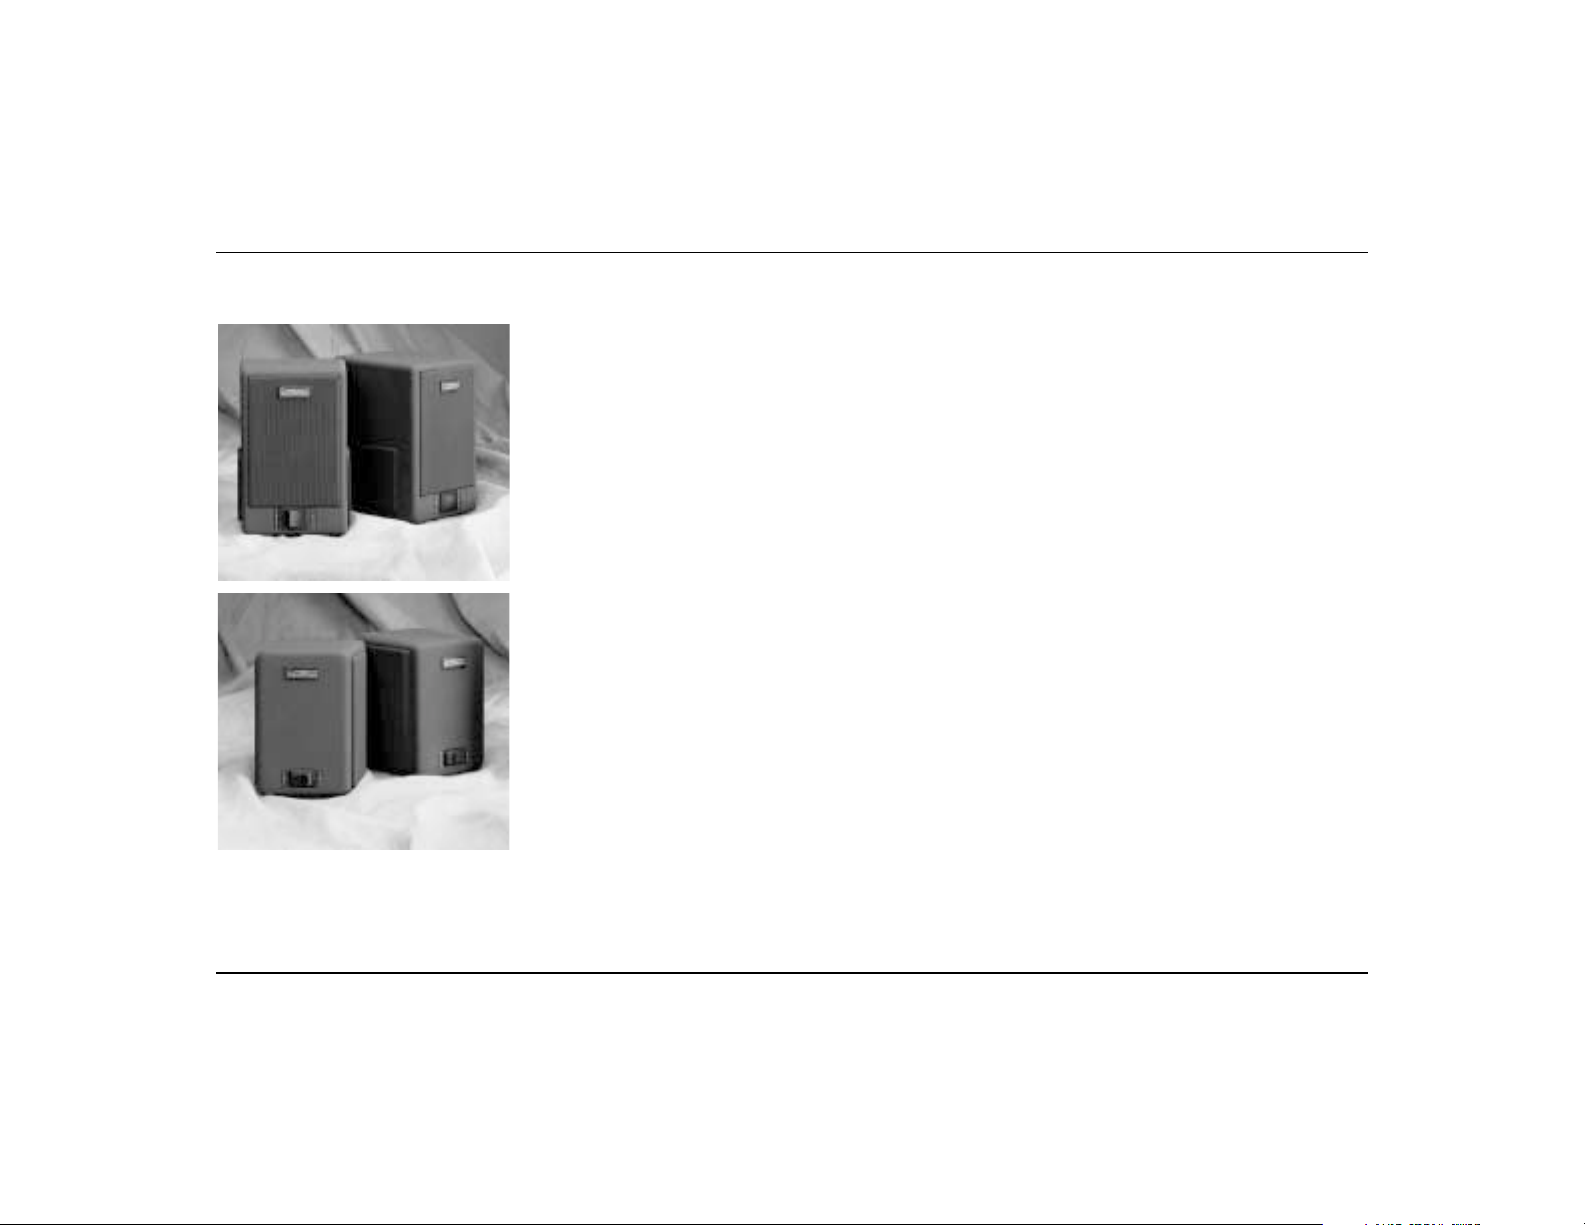
The Surround 5.1
The Surround II 5.1
Introduction
hank you for choosing a
Cambridge SoundWorks
speaker system. Our innova-
T
tive surround products were
designed specifically for use in a
variety of surround sound systems.
These systems include Dolby Digi-
®
tal
(AC-3), Dolby Surround® with
Pro Logic
variety of digital sound processors
(DSP) available. Please read the
simple instructions that follow.
Optimum surround performance
depends on factors discussed in
these instructions, such as insuring
all the speakers are “in-phase” and
correctly positioned.
problems, consult the retail location from which you bought the
speakers or call Cambridge
SoundWorks at the appropriate
number listed to the right.
®
, DTS® and the wide
If you have any questions or
Cambridge SoundWorks
1-877-YES-HIFI
(1-877-937-4434)
24 hours a day,
every day
In Canada: 1-800-987-9104
Outside US or Canada:
Tel: 617-332-5936
Fax: 617-527-3194
www.cambridgesoundworks.com
E-mail:
info@cambridgesoundworks.com
1
Page 3
Unpacking And Checking For Shipping Damage
1. As you unpack your new
speakers, please examine each
speaker unit carefully for signs
of shipping damage. If there is
any damage, do not install or
use the speakers. Keep the
shipping carton and packing
material, since you may need to
ship the speakers. Consult the
store where you purchased the
speakers for assistance.
If you purchased the speakers
through our mail order catalog
service, call Cambridge SoundWorks at 1-877-937-4434.
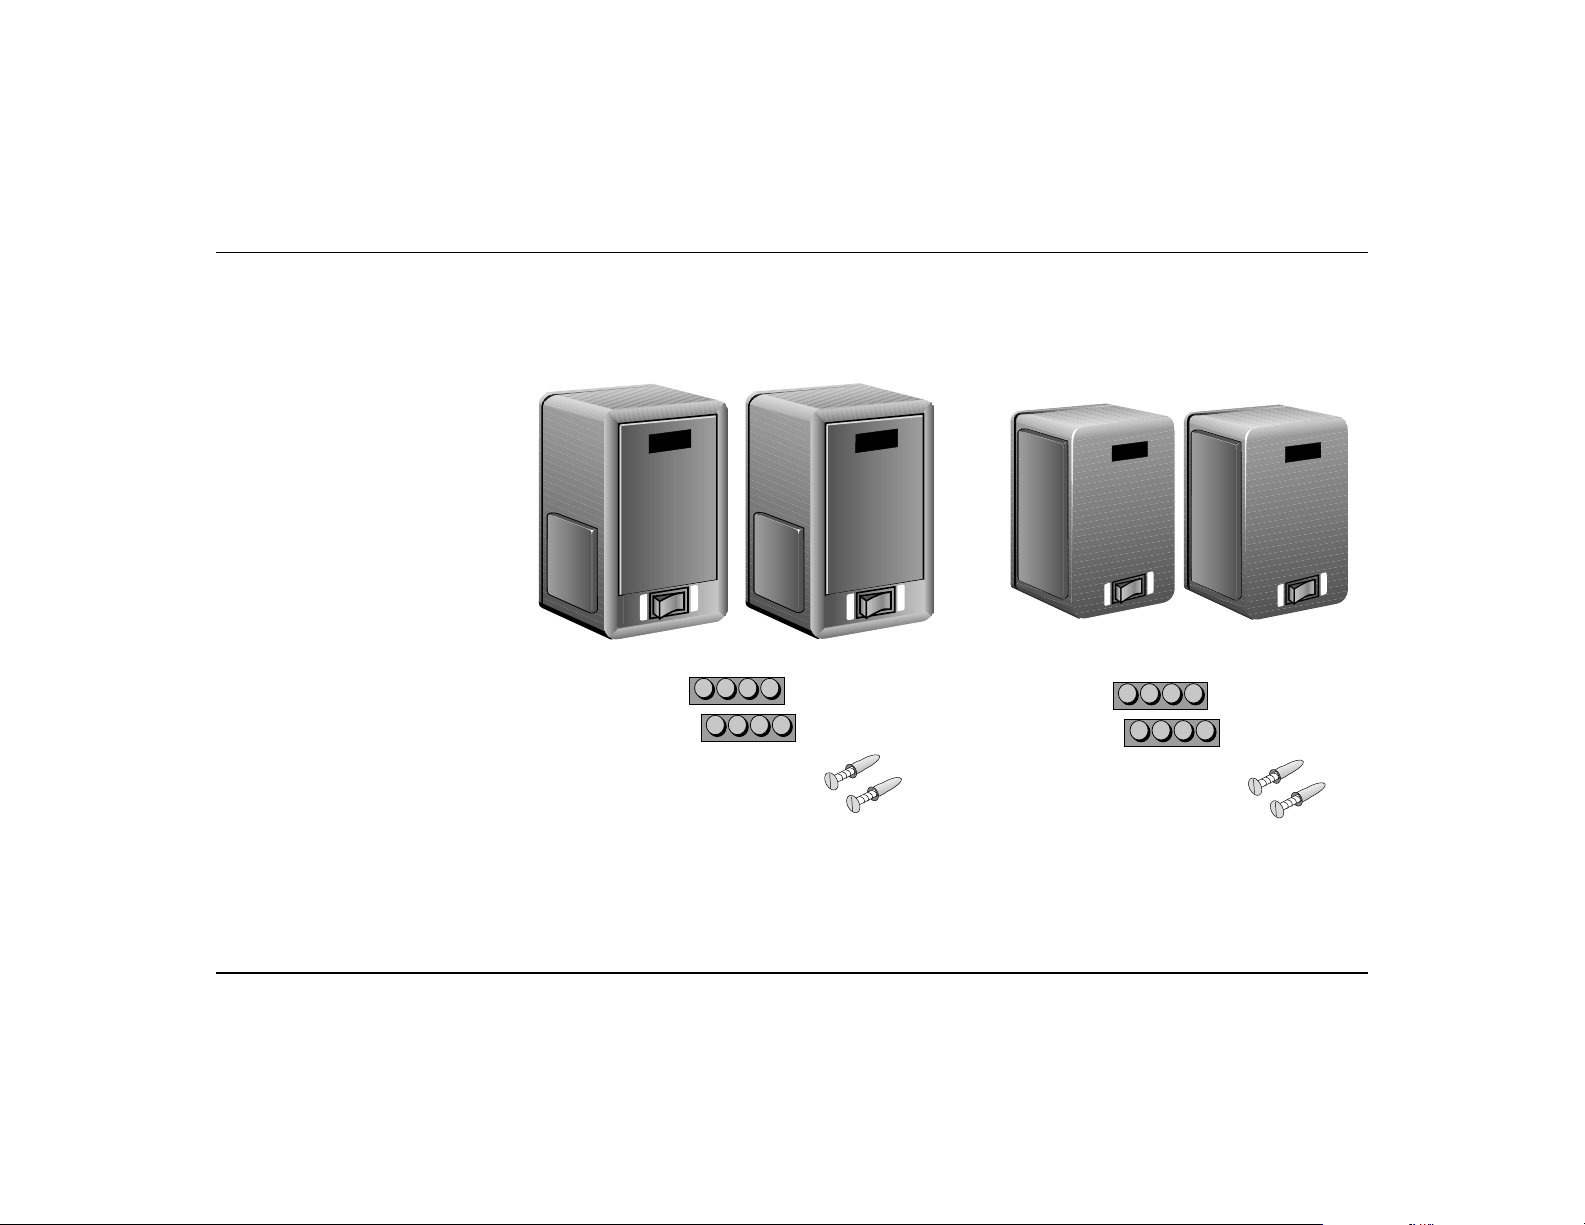
2. All the items shown to the
right should be included;
inform the retail location that
sold the speakers, or Cambridge
SoundWorks if anything is
missing.
The accessory pack for either
The Surround 5.1 or The
Surround II 5.1 should contain
the following: 2 screws, 2
anchors, 8 rubber feet.
The Surround 5.1 speaker system The Surround II 5.1 speaker system
AMBRIDGE
C
W
D
N
U
O
S
D
I
P
O
L
A
R
Stick-on feet
(2 strips of 4)
Wall mounting hardware
S
K
R
O
B
I
P
O
L
A
R
(2) Screws
(2) Anchors
AMBRIDGE
C
S
K
R
O
W
D
N
U
O
S
B
I
P
D
O
I
L
P
A
O
R
L
A
R
Surround
speakers (2)
Stick-on feet
(2 strips of 4)
Wall mounting hardware
AMBRIDGE
C
RKS
O
W
OUND
S
B
I
P
O
L
D
A
I
R
P
O
L
A
R
(2) Screws
(2) Anchors
AMBRIDGE
C
OUND
S
D
I
P
O
L
A
R
Surround II
speakers (2)
ORKS
W
B
I
P
O
L
A
R
2
Page 4
Multipole Technology
We are pleased to introduce the
first surround systems using
MultiPole technology, which
allows you to switch our surround
speakers between dipole (diffuse
radiation) and bipole (direct
radiation) operation.
As Dolby Digital 5.1’s recording
capabilities become more familiar
to movie and music sound studios,
it is difficult to predict how many
recordings will feature multiple
discrete sound sources spread
between the surround speakers.
But with MultiPole technology in
Surround 5.1, you’re literally ready
for anything…at the flip of a
switch.
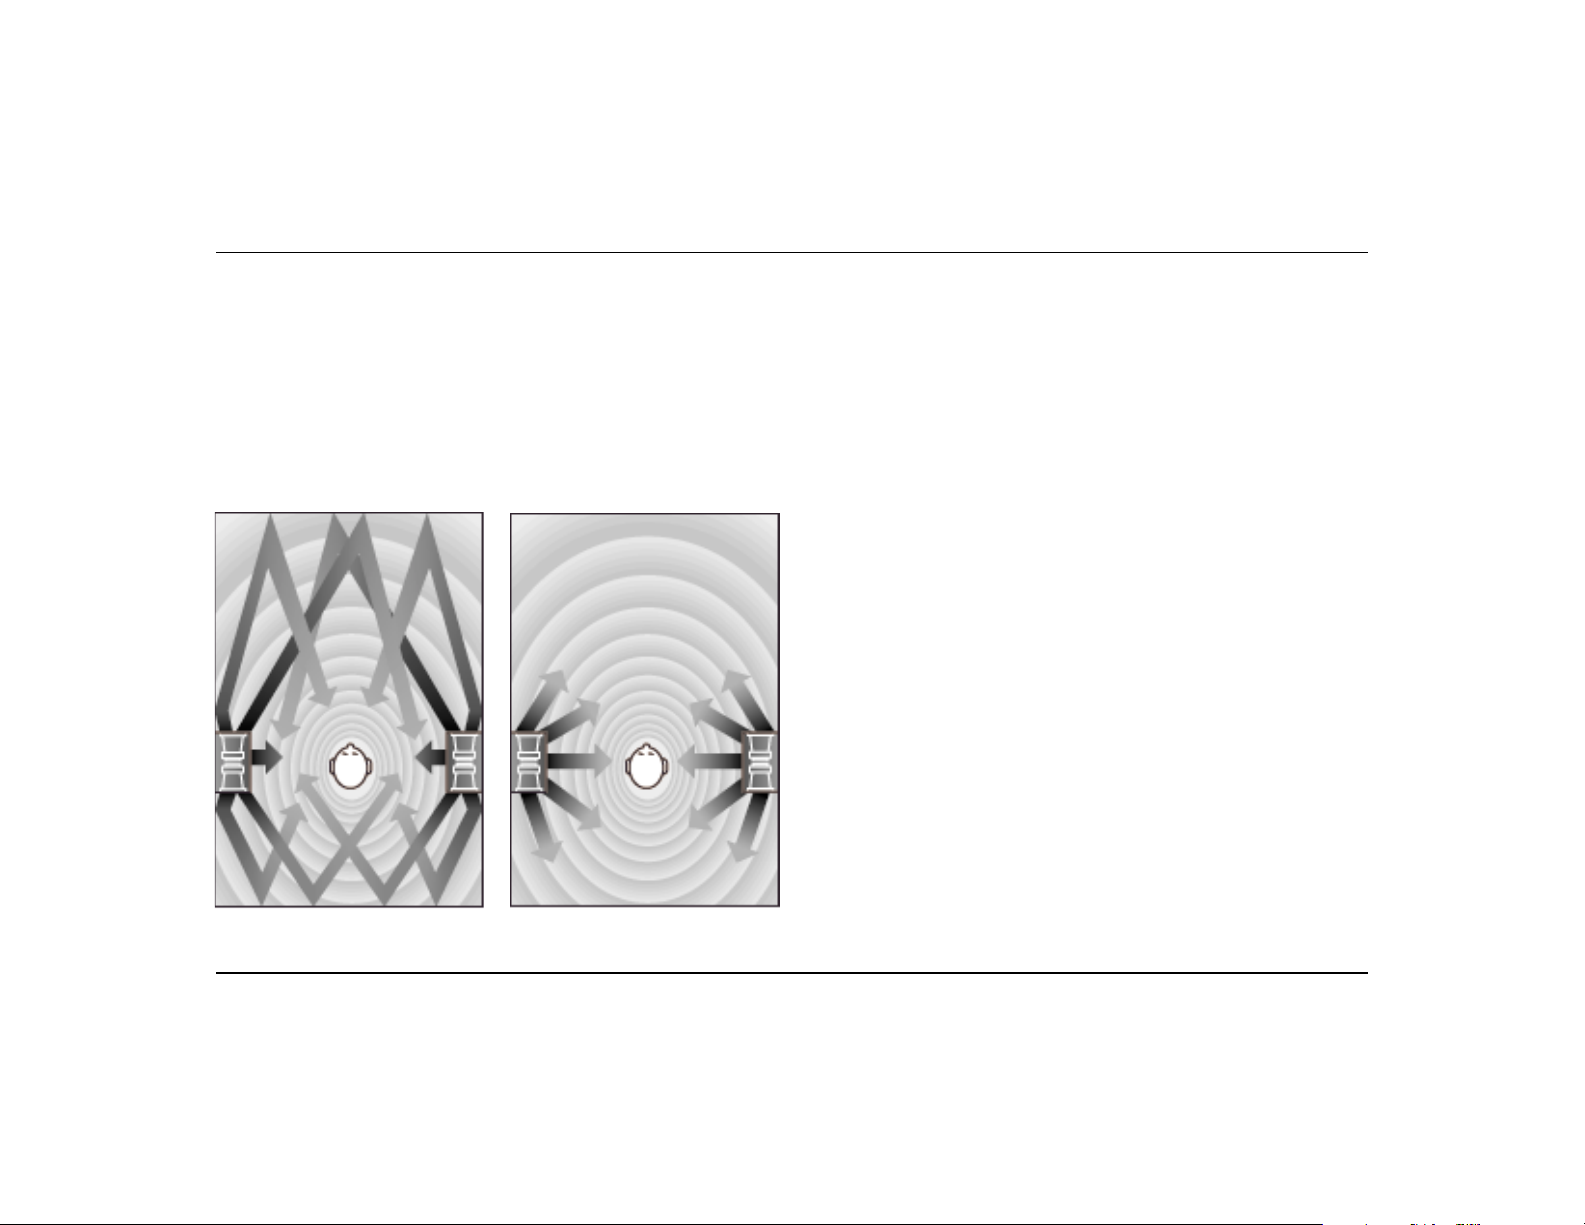
Setting the
MultiPole Switch
The MultiPole switch alters the
directionality of the speaker.
“Dipole” mode sends the mid and
high-frequency output along the
side walls, so all listeners hear a
diffuse, enveloping sound.
“Bipole” mode concentrates this
output toward the listening area,
providing central listeners more
precise imaging.
For all Dolby Surround with Pro
Logic recordings and most current
Dolby Digital recordings, we
recommend the dipole mode. It
insures that each listener experi-
ences the sound coming from all
directions, regardless of seating
position, with little degradation of
the sound positioning found in
most Dolby Digital recordings.
For some Dolby Digital recordings, however–those with lots of
lateral sound positioning crafted
into the rear channels–the bipolar
mode of our MultiPole systems
allows them to act as wide dispersion direct radiators, for more
focused sound. In particular, some
current Dolby Digital music recordings feature vocalists spread
between rear speakers. Bipole
mode offers the most precise
positioning of these sounds.
Dipole
Bipole
3
Page 5

Placement
The Surround 5.1 and The Surround
II 5.1 should be positioned in a
room according to the following
guidelines.
Be sure to observe the “LEFT” or
“RIGHT” markings on each surround speaker. Mount the “LEFT”
speaker on a surface to the listener’s
left and the the “RIGHT” speaker on
a surface to the listener’s right.
If possible, mount each surround
speaker to a side wall, not a rear
wall. Avoid placing the speakers too
far behind the listening position. If
you do not have walls on both sides
of your listening location, it is
possible to ceiling mount one or
both of the surround speakers.
Cambridge SoundWorks has mounting hardware available for mounting the surround speakers to vertical
surfaces. For more information, call
a Cambridge SoundWorks Audio/
Video Consultant at 1-877-YES-HIFI.
Ideally, you should have more
separation between the two surround speakers than between the
Left and Right Main speakers.
These surround speakers sound
best mounted fairly high, approximately 18 inches from the ceiling or
a few feet above the listeners.
Be sure to connect each surround
speaker “in-phase”, as described in
the “Speaker Connections”
section on the
next page.
Right
Surround
Right
Front
Center
Left
Surround
Left
Front
4
Page 6

Speaker Connections
Use 18-gauge speaker wire or
electrical “zip” cord for runs up to
50 feet. Use 16 gauge or heavier
wire for longer runs.
To prepare the speaker wires,
first separate the two insulated
conductors at the end of each wire
for a distance of about one inch
(as shown in A, below). Then
remove about
from each conductor. Twist the
exposed strands of each wire into
a tight spiral. Before making any
connections, be sure no individual
strands of wire short across the
terminals of your amplifier,
receiver or the speakers.
1
/2 inch of insulation
The Surround 5.1
The stripped ends of the speaker
cable can be inserted directly
through the holes in the speakers’
binding posts, as shown in B. Turn
the red and black connectors
counter-clockwise until the holes
are exposed, insert the stripped
ends of the cables, then tighten the
connectors back down (clockwise).
Note: finger-tighten the connectors only — using pliers could
damage the plastic connectors or
strip their threads.
If your speaker cables terminate
in banana plugs, insert them
through the binding post holes,
which will permit the speaker unit
to fit flush against a wall. Do not
over tighten the connectors. If
flush-mounting isn’t necessary,
you can insert the banana plugs
directly into the ends of the
speaker units’ connectors.
The Surround II 5.1
Push down on the spring-loaded
terminal tabs to expose the connector holes. Insert the bare wires into
the holes and release the connectors, as shown in C.
A
It’s important that you connect
speaker pairs identically, so that
they are electrically in-phase. All
two-conductor speaker cable is
coded along one conductor with
lettering, with a stripe or a raised
bead–or–the appearance of the
two conductors differs, usually
one copper and one silver. On
each speaker, connect the cable’s
coded conductor to the red terminal and the blank conductor to
the black terminal. At each
speaker output on your amplifier
or receiver, connect the coded
conductor to the “+” terminal
(red) and the blank conductor to
the “–” terminal (black).
While reversing the connections on one speaker will do no
damage, the speakers would be
out-of-phase, diminishing the
surround effect.
1"
B
C
1/2"
5
Page 7

Finalizing Your Installation
• Our surround speakers are
usually hung directly on a wall.
Simply screw the supplied
No. 10 screws into the wall so
that their heads protrude about
3
/8 inch, allowing them to fit
into the keyhole slots on the
back of each speaker.
The plastic anchors supplied
may be needed to secure the
screws in particularly hard or
soft material. If so, drill
1
holes in the wall, and tap the
anchors into the holes until
they are flush with the wall.
Then screw the screws into the
anchors until they protrude
3
/8 inch from the wall.
/4 inch
• Apply four stick-on feet to the
back corners of each speaker
(see diagram). These feet will
insure a secure, vibration-free
installation. Adjust the screw
of each anchor so that the
surround speaker can be hung
on it with just a small amount
of pressure.
• If you need to mount one of
the Surround speakers on a
surface that is not vertical,
you can use our special swivel
mounts, available from your
store or directly from Cambridge SoundWorks. For more
information, call a Cambridge
SoundWorks Audio/Video
Consultant at 1-877-YES-HIFI.
T
HE SURROUND
™
MULTIPOLE SURROUND SPEAKER
RIGHT
PATENTS: 5,043,970; 5,189,703; 5,222,059; 5,109,416
CAMBRIDGE SOUNDWORKS, INC.
NEWTON, MASSACHUSETTS USA
1-800-367-4434 USA
617-332-5936 OUTSIDE THE USA
8 OHMS
MAGNETICALLY
SHIELDED
™
5.1
MADE IN TAIWAN
00000
6
Page 8

Surround Configuration Options
Surround sound processors may
provide configuration choices for the
user. Use the following guidelines to
set them.
Dolby Surround
with Pro Logic
There are no configuration
options for the surround outputs.
Dolby Digital (AC-3)
Your choices for the Left and Right
rear channels in a Dolby Digital
system are typically LARGE,
SMALL, and OFF. Always set The
Surround 5.1 and The Surround II
5.1 to the “SMALL” setting. This
setting will prevent very lowfrequency bass sound from being
sent to the rear channels. This, in
turn, will allow your surround
speakers to sound their best at high
output levels. No useful lowfrequency output will be lost by
this choice.
Other surround
sound systems
(DTS, DSP devices)
Choose a setting that reduces lowfrequency content sent to the rear
speakers below 100 Hz. Wallmounted compact speakers (like
surround speakers) cannot produce enough output in this frequency range to be audible compared to larger front speakers.
Sending low-bass information to
these speakers results in higher
distortion with no benefit to
directivity or output.
About Amplifier Power
• For Dolby Surround-encoded
program material, Dolby Laboratories recommends the combined
amplifier power for both surround speakers need be only
one-half that provided for one
main front channel (there’s no
harm in having more).
• Dolby Digital (AC-3) systems can
justify more power to the rear
left and rear right channels.
• The power needed varies significantly with such factors as the
size of the listening room, its
acoustics and furnishings, the
type of music you listen to, and
how loud you like it to play.
• The Surround 5.1 can be used
safely to play music with the
most powerful amplifiers and
receivers designed for home
listening. We suggest that The
Surround II 5.1 speakers be
used with amplifiers rated at 50
watts per speaker or less. Most
Pro Logic amplifiers (not Dolby
Digital amplifiers) cite only the
combined power sent to both
rear speakers. However, use
common sense to prevent strong
non-musical transients; keep
the volume down when connecting or disconnecting components, raising or lowering a
turntable’s tonearm, and so on.
This will help protect your ears
as well as the speaker units.
7
Page 9

If the cabinet ever requires more
than simple dusting, use a window cleaning product. Avoid
spraying the cleaner directly on
the speaker grilles to prevent
damage to the speaker drivers.
Use a soft, lint-free cloth. Do not
use paper towels or other material
which could leave lint behind on
the textured Nextel finish.
Difficulty?Cleaning The Cabinets
If you suspect there’s a problem
with your surround speakers,
contact the store where you
purchased them. If a problem
is confirmed, you will need to
return the speakers to that store
or its Authorized Service Center.
If you purchased the speakers
through our mail order catalog
service, call a Cambridge
SoundWorks Audio/Video Consultant at 1-877-YES-HIFI. He or she
will help you track down the problem, which could be in some other
component in your system. If
together you agree that there is
something wrong with your surround speakers, you will be supplied with a Return Authorization
Number. Please do not return your
surround speakers to the factory
without prior authorization.
8
Page 10

10-Year Limited Warranty
To the original purchaser,
Cambridge SoundWorks, Inc. will
warrant The Surround 5.1 or The
Surround II 5.1 speaker system to
be free from defects in material
and workmanship for a period of
ten (10) years from date of
purchase. With respect to defects,
Cambridge SoundWorks will, at its
option, replace the product or
repair the defect in the product
with no charge to the original
purchaser for parts or labor.
This warranty does not extend
to any defect, malfunction or
failure caused by misuse, abuse,
accident, faulty hook-up, defective
associated equipment or use of the
speaker with equipment for which
it is not intended.
This warranty is valid only
when the speaker is returned to
an Authorized Cambridge
SoundWorks Service Station or
directly to Cambridge SoundWorks at the address below,
freight prepaid, together with a
copy of the original sales slip to
establish warranty status. If you
have any questions regarding the
location of an Authorized Service
Facility in your area, please
contact Cambridge SoundWorks.
This is the sole and express
warranty. This warranty is in lieu
of all other warranties, expressed
or implied, of merchantability,
fitness for purpose or otherwise. In
no event shall Cambridge SoundWorks be liable for incidental or
consequential damages or have
any liability with respect to defects
other than the obligations set forth
above.
To ensure warranty coverage it
is incumbent upon the original
purchaser to inform Cambridge
SoundWorks or any of its
Authorized Service Agencies of the
defect within the warranty period.
The only acceptable method of
establishing warranty status is a
copy of the original proof of
purchase indicating customers
name and purchase date.
For warranty information contact:
Cambridge SoundWorks, Inc.
311 Needham St.
Newton, MA 02464
1-877-YES-HIFI
(1-877-937-4434)
www.cambridgesoundworks.com
email:
info@cambridgesoundworks.com
® Dolby Surround, Pro Logic, Dolby Digital and DTS are registered trademarks of Dolby Laboratories Licensing Corporation.
® The Surround is a registered trademark of Cambridge SoundWorks, Inc.
9
Page 11

311 Needham Street, Newton MA 02464
1-877-937-4434 Fax: 617-527-3194
www.cambridgesoundworks.com
Email: info@cambridgesoundworks.com
P81-1120 0400
A Company
 Loading...