

Page 1

Introduction ........................................................................................ 1
Overview ............................................................................................. 2
Unpacking And Checking For Shipping Damage ................................. 2
Speaker Placement .............................................................................. 3
Speaker Hook-Up ................................................................................ 4
Preparing Speaker Wires ..................................................................... 4
Making Connections ............................................................................ 5
Optimizing The Sound ......................................................................... 6
Cleaning The Cabinets ......................................................................... 6
Specifications ...................................................................................... 6
Floor Versus Carpets ............................................................................ 7
10-Year Limited Warranty ................................................................... 8
Difficulty? ............................................................................................ 8
Contents
Tower III
by Henry Kloss
®
Instructions for:
Page 2
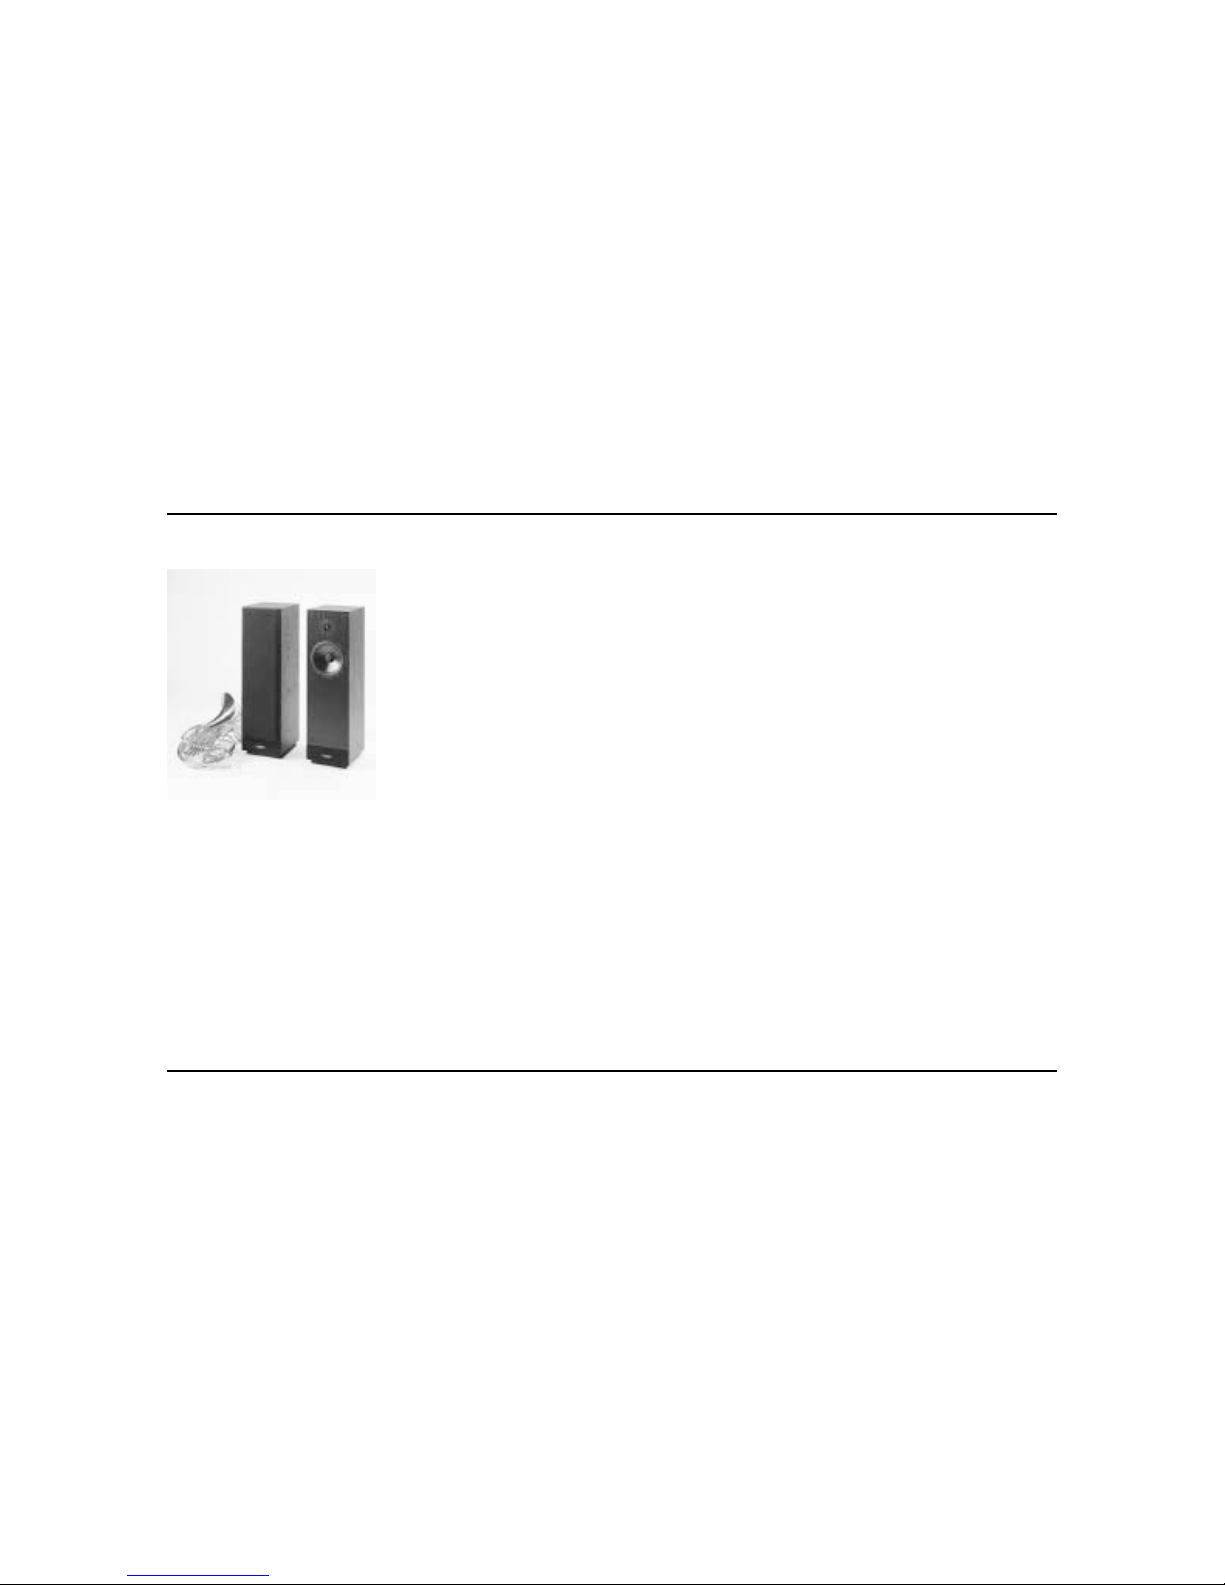
T
hank you for purchasing the
Tower III speakers by Henry
Kloss. They showcase the
lifetime of experience Henry
Kloss brings to speaker design.
Henry Kloss examined all facets of
speaker design to ensure the highest
performance possible. This includes
cabinet shape and construction,
driver size and materials, and driver
placement. Most importantly, Henry
Kloss has included all the complex
internal circuitry needed to ensure a
seamless dynamic “presence” from
this speaker system.
Introduction
Cambridge SoundWorks
1-877-YES-HIFI
(1-877-937-4434)
24 hours a day,
every day
In Canada: 1-800-987-9104
Outside US or Canada:
Tel: 617-332-5936
Fax: 617-527-3194
www.cambridgesoundworks.com
E-mail:
info@cambridgesoundworks.com
1
Page 3
2
Overview
Read through this manual before
starting to install your speakers.
Decide where to place the Tower III
speakers in your listening room.
Afterwards, you will prepare the
speaker wires, connect and listen to
the speakers. When you are satisfied
with the sound, you may conceal
the wires.
1. We suggest that you keep the
shipping carton and packing
materials. They will be useful in
case you move or ship your
speakers.
2. Upon unpacking your speakers,
examine them carefully for any
signs of shipping damage. If
there is evidence of shipping
damage, do not install or use
the speaker. Contact the retailer
where you purchased them.
Unpacking And
Checking For
Shipping Damage
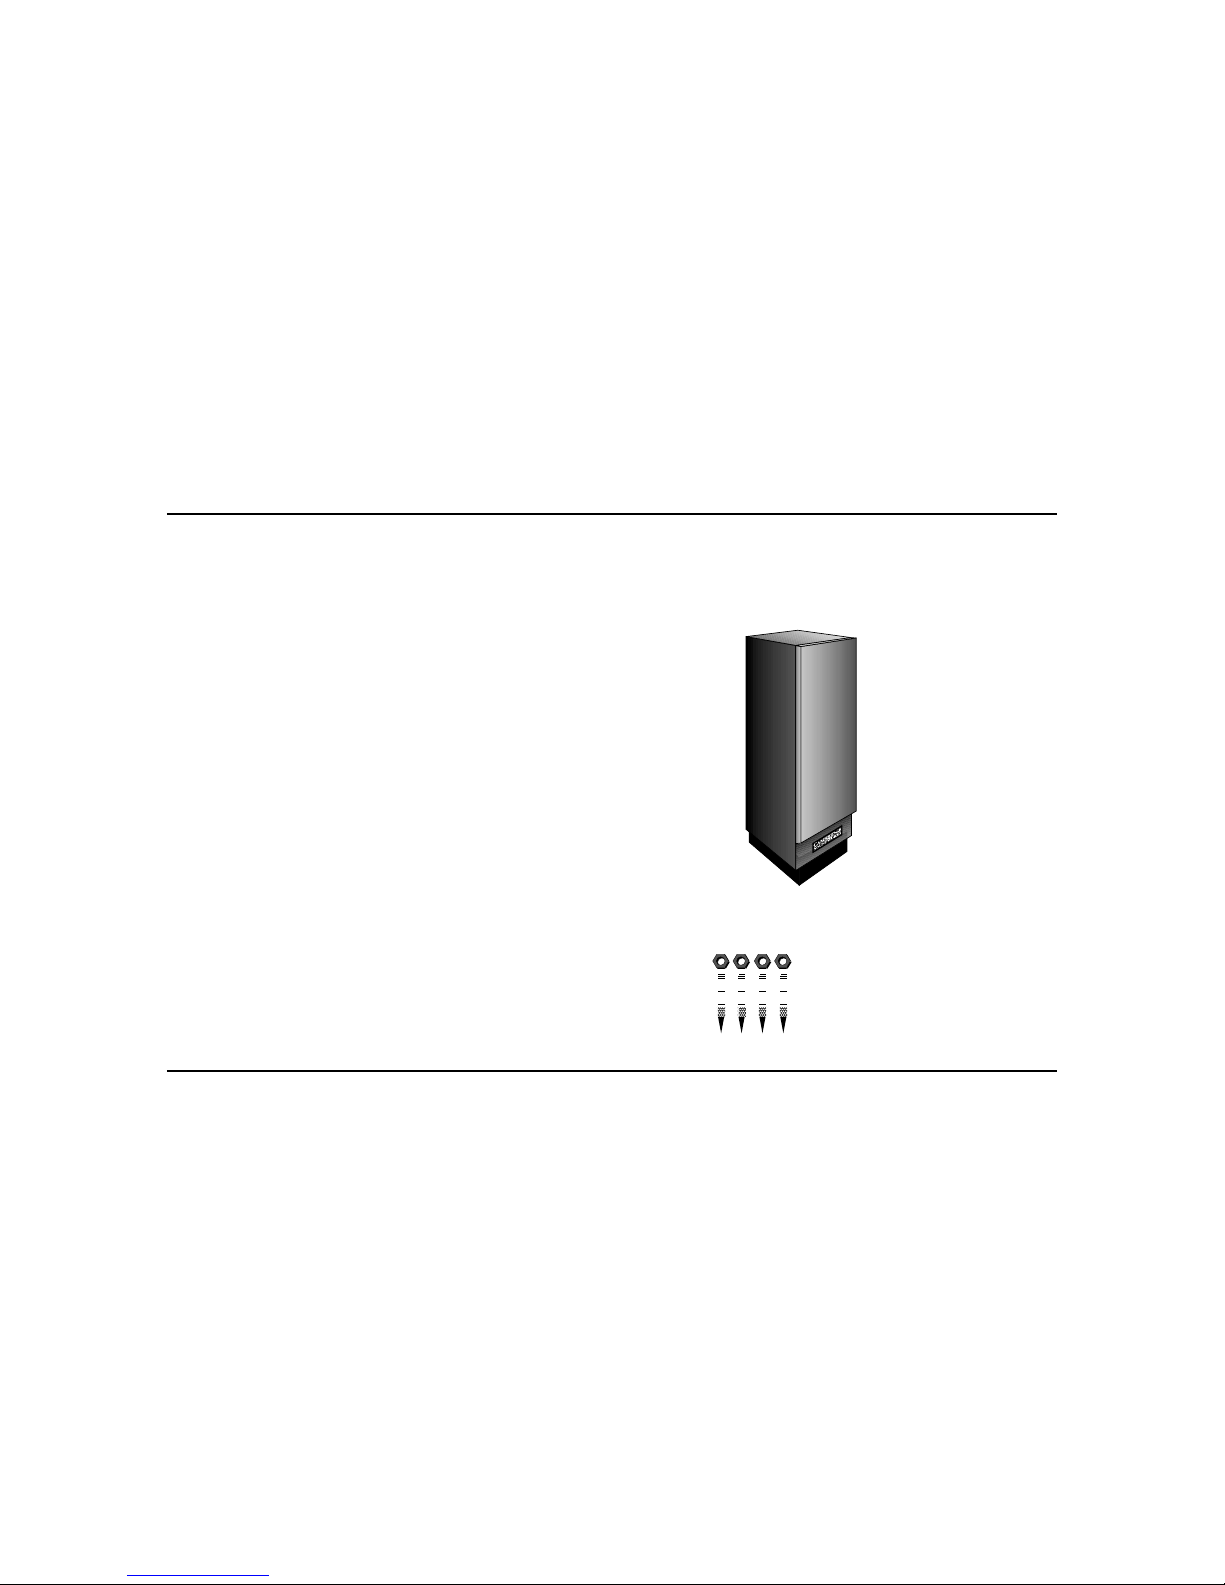
Tower III
Accessory Pack contains…
Four (4) nuts
Four (4)
carpet spikes
Page 4

5"
LASER DISC
102.7
3
Speaker Placement
A
Tower III speakers are magnetically
shielded, so they may be placed next
to a TV. Most movie soundtracks
sound best with the speakers
positioned to form a 45
o
angle
(see A, below). If this places the
speakers too close to the TV, move
them further out.
Avoid placing the speakers within
18 inches of room corners (see B,
below).
The Tower III speakers are magneti-
cally shielded, so they may be
placed next to a TV. Avoid placing
Tower IIIs closer than 5 inches from
a back wall (see C, below).
When placing the speakers close to
a cabinet or wall unit, position their
front surfaces flush with the front
edge of the cabinetry (see D, below).
Have a clear line-of-sight to the
speakers, so that high frequencies
are not blocked. Do not place
speakers near a turntable. Feedback
could result.
B
C
D
Page 5

4
Speaker Hook-Up
After you have determined
placement (page 3 - 4), it’s time to
connect your speakers to the
receiver or amplifier. Use at least
16-gauge stranded copper wire for
runs of up to 25 feet, and heavier
gauge for longer runs.
Preparing
Speaker Wires
• Use a wire cutter/stripper to cut
speaker wire into appropriate
lengths.
• Separate the individual leads for
a distance of one inch (see E,
below) at both ends of the wires.
• Strip
1
/2 inch of insulation from
each individual lead end at both
ends of the wires. Be careful not
to cut through the wire strands.
• Twist the bare wire strands
tightly together (see F, below). Be
sure that there are no loose
strands (see G, below).
1"
E
F
G
Page 6

5
The two leads of each speaker wire
are differentiated by a ridge or color
stripe down one lead’s insulation,
and/or the use of different color wire
(copper and silver).
• Unscrew two of the speakers’ red
(+) and black (–) connectors to
expose the holes in their threaded
shafts.
• Insert the stripped ends of the
wires through the holes.
• Hand tighten the connectors
clockwise (see H, below). Be sure
no stray strands of wire cross the
connecting terminals of your
speaker, receiver or amplifier.
• Connect both speakers identically
by connecting the red (+) and
black (–) terminals on the speaker
units to their red and black
counterparts on your receiver or
amplifier. Use the marked leads
for interconnecting the red
terminals. Use the unmarked
leads for interconnecting the
black terminals.
• Connecting the speaker components identically ensures that
they will operate “in phase.” “Out
of phase” connections can muddy
the bass or stereo effect, causing
Making Connections
solo sounds to “split” between
the two speakers.
• You could also attach standard
banana plugs to the speaker
wires and plug them into the
ends of the speaker connectors. If
oversized banana plugs are used,
the speakers might not sit flush
on the floor.
H
SPEAKERS
+–
Amplifier or Receiver
Page 7

6
Optimizing The Sound
Of Your System
A small change in speaker
placement can have a large effect on
the sound. Program material varies
greatly, so be sure to listen to a
variety of recordings to prevent
being misled by unusual characteristics of a particular recording. Let
your ears be the guide, and trust
them. When the Tower III speakers
sound right to you, you’ve found
the best placement.
Amplifier Power
At high volume levels, if the sound
is consistently “grainy” or “gritty,”
or there is noticeable distortion on
deep bass, you may be overdriving
(“clipping”) your amplifier or
receiver. Turn down the volume
control until the symptoms
disappear. If this level is not loud
enough for you, you may need a
more powerful amplifier or receiver.
For Dolby Digital® Systems:
You need to configure the “speaker
size” on most Dolby Digital
®
receivers. If the Tower III speakers
are used without a subwoofer, set
the speaker size option of your
receiver to “LARGE” and the
subwoofer option to “OFF.” Dolby
Surround
®
receivers (without Dolby
Digital) do not have size selection
for the main speakers.
If more than dusting is needed, the
vinyl finish on your Tower III
speakers can be cleaned with a
window or vinyl cleaning product.
Avoid spraying any cleaner directly
onto the speaker grilles to prevent
damage.
Dust may be removed from the top
of the grille panels with the brush
attachment of a vacuum cleaner.
If you choose to operate the
speakers with the grille panels
removed, dust may accumulate on
the edges of the woofers, midranges
or tweeters. This will not affect the
performance of the system, and we
advise against trying to clean
the drivers.
Cleaning
The Cabinets
Tower III
Size 33 3/4” x 9 1/4” x 12 1/4”
Woofer 8”
Tweeter 1”
Impedance 8 ohms (nominal)
Weight 65 pounds
Specifications
Page 8

7
Each speaker comes with four carpet
spikes. These spikes can be used to
improve stability on thick carpet. They
will penetrate a carpet and carpet pad
and transfer the weight of the speaker
directly to the actual floor surface.
Important Note: These carpet spikes
will leave four small but distinct
puncture holes in wooden floors and
can damage other surfaces. Do not use
these spikes if you are concerned
about the appearance of the floor
beneath the carpet.
Determine the final listening
position of each speaker before
installing the carpet spikes, since
repositioning a speaker is difficult
once the spikes are installed.
Carpet spike installation consists of
removing the rubber feet and then
adjusting and locking the spikes.
J. Screw one locknut about half-
way down the shank of each
carpet spike.
K. Carefully lay the loudspeaker on
its side.
L. Pull each rubber foot out of its
threaded fitting. Rotate the foot
counter-clockwise if it resists
slipping out.
M. Screw each carpet spike into a
threaded fitting. Leave a small
gap between the locknut and
the fitting.
N. Place the speaker at its proper
listening position. Adjust each
spike by rotating it until the
speaker is level and stable.
O. Screw each of the locknuts up
against the base to secure the
carpet spike.
Floor Versus Carpets
Tower IIIs come with four rubber feet
installed in threaded sleeves in the
pedestal base. These feet will
provide stability on any
flat, uncarpeted floor surface and
many single-layer carpeted surfaces.
* Check that each speaker is
securely positioned at the final
listening position and does not
rock back and forth (see I, below).
Use shims to provide stability if
the surface is not level. The rubber
feet will also help protect smooth,
polished floor surfaces.
J
K
L
M N
O
I
Page 9

8
10-Year Limited Warranty
To ensure warranty coverage it is
incumbent upon the original
purchaser to inform Cambridge
SoundWorks or any of its Authorized Service Agencies of the defect
within the warranty period. The
only acceptable method of establishing warranty status is a copy of the
original proof of purchase indicating
customers name and purchase date.
For warranty information
contact:
Cambridge SoundWorks, Inc.
311 Needham St.
Newton, MA 02464
1-877-YES-HIFI
(1-877-937-4434)
www.cambridgesoundworks.com
email:
info@cambridgesoundworks.com
This warranty is valid only when
the speaker is returned to an
authorized store where it was
purchased. If you bought directly
from Cambridge SoundWorks, call
for a Return Authorization Number
for the unit. Then return it to the
address below, freight prepaid,
together with a copy of the original
sales slip to establish warranty
status. Please do not return the
Tower III, or any of its parts, without
prior authorization.
This is the sole and express
warranty. This warranty is in lieu of
all other warranties, expressed or
implied, of merchantability, fitness
for purpose or otherwise. In no
event shall Cambridge SoundWorks
be liable for incidental or consequential damages or have any
liability with respect to defects other
than the obligations set forth above.
To the original purchaser,
Cambridge SoundWorks, Inc.
warrants the Tower III speakers to
be free from defects in material and
workmanship for a period of ten
(10) years from date of purchase.
With respect to defects, Cambridge
SoundWorks will, at its option,
replace the product or repair the
defect in the product with no charge
to the original purchaser for parts or
labor.
This warranty does not extend to
any defect, malfunction or failure
caused by misuse, abuse, accident,
faulty hook-up, defective associated
equipment or use of the speaker
with equipment for which it is not
intended.
Difficulty?
If you suspect there is a problem,
after you set up and listen to your
Cambridge SoundWorks product,
first review this manual. If the
problem persists, contact the
store where you purchased it.
You may also call a Cambridge
SoundWorks Audio/Video Consultant at 1-877-YES-HIFI who will
help you isolate the problem. It
could be with some other component in your system.
If you and our Audio/Video
Consultant agree there is something
wrong with your Cambridge
SoundWorks product, you should
return it to the store where you
purchased it. If this is not possible,
our Audio/Video Consultant can
issue a Return Authorization
Number. Please, do not return
Cambridge SoundWorks speaker
systems or any parts without prior
authorization, as unnecessary
delays may result.
® Dolby Surround, Pro Logic and Dolby Digital are registered trademarks of Dolby Laboratories Licensing Corporation
® Cambridge SoundWorks, Tower by Henry Kloss and Tower II by Henry Kloss are registered trademarks of Cambridge SoundWorks, Inc.
Page 10

311 Needham Street, Newton MA 02464
1-877-937-4434 Fax: 617-527-3194
www.cambridgesoundworks.com
Email: info@cambridgesoundworks.com
P81-1420 0400 A Company
 Loading...