

Page 1
TruLink™ KVM Extender
Model: 39969 - VGA/USB over Cat5
Model: 39970 - VGA/ (PS/2) over Cat5
Operation Manual
Ver. 1.0
Page 2
Operation Manual
TruLink™ KVM Extender
Model: 39969 VGA and USB over Cat5
39970 VGA and PS/2 over Cat5
Thank you for purchasing the TruLink KVM Extender. We recommend that you read this
manual thoroughly and retain for future reference.
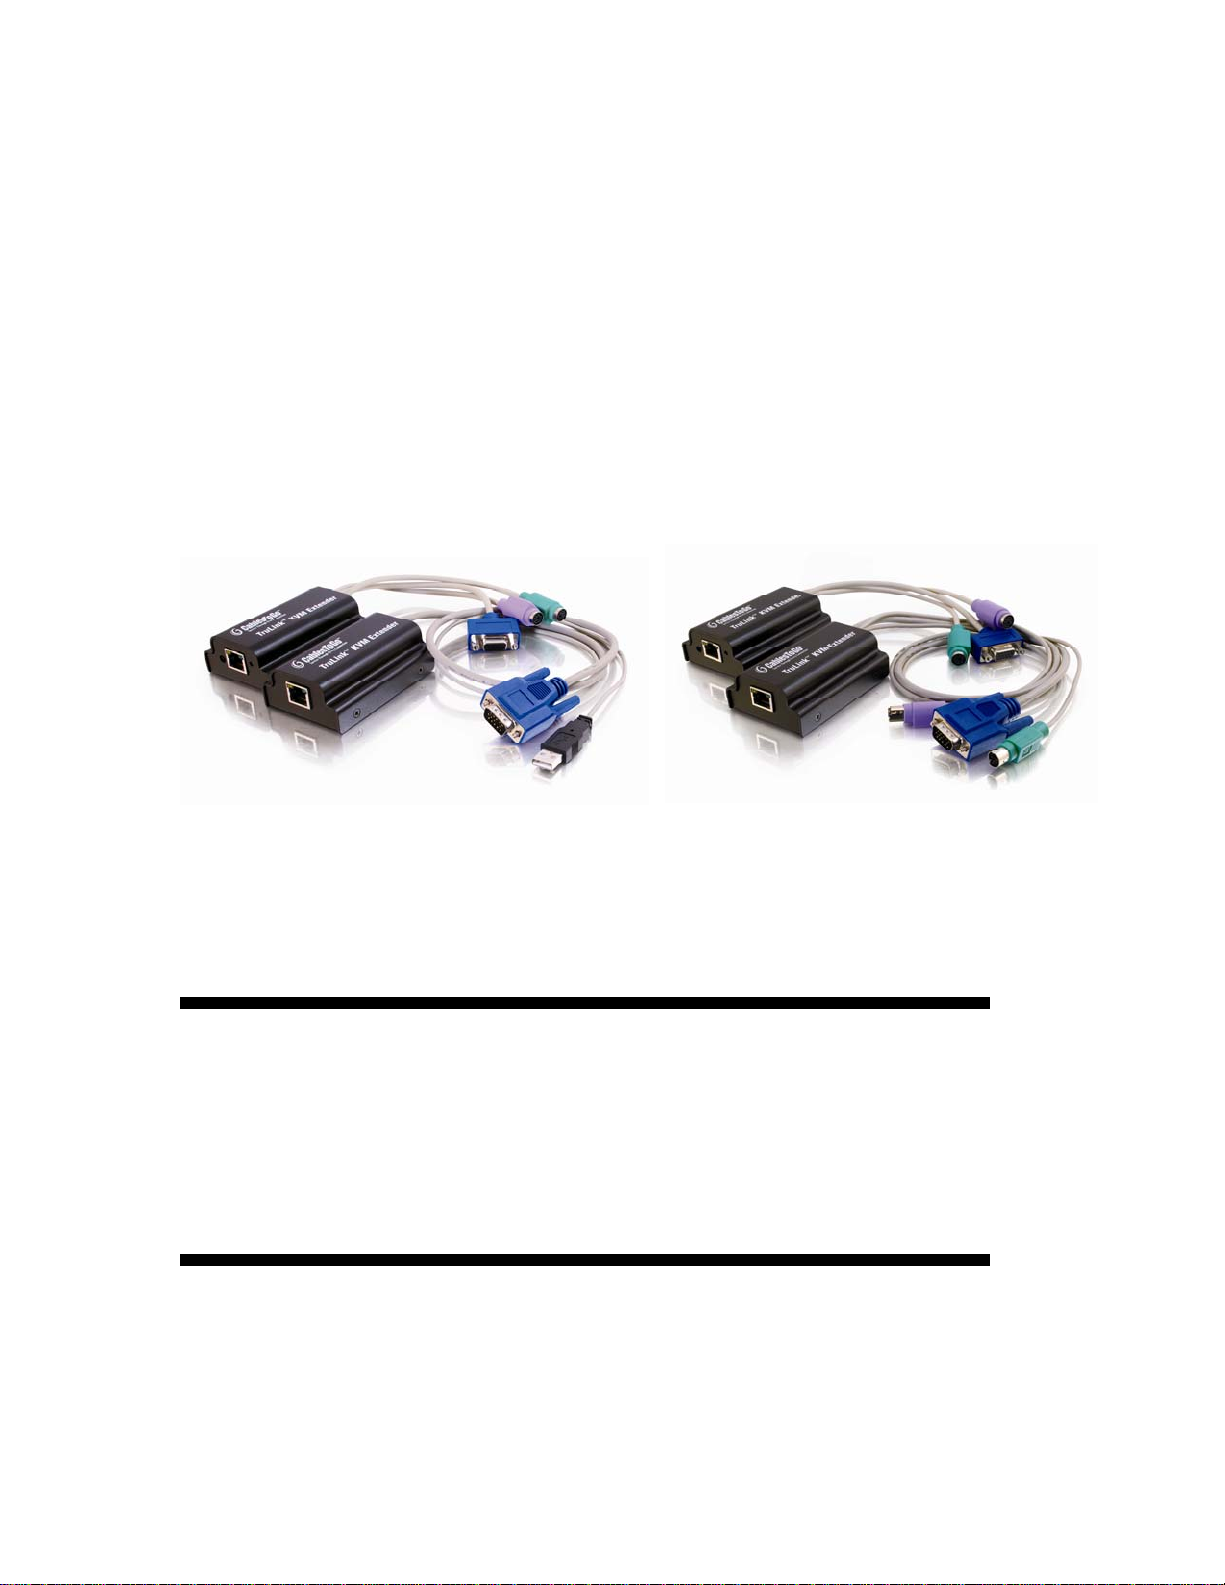
39969 39970
Function:
The TruLink KVM Extender from Cables To Go allows you to control a computer up to 230ft.
away from your keyboard, monitor, and mouse. Use it to give remote access from a server room,
rack or KVM switch.
Package Contents:
• KVM Extender (Transmitter and Receiver unit)
• 5V DC Adapter
• Operation Manual
• Small Screwdriver (for tuning of the Extender signal)
ii
Page 3

Table of Contents
Function...…………………………………………………………………………...ii
Package Contents……………………………………………………………….....ii
Features……………………………………………………………………………..1
Connecting the KVM Extender...........................……….....…………………....1
Operating the KVM Extender............................………………………………....3
Specifications……………………………………………………………………......4
Warranty/Important Safety Information…………………………………………...5
iii
Page 4

Features:
• Up to 1600 x 1200 @ 75Hz (depending on distance)
• Advanced CAT5 technology
• Pure hardware solution – real time data transfer, no software conflicts
• Plug-and-play installation – no extra protocols needed
• Multi-platform Transmitter models - PS/2 / USB
Connecting the KVM Extender
Note: Before making any connections, please do the following
• Switch off the computer
• Place cables away from fluorescent lights, air conditioners, and machines that are likely
to generate electrical noise
The figure below illustrates the KVM Extender system configuration. The universal Receiver
model connects to KVM control devices and is suitable for all types of Transmitter units.
Figure 1. Application Layout
1
Page 5

1a. Connecting the PS/2 Transmitter (model: 39970)
Connect the PS/2 Transmitter as illustrated in
Figure 2.
Note: Although we recommend connecting the
PS/2 Transmitter to a switched off computer,
you can connect it to a switched on computer.
To do so you must connect it in the following
order:
1. Mouse connector
2. Keyboard connector
3. Video connector
Figure 2. PS/2 Transmitter
Connections
1c. Connecting a USB Transmitter (mo del: 39969 )
The USB Transmitter supports Windows 98 and later, SUN, SGI, MAC and other operating
systems supporting a USB interface.
Connect the USB Transmitter as illustrated in Figure 3.
Figure 3. USB Transmitter connections
2. Using a CAT5/6 cable, connect the Transmitter to the Receiver. Connect the cable to the
Transmitter’s and Receiver’s RJ45 ports.
2
Page 6

3. Connect the Receiver to a PS/2 KVM console as illustrated below in Figure 4.
4. Connect the supplied 5VDC Power adapter to the Receiver. The Transmitter receives its power
from the connected computer.
LED indicators
Figure 4. Receiver connections
Both the Transmitter and Receiver have 2 LEDs above the RJ45 port. The green LED indicates
power is on. The flashing yellow LED indicates the system is connected.
Picture adjuster
To get a clear projected image, use a screwdriver to turn the picture adjuster on the Receiver unit
Operating the KVM Extender:
Configuration options
Configure the KVM Extender system to:
• Work with Unix servers
• Input the monitor’s DDC information
• Change the Shift hotkey to Ctrl
When you enter the configuration mode by pressing, Shift, Tab, as set out below, all 3 LEDs
illuminate. Pressing Esc exits the configuration mode and the LEDs return to normal.
Note: Press the keys one after the other not all together.
Working with UNIX servers
Configure the system to work with UNIX servers
• For HP UX, SGI and Open VMS, press Shift, Tab, U, 1, Esc
• For Alpha Unix, press Shift, Tab, U, 2, Esc
3
Page 7

• For AIX, press Shift, Tab, U, 3, Esc
Display Data Channel (DDC) hotkey
Display Data Channel is a
adapter
. To input the monitor’s DDC information into the Transmitter’s memory, press:
VESA standard for communication between a monitor and a video
Shift, Tab, D, Esc
Update the DDC information if you replace the monitor. To do so, repeat the above hotkey
sequence.
Changing the Shift hotkey to Ctrl
You can change the hotkey to Ctrl. Once you do so, replace all the instances of Shift appearing
above to Ctrl.
-To change to Ctrl press:
Shift, Tab, C, Esc
-To change back to Shift press:
Ctrl, Tab, S, Esc
Specifications
System
System cable CAT5/6 cable 2x4x24 AWG Solid Wire
Maximum distance 70m/230ft
Mouse support 2 or 3 or 5 button PS/2, Wheel mouse, Intellimouse Explorer
Operating systems All major operating systems
Screen resolution Up to 1600X1200 @ 75Hz (depending on cable length)
Warranty 3 years
Operating temp. 0ºC to 40ºC/32ºF to 104ºF
Storage temp. -40°C to 70°C/-40ºF to 158ºF
Humidity 80% non condensing rel ative humidity
Cables &
Connectors
Transmitter Receiver
Built-in KVM
System – RJ45
VGA – HDD15F
Keyboard – MiniDin6F
Mouse – MiniDin6F
System – RJ45
Power supply
Dimensions
Shipping weight
From connected computer
89 x 46 x 25.3mm / 3.5 x 1.8 x 0.9”
4
External switching power adapter
5V DC 110/240
552g/1.21lb
Page 8

Cables To Go™ Three Year Warranty
At Cables To Go, we want you to be totally confident in your purchase. That is why we offer a
three year warranty on this device. If you experience problems due to workmanship or material
defect for the duration of this warranty, we will repair or replace this device. To request a Return
Merchandise Authorization (RMA) number, contact customer service at 1-800-506-9606 or
www.cablestogo.com.
Important Safety Information
! Do not plug the unit in any outlet that does not have enough current to allow the switch to
function. Refer to the specifications in this manual for power level of the unit.
!
Liquid:
If this unit or its corresponding power adapter has had liquid spilled on or in it, do not attempt to
use the unit.
Do not attempt to use this product in an outdoor environment as elements such as rain, snow,
hail, etc. can damage the product.
!
In case of a storm, it is recommended that you unplug this device from the outlet.
!
Avoid placing this product next to objects that produce heat such as portable heaters, space
heaters, or heating ducts.
! THERE ARE NO USER SERVICEABLE PARTS
Do not attempt to open this product and expose the internal circuitry. If you feel that the
product is defective, unplug the unit and refer to the warranty information section of this
manual.
3555 Kettering Blvd.
Moraine, OH 45439
1-800-906-9606
www.cablestogo.com
5
 Loading...