

Page 1
PORTABLE DAB+ RADIO
The Gold Technical Support Line: 1902 215 259
Personal Product Support
(charges will apply at 2.95 per minute)
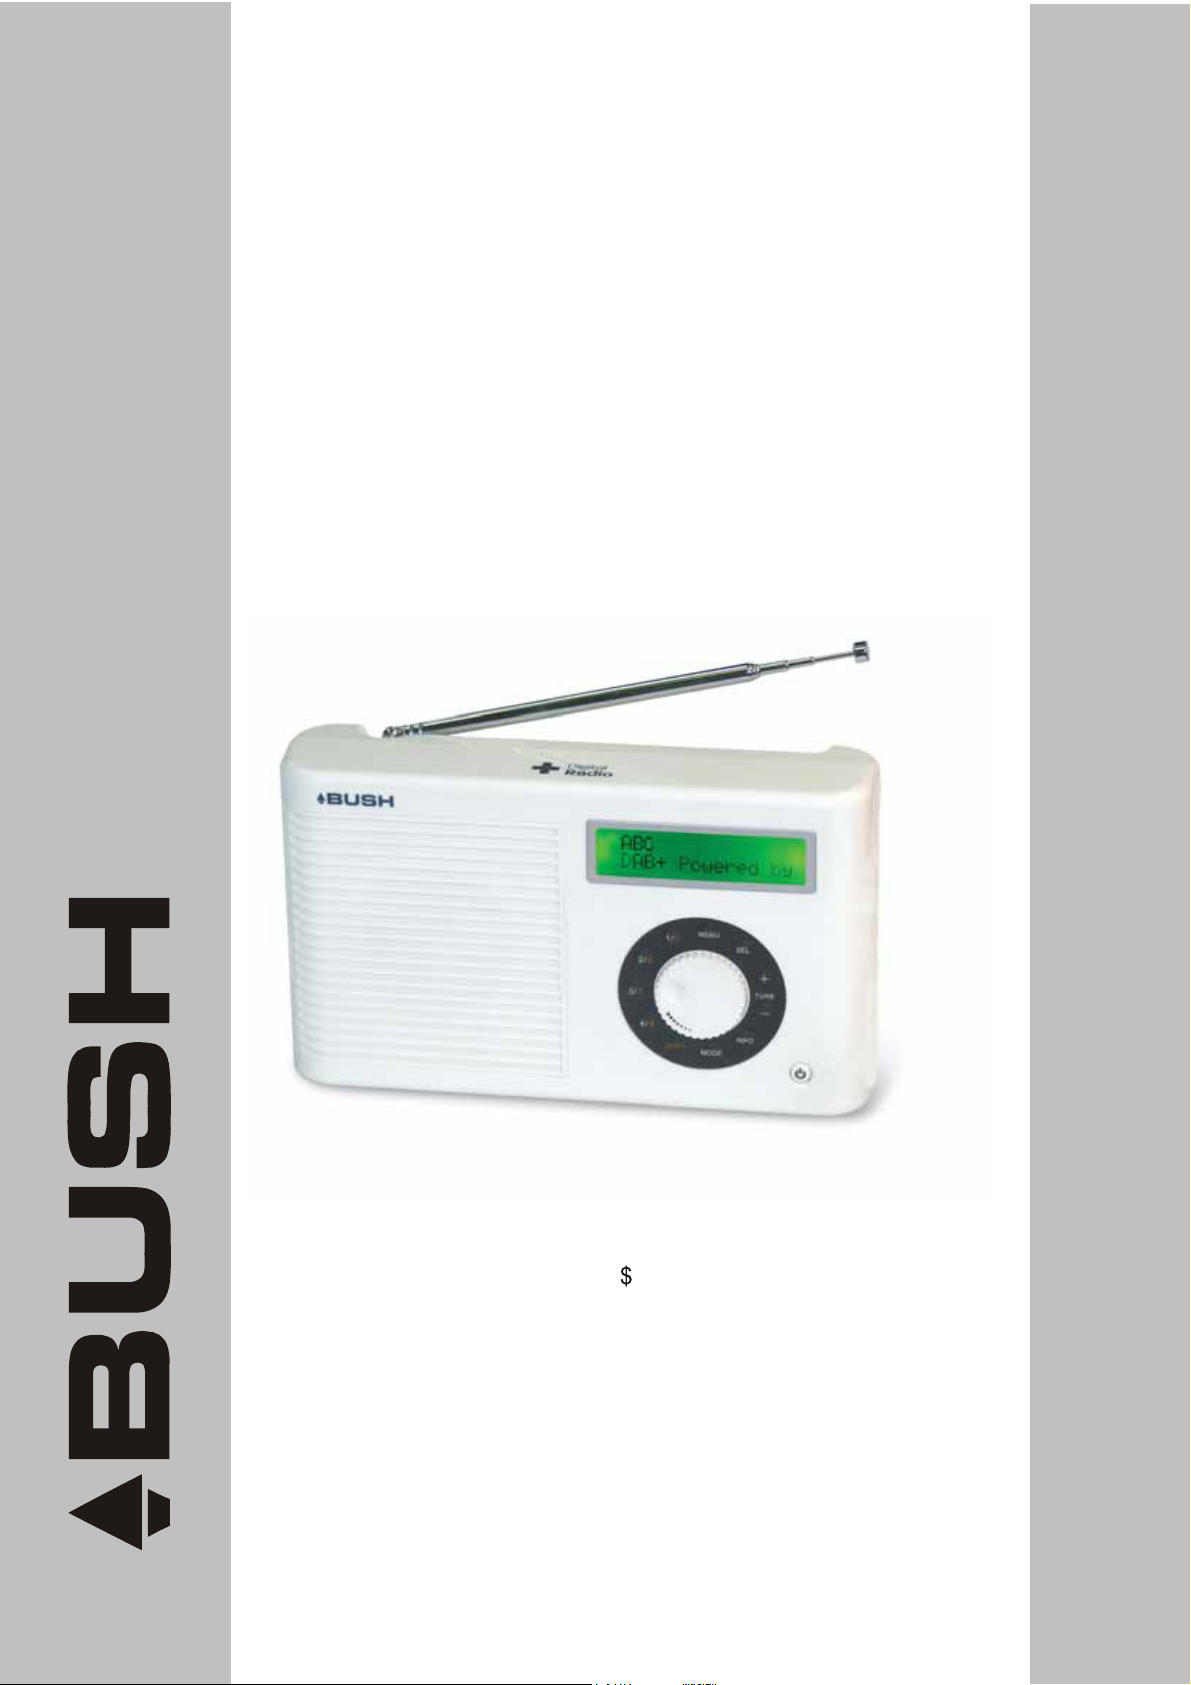
BR12DAB
Page 2

Page 3

BR12DAB
Introduction
Thank you for buying this Bush product, which is designed to give you many years of
trouble-free service.
You may already be familiar with using a similar unit, but please take time to read these
instructions.
They are designed to familiarize you with the unit’s many features and to ensure you get
the very best from your purchase.
Safety is important
Your safety and the safety of others is important.
Please therefore, ensure you read the “Safety Instructions” before you operate this unit.
Warranty
In the unlikely event that your product fails to work normally, please call the below free
phone number to discuss the problem with one of our qualified service engineers.
Australia.
Bush Warranty: 1800 509 394
New Zealand
Bush Warranty: 0800 450 259
Disposal
Waste electrical and electronic products must not be disposed of with
household waste. Please refer to the retailer from whom you purchased
this item for disposal instru ctions.
Batteries and packaging mat er i als can be recycled using your loca l
collection facilities.
2
Page 4

BR12DAB
Safety Instructions
Ensure that you read all of the safety instructions before us ing this unit.
Safety Considerations
Position the power cable and other connected cables so that they are not likely to
be walked on, pinched or where items can be placed on or against them.
Do not use the unit in humid or damp conditions.
Do not allow the unit to get wet.
Never allow children to insert foreign objects into holes or slots on the unit.
Do not cover the ventilation with items such as tablecloths, curtains, etc. This may
cause overheating.
No naked flame sources, such as lit candles, should be placed on or near the unit.
Do not expose the unit to dripping or splashing water, and no objects filled with
liquids, such as vases, should be placed on or near the apparatus.
Do not place the unit in a closed cabinet without proper ventilation.
Cleaning
Disconnect the unit from the mains power supply before cleaning.
Do not use any liquids or aerosol cleaners, as this may damage the unit. Use a soft,
dust free cloth.
Servicing
There are no user serviceable pa rts in the unit. When servicing, refer to quali fie d
service professional.
Consult your retailer if you ar e ever in doubt about the installation / operation /
safety of the product.
Important notice:
In case of malfunction due to electrostatic discharge (i.e. button not responding etc),
reset the apparatus by disconnecting from the mains power supply.
Disconnect from the unit from the mains power supply, remove the batteries and leave
to stand for a few minutes.
Replace the batteries and re-connect to the mains power supply. Turn the unit on and
operation should return to normal.
Ventilation
Place the equipment on a hard flat surface away from direct sunlight and heat sources.
If it is in a cabinet, allow at least a 10cm gap all around. Don't obstruct the ventilation
slots, including those underneath, with soft furnishings.
Overheating will shorten the life of the equipment and increase risk of fire.
3
Page 5

BR12DAB
Safety Instructions
Before Connecting your AC Adaptor
Warning : Read these safety instructions carefully before connecting
the AC adaptor to the mains power supply.
z This AC Mains Adaptor is designed to operate on AC 230V ~50Hz supply only.
Connecting it to any other power source s may damage the unit.
z The AC Mains Adaptor is designed for indoor use only.
z The AC Mains Adaptor is a sealed unit. Ther e are no user serviceable parts inside
and it does not require an y el ectrical adjustments.
z Do not attempt to open the AC Mains Adaptor.
z If the AC Mains Adaptor is not suitable for your socket, or beco mes damaged, it
must be replaced and disposed of in a safe and environmentally protective way.
z Periodically inspect the AC Mains Adaptor for damage. Do not use if faults or
damages are found. Refer to qualified personal.
This symbol indicates that the adaptor is a Class II appliance and does not
require an earth connection.
This symbol indicates that the adaptor is for indoor use only.
This symbol indicates that the adaptor conforms to CE regulations.
This product is designed for domestic use only. Any other use may invalidate the
guarantee and might be considered dangerous.
4
Page 6

BR12DAB
Contents
Your DAB+ Radio …………………………………………………………………………. 6
Getting Started …………………………………………………………………………….. 7
Using your DAB+ Radio …………………………………………………………………… 9
Using your FM Radio …………………………………………………………………….…14
Troubleshooting and Technical Specifications ……………………..…………………... 15
Warranty …………………………………………………………………………………….. 16
5
Page 7

BR12DAB
Your DAB+ Radio
18
17
16
2
1
15
MENU
19
20
9
SEL
+
INFO
MODE
13
12
11
10
9
8
14
9
2
1. 1/5 Button — Press the 1/5 button to save and recall preset stations 1 & 5
2. 2/6 Button — Press the 2/6 button to save and recall preset stations 2 & 6
3. 3/7 Button — Press the 3/7 button to save and recall preset stations 3 & 7
4. 4/8 Button — Press the 4/8 button to save and recall preset stations 4 & 8
5. SHIFT Button — Press the SHIFT button when saving and recalling preset station 5-8
6. MODE Button — Press the MODE button to switch between DAB+ & FM mode
7. INFO Button — Press the INFO button to change the information displayed
8. POWER Button — Press the POWER button to turn the radio on or off
9. VOLUME Knob — Turn the Volume K nob to adjust the Volume to the desired level
10. TUNE – Button — Press the TUNE – button to decrease the frequency in FM mode or
change station in DAB+ mode
11. TUNE + Button — Press the TUNE + button to increase the frequency in FM mode or
change station in DAB+ mode
12. SEL(Select) Button — Press the SEL button to select menu options or stations
13. MENU Button — Press the MENU button to enter the Main Menu
14. Handle Strap — Allows you to easily carry your B R12DAB radio with you anywhere
15. LCD Display — Displays radio and menu information, including scrolling text from
selected DAB+ stations
16. Speaker — Provides 1 W RMS @10% THD quality sound
17. Aerial — Extend the Aerial for best possible reception
18. Stand bracket — Provides additional support to the unit, if placed on unst able surface
19. Headphone Jack — Connects your headphones to the unit
20. AC/DC Power Socket — Connects the AC/DC Adaptor to the unit
53674
6
Page 8

BR12DAB
Getting Started
Carefully remove your DAB+ Receiver from the box. You may wish to store the
packaging for future use.
In the Box
Inside the box you will find:
DAB+ Radio (Main Unit)
Power Adapter
User Guide
Positioning your DAB+ Radio
Place your DAB+ Receiver on a flat / stable surface that is not subject to vibrations.
Avoid the following locations:
Where it will be exposed to direct sunlight.
Where it will be close to heat radiating sources.
Where the humidity is high and vent ilation is poor.
Where it will be dusty.
Where it will be damp or there is a possibility of water dripping or splashing onto the
unit.
Adjusting the Aerial
The Aerial should be extended at all times to ensure good reception in both DAB+ and
FM radio modes. It may be necessary to alter the position of the Radio and /or the
Aerial to achieve the best possible signal.
Backlight Function (Powered by Mains Power Supply)
When powered by the Mains Power Supply the backlight will remain on at all times.
Backlight Function (Powered by Batteries)
When powered by batteries the backlig ht will only illuminate for 5 seconds after using a
radio function. Press any of the buttons on the front p anel to activate the backlight.
Battery Operation
This unit operates with 6 AA/LR06 1.5V batteries (not supplied). To open the battery
compartment on the rear of the unit, slide the co mpartment cover in the direction of the
arrow to remove it.
Insert the batteries into the battery compartment observing th e p olarity (+/-). Replace the
battery compartment cover.
7
Page 9

BR12DAB
Getting Started
Battery Precautions
Be sure to follow the correct polarity when installing the batteries as indicated in the
battery compartment. Reversed batteries may cause damage to the device.
Do not mix different types of batteries together (e.g. Alkaline and Carbon-Zinc) or old
batteries with fr esh ones.
If you are not planning to use the batterie s for a long period of time, you should remove
them to prevent damage or injury from possible battery leakage or corrosion.
Do not try to recharge batteries not intended to be recharged, as they may overheat and
rupture.
Ensure to dispose of your batteries in a safe and environmentally safe way.
Use only the size and type of batteries specifie d.
Stand
This unit is supplied with its own stand, this is located at the rear of the unit. To use the
stand, just flip it open and then rest the unit on a stable surface.
Headphones Jack
To listen to your portable DAB+ Radio via headphones (not supplied) connect a pair of
low impedance (8-16ohm) headphones with a 3.5mm stereo plug to the Headphones
Jack on the left hand side of the unit. When the headphones are connected the main
speaker will automatically turn off.
Please note: listening to music at high volume for a long period of time may cause
damage to hearing. Before using headphones, make sure the volume is set to low and
gradually increase to a comfortable listening volume.
8
Page 10

BR12DAB
1 7
Using your DAB+ Radio
+
DAB
relies on tuning to a given frequency but instead allows the DAB+ receiver to provide an
active Station List of all available radio prog rammes/stations at the touch of one button.
Station Lists ar e des cribed in more detail in the DAB+ Operation section of this manual.
Before selecting the DAB+ function make sure that the Aerial is fully extended.
1. Connect the AC Adaptor to your chosen wall outlet.
2. Insert the AC Adaptor to the “DC IN” socket and press the POWER button to turn on
3. Once you have turned on the unit, it will automatically start to scan for all DAB+
NOTE: It is possible that the display may show ‘Service not available’, this indicates
represents a new age in broadcasting technology. The new system no longer
the radio.
available stations. After 15 to 20 seconds, the first station will begin to play.
the unit has been unable to locate any available DAB+ stations during the
search process. You may need to relocate the unit to a better location in order
to get adequate reception. The signal strength indication (See Display button
operation) can be used to assi st this process.
4. Use the volume control to increase or decrease the sound level as desired.
5. To search for new stations, press the MENU button at the front of the radio. Then
press the TUNE+/- button, until FULL SCAN appears on the display. Press the SEL
button to confirm. The radio will commence the station search process.
Please Note: You should conduct a full scan when first operating to make sure all
stations are stored.
During the search process the display indicates the progress and stations found, for
example:
S c a n n i n g . . .
■■■■■
On the second line of the display is a bar gra ph that ind i ca tes the progress of the scan.
The number on the first line indicates the number of stat ions found and will increase a s
the scan progresses.
Once the search has been completed the DAB+ radio will play the first station on the list.
Stations are listed in numerical then alphabetical order.
The station list is stored in the memory so that next time you turn on the radio all
stations will be listed.
If you have problems searching for available stations, you can ch ec k
www.digitalradio.com.au
to see if your area has adequate DAB+ coverage .
9
Page 11

BR12DAB
Using your DAB+ Radio
Changing DAB+ Stations
Press the TUNE+/- button to scroll through the available stations. The stations will
appear on the display.
When the stati o n yo u require is displayed press t he SEL button to select.
Scanning for DAB+ Stations
Due to the nature of DAB+ radio, additional stations and services regularly become
available. If you wish to see if there is any new DAB+ stations introduced in your area,
you can initiate a se ar ch by following the below steps:
1) Press the MENU button.
2) Press the TUNE+/- button, until FULL SCAN appears on the display.
3) Press the SEL button to confirm.
Setting DAB+ Presets
You can preset up to 8 DAB+ stations as follows.
1) Tune to the station you wish to add as a preset.
2) Press and hold the ‘PRESET (1-4)’ button for about 2 seconds on the front of the
radio. ‘Preset # stored’ will be displayed on the second line of the display.
3) To set Preset 5-8, press and hold the SHIFT button with the desired Preset number.
Continue until all 8 presets are saved.
Playing a Preset Station
Press the desired Preset button (1/5, 2/6, 3/7 and 4/8) to play preset 1-4. Press buttons
(1/5, 2/6, 3/7 and 4/ 8) & hold ‘Shift’ button to play presets 5-8.
Resetting the DAB+ Preset Station
DAB+ presets cannot be deleted but they can be replaced.
1) Tune to the station you want to set as preset.
2) Press and hold your desired preset number (1-4) button until the ‘Preset # stored’
message is displayed. If you want to select preset 5-8, first press and hold Shift
button and then press the desired number, wait until ‘Preset # stored ’ is display.
Changing the DAB+ Station Information
It is possible to change the information that is displayed on the second line of the display
when listening to a DAB+ station. There are 9 types of info r mation available. To change
the information displayed press th e INFO button.
10
Page 12

BR12DAB
B C
N a t i o n a l
S c r o l i n g
B C
N a t i o n a l
B C
N a t i o n a l
B C
N a t i o n a l
N a t i o n a l
B C
N a t i o n a l
q :
2 2 5 . 6 4 0 M H z
B C
N a t i o n a l
g n a l
e r r o r
8
B C
N a t i o
/
B C
N a t i o n a l
B C
N a t i o n a l
Using your DAB+ Radio
• Dynamic Label Segment (DLS): This
is scrolling text information sup plied
by the DAB+ station. It may include
information on music titles or details
of the programme provided by the
broadcaster.
• Signal Quality Indication: To indica te
the signal strength
• Program Type (PTY): This is a
description of the type of progra mm e
provided by the DAB+ station.
• Multiplex Name: This will show the
multiplex that is broadcasting the
programme you are listening to.
• Frequency: This displays the
transmission frequency.
A
D L S
Press the INFO Button
A
■ ■ ■ ■ □ ■ ■ ■ ■ ■ ■ ■ ■
Press the INFO Button
A
N e w s
Press the INFO Button
A
A B C
Press the INFO Button
D A B+
• Signal Error Rate: If the transmission
signal contains errors, the system
can apply a correction. This signal
error rate is a number which
indicates the quality of the signal. 015 indicates good reception. 16-30
indicates borderline reception. Over
30 indicates very poor reception, you
should adjust the position of the
aerial.
• Signal Information: This shows the
digital bit rate and the signal mode
• Time: This displays the time and is
provided by the broadcaster .
•
Date: This displays the date provided
by the broadcaster.
A
F r e
Press INFO Button
A
S i
Press the INFO Button
A
1 9 2 k b s
Press the INFO Button
A
1 2 : 1 8 : 0 0
Press the INFO Button
n a l
ACC
1 8 / 0 9 / 2 0 0 9
11
A
Page 13

BR12DAB
Using your DAB+ Radio
Manual Tune
It is possible to manually tune to a specific channel/frequency and add this to the station
list.
To manually tune the radio, press the MENU button, then press the TUNE+/- button to
display ‘Manual Tune’. Press the SEL button to confirm. You should then press the
TUNE+/- button to select your desired frequency, and press the SEL button to confirm.
A B C N a t i o n a l
5 A 1 7 4 . 9 2 8 M H z
Adjust the position of the aerial or uni t to obtain the optimum signal strength.
To see the stored station list (from the manual tune), press the MENU button and
STATION LIST will appear on the display. Press the SEL button to confirm station.
Dynamic Range Control (DRC)
DRC adds or removes a degree of compressio n to compensate for the differences in the
dynamic range between radio stations. For example, when a station is broadcasting
popular music, it may have a high level of compression applied since the emphasis is on
a constant high listening level. Whereas a station broadcasting classical music, will have
little or no compres sion as the listener requires all of the highs and lows in the music to
define the detail.
There are three levels of compression:
• DRC off No compression applied.
• DRC high High compression applied (this is the default).
• DRC low Low compression applied.
To set the DRC level:
1) Press the MENU button and ‘Station list’ will be displayed.
2) Press the TUNE+/- button unt il you see ‘DRC’ on the display.
3) Press the SEL button to select. A symbol “*” will be shown on Line 1 and the
current DRC level will be displayed on Line 2.
4) Press the TUNE+/- buttons to select between the three values on Line 2 of the
display. When the required value is displayed, press the SEL button to confirm.
12
Page 14

BR12DAB
Using your DAB+ Radio
Using the Menu
To enter the MENU system, press the MENU button and the station list will appear on
the display. See a flow chart below of the menu options.
Factory Reset
To reset your radio you must follow the below steps. This will change the radio back to
the default factory settings. Also note all presets will be delete d.
1) Press the MENU button.
2) Press the TUNE button to select the MAIN MENU -> SYSTEM SETUP -> FACTORY
RESET ->(YES) NO according the menu tree above.
3) The display will show ‘”Press ‘INFO’ to confirm reset”, press the INFO button to start
reset.
4) The display will show ‘RESTARTING…’ before performing a new scan for stations.
13
Page 15

BR12DAB
Using your FM Radio
Selecting the FM Function
Press the MODE button, until “FM Mode” is displayed.
When in FM mode, the frequency of the station will appear on the display, as well as St
(Stereo), if stereo is activated
In FM mode, you can use Auto Scan and Manual Tune to store all available stations.
For Auto Scan method, press the TUNE +/- button, until Auto Scan is on the display.
Then press the SEL button to confirm. The radio will immediately scan all available
stations. The frequency of tha t s tation will be on the top line of the display.
For Manual Scanning, press the TUNE+/- button, until Manual Scan is on the display.
Then press the SEL button to confirm.
The frequency display will change in 50kHz frequencies on the FM band. Press and
hold the TUNE+/- button to advance or decrease the selected frequency rapidly in 50
kHz steps until the desired station is reached.
Scan Setting
To Change the Scan and Station Settings, press the MENU button and then TUNE+/-
button until the display shows “Scan Setting”. Press the SEL button to select. Once in
the scan setting men u press the TUNE+/- butt on to choose yo ur desired setting ( Strong
Stations only or All stations). Press the SEL button to confirm
Please note: ‘Strong stations only’ will make sure only full strength stations appear in
the station list. ‘All stations’ will display all stations found.
Audio Setting
To Set the Audio Settings, press the MENU button and then the TUNE+/- button until
the display shows “ Audio Setting”. Press the SEL button to confirm . Once in the Audio
Setting menu, press the TUNE+/- button to choose your desired Audio Setting.
( “Forced mono” or “Stereo allowed”) Press the SEL button to confirm.
Please note: If you choose stereo allowed, the sound output will be stereo and if you
choose cored MONO the sound output will be MONO.
Storing and Recalling Preset Frequencies in FM
Up to 8 FM frequencies can be stored into the preset memory.
To set and store a FM preset follow the DAB+ preset instruction on page 10.
14
Page 16

BR12DAB
Troubleshooting and Technical Specifications
Troubleshooting
If a fault occurs, first check the points listed below before taking the set for repair.
If you are unable to fix the problem by following these hints, consult you retailer or
service professional.
WARNING: Under no circumstan ces should you try to repair the set yourself, as this
would invalidate the warranty.
PROBLEM CAUSE SOULTION
No sound
Unit buttons are not
responding
Radio poor reception z Weak radio aerial signal.
z Headphones are
connected.
z Volume not adjusted.
z Power cord is not
connected correctly.
z Electrostatic discharge. z Turn off the unit,
This may be caused by
interference caused by
the vicinity of electrical
equipment like TVs,
Video Recorders,
Computer, Thermostats,
Fluorescent Lamps (TL)
engines etc.
z Disconnect the
headphones.
z Adjust the Volume.
z Connect the power
cord correctly.
disconnect the mains
plug, and reconnect
after a few seconds.
z Position the aerial for
the best reception,
and ensure it is fully
extended.
z Keep the unit away
from other electrical
equipment
Technical Specifications
POWER SUPPLY:
Adaptor: 7.5V 600mA ( )
Battery: 6x1.5V (AA/LR6)
Receiver Bands: DAB
Tuning Range - 5A to 13F
FM Range 87.5-108 MHz
DAB+ sensitivity: -98dBm
DAB+ Adjacent Channel Rejection: -30dB
DAB Audio Decode: 64kbps - 384kbps
Power Output (at 10% THD): 1W RMS
Specifications are subject to change and improvement at any time without notice.
+
: 174.928 MHz (5A) – 239.200MHz (13F)
Headphones Socket: 3.5mm diameter.
Speakers: 50mm
Dimensions (W x H x D):18.5 x11x4.5cm
Power consumptio n :4.5W
15
Page 17

BR12DAB
Warranty
Please keep your receipt as proof of purchase. This product is warranted for any defect
in materials or workmanship for one year after the original date of purchase. This
product is for normal domestic an d office use only. This warranty does not cover
damage from misuse or neglect, accidental damage, vermin infestation, excessive
voltages such as lightning or power surges or any alteration that affects the performance
or reliability of the product.
In the unlikely event that your product fails to work normally, please contact the Bush
Warranty on 1800 509 394 (Australi a ) or 0800 450 259 (New Zealand) and have your
receipt of purchase on hand.
This warranty is subject to the following provisions:
z It is only valid within boundaries of the country of purchase
z The product must be correctly assembled and operated in accordance with the
instructions contained in this manual
z This product must be used solely for domestic purpos es
z The warranty does not cover accidental damage
z The warranty will be rendered invalid if the product is resold or has been damaged
by inexpert repair
z The manufacturer disclaims any liability for incidental or consequential damaged
This warranty is in addition to, and does not diminish, your statutory or legal
rights.
PO BOX 6287
Silverwater NSW 1811
www.bushaustralia.com.au
Warranty
Bush Warranty: 1800 509 394 (Australia)
Bush Warranty: 0800 450 259 (New Zealand)
16
Page 18

Page 19

Page 20

PO BOX 6287
Silverwater NSW 1811
www.bushaustralia.com.au
 Loading...