

Page 1
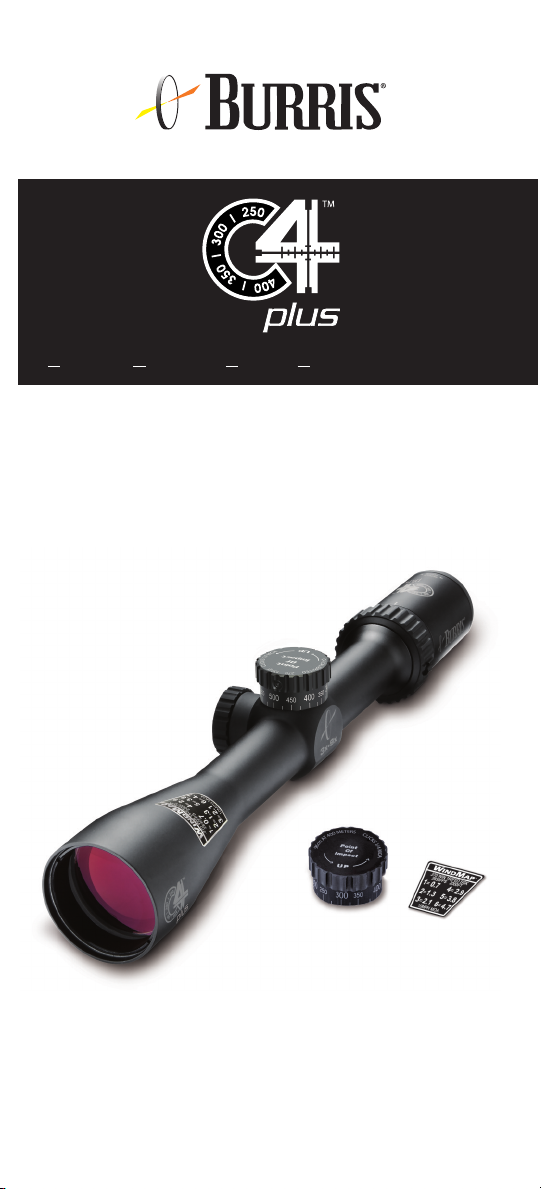
Cartridge Calibrated Custom Clicker (plus Wind Map)
User Guide
331 E. 8th St.
Greeley, CO 80631
970-356-1670
www.BurrisOptics.com
Facebook.com/BurrisOptics
Instr-00C4R1
Page 2
The Burris C4 Plus (Cartridge Calibrated Custom
Clicker – plus Wind Map) system gives shooters and
hunters the ability to match elevation adjustment to
their favorite cartridge and bullet, making pinpoint
accuracy easier to achieve.
Send us your cartridge information online and we’ll
provide a custom elevation knob that matches your
favorite load. PLUS, we’ll provide a customized Wind
Map that shows, in MOA, a 10 MPH wind hold-off value
for your cartridge at 100-yard increments. The simpleto-use C4 Wind MOA Reticle works seamlessly with
your customized Wind Map, featuring MOA tick marks
that extend out to 10 MOA in each direction, making it
quick and easy to calculate hold-off for wind.
Let the C4 Plus riflescope take you one step closer to
perfection!
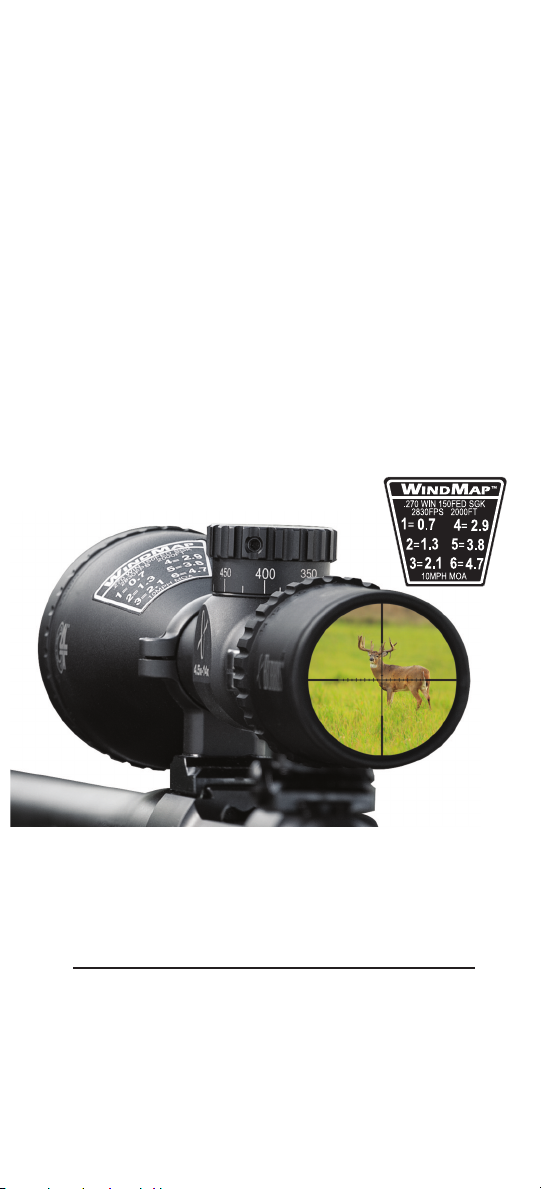
The C4 Plus custom knobs eliminate the guesswork for
holdover. Just dial in the known distance and use the
MOA Wind Map to determine the hold-off for a 10 MPH
wind. In the example above, at 400 yards you simply
hold 2.9 tick marks into the wind for pinpoint accuracy.
Note: It is important that you provide Burris with the most accurate load and
environmental information as possible. Burris warrants that each Custom Clicker
and Wind Map will be calibrated mathematically correct for the data you provide.
Burris is not responsible for any inaccuracy to the actual trajectory realized by
velocity, ballistic coefficient, or environmental variances in field conditions
compared to the data provided by you or an ammo/bullet manufacturer for
preparing the Custom Clicker and Wind Map.
1
Page 3
How to Receive Your Free Custom Clicker
and Wind Map
1. Determine precisely the load you will shoot - either
a factory load or handload.
2. If choosing a factory load and if you have access
to a chronograph, measure the actual velocity of
the factory load. If you do not have access to a
chronograph and/or do not provide a muzzle
velocity to us, we will use the advertised velocity
for your factory load.
3. If choosing a handload, either obtain the actual
muzzle velocity or estimate the muzzle velocity
based on your reloading manual(s).
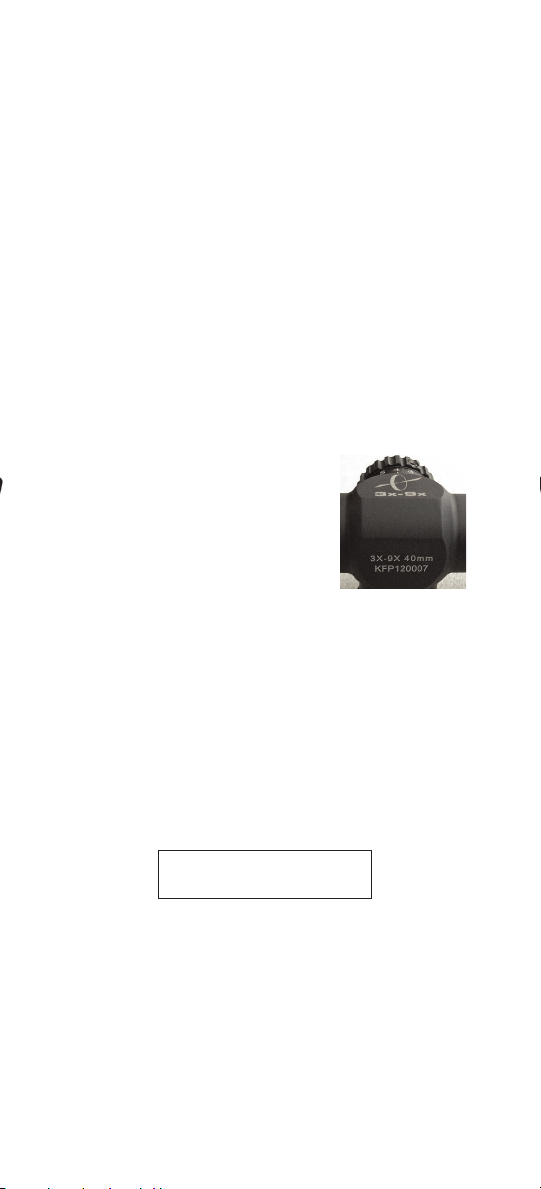
4. Make note of the scope serial
number on the bottom portion
of the adjustment turret.
5. Log on to www.BurrisOptics.com,
enter the Ballistic Services section and choose the
C4 Clickers option.
6. Follow the prompts for providing Burris with all
the necessary information for Burris to produce a
perfected Custom Clicker and Wind map for you.
Your first Custom Clicker and Wind map is FREE with
the purchase of your C4 Plus Riflescope.
Use this Product Key Code:
Place Product Key Code Here
2
Page 4

Installing Your Custom Clicker Elevation Knob
1. It is best to sight-in your riflescope prior to installing
your Custom Clicker.
2. Being careful not to
rotate the elevation
knob, loosen the three
set screws that hold the
elevation knob in place.
Lift the knob up and off
of the scope.
3. Place the Custom
Clicker onto your scope,
aligning your sight-in
yardage number to the
reference mark on the
scope.
4. Apply a small amount
of downward pressure
onto the Custom Clicker
and then evenly tighten
the three set screws.
Turn your Custom
Clicker about a half-turn
counter-clockwise and
then clockwise back to your sight-in distance to get a
feel for the amount of resistance to turn the clicker. If
you desire more or less resistance, loosen the three set
screws and apply more or less downward pressure
onto the Custom Clicker; retighten the set screws.
Retest and reset the resistance until satisfied.
3
Page 5

How to Use Your C4 Plus Riflescope
Calculating Holdover/Hold-Off
The C4 Plus Custom Clicker ensures that elevation
adjustment perfectly matches the ammunition you
are shooting, and when used properly eliminates the
need to calculate holdover. Determining an accurate
distance to your target is key, and Burris recommends
using a rangefinder in the field for optimum accuracy.
Once the distance to your target is confirmed, turn the
dial on your Custom Clicker elevation knob to match
that distance. For example, if your target is 250 yards
away, turn your Custom Clicker until 250 is aligned
with the reference mark on your scope. Since the
scope is calibrated to your cartridge, dialing the
yardage to your target allows you to use the center
point of the reticle crosshairs as your aiming point –
no holdover or under is needed.
To correctly determine hold-off for wind, first determine
as best as you can the wind speed at your target. Refer
to the customized Wind Map provided by Burris that
shows, in MOA, the accurate hold-off value for a 10
MPH wind at a specific 100-yard increment distance.
Using this Wind Map as an example, if your target is
200 yards away and the wind is blowing 10 MPH, you
will hold-off 1.3 reticle tick marks into the wind. The
wind is blowing 20 MPH? Double the value and
hold-off 2.6 reticle tick marks into the wind. It’s
blowing only 5 MPH? Cut the value in half and
hold-off .65 tick marks into the wind.
4
Page 6

Installing the Wind Map
Each Wind Map is shaped such that it can be easily
installed and used in multiple positions such as the
Objective Bell Taper, the Eyepiece, or the Riflestock.
Our recommendation is to install the WindMap on the
Objective Bell taper approximately 10° – 20° left or
right of the top center depending on whether you
shoot right- or left-handed. This position allows you to
see the Wind Map with your “off-eye” while viewing
through the scope. It also provides for a somewhat
protected position against scratching.
Locate exactly where you want to place the Wind Map
and clean the surface of any dust and oils with soapy
water or rubbing alcohol. Peel off the adhesive covering
on the back of the Wind Map and carefully install at
your desired location.
Eyepiece Focusing
The eyepiece can be focused so that the reticle appears
sharp and black to your eyes. Follow this procedure to
adjust the focus:
1. Point the scope at the sky or a plain wall and take
a quick glance through the scope. If the reticle
appears sharp and black, no further adjustment is
necessary.
2. If the reticle does not appear sharp and black, take
quick glances through the scope while rotating the
focus ring until the reticle pattern is sharp and clear.
NOTE: Do not look through the eyepiece as you turn the
focus ring. Your eyes will adjust to the out-of-focus
condition.
5
Page 7

Mounting the Scope
C4 Plus riflescopes are available with either 1” or
30mm body tubes; please be sure you choose the
correct ring sizes for your model as indicated by the
end label sticker on your riflescope box . We recommend using high-quality rings and bases, like Burris
Zee Rings or Signature Rings. Quality components
ensure that your scope will remain safely and securely
mounted, and will provide the maximum accuracy.
Use care when mounting your scope as damage can
occur
Care & Maintenance
The C4 Plus riflescope is fully waterproof and fogproof.
In the event that the lenses are subjected to dust, dirt
or mud, follow these steps to clean and protect the lens
surface. Failure to remove grit before final cleaning is
sure to damage lens coatings.
Coarse dirt/debris must be removed from the lens
surface. The most convenient way to clean a lens surface
is to use a Lens Pen. Position the scope so particles will
fall away from the lens, and then use the Lens Pen
or soft brush to gently whisk away the debris, while
blowing on the lens to dislodge the particles. For heavy
dirt, like dried mud, use a spray of clean water or lens
cleaning fluid to remove the dirt.
Your Burris riflescope will provide reliable performance
given reasonable care and treatment. All moving
assemblies are permanently lubricated. Only occasional
cleaning of the outside of the scope and the exterior
lenses is required. Never disassemble your scope.
If you have any other problems with your riflescope,
please return it to the Burris factory for repair.
6
Page 8

Warranty
This C4 Plus line of riflescopes is covered by the
Burris Forever Warranty™!
Thank you for choosing Burris. You can be confident
that the optic you purchased is built to the most
exacting standards. You can count on Burris to
perform every time you use it.
We’re so confident in the craftsmanship of our
products that we back them with a no questions
asked Forever Warranty.
We will repair or replace your Burris optic if damaged
or defective:
• No charge to you.
• No questions asked.
• No matter whose fault it is.
• No warranty card needed.
• No receipt required.
• Automatically transferred to future owners.
We walk in our customers’ shoes. We see what you see.
We don’t just design and build superior optics, we live
our lives as passionate hunters and shooters. We insist
that our equipment provide the ultimate in confidence
– for us and for you.
The American ingenuity, innovation and technology
in our products provide you the confidence to hit any
target, at any range, again and again.
The Burris Forever Warranty is your extra assurance for
the best possible shooting experiences, because every
Burris tells a story – yours and ours.
Burris Company
331 E. 8th St.
Greeley, CO 80631
7
 Loading...