

Bunn My Cafe Single Cup Use & Care Manual

Inside cover is intentionally blank
WATER
DR AWER
COFFEE
SCOOP
POD
DR AWER
GROUND COFFEE
DR AWER
SPIN LID
UNIQUE
JET ACTION
SPR AYHEA D
SPR AYHEA D SEAL
DRI P TR AY
COVER
CUP
DR AWER
TRAVEL MUG
BASE
POUR-IN
BOWL
DR AWE R
GUIDES
BREW
BUT TON
PULSE
BUT TON
STAINLESS
STEEL HOT
WATER TA NK
REMOVABLE
DR IP T R AY
STAINLESS
STEEL
BACK S PLASH
IN DIC ATO R
LIGHT
1
BUNN MY CAFÉ® SINGLE CUP MULTI-USE BREWER
TABLE OF CONTENTS
Get To Know Your Brewer ....................... 1
Important Safeguards ............................... 2
Initial Setup ................................................. 3
Four Drawer System ................................. 4
Brewing With Cup Drawer .................... 5
Brewing With Ground Coffee Drawer .. 6
Brewing With Pod Drawer ...................... 7
Dispensing Hot Water ............................. 8
Drawer Format Compatibility ................ 8
Brewing Better ........................................... 9
More Uses .................................................. 9
Energy Saving Functions ........................... 9
Cleaning & Maintenance ....................10, 11
Troubleshooting .................................. 12, 13
Authorized Service ...................................13
Limited Warranty ..................................... 14
GET TO KNOW YOUR BREWER
specifications
elec trica l: UL Listed for Household Use Only. Brewer has an attached, 3-prong
grounded cord set and requires 2-wire service with ground, rated 120 volts AC, 11.7 amps,
single phase, 60 Hz. Total watts 1400.
brew capacit y: 4 to 14 oz. cup.
high altitude progr amming: Water boils at a lower temperature in high altitude
environments (over 4,000 feet). To program My Café brewer for use at high altitude, push
the Pulse Button 5 times (in under 10 seconds). The Indicator Light will flash green 5 times,
indicating that the brewer is programmed for high altitude use. To return My Café brewer to
normal operation, push the Pulse Button 5 times (in under 10 seconds). The Indicator Light
will now flash red 5 times, indicating that the brewer is programmed for normal use.
2
IMPORTANT SA FEGUARDS
SAVE THESE INSTRUCTIONS
Record the Model and Date Code before using:
4 digits are etched on each side of the metal
prongs of your power cord. (Ex. 9999 99AB) or
the lower back of your brewer.
date code :
Questions?
Visit www.bunnathome.com or call
USA 1-800-352-BUNN (2866)
Canada 1-800-263-2256
Please have your Model and Date Code
ready when calling for service.
Follow basic safety precautions when using electrical appliances to reduce the risk of fire,
electric shock, and/or personal injury:
note: The shor t power-supply cord supplied reduces the risk of becoming entangled in or tripping
over a longer cord. If an extension cord is used, its marked electrical rating must be at least as great
as the electrical rating of the brewer. Make sure the ex tension cord does not hang over the edge of a
table or counter and that it cannot be pulled on by children or tripped over. The extension cord must
be a 3-wire cord of the 3-prong, 3-socketed, grounding type (including grounding conductor).
• READ ALL INSTRUCTIONS.
• Do not touch hot surfaces. Use handles.
• Do not place cord, plugs, or brewer in
water or other liquids.
• Do not open lid during brewing.
• Close supervision is necessary when
brewer is used by or around children.
• Unplug brewer when not in use for
extended periods and before cleaning.
• Let brewer cool before removing or
replacing parts, and before cleaning.
• Do not operate brewer with a damaged
cord or plug or if the brewer malfunctions
or is damaged in any way. Return brewer to
an Authorized Service Facility for examination, adjustment or repair (see page 13).
• Using an accessory not evaluated for use
with this brewer may cause injur y.
• For indoor household use only.
• Do not let cord hang over edge of table or
counter or touch hot surfaces.
• Do not place brewer on or near a hot gas
or electric burner or in a heated oven.
• Do not use brewer for any purpose other
than its intended use.
• Use each Drawer for only its intended format
as specified in the Drawer Format Compatibility section (page 8) in this manual.
• Do not inser t or remove any Drawer while
brewing. Press Brew Button to stop or
cancel a brew cycle.
• Do not pour any liquid into the water tank
other than water or vinegar for cleaning,
as specified in this manual.
• Do not clean brewer with cleansers, steel
wool pads, or other abrasive materials.
• When brewer is not in use, keep lid in the
closed position.
• To avoid cup overflow, empty cup before
each brew cycle.
• Never place hands directly under any
Drawer. Hot water and steam can be
present.
• Always use a cup that is larger than the
amount of water poured into the brewer.
• Keep hands away if cup overflows.
• Use caution when removing any Drawer
after the brew cycle as the contents may
still be hot.
• Pour in cold water only.
• Store Drawers in clean, dry place. Avoid
excessive heat.
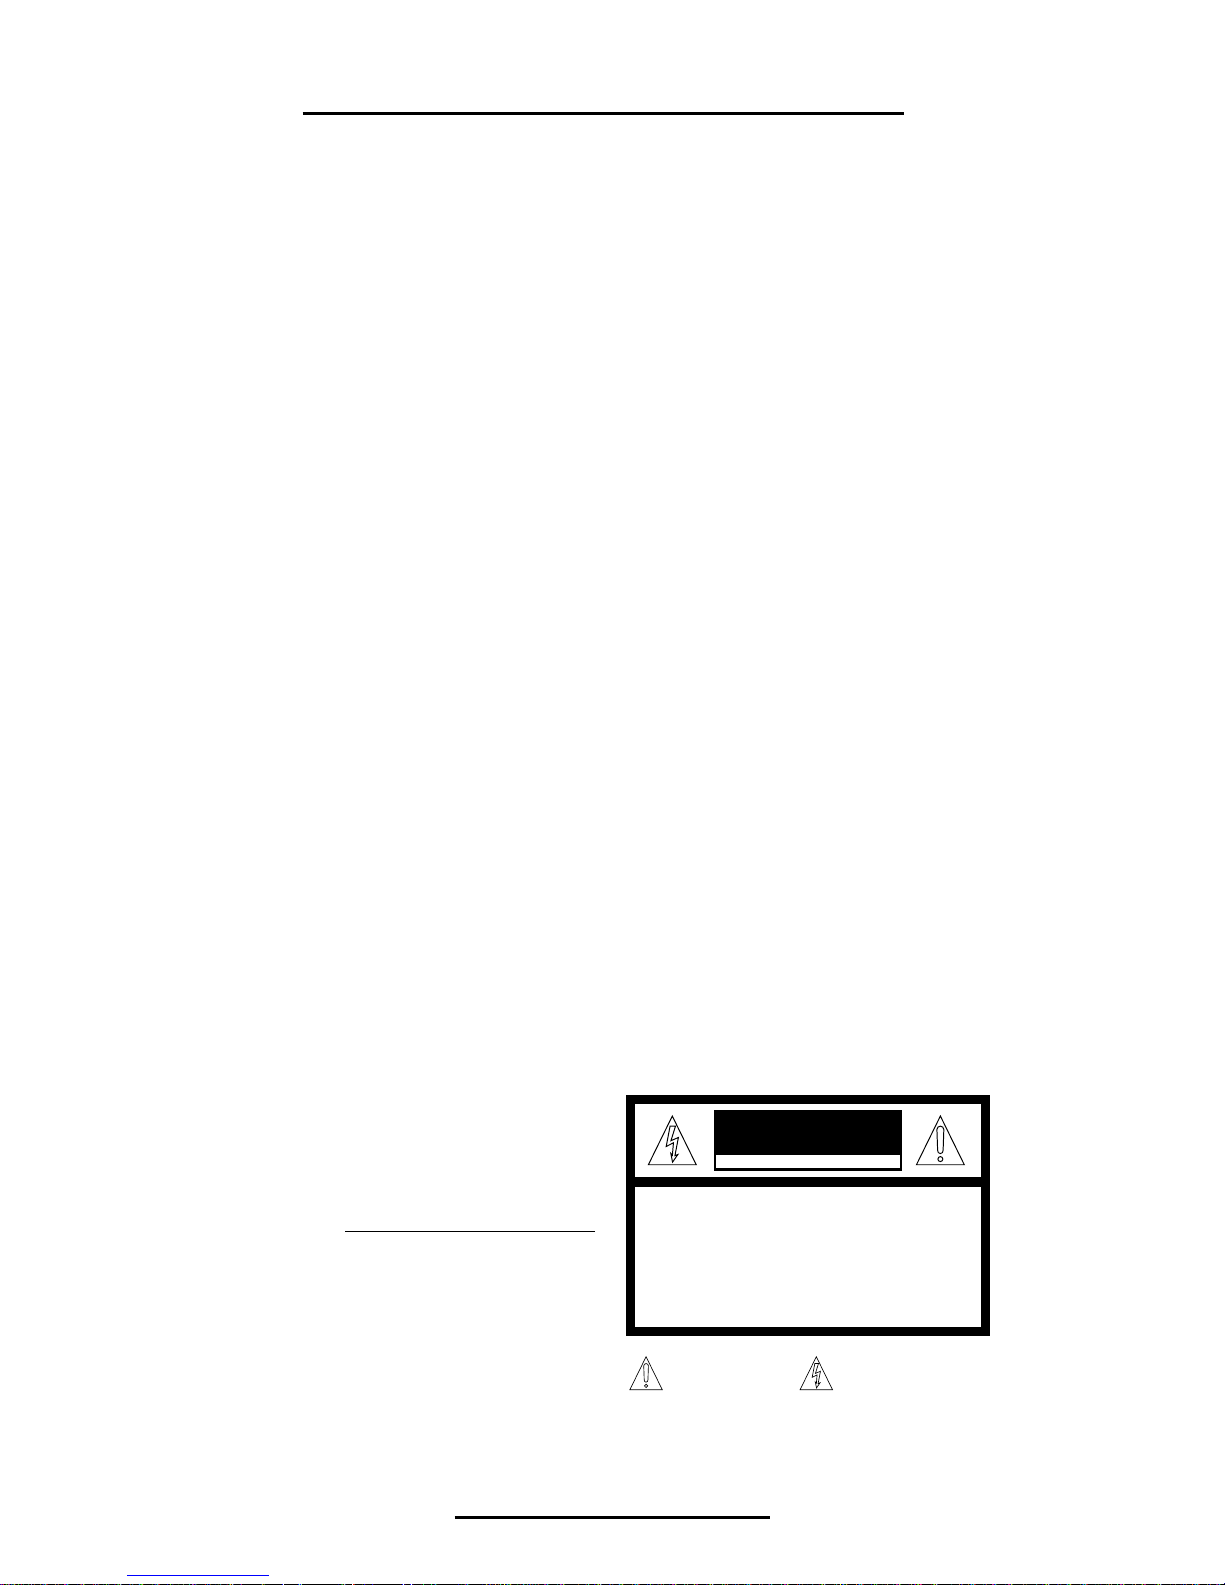
This symbol alerts
you to important
operating and
service instructions.
This symbol alerts
you to the risk of fire
or electric shock in the
accompanying message.
TO REDUCE RISK OF FIRE OR ELECTRIC SHOCK
DO NOT DISASSEMBLE THE BREWER
NO USER-SERVICEABLE PARTS INSIDE
REPAIR SHOULD BE DONE BY AUTHORIZED
SERVICE PERSONNEL ONLY
WARNING
RISK O F FIRE OR EL ECTR ICAL S HOCK

3
INITIAL SET UP
important: My Café brewer has an internal Hot Water Tank that must be filled with water
before brewing for the first time. Fill the Pour-in Bowl and run 2-3 brew cycles. The machine will
begin to heat and be ready to brew in a few minutes.
MY CAFÉ® SINGLE CUP MULTI-USE BREWER
1. Plug in brewer. The Brew Button will
flash red, indicating that water is needed
and the brewer is ready for set-up.
2. Place any empty Drawer into
Drawer Guides and push in to
lock into place. The Drawer must be
locked into place before brewer
will operate.
3. Fill a cup or container with 14 oz. of
cold water.*
4. Open Spin Lid on top of brewer.
5. Fill Pour-in Bowl with water.
6. Close Spin Lid.
7. Position cup or container (14 oz. or
larger) on Drip Tray under Drawer.
Do not brew directly into untempered
glass or plastic cups/glasses. Use only
heat-resistant vessels.
8. Push Brew Button. Wait for water to
be drawn into the internal Hot Water
Tank. When water is being pulled into
the Hot Water Tank, the light around
the Brew Button and the Indicator
Light will be solid red. You may hear
some squeaking noises. This is perfectly
normal and will only occur during setup.
When the light around the Brew Button
switches from solid red to flashing red
you know you are ready to move on to
the next step.
9. If any water is present in the cup
or container, empty contents. Then
position cup or container on Drip
Tray under Drawer. It is unlikely any
water will be present after first fill cycle.
10. Repeat steps 3 through 7.
11 . Push Brew Button. Wait for water
to be drawn into internal Hot Water
Tank. Excess water will flow into the
cup. If the Brew Button is still flashing
red, repeat steps 3 through 7 and push
Brew Button again.
When Brew Button stops flashing and
Indicator Light stays red,” My Café is
heating the water. Wait 2 to 3 minutes
for the Indicator Light to turn from red to
green. You are ready to brew!
*IM PORTANT: Distilled water is not recommended for brewing coffee as it lacks the minerals to bring out the
natural flavors of coffee. Some common bottled water may also be too purif ied. If you want to use bot tled water,
look for words like “ filtered”, “spring water”, “mineral water” or “drinking water”. Avoid using bottled water with
words like “purified”, “distilled”, “zero” or “mineral free”. Your BUNN My Café Brewer may not function with water
that has insufficient mineral content.
 Loading...