

Page 1

BT PAINTBALL DESIGNS, INC.
570 MANTUA BLVD., SEWELL, NJ 08080
WWW.BTPAINTBALL.COM
Page 2
Page 3

Page 4

Page 5
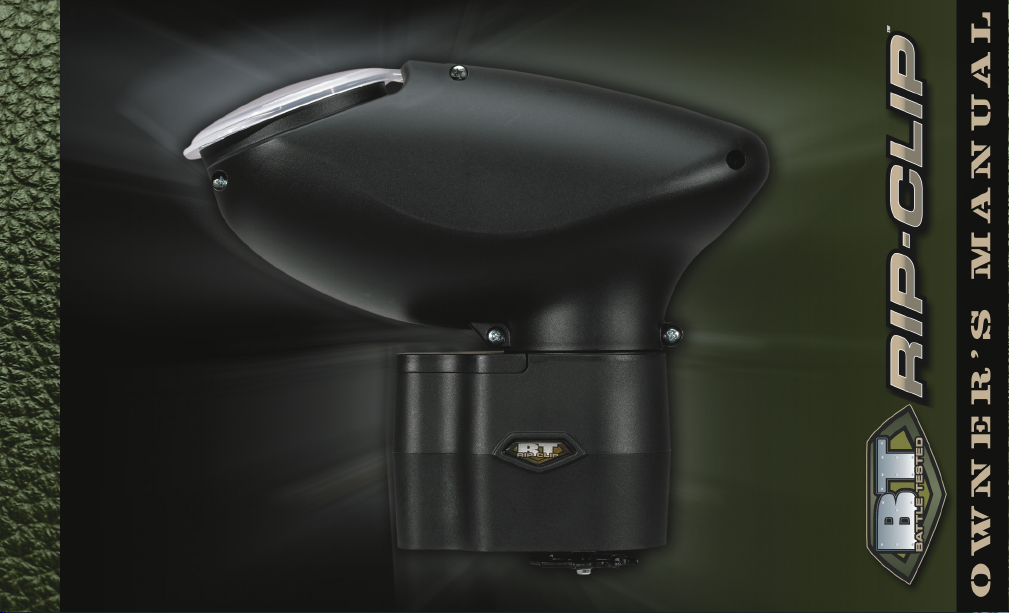
BT Paintball would like to thank you for your purchase of the BT Rip-Clip™.
At BT Paintball, our mission is to build products that exceed our customers’
highest demands. We aim to shake the foundations of the status quo and
set unprecedented standards in value, design, service, and quality.
™
With this Rip-Clip
, you will be upgrading your marker and experiencing
an increase in your rate-of-fire. This accessory is easy to
install and features a built-in rip drive.
1
Page 6

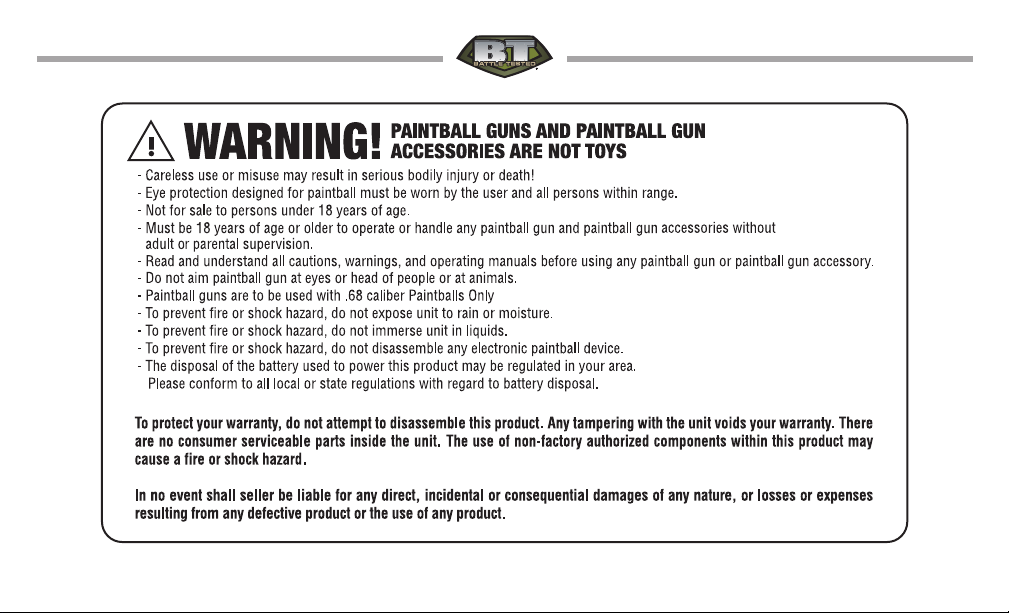
READ OWNER’S MANUAL BEFORE USING.
Rules of Safe Marker Handling
1. Treat every marker as if it were loaded.
2. Never look down the barrel of a paintball marker.
3. Keep your finger off the trigger until ready to shoot.
4. Never point the marker at anything you don’t wish to shoot.
5. Keep the marker on “safe” until ready to shoot.
6. Keep the barrel blocking device in/ on the marker’s muzzle when not shooting.
7. Always remove paintballs and propellant source before disassembly.
8. After removing propellant source, point marker in safe direction and discharge
until marker is degassed.
2
Page 7

9. Store the marker unloaded and degassed in a secure place.
10. Follow warnings listed on propellant source for handling and storage.
11. Do not shoot at fragile objects such as windows.
12. Every person within range must wear eye, face and ear protection designed
specifically to stop paintballs and meeting ASTM standard F1776.
13. Always measure your marker’s velocity before playing paintball and never shoot at velocities
in excess of 91.44 meters (300 feet-per-second).
NOTE: Eye protective devices designed specifically for paintball use
must be worn by the operator and anyone within range.
Read this entire manual before loading, attaching a propellant source or in any way
attempting to operate the BT Rip-Clip™.
3
Page 8

INSTRUCTIONS
1. Battery Installation.
Remove the screw on top of battery door.
Install 4 x AA batteries following the polarity marking (Figure 1).
Reinstall the battery door screw.
2. Rip-Clip Installation. (BT-4 Series Markers)
• Loosen up the spring screws (Figure 2).
• Clip on the BT-4 approx. 3/4" from the front (Figure 3).
• Make sure the feed holes are aligned (Figure 4).
• Tighten up the spring screws (Figure 5).
4
Figure 2 Figure 3 Figure 4 Figure 5
Figure 1
Page 9

INSTRUCTIONS
(Model-98 Marker)
• Loosen up the spring screws (Figure 2).
• Spring clamp and install onto marker (Figure 3a).
• Clip on the M-98, with the Rip-Clip pins behind the holes (Figure 4a).
• Slide the Rip-clip forward (Figure 5a).
• Tighten up the spring screws (Figure 6).
• To remove the Rip-Clip, pull the spring clamp to the left, slide the Rip-Clip back and
lift off. (Figure 6a)
Figure 2 Figure 3a Figure 4a Figure 5a Figure 6 Figure 6a
5
Page 10

3. Loader Installation.
Insert the loader onto the Rip-Clip as
indicated. Turn the loader Counter-clockwise until it locked firmly (Figure 6 - 8).
4. Activating the Rip-Clip.
Locate the power button on the rear control panel. To turn on, press the button.
Figure 6 Figure 7 Figure 8
The green LED comes on while the button is pressed; now release button. The green LED
will now flash again for one second, go off, then flash quickly 1, 2, or 3 times indicating
the speed it is currently set to. The motor will spin for a second and the loader is now ready
to use. Do NOT fire your marker until after the initial motor spin has completed. Firing
during this period can disrupt the auto-adjusting sound sensitivity and cause the hopper
not to work properly. The green LED will flash repeatedly while the unit is on to show it is
ready. If the LED flashing changes to red, then the batteries are low and need to be replaced.
To turn off, press and hold until the loader gives a RED indication. Release the button
and loader will power down to the OFF state.
6
Page 11

5. Setting the Speed.
When the Rip-Clip is first turned on, while the LED flashes for one long second, press
and hold the power button again during this flash. When done properly, the LED will
now change to red and you can release the button. The LED will only stay red for
about 15 seconds, then change back to its flashing green sequence for regular operation if no buttons are pressed. To set the speed during the red LED phase, push and
release the button the number of times necessary based on what speed you desire.
Press once for normal slow speed, twice for faster normal speed, and three times for
fastest speed. Each time you press and release the button during this sequence, the
press of the button should last about one second. If done too quickly, the board may
not be set to the speed you desire. When done correctly, the red LED will go off, then
flash the same number of times the button was pressed, indicating which speed it is
now set to. The motor will now spin up at the speed it is set to, it will stop, and now
the speed is set and the unit is ready to use.
7
Page 12

6. Storage:
Empty the loader, remove any paint and release feed cone tension between
long game delays.
7. Specifications:
Power requirements: 4AA batteries (not included)
Capacity: 200+ paintballs
Feed Rate: 20bps+
Construction: Nylon
8. Features:
Auto-Off 1 Hour
Low Battery Indicator
Ultra-Quiet Belt Drive
Tactile Feedback Power Button
8
Page 13

BT RIP-CLIPLIMITED WARRANTY
BT PAINTBALL DESIGNS, INC. warrants the replacement of any original part due to
defect in material and/or workmanship of this product. This warranty will be in effect
for twelve (12) months for parts and twelve (12) months for labor following the original
date of purchase for the original purchaser. Such warranty service will be provided only
if the warranty registration card included with this manual is filled in completely and
on file at BT PAINTBALL DESIGNS, INC. All other service will be duly charged for and
returned via UPS C.O.D.
BT PAINTBALL DESIGNS, INC. will replace without charge any original part that is
determined by BT PAINTBALL DESIGNS, INC. to be defective under the terms of this
warranty. However, shipping charges are not covered hereunder. Failure due to an accident, abuse, neglect, modification, normal wear, operator error, maintenance by other
than an authorized BT PAINTBALL DESIGNS, INC. dealer, or use of parts inconsistent
with the use originally intended for the product as sold, is not covered by this warranty.
There are no other warranties or guarantees, expressed or implied, made by BT PAINTBALL DESIGNS, INC. on this product. The sole and exclusive liability of BT PAINTBALL
DESIGNS, INC. and/or its authorized dealers, affiliates, or agents pursuant to this warranty
9
Page 14

will be for repair or replacement of the defective part; incidental or consequential damages are expressly excluded hereunder.
BT PAINTBALL DESIGNS, INC., its authorized dealers, affiliates, or agents, will not be
liable under this warranty, nor under any state or federal law, or the common law or
otherwise for any damage or failure, including personal injury, resulting from such use
and/or alteration. This warranty gives you specific legal rights, and you may also have
other rights that may vary from state to state.
For warranty registration, visit our website to register online: www.btpaintball.com
For warranty parts, service or information call:
BT PAINTBALL DESIGNS, INC.
1-800-724-6822
info@btpaintball.com
10
Page 15
NOTES
11
Page 16
12
 Loading...