


Machine Reference
Title: Procedures for sewing a DST file using PC
Date: February 4, 2009
Models: BE-0901-PC, BE-1201-PC, BE-1204-PC, BE-1206-PC
BES-960, BES-962, BES-1240, BES-1260, BES-1262
Preparation
1. Turn on the computer and start the Brother Embroidery Software, ECSC.
(Note: You will not see a white window appear until you turn on the machine.)
2. Turn on the Brother embroidery machine.
(Note: White window will appear.)
3. If using a USB flash drive or floppy disk please insert in to the computer.
Cancelling previous design
1. Left click on the Embroidery Cancel icon.
Embroidery Cancel icon
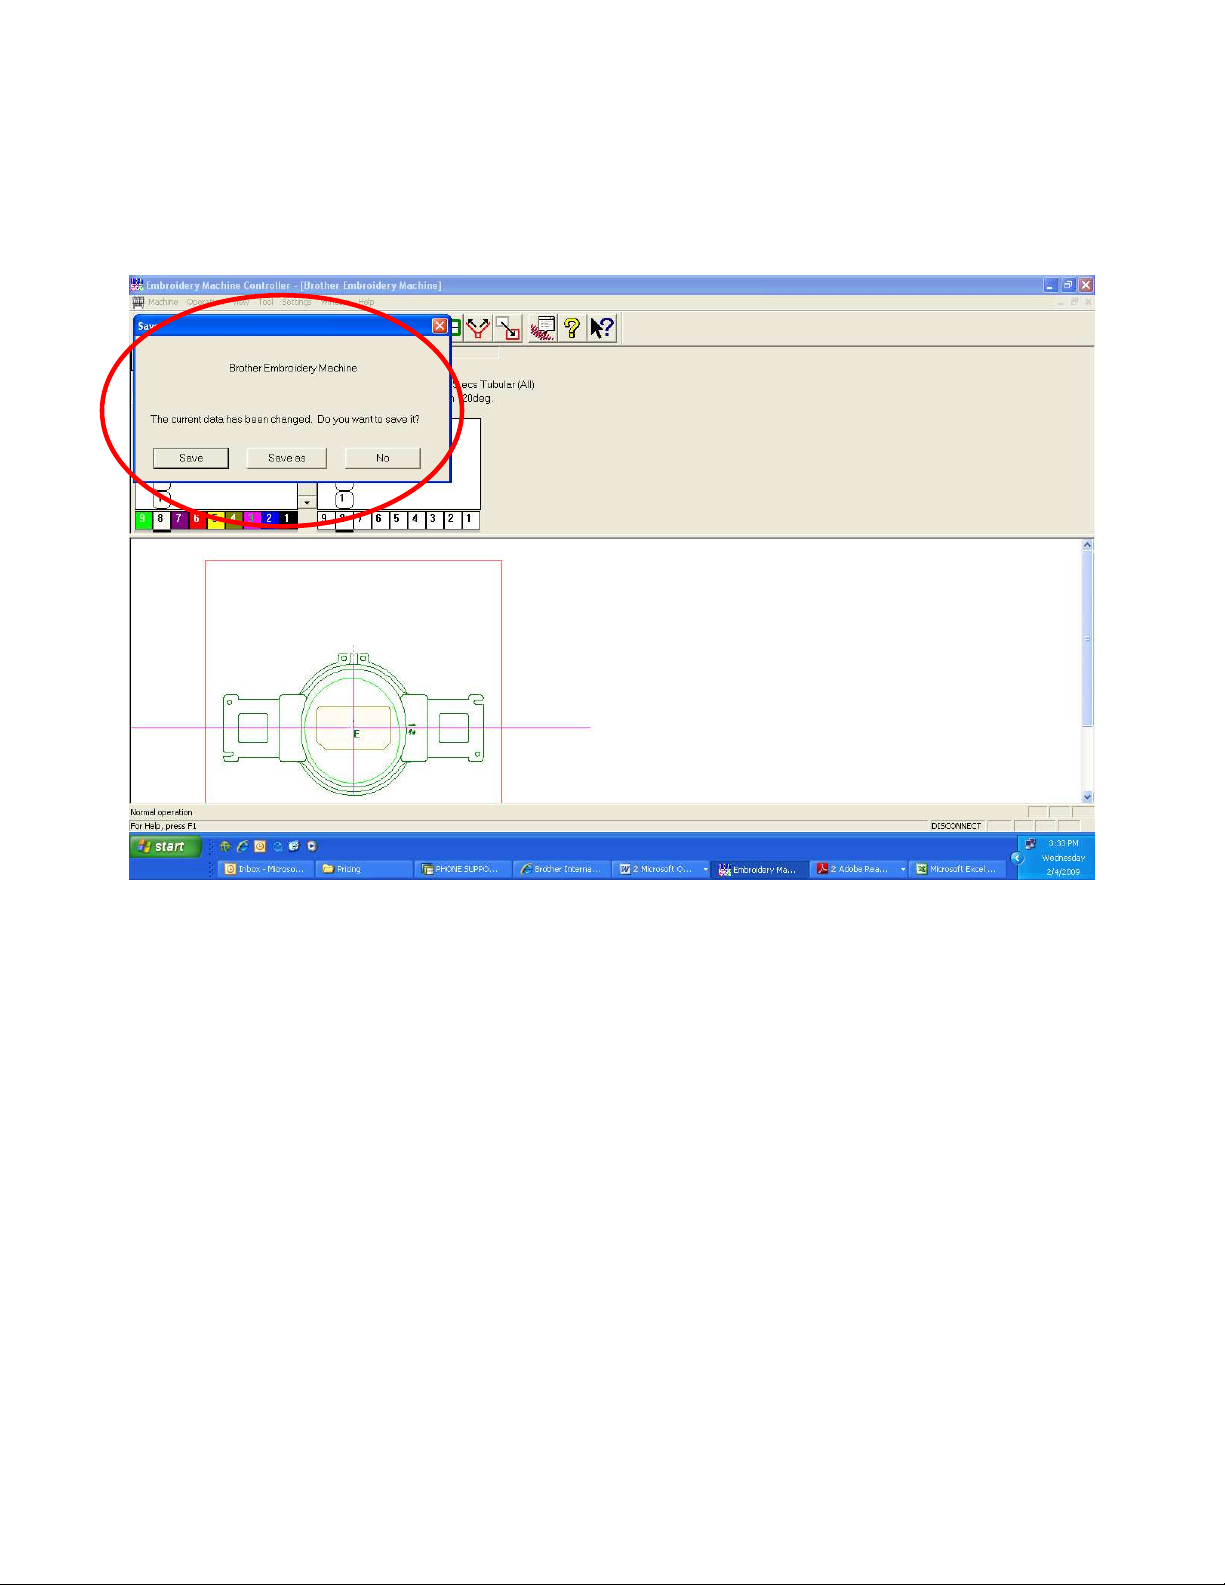
2. It may ask you if you want to save the design previously loaded.
(This will save the design in an ECS format)
Save – Save design without being able to change the file name.
Save as – Save design with being able to change the file name.
No – Will not save the design
Left click on your selection.
Loading a DST file
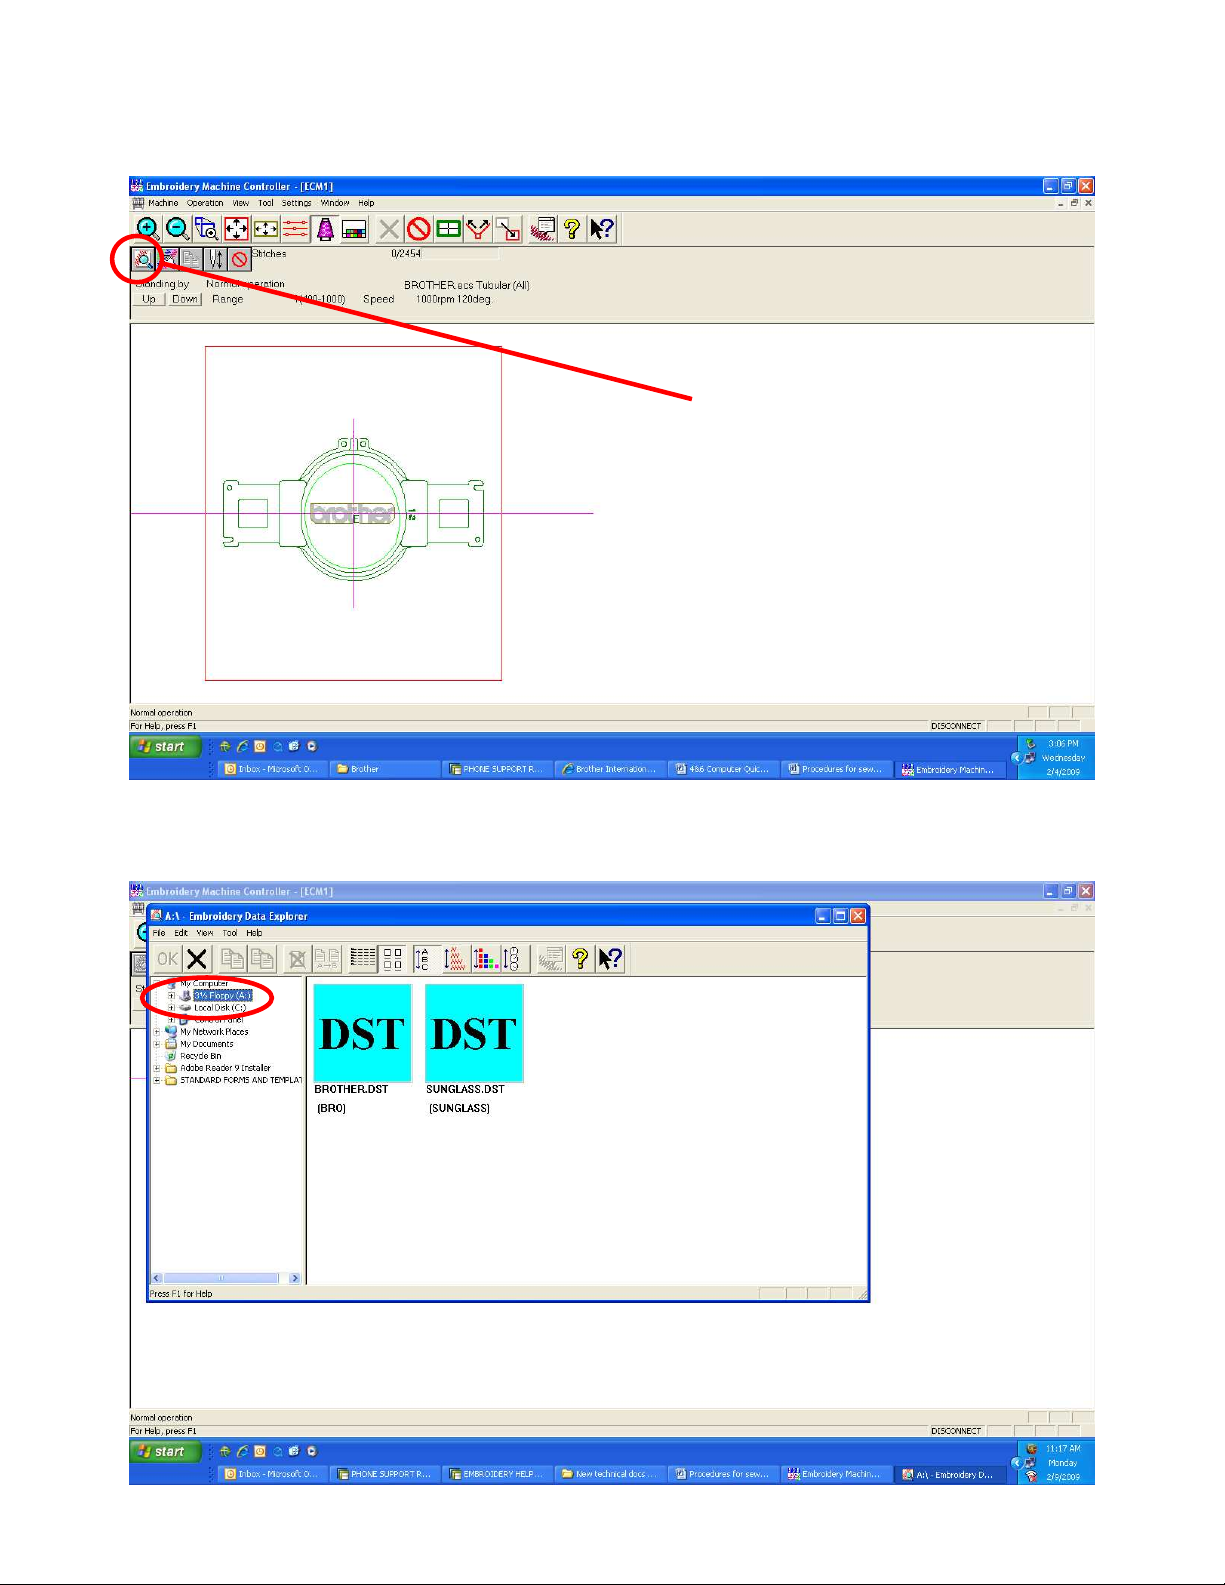
1. Left click on the Explorer icon.
Explorer icon
1. Left click on the drive or folder containing the DST file you want to read in.
In this example the 3½ Floppy (A) is being used.
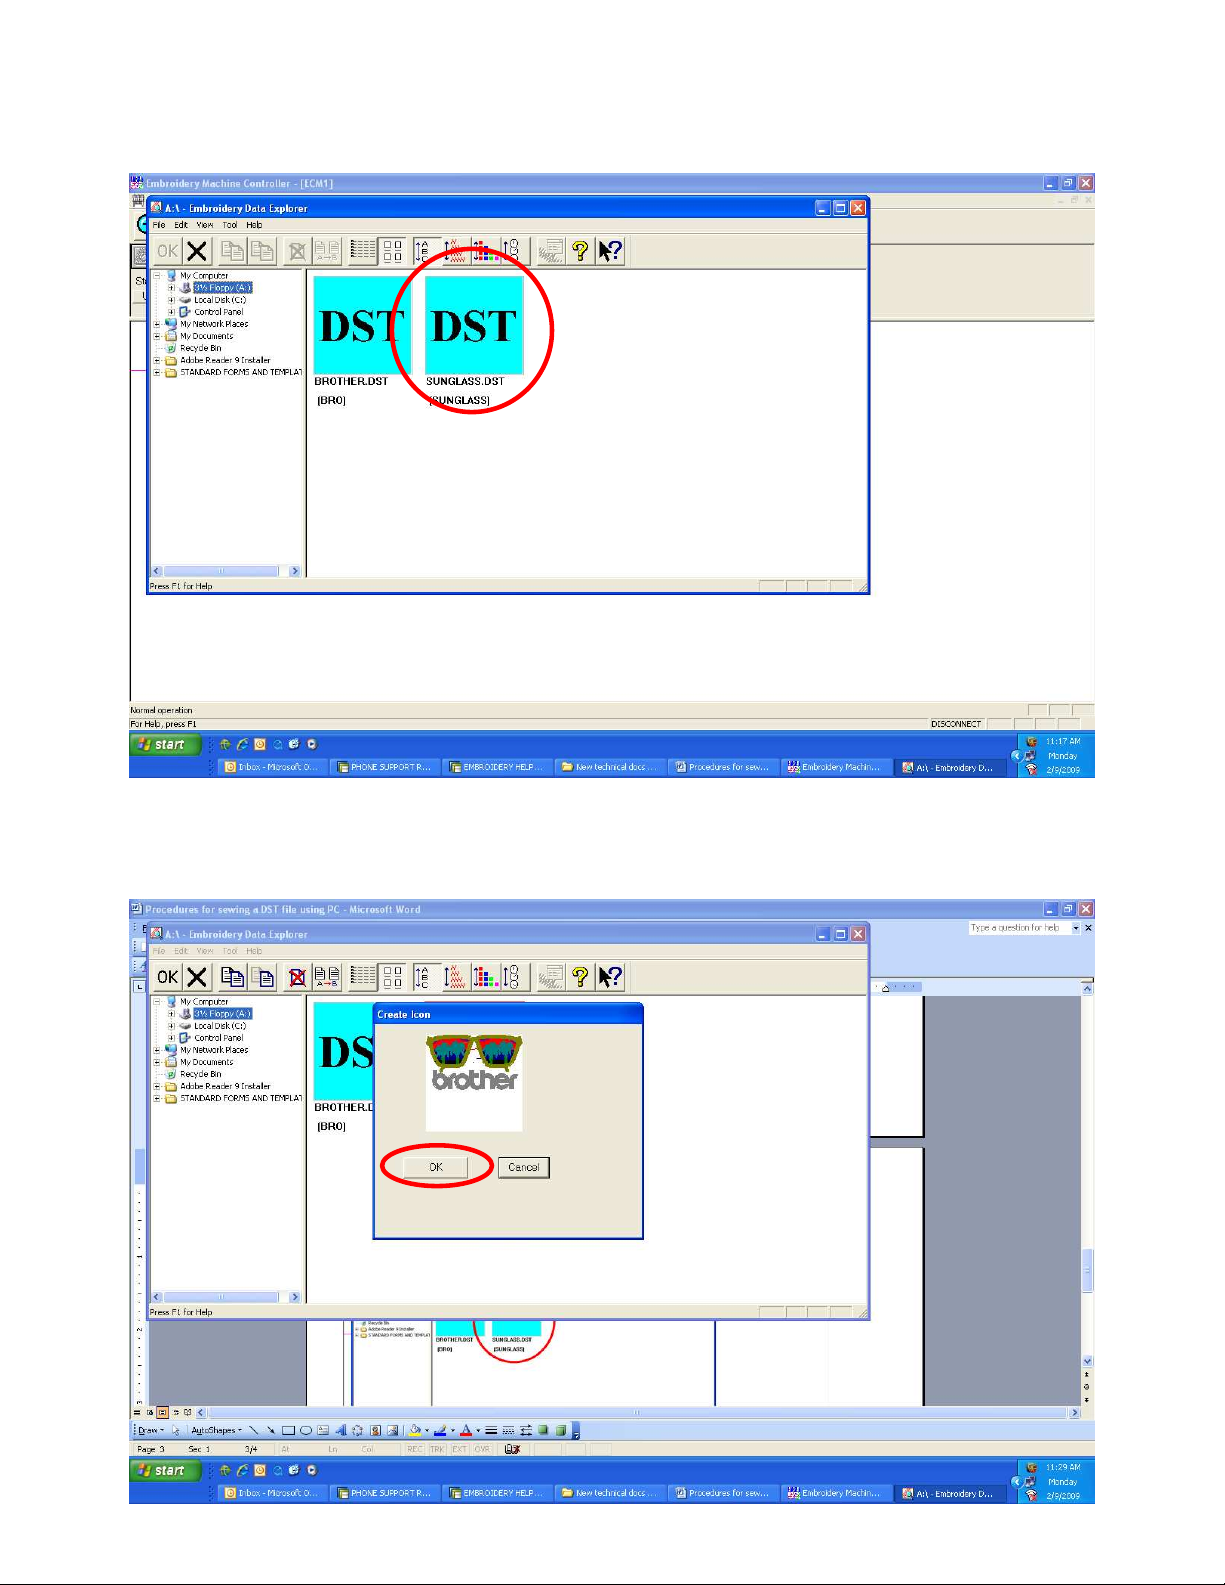
2. On the right hand side of the window, double left click on the design that
you want to load.
3. A “Create Icon” window will be displayed. Left click on OK if this is the
design. If not, click on cancel.
4.
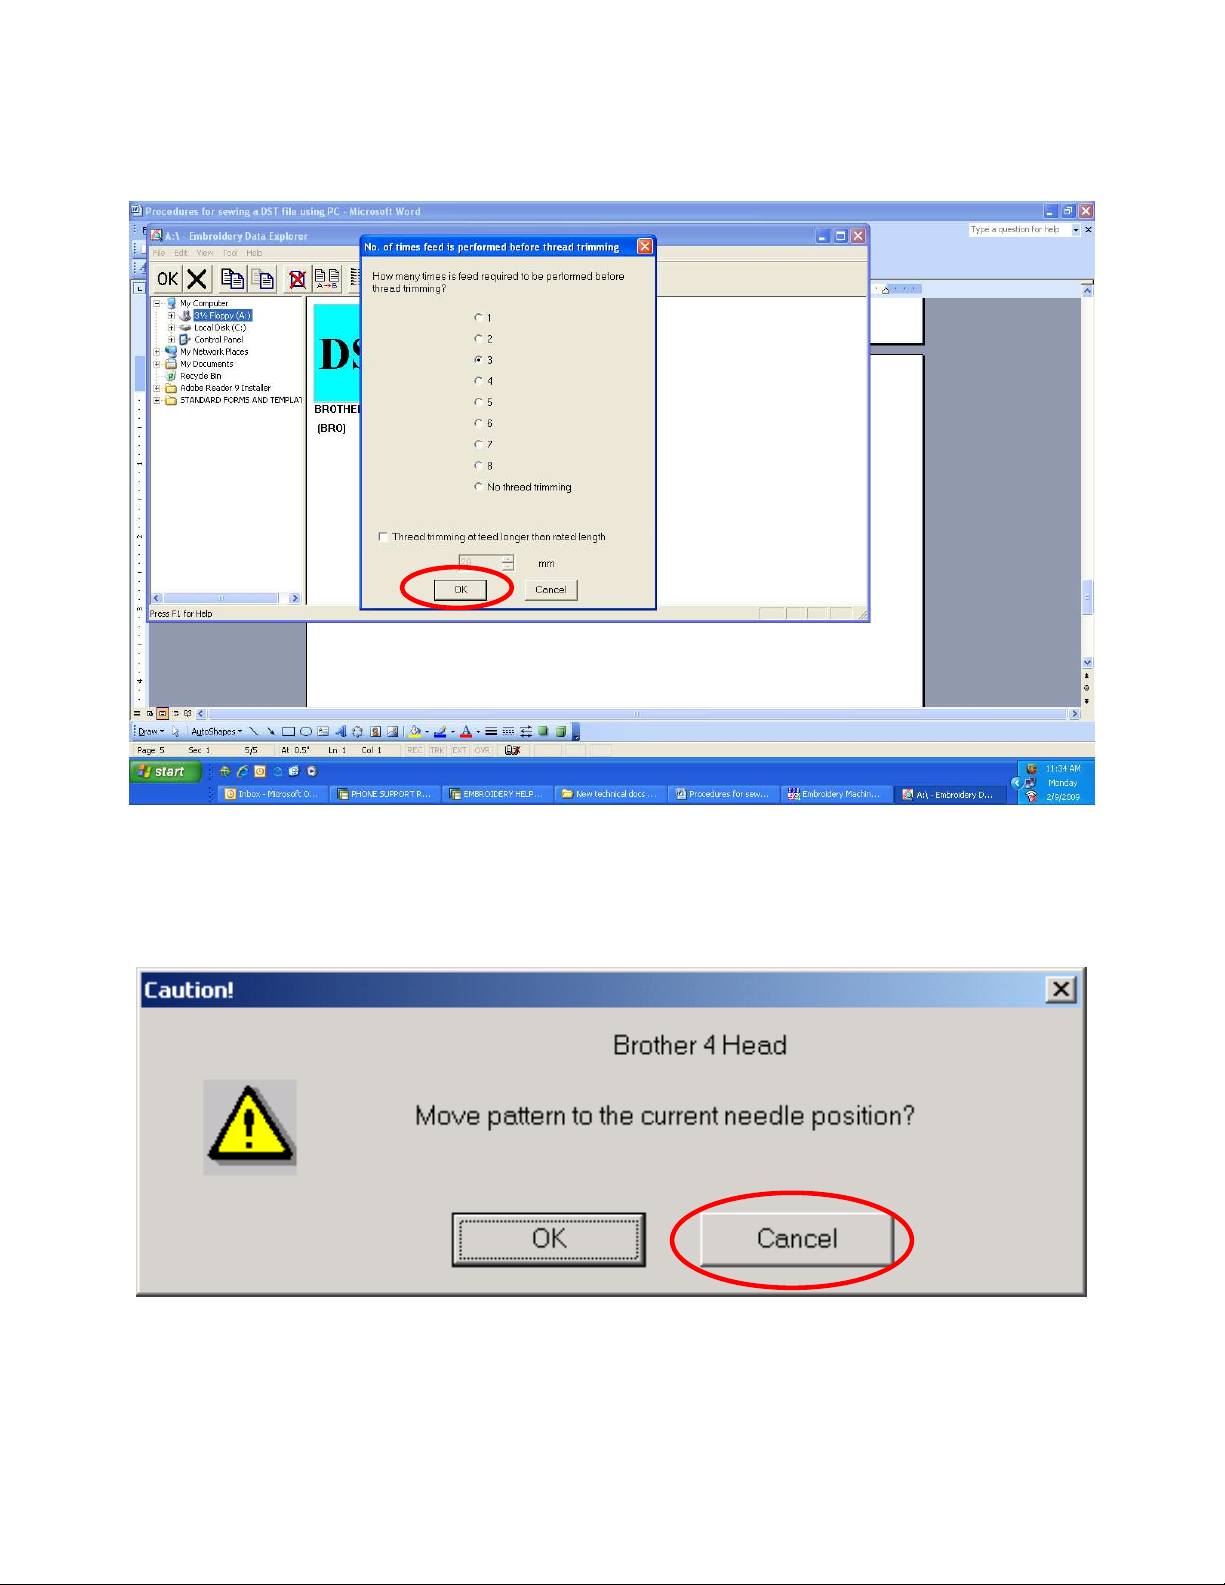
4. A window appears asking “How many times is feed required to be
A window appears asking “How many times is feed required to be
4.4.
A window appears asking “How many times is feed required to be A window appears asking “How many times is feed required to be
performed before thread trimming?” The number 3 will automatically be
performed before thread trimming?” The number 3 will automatically be
performed before thread trimming?” The number 3 will automatically be performed before thread trimming?” The number 3 will automatically be
selected. Left click on OK.
selected. Left click on OK.
selected. Left click on OK.selected. Left click on OK.
5. “Move pattern to the current needle position?” window will appear next.
To have the design automatically centered in the hoop, press Cancel
otherwise press OK.

Loading embroidery hoop to use
(Note: If using some aftermarket hoops, such as a FastFrame, this step is optional.)
1.
1. Left click on
Left click on “Settings”.
1.1.
Left click onLeft click on
“Settings”.
“Settings”. “Settings”.
Settings
2.
2. Left click on “Load Hoop”.
Left click on “Load Hoop”.
2.2.
Left click on “Load Hoop”.Left click on “Load Hoop”.
Load Hoop

3. There are two folders containing hoop outlines, Hoop and Hoop2. Please use
the correct folder for your model. See below:
(Note: These two folders are listed under C:\Program Files\BES-960.)
• HOOP - BE-0901-PC, BE-1201-PC, BES-960, BES-962, BES-1240, BES-1260, BES-1262
• HOOP2 - BE-1204-PC, BE-1206-PC
4.
4. Double left click on a hoop filename to load.
Double left click on a hoop filename to load.
4.4.
Double left click on a hoop filename to load. Double left click on a hoop filename to load.

5.
5. Try to use the smallest size hoop possible for good embroidery.
Try to use the smallest size hoop possible for good embroidery. Make sure
5.5.
Try to use the smallest size hoop possible for good embroidery. Try to use the smallest size hoop possible for good embroidery.
that the design fits with
that the design fits with\\\\in the li
that the design fits withthat the design fits with
hoop outline.
hoop outline. This is the actual sewing area of the hoop taking in
hoop outline. hoop outline.
consideration the shape of the presser foot. If any part of the design does
consideration the shape of the presser foot. If any part of the design does
consideration the shape of the presser foot. If any part of the design does consideration the shape of the presser foot. If any part of the design does
go over the light green line, please select the next larger hoop siz
go over the light green line, please select the next larger hoop size that you
go over the light green line, please select the next larger hoop sizgo over the light green line, please select the next larger hoop siz
have, resize or reposition it until it does to avoid damage to the machine.
have, resize or reposition it until it does to avoid damage to the machine.
have, resize or reposition it until it does to avoid damage to the machine.have, resize or reposition it until it does to avoid damage to the machine.
This is the actual sewing area of the hoop taking in
This is the actual sewing area of the hoop taking in This is the actual sewing area of the hoop taking in
in the light green oval
in the liin the li
ght green oval line
ght green oval ght green oval
line inside of the
inside of the dark green
line line
inside of the inside of the
Make sure
Make sure Make sure
dark green
dark green dark green
e that you
e that you e that you

Setting color sequence
1. Left click on the “Needle Bar Change” icon.
Needle Bar Change icon
2. The “Needle Bar Change” window appears.

3. The bottom colors, of the Needle Bar Change window, (1-12) represent the
12 needles on the machine.
4. In this example the design has 8 color changes. The top colors (1-8)
represent the color changes in the design.
5. To select the 1st color of the design to sew needle 12, you click and drag the
color change bubble over needle 12. When doing this, please make sure and
keep the bubble within the color change window as indicated by the red
dashed line or your change will not take effect.

6. Now just drag each color change bubble over the needle on the machine
that you want that color to be.
7. As you move each bubble over a needle you will notice that your design
changes color to reflect the changes you have made.
8. You can click on the “Needle Bar Change” icon to make this window
disappear.

Setting sewing speed
1. All DST files loaded in to the software will default to the fastest “Speed
Range”. Left click on the “Down” button to adjust if needed.
(Note: 800spm for tubular and 700spm are good speed ranges to start with.)
Speed range information
Speed adjustment buttons

Sending design to the machine
1. Left click on the “Start” icon to send the design to machine. You are now
finished on the computer.
Send icon

Operations on the machine panel
1. The “Ready” light should be on if the design was sent to the machine.
2. If “HOOP” is displayed on the machine panel, press .
(Note: This will move the pantograph to match the position of the design in the hoop from the computer.)
3. To trace the design in the hoop, press
(Note: This step is to reconfirm that the design does fit in the hoop attached to the machine.)
4. Press the button to start the machine.
 Loading...