

Page 1

QUICK START GUIDE
BREADMAN® 2 LB. BREAD MAKER, STAINLESS STEEL, BK1065SQ
Page 2
MEET YOUR NEW
1.
Bread Maker
INCLUDES
1. 2 lb. Bread Maker
2. Recipe Book
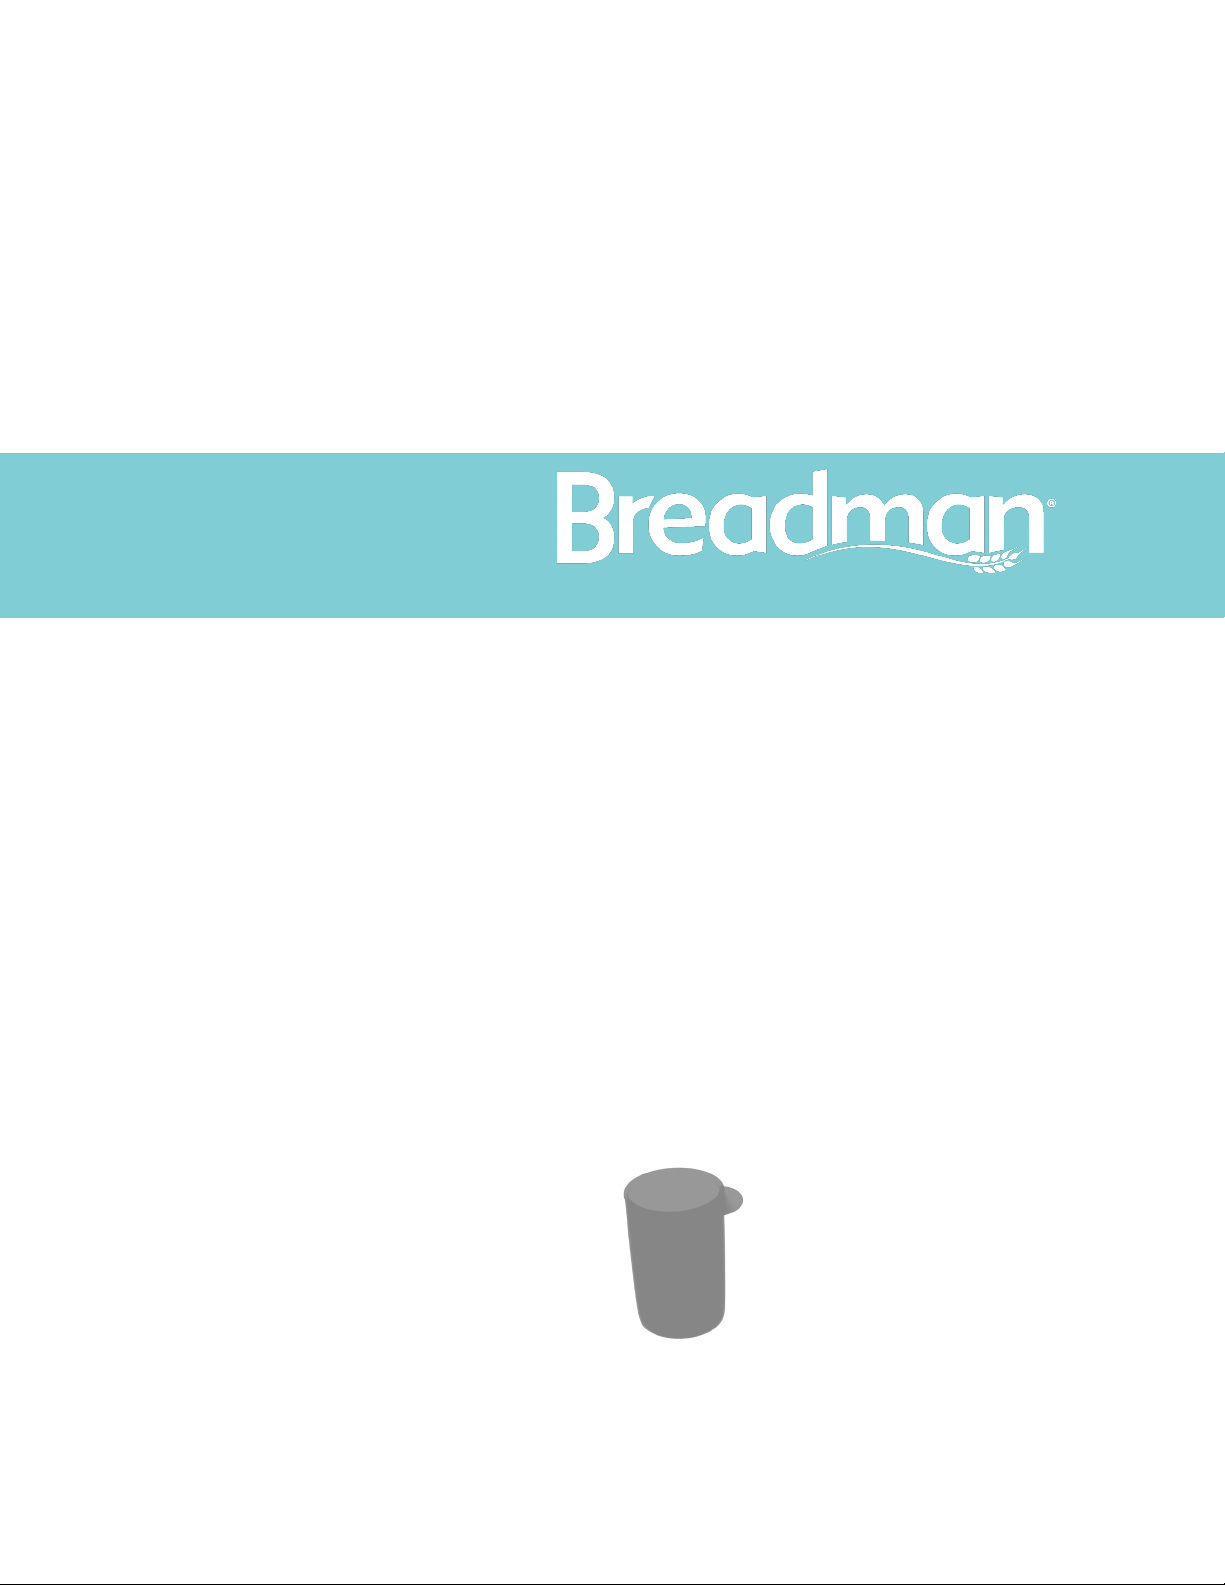
3. Measuring Cup
4. Adjustable Measuring Spoon
5. Collapsible kneading paddle
6. Bread Pan
6.
5.
4.
3.
2.
Page 3

GETTING STARTED:
Remove all packing material, any stickers, and the plastic band around the
power plug.
Save all literature including the instruction manual and the recipe book.
Please visit www.prodprotect.com/applica to register your product and learn
about warranty information.
Wash the bread pan, kneading paddle, and measuring accessories in warm,
soapy water. Then wipe dry.
ASSEMBLY INSTRUCTIONS:
Once all parts are completely dry, you can assemble the bread maker by attaching the
kneading paddle to the bread pan. Then place the bread pan into the baking chamber and
close the lid.
Place the bread maker on a dry, stable, level surface away from other heated appliances.
Do not place it near the edge of the countertop. If placing it beneath cabinets, make sure
there is enough room to open the lid.
Before the rst use, run the bread maker on Rapid White cycle without adding any
ingredients. This will burn off any residual oils from the manufacturing process.
(Note: During this process, the bread maker may smoke and/or emit an odor. This is normal.)
Now the bread maker is ready to use. See the instruction manual for more tips.
Page 4

BAKING:
To begin, insert the kneading paddle into the bread pan. Do NOT put the bread pan into the
baking chamber until you’ve added all the ingredients.
Add the ingredients to the bread pan in the order in which they appear in the recipe. This
will typically go in this order: wet ingredients, dry ingredients, yeast.
(Note: The kneading paddle may collapse while you’re adding ingredients. This is normal and it will stand up
automatically when the kneading cycle begins.)
If using yeast, always add it last by making a small indentation in the dry ingredients.
This prevents the yeast from prematurely mixing with the wet ingredients.
Insert the bread pan into the baking chamber and press down until it snaps securely into
place.
Page 5

Close the lid, plug it in, and select the desired function. You can also choose settings for
loaf size, crust color, and add any mix-ins like dried fruit or nuts.
Press the START/STOP button to begin the process. The display will show the time
remaining on the cycle.
Page 6

SETTINGS:
This bread maker includes 17 pre-programmed functions. Use the control panel
and digital screen to select the desired function.
TIMER: Use these buttons to adjust the BAKE ONLY time and the delay bake timer (up to 15
hours). They will also add or subtract time from what is displayed.
LOAF SIZE: Select the loaf size you wish to bake: 1 lb, 1.5 lb, or 2 lb. The default loaf size and
the Rapid Loaf preset size are 2 lb.
MENU: Use this button to cycle through and select the desired function.
BAKE ONLY: This button activates the BAKE ONLY cycle. You may alter the time using the
timer buttons.
CRUST COLOR: Select the desired crust color: light, medium, or dark. The default crust color
is medium.
START/STOP: Press and hold this button for several seconds to clear the display, reset the
cycle, or stop the baking process.
Page 7

CARE & CLEANING:
IMPORTANT: Always unplug the bread maker and allow it to cool prior to cleaning.
CAUTION: Never submerge the bread maker in water or put any parts in the dishwasher.
This can damage the nonstick surface on the kneading paddle and bread pan, and
impact the internal electronics.
CAUTION: Never use abrasive cleaners, scouring pads, vinegar, bleach, or harsh
chemicals to clean the bread maker.
After each completed cycle, remove the cooled bread pan from the baking chamber.
Then remove the kneading paddle from the bread pan.
Wash the bread pan and kneading paddle inside and out with warm, soapy water.
Avoid using scrubbers that might scratch the nonstick surface.
Wipe the inside of the lid and the baking chamber with a slightly damp cloth or sponge.
The lid can be removed for more thorough cleaning, but it should not be immersed in
water or put in the dishwasher.
Make sure all components are completely dry before operating the bread maker.
 Loading...