

Brandt MCB5000BT Instruction Manual
EN
BLUETOOTH CD MICRO SYSTEM
MICRO CHAÎNE CD BLUETOOTH
FR
BLUETOOTH CD-MICROSYSTEEM
NL
MICROCADENA BLUETOOTH
ES
INSTRUCTION MANUAL
MANUEL D'INSTRUCTIONS
GEBRUIKERSHANDLEIDING
MANUAL DE INSTRUCCIONES
MODEL MCB5000BT


Table of Contents
WARNINGS..............................................................................................................2
IMPORTANT SAFETY INSTRUCTIONS
CONTROLS .....4
CONNECTION 6
TURNING POWER ON AND OFF
BLUETOOTH OPERATIONS
CD OPERATION 7
USB OPERATION...................................................................................................11
LINE IN OPERATION...............................................................................................11
RADIO OPERATION...............................................................................................12
TROUBLESHOOTING.............................................................................................14
SPECIFICATIONS..................................................................................................14
.........................................................................................................
..........................................................................................................
......................................................................................6
.......................................................................................................
Disc handling precautions................................................................................7
Inserting a CD.................................................................................................7
Playing a CD...................................................................................................7
Selecting a track..............................................................................................8
Search function...............................................................................................8
CD repeat
Creating a play list (Programme play)................................................................9
Erasing a programme.....................................................................................10
Setting the sleep timer....................................................................................10
Mute.............................................................................................................10
Equaliser......................................................................................................10
mode...............................................................................................8
......................................................................3
................................................................................6
EN-1

WARNINGS
This appliance is intended for domestic household use only and should not be used for
any other purpose or in any other application, such as for non domestic use or in a
commercial environment.
Ventilation
Allow at least a 10 cm gap all around the product.
The ventilation should not be impeded by covering the ventilation openings with items,
such as newspapers, table-cloths, curtains, etc.
No naked flame sources, such as lighted candles, should be placed on the apparatus.
To protect the environment, use local recycling facilities for battery disposal.
This apparatus is not suitable for use in a tropical climate.
The apparatus shall not be exposed to dripping or splashing and that no objects filled with
liquids, such as vases, shall be placed on the apparatus.
Batteries (battery pack or batteries installed) shall not be exposed to excessive heat such
as sunshine, fire or the like.
Where the MAINS plug or an appliance coupler is used as the disconnect device, the
disconnect device shall remain readily operable.
EN-2
IMPORTANT SAFETY INSTRUCTIONS
Mains supply
This equipment is designed to operate from a 100-240 Volt, 50/60Hz AC mains supply.
Other power sources may damage it.
Symbols
This equipment is double
insulated and an earth
connection is not required.
Dangerous voltage
constituting a risk of electric
shock is present inside this
equipment.
This mark is applied to show the
equipment conforms to
European safety and
electromagnetic compatibility
standards.
There are important operating
and maintenance instructions in
the literature accompanying this
equipment.
Class 1 laser product
This apparatus contains a low power laser device. Invisible laser radiation
when the enclosure is opened and interlocks are defeated.
Avoid exposure to beam.
This disc player employs a laser system. Use of controls, adjustments, or the
performance of procedures other than those specified herein may result in hazardous
radiation exposure.
To prevent direct exposure to laser beam, do not open the enclosure.
Never stare directly into the laser beam.
Do not install this apparatus in a confined space such as a book case or similar unit.
BATTERY WARNING: Only adults should handle the batteries. Do not allow a child to use
the remote control unless the Battery Cover is securely attached to the remote control.
The battery type used in this remote control is two AAA size 1.5V batteries. These
batteries are located internally and are readily accessible.
Remove the battery cover on the rear of the remote control to remove the batteries.
These batteries must be disposed of at your local recycling point.
EN-3
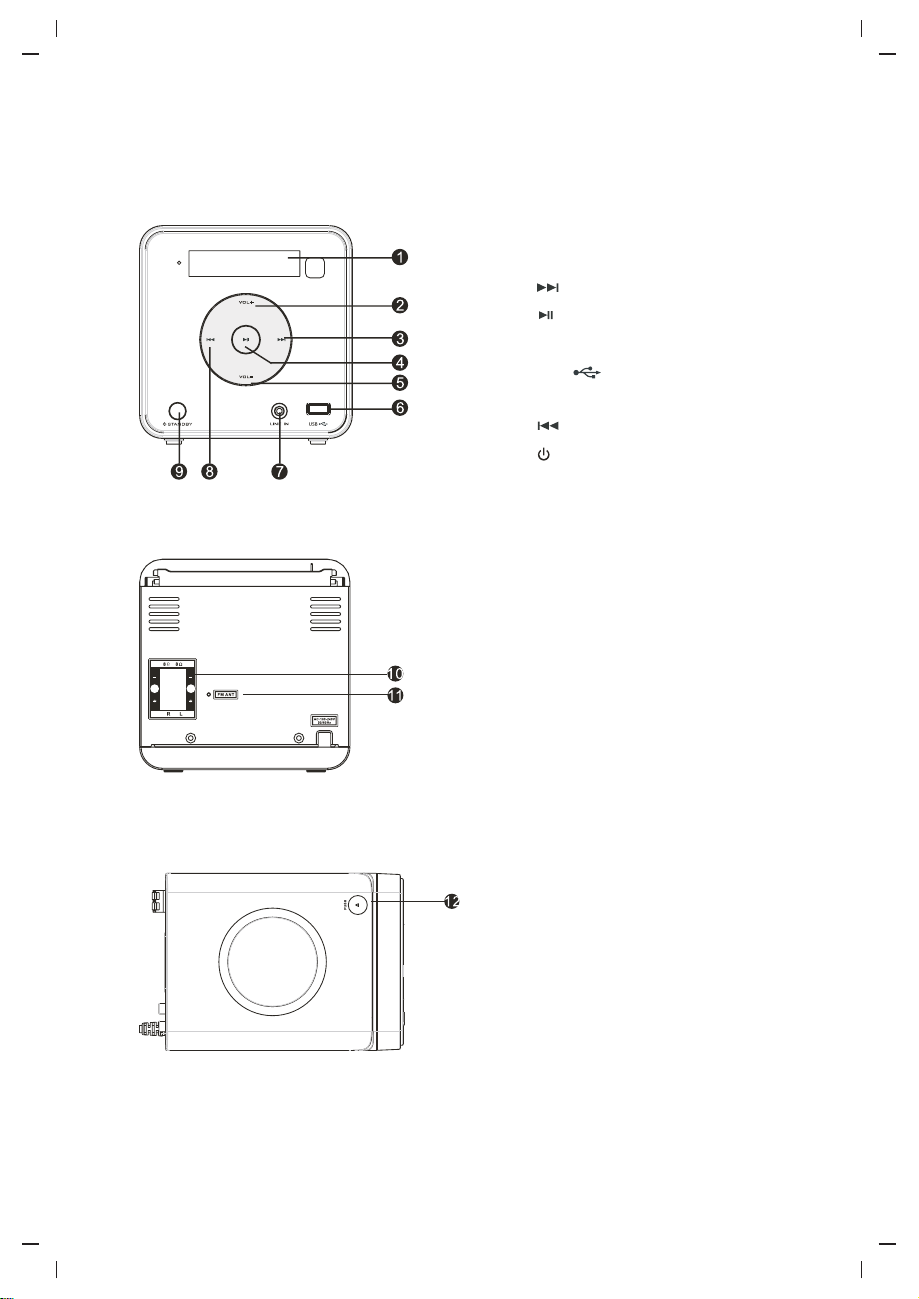
Front
Rear
CONTROLS
1.
2.
3.
4.
5.
6.
7.
8. Next/Rewind button
9.
10.
11.
Display
VOL+ button
Next/Fast forward button
Play/Pause button
VOL- button
USB port
LINE IN jack
STANDBYbutton
Speaker output
FM antenna
Top
12.PUSH (CD Open / Close) button
EN-4
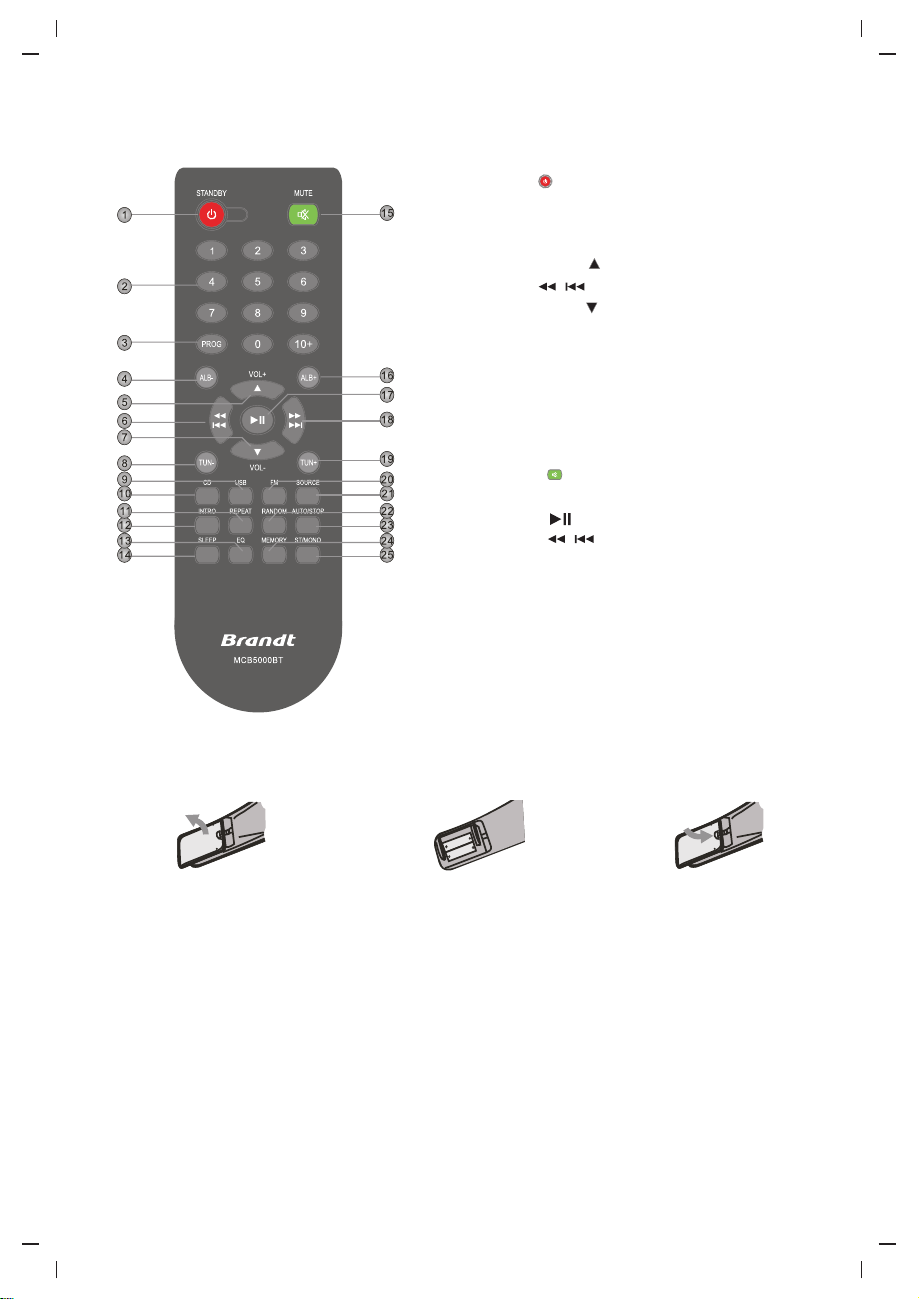
Remote control buttons
1. STANDBY
2.Numeric buttons
3.PROG
4.ALB-
5.VOL+/
6.
/
7.VOL-/
8.TUN-
9.USB
10.CD
11.REPEAT
12.INTRO
13.EQ
14.SLEEP
15. MUTE
16.ALB+
17.
18. /
19.TUN+
20.FM
21.SOURCE
22.RANDOM
23.AUTO/STOP
24.MEMORY
25.ST/MONO
Inserting batteries
1.Remove the battery cover
at the rear of the remote
control.
2 Insert two batteries
.
observing the polarity
indicated in the battery
compartment.
3 Replace the battery
.
cover.
Remote control range
-
Point the remote control at the remote sensor at the front of the unit. The remote control
works within a distance of about 8 metres from the sensor and within an angle of about 30
degrees from the left and right sides.
-
To avoid interference, do not put any objects in front of remote sensor.
EN-5
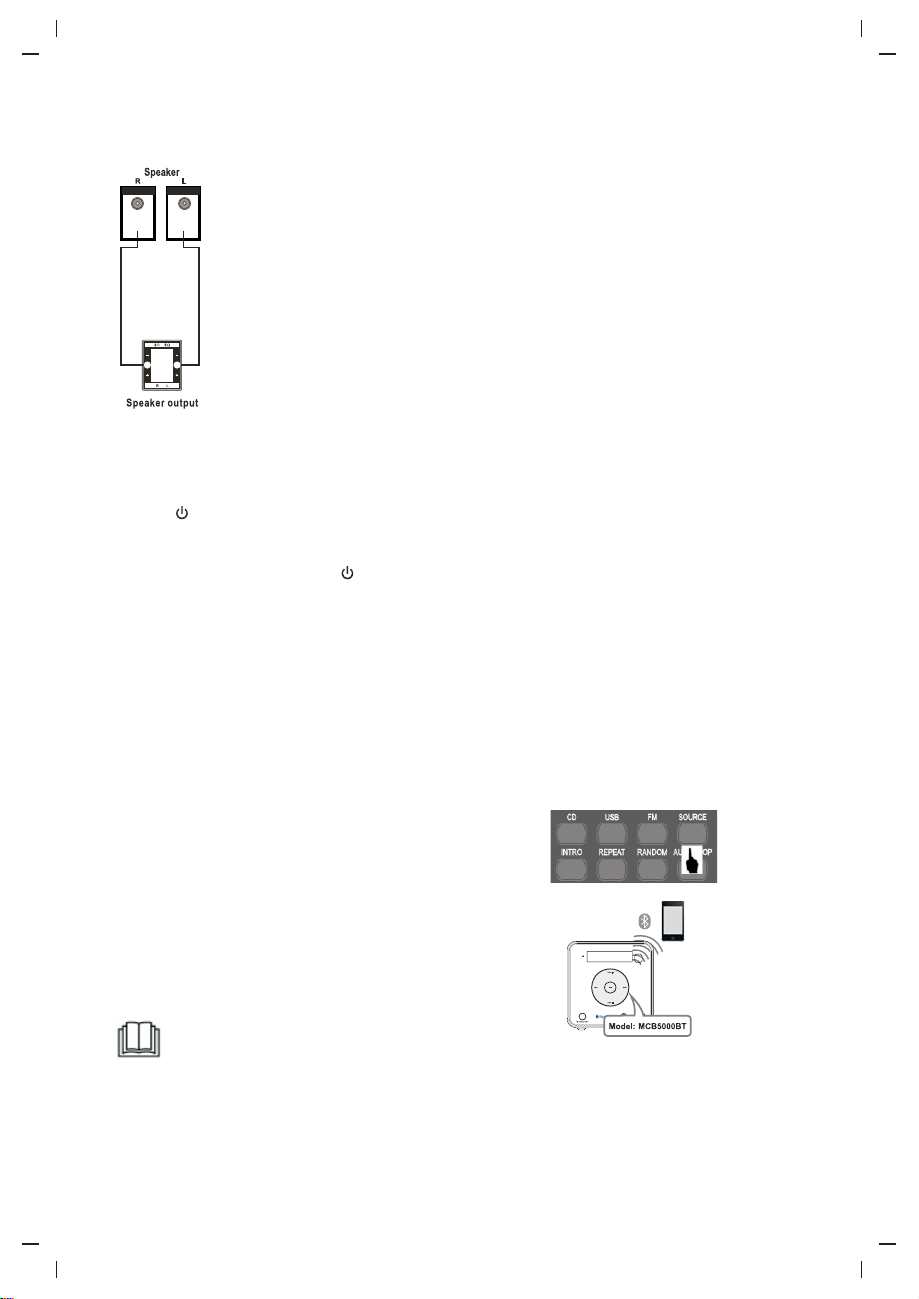
CONNECTION
1.Place the unit on a flat stable surface.
2.Connect the speakers to speaker output terminals of the unit with their
attached speaker cables (white for +, black for -).
TURNING POWER ON AND OFF
1.Plug the unit into the mains socket.
The standby indicator light will illuminate.
-
2.Press STANDBY to turn on the power.
-“HELLO” will be shown on the display briefly.
The standby indicator light will go out.
-
3.To turn the power off, press STANDBY again.
The standby indicator light will illuminate again.
-
BLUETOOTH OPERATIONS
By using the Bluetooth connection, you can listen to the sound from the Bluetooth audio
device from this unit wirelessly.
Pairing Bluetooth devices
-Turn on the Bluetooth function of the device and place the device near this unit.
-If this unit is already connected to a Bluetooth device, disconnect it.
1.Select the Bluetooth mode.
-Repeatedly press SOURCE until the Bluetooth
mode is selected.
-The display will show “bt”.
2.Select “MCB5000BT” from the Bluetooth device's
Bluetooth menu.
3.Once pairing is successful, “bt” will disappear and
“CONNECt” will appear on the display.
4.Start play on the Bluetooth device.
-
The effective operation range between the unit and the paired Bluetooth device is
approximately 10 metres in the open area.
-
This unit can only be connected to one device at a time.
-
To disconnect the Bluetooth device, from the Bluetooth devices screen press the device
to disconnect and tap Disconnect.
EN-6
Remote control
Bluetooth
CD OPERATION
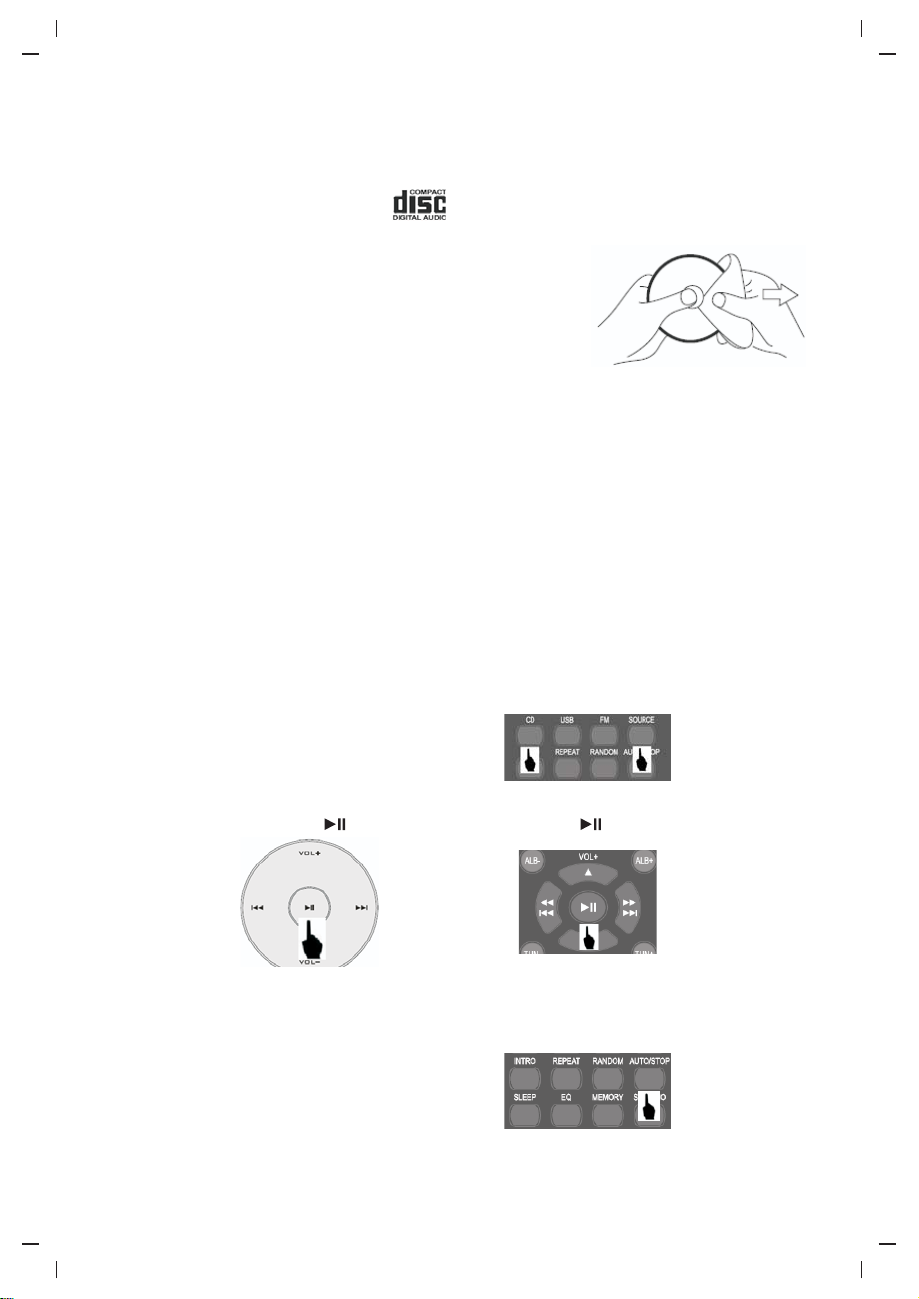
Disc handling precautions
Use only Digital Audio CDs with the symbol.
Never write on a CD or attach any sticker to the CD. Always
hold the CD at the edge and store it in its box after use with
the label facing up.
To remove dust and dirt, breathe on the CD and wipe it with a
soft, lint free cloth in a straight line from the centre towards
the edge.
Cleaning agents may damage the CD.
Do not expose the CD to rain, moisture, sand or to excessive
heat.
Inserting a CD
1.To open the CD compartment, press and release the PUSH button on the top of the unit.
2.Put the CD on the spindle, print side facing upwards until it clicks into place and then
gently close the CD compartment by pushing the PUSH button on the top of the unit.
To take out the CD, press and release the PUSH button on the top of the unit.
Note: The CD door should be opened ONLY when the CD is in stop mode.
Playing a CD
1 Select the CD mode.
.
-Repeatedly press SOURCE until the CD mode is selected. You can also press CD.
-The player will scan the contents of the CD. The total number of tracks will then be
displayed. The player will automatically start playback from the first track.
Remote control
2.To pause playback press .To continue playback, press again.
Unit
3.Repeatedly press or press&hold VOL+/VOL- to adjust the volume to the desired setting.
4.To stop playback, press AUTO/STOP.
EN-7
Remote control
Remote control
CD OPERATION
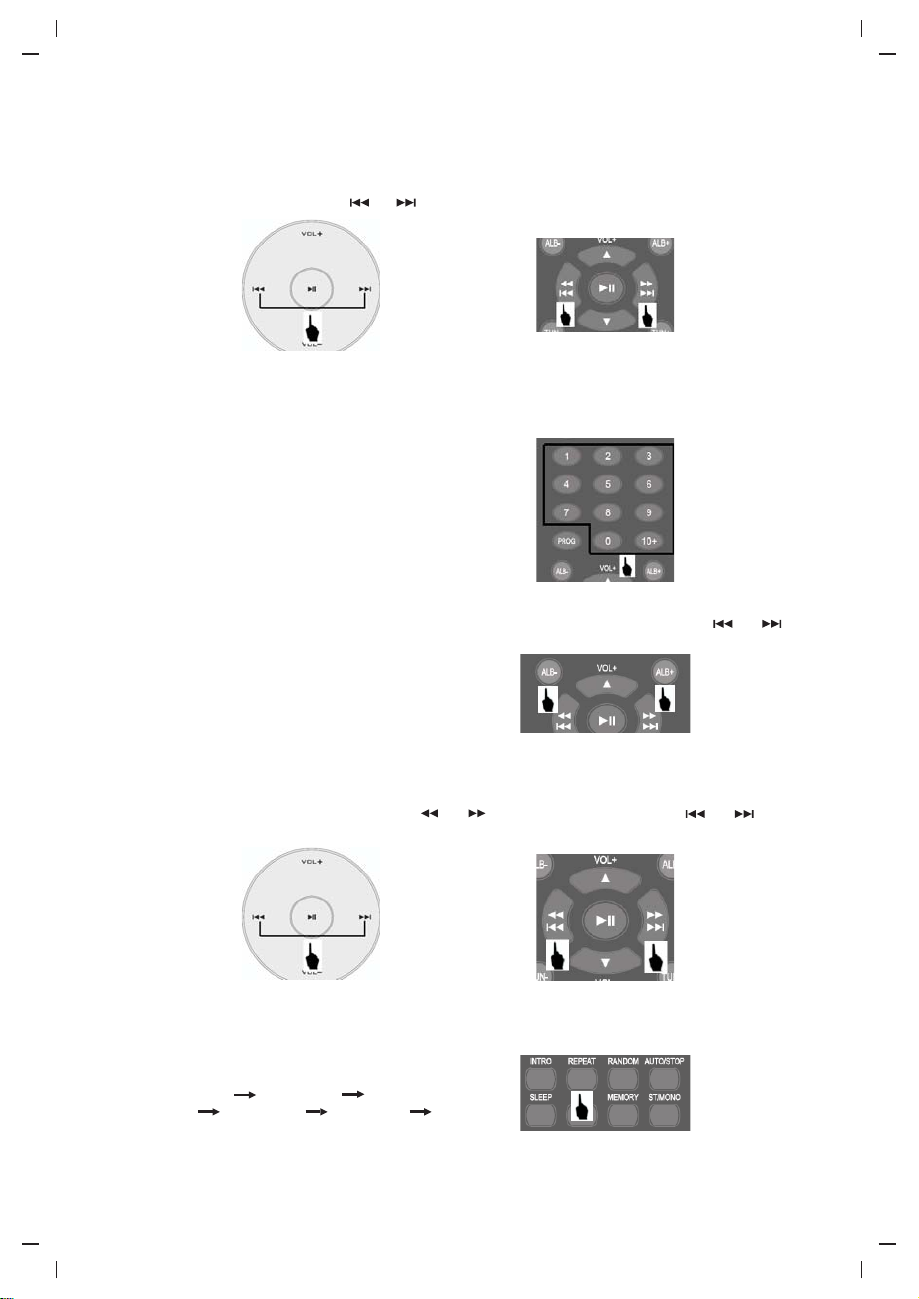
Selecting a track
While the CD is playing, press or to select the desired track.
Unit
You can also skip to a desired track by pressing a numeric button.
For tracks 10 and above, first press 10+ and then press a numeric button to select the
desired track.
For MP3, repeatedly press ALB+/- to select the desired folder and then press or to
select the desired track.
Remote control
Remote control
Remote control
Search function
While the CD is playing, press and hold or on the remote control or or on the
unit. Release the button when the desired part of the track is reached.
CD repeat mode
Unit
While the CD is playing repeatedly press
REPEAT.
Audio CD: REP REP ALL Normal Play
Mp3: REP REP ALB REP ALL Normal
Play
EN-8
Remote control
Remote control
CD OPERATION
To play the contents randomly, press RANDOM.
To play the first 10 seconds of each track, press INTRO.
Remote control
Remote control
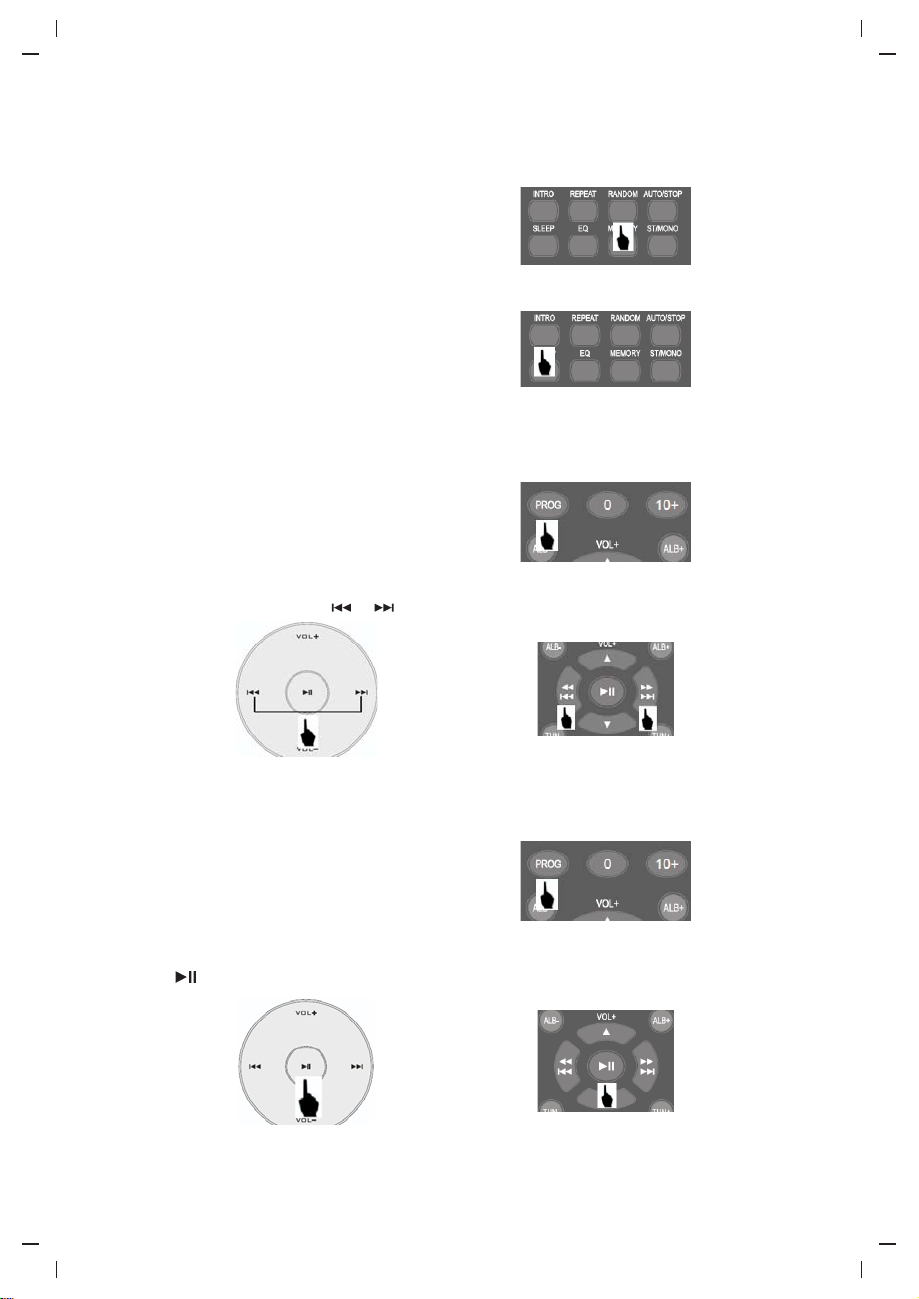
Creating a play list (Programme play)
By programming the player you can play up to 20 CD and 99 MP3 tracks in any desired
order.
1.While the CD is in stop mode, press .
-"P01" will be shown on the display.
2.Select the first track using or .
Unit
3.To store the track press .
-“P02” will be shown on the display.
PROG
PROG
Remote control
Remote control
Remote control
4.Repeat the above steps until you have completed your programme.
5.Press to commence play of selected tracks.
Unit Remote control
EN-9
CD OPERATION
Erasing a programme
Press .AUTO/STOP
Remote control
Setting the sleep timer
The sleep timer is a countdown timer for switching the system to standby mode after a
specified time. The sleep timer can be set from 90 to 10 minutes in 10 minute steps.
Remote control
1 Press to set the sleep time (in minutes).
. SLEEP
-“SL” and “S-90” will be shown on the display. The unit will now play for 90
minutes.
2 To decrease the sleep time in steps of 10 minutes, repeatedly press until the
. SLEEP
desired sleep time is shown.
-The remaining sleep time can be checked by pressing .SLEEP
3.To cancel the sleep timer, press until “SL” disappears on the display.
4.To switch the unit to the standby mode before the sleep time has elapsed, press
STANDBY
.
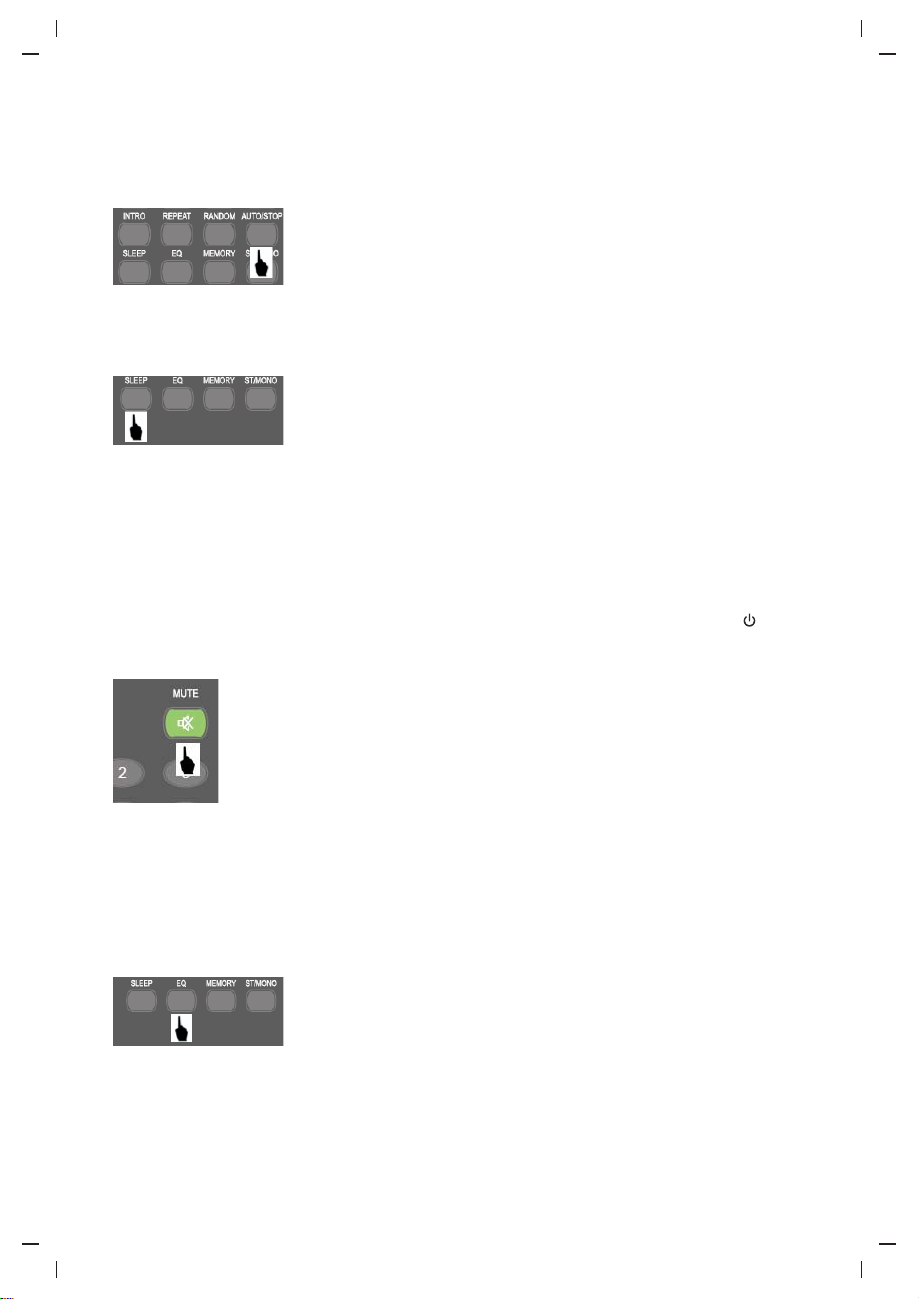
Mute
SLEEP
Remote control
1.Press MUTE to turn off the sound.
- MUTE” will be shown on the display.
“
2.Press MUTE again to restore the sound to the previous level.
- MUTE” will disappear from the display.
“
-You can also adjust the volume level to restore the sound.
Equaliser
Remote control
The quality of the sound can be adjusted to suit the type of music playing by pressingEQ.
There are 5 settings to select from: FLAT, JAZZ, CLASSIC, ROC and POP.
Press EQ to cycle through the various equaliser settings until the desired sound setting
is selected.
EN-10
USB OPERATION
Inserting and removing a USB memory device
Carefully insert a USB memory device into the USB port. To remove the USB memory
device simply pull the device out.
Selecting USB mode
Repeatedly press SOURCE until the USB mode is selected. You can also press USB.
Remote control
Note:
Playback control in USB mode is similar to Disc CD mode.
The USB memory device should not be removed during playback as damage or corruption
of files may occur.
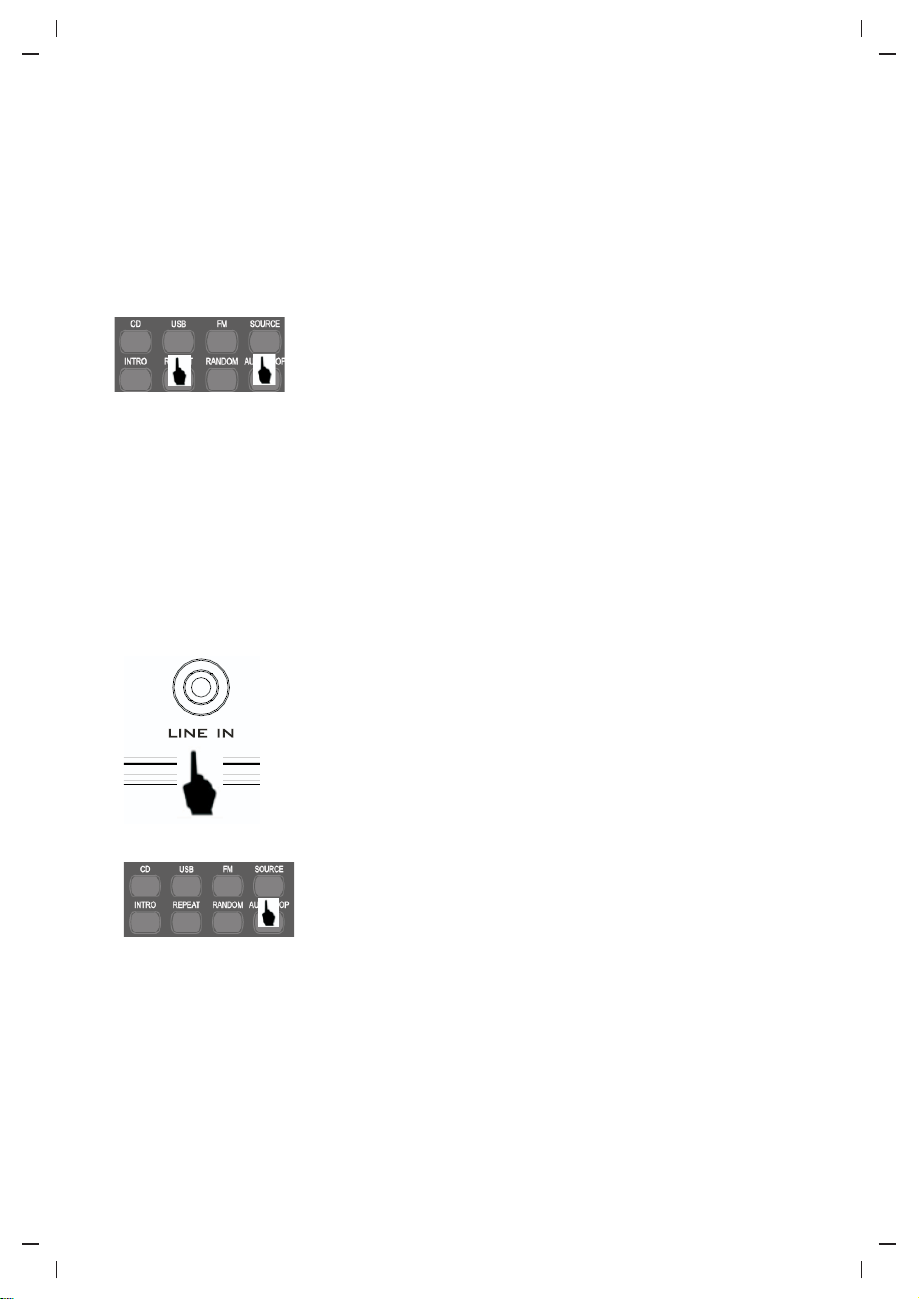
LINE IN OPERATION
1.Connect an audio cable (not supplied) to the LINE IN jack on the front of the unit.
Connect the other end to a suitable output socket on your auxiliary device.
2.Repeatedly press until the LINE IN mode is selected.SOURCE
Remote control
3.Turn your auxiliary device on and operate it as usual.
-The sound from the auxiliary device will be heard through the speakers of the product.
4.Adjust the volume level to the desired listening level.
EN-11
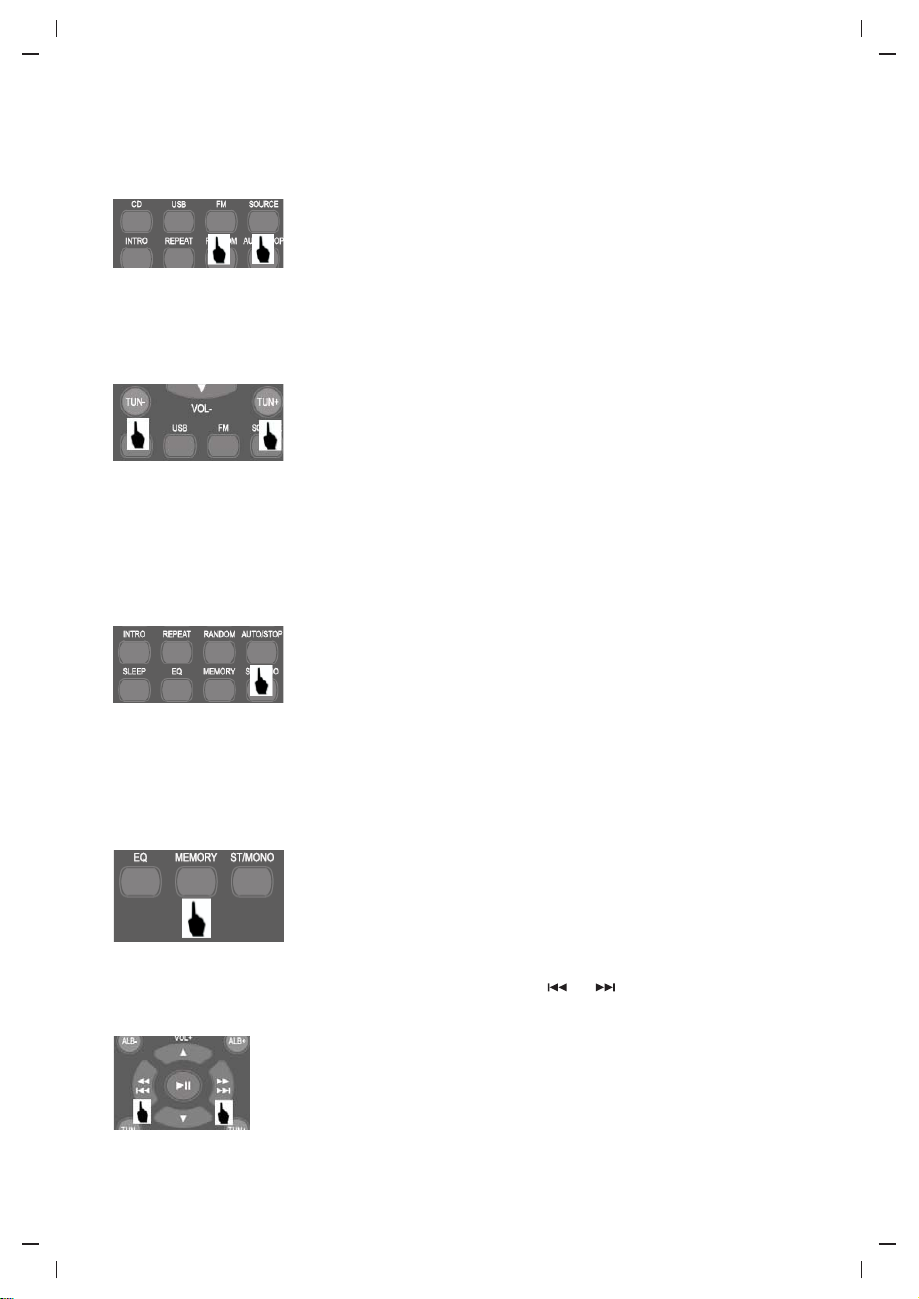
RADIO OPERATION
1.Repeatedly press until the FM mode is selected. You can also press .SOURCE FM
Remote control
2.Press to tune in to the desired station.TUN+/-
-To start automatic tuning, press and hold until the frequency starts scrolling.
Tuning will stop when a station is found.
Remote control
To preset stations
You can save up to 30 FM radio stations to the memory.
Auto presetting
Press and hold for 2 seconds, the unit will start searching. The radio will
automatically store all the stations it found.
AUTO/STOP
TUN+/-
Remote control
Manual presetting
1.Tune in to the station to be preset.
2.Press MEMORY.
-A preset number “01” will flash on the display.
Remote control
3.While the preset number is flashing, repeatedly press or to select the preset
number where you want to save the station.
Remote control
EN-12
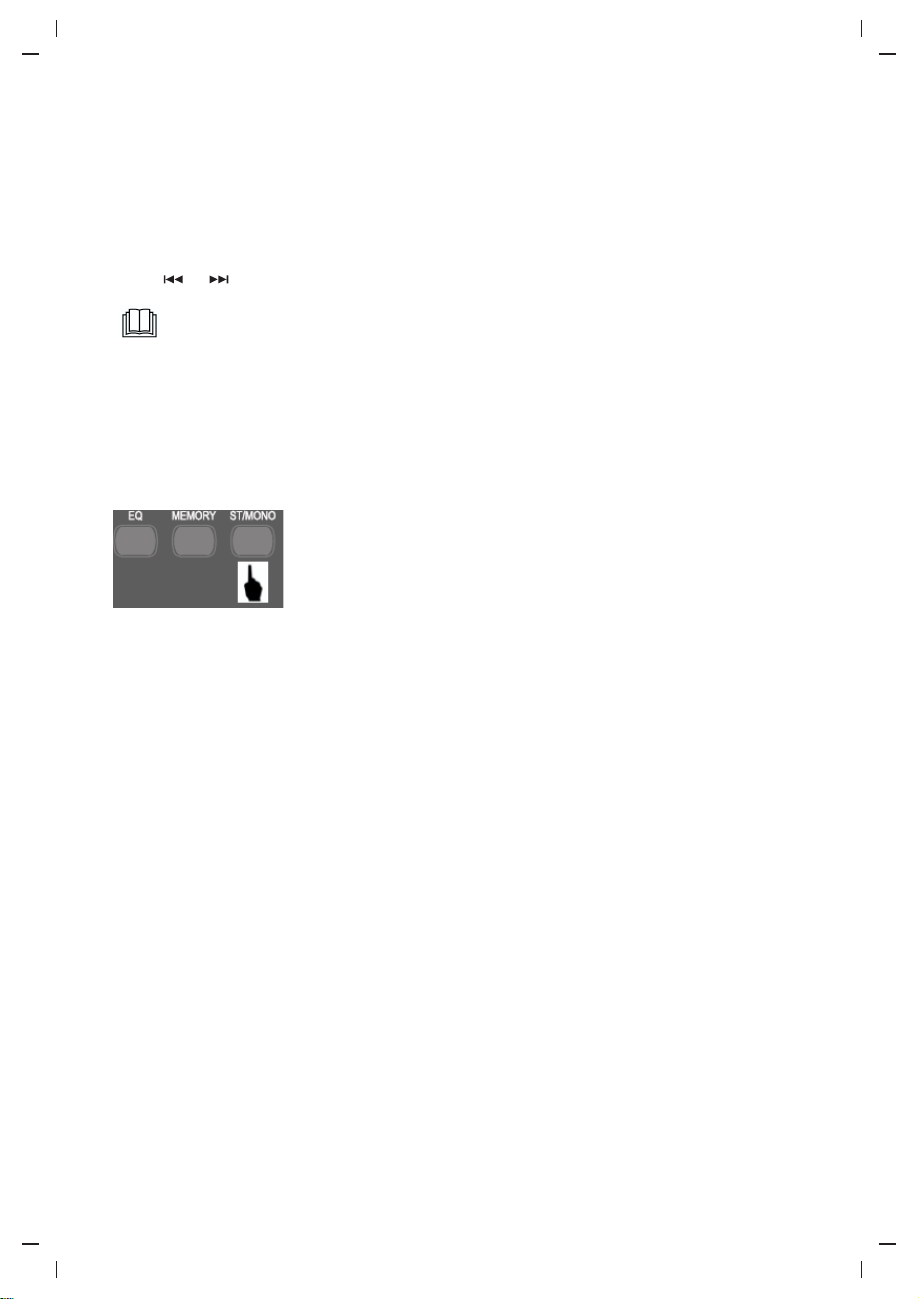
RADIO OPERATION
4.Press MEMORYto store the station into the selected preset number.
5.Repeat the above steps to save all the desired stations.
To listen to a preset station,
Press or or use numeric buttons on the remote control to select a preset station.
There is a FM antenna wire on the back of the unit. Extend and move the wire
around to get the best reception.
FM and FM stereo reception
When the unit is tuned in to a stereo broadcast with a good signal, “ST” will be shown on
the display.
If an FM station is received, but has interference, it is
recommended to switch to MONO mode by pressing
.ST/MONO
Remote control
EN-13
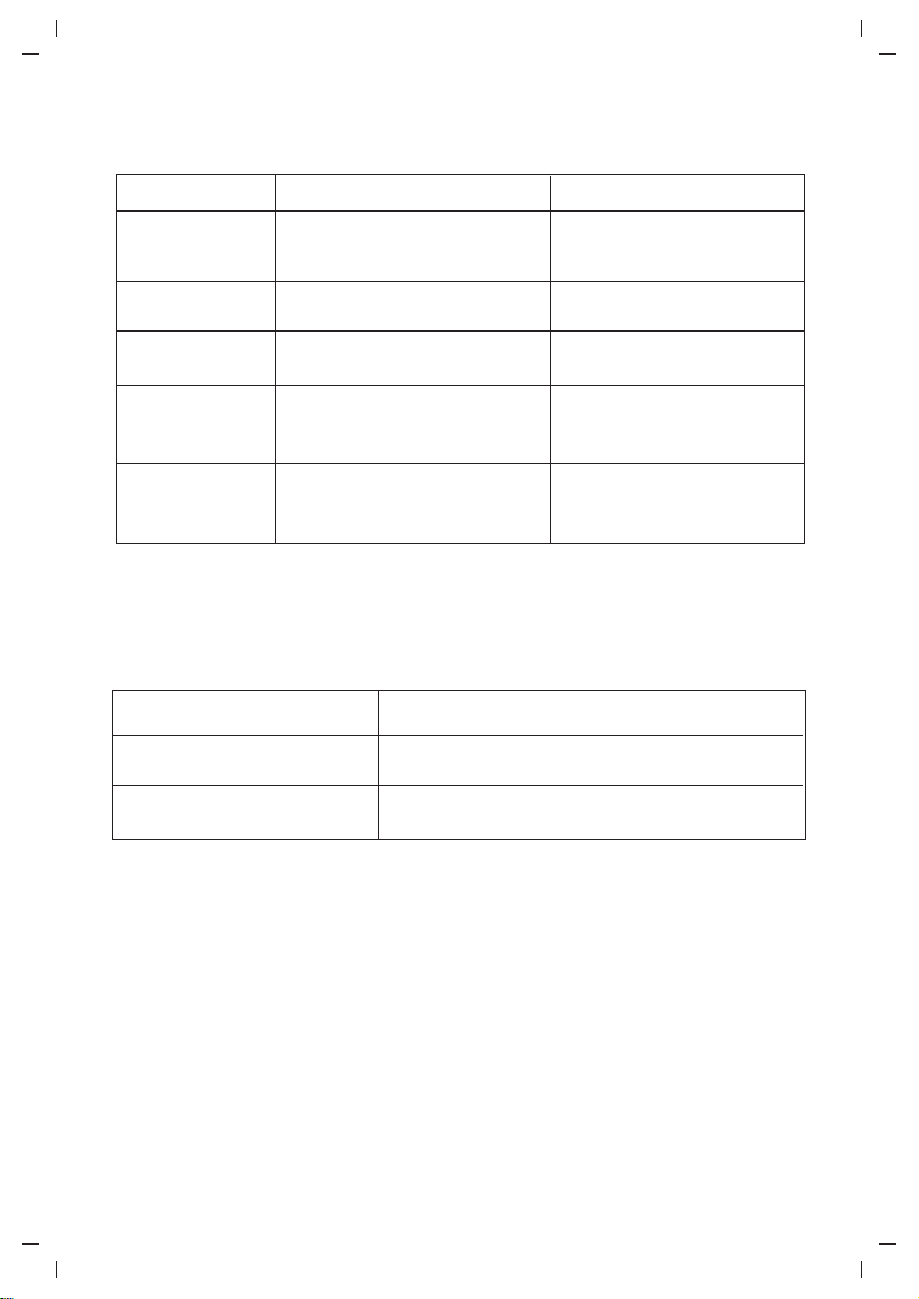
TROUBLESHOOTING
Problem
The player will
not play.
CD skips while
playing.
Radio sound
distorted.
No radio sound.
The USB memory
device will not
play.
Power Supply
Power Consumption
Possible Cause
1.Unit not in CD mode.
2.CD is not installed or installed
incorrectly.
Disc is dirty or scratched.
1.The station is not tuned in.
2.There is interference.
1.The unit is not in radio mode.
2.The volume is on the minimum
setting.
1.The unit is not in USB mode.
2.The USB memory device is
not inserted correctly.
SPECIFICATIONS
AC 100-240V~, 50/60Hz
20W
Possible Solution
1.Select CD mode.
2.Load a CD with label side up.
Wipe the disc with a cloth or
use another disc.
1.Fine tune the station.
2.Reposition the unit.
1.Select radio mode.
2.Adjust the volume level.
1.Select USB mode.
2.Re-insert the USB memory
device.
Radio Frequency Coverage
We apologise for any inconvenience caused by minor inconsistencies in these
instructions, which may occur as a result of product improvement and development.
FM 87.5 – 108 MHz
Darty Plc © UK: EC1N 6TE 25 / 07 / 2014
EN-14

Table des matières
AVERTISSEMENTS..................................................................................................2
INSTRUCTIONS IMPORTANTES DE SÉCURITÉ
TOUCHES DE CONTRÔLE .......4
BRANCHEMENT 6
MISE EN MARCHE ET ARRÊT DE L'APPAREIL
UTILISATION DE LA FONCTION BLUETOOTH
FONCTIONNEMENT CD 7
Précautions de manipulation des CD
Insertion d'un CD
Lecture d'un CD
Sélection d'une plage
Fonction de recherche
Mode de répétition de lecture
Création d'une liste de lecture (Lecture d'un programme)
Suppression d'un programme
Réglage de la fonction sommeil
Mute (Désactivation du son)
Égaliseur
FONCTIONNEMENT USB.......................................................................................11
Entrée audio ligne (LINE IN)....................................................................................11
FONCTIONNEMENT DE LA RADIO..........................................................................12
GUIDE DE DÉPANNAGE.........................................................................................14
SPÉCIFICATIONS..................................................................................................14
......................................................................................................
......................................................................................................10
................................................................................
...........................................................................................
.............................................................................................7
...............................................................................................7
.......................................................................................8
.....................................................................................8
............................................................................8
.........................................................................10
.......................................................................10
...........................................................................10
........................................................3
.......................................................6
...........................................................6
.................................................................7
....................................9
FR-1

AVERTISSEMENTS
Cet appareil est destiné à un usage domestique uniquement. Toute utilisation autre que
celle prévue pour cet appareil, ou pour une autre application que celle prévue, par
exemple une application commerciale, est interdite.
Aération
Prévoyez un espace libre d'au moins 10 cm tout autour du produit.
Il convient que l'aération ne soit pas gênee par l'obstruction des ouvertures d'aération par
des objets tels que journaux, nappes, rideaux, etc.
Il convient de ne pas placer sur l'appareil de sources de flammes nues, telles que des
bougies allumées.
Déposez vos piles usagées auprès d'installation de recyclage pour protéger notre
environnement.
Cet appareil n'est pas destiné à être utilisé sous un climat tropical.
L'appareil ne doit pas être exposé á des égouttements d'eau ou des éclaboussures et de
plus qu'aucun objet rempli de liquide tel que des vases ne doit être placé sur l' appareil.
Les piles (piles installées) ne doivent pas être exposées à une chaleur excessive telle que
celle du soleil, d'un feu ou d'origine similaire.
Lorsque la prise du réseau d'alimentation ou une prise placée sur
l'appareil est utilise comme dispositif de déconnexion, ce dispositif doit demeure
aisément accessible.
FR-2
 Loading...