

Bowflex BodyTower Owner's Manual
®
®
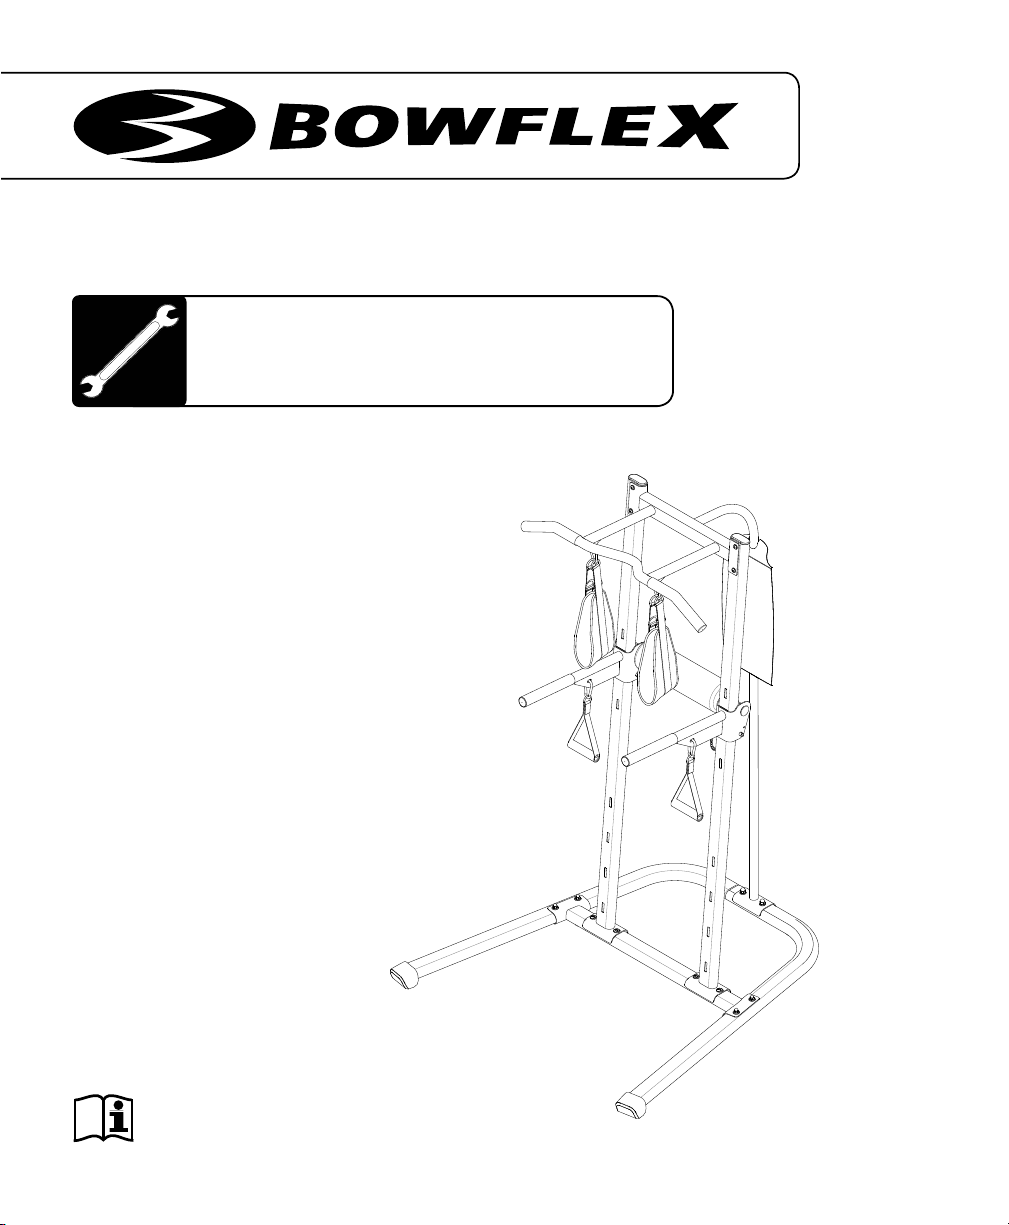
Bowflex® BodyTower
Assembly Manual
™
Manual en Español Latino Americano:
http://www.bowflex.com

Table of Contents
Important Safety Instructions .............................................................3
Specifications ........................................................................................4
Parts .......................................................................................................5
Hardware................................................................................................6
Tools ........................................................................................................ 6
Assembly Steps .....................................................................................7
Nautilus, Inc., (800) NAUTILUS / (800) 628-8458, www.NautilusInc.com - Customer Service: North America (800) 605-3369,
csnls@nautilus.com | outside U.S. +01-360-859-5180, technics-APLA@nautilus.com |
Printed in China | © 2011 Nautilus, Inc., All rights reserved. ™ and ® indicate a trademark or registered trademark. Nautilus, Inc.
(www.NautilusInc.com) trademarks include NAUTILUS®, BOWFLEX®, SCHWINN® and UNIVERSAL® and respective logos.
Other trademarks are the property of their respective owners.
2

Important Safety Instructions
This icon means a potentially hazardous situation which, if not avoided, could result in
death or serious injury.
Before using this equipment, obey the following warnings:
Read and understand all warnings on this equipment.
Carefully read and understand the Assembly Manual.
• Keep bystanders and children away from the product you are assembling at all times.
• Do not assemble this equipment outdoors or in a wet or moist location.
• Make sure assembly is done in an appropriate work space away from foot traffic and
exposure to bystanders.
• Some components of the equipment can be heavy or awkward. Use a second person when
doing the assembly steps involving these parts. Do not do steps that involve heavy lifting or
awkward movements on your own.
• Set up this equipment on a solid, level, horizontal surface.
• Do not try to change the design or functionality of this equipment. This could compromise the
safety of this equipment and will void the warranty.
• If replacement parts are necessary, use only genuine replacement parts and hardware
supplied by Nautilus. Failure to use genuine replacement parts can cause a risk to users,
keep the equipment from operating correctly and void the warranty.
• Do not use until the equipment has been fully assembled and inspected for correct
performance in accordance with the Owner’s Manual.
• Read and understand the complete Owner’s Manual before first use. Keep the Owner’s and
Assembly Manuals for future reference.
• Do all assembly steps in the sequence given. Incorrect assembly can lead to injury.
3
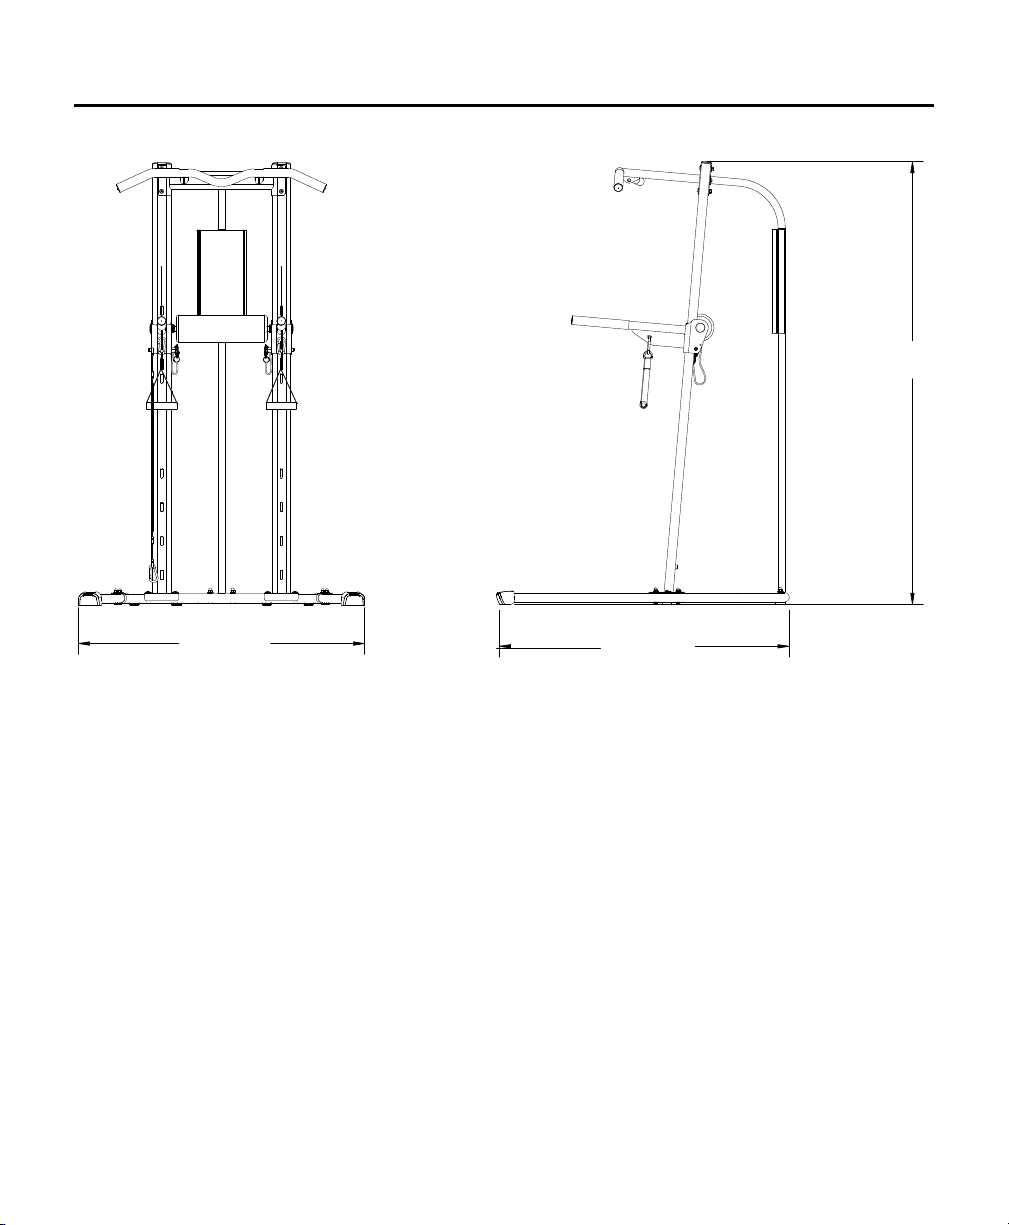
Specifications
76.9”
195.4 cm
49.7”
126.3 cm
51.2”
130.1 cm
Before Assembly
Select the area where you are going to set up and operate your equipment. For safe operation, the location
must be on a hard, level surface. Allow a workout area of minimum 123” x 123” (3.1m x 3.1m).
Follow these basic points when you assemble your equipment:
1. Read and understand the “Important Safety Instructions” before assembly.
2. Collect all the pieces necessary for each assembly step.
3. Using the recommended wrenches, turn the bolts and nuts to the right (clockwise) to tighten, and the
left (counterclockwise) to loosen, unless instructed otherwise.
4. When attaching 2 pieces, carefully lift and look through the bolt holes to help insert the bolt through the
holes.
5. The assembly requires 2 people.
4
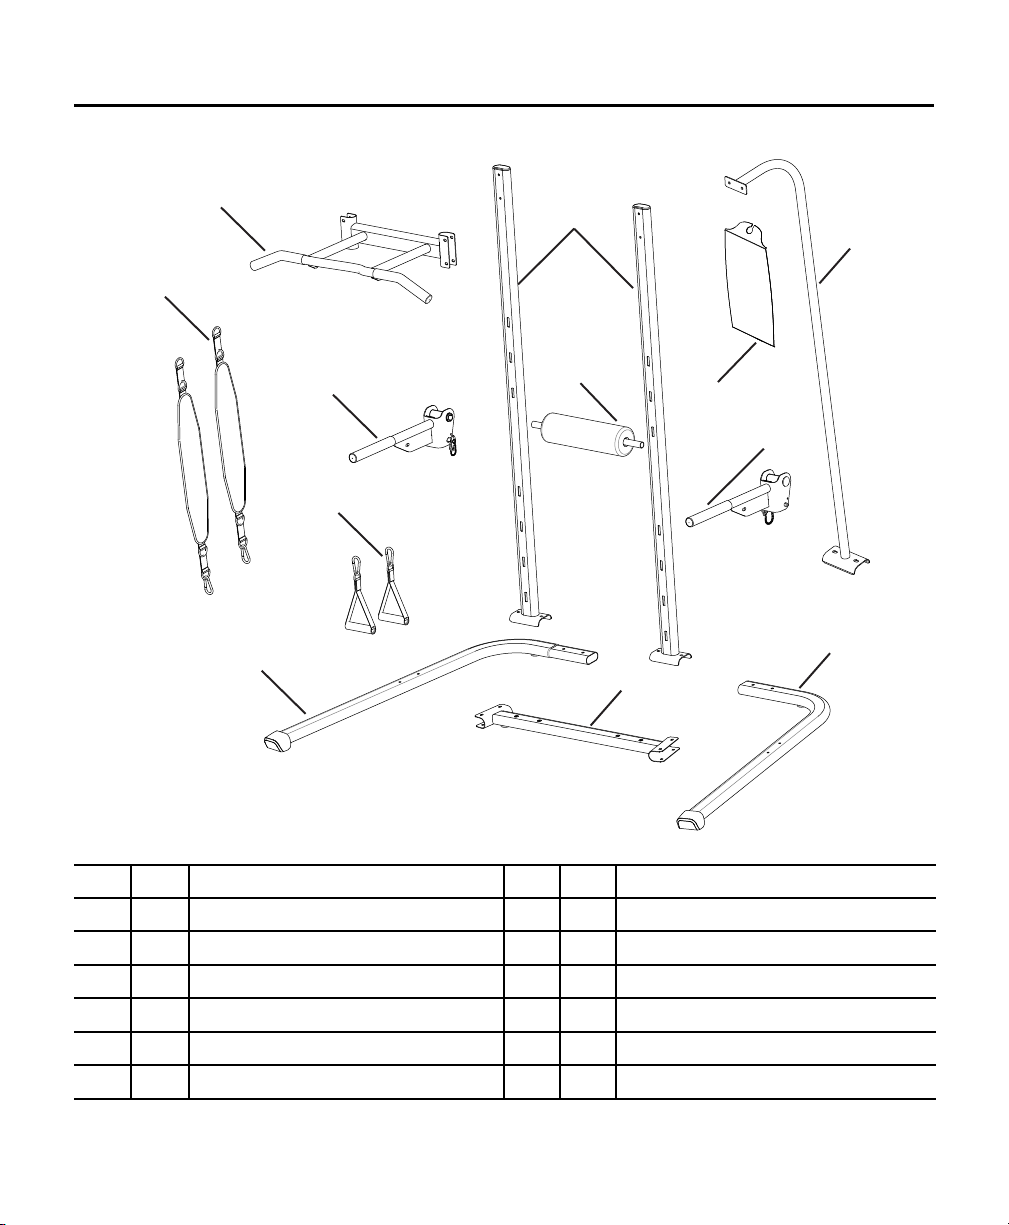
Parts
12
9
7
11
2
4
5
6
10
8
3
1
Ref. Qty Description Ref. Qty Description
1 1 Base Cross Brace 7 1 E-Z Adjust Arm, Left
2 1 Base Frame, Left 8 1 E-Z Adjust Arm, Right
3 1 Base Frame, Right 9 1 Pull Up Bar
4 2 Upright 10 1 Exercise Placard
5 1 Backbone 11 2 Handgrip
6 1 Back Pad Assembly 12 2 Sling Strap
5
 Loading...