

Page 1

Assembly Instructions
(Rev A)
BDS-220
Page 2

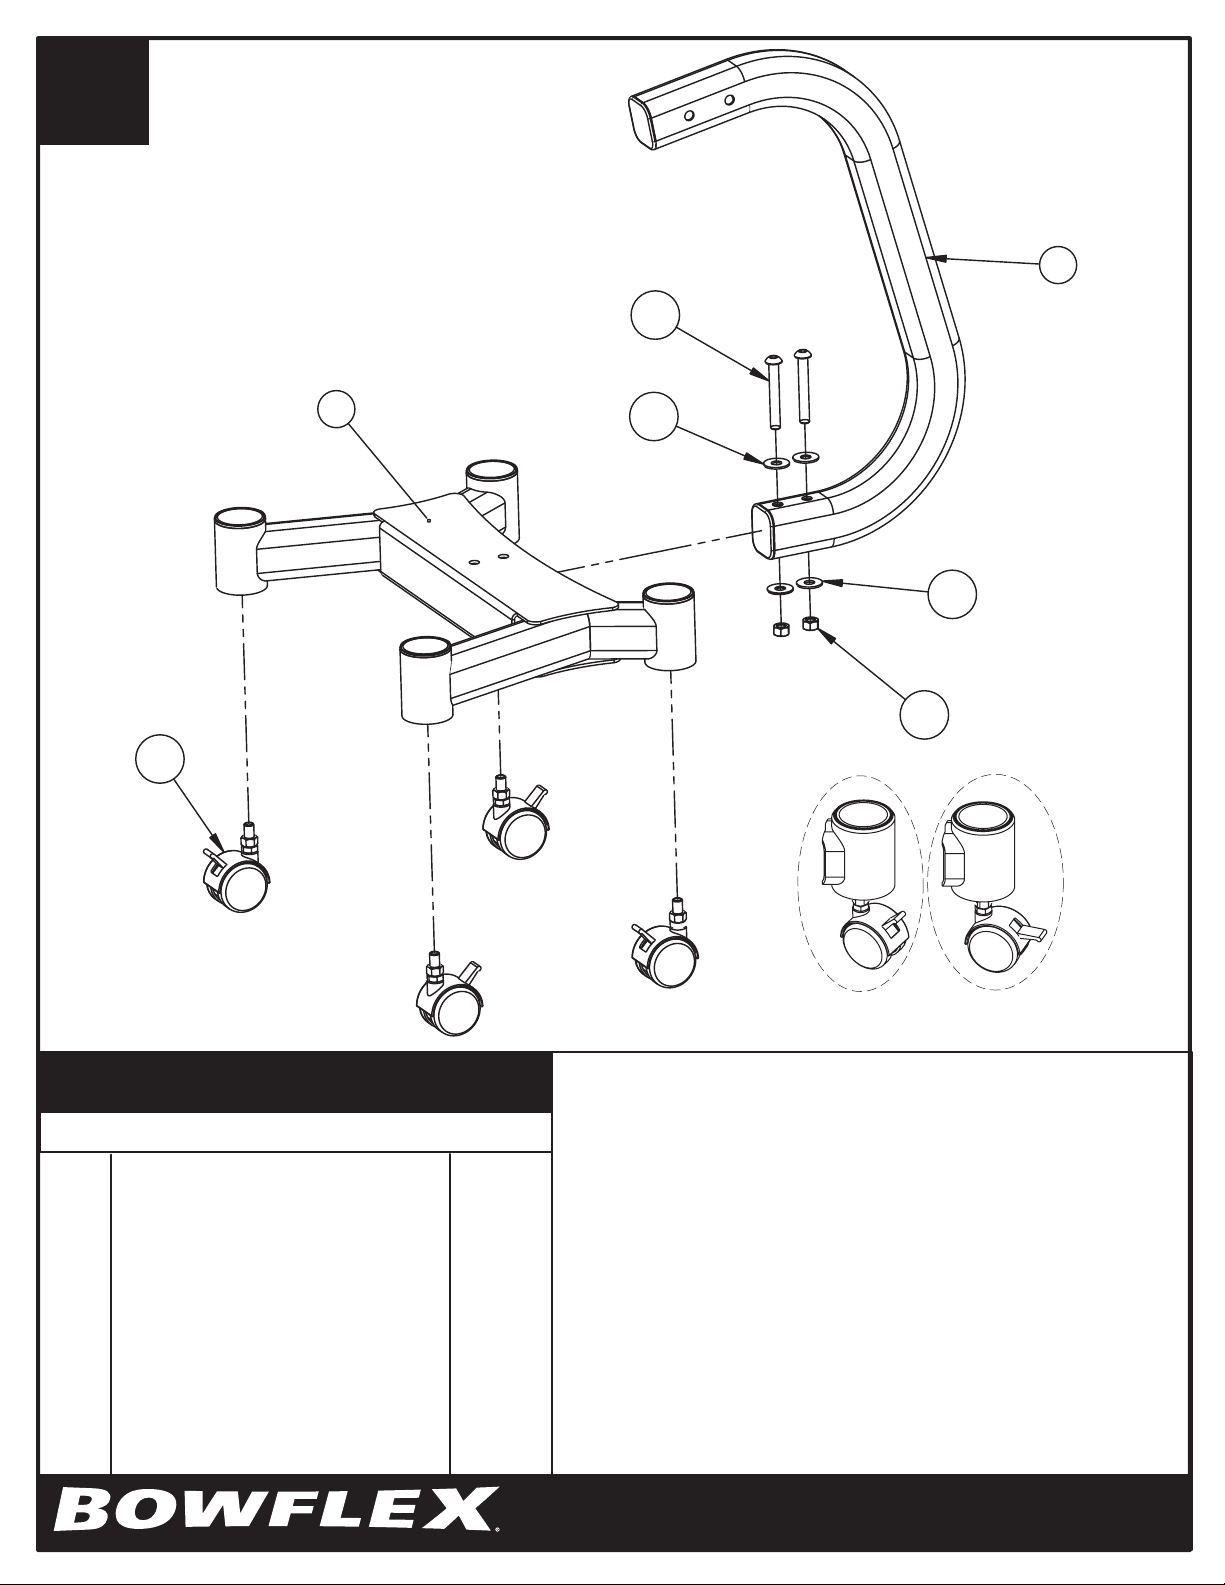
# Assembly Components Qty.
1
2
3
4
5
6
7
8
9
Leg
Base
Dumbbell Platform
3/8" Button Head Allen Screw 2 3/4"L
3/8" Flat Washer
3/8" Lock Nut
Hold Down Strap - Male
Hold Down Strap - Female
Wheel
1
1
1
4
8
4
2
2
4
6
3
8
5
4
2
5
7
5
4
1"
2"
Button Head Allen Screw Lock NutFlat Washer
5
6
9
4"3"
5"
6"
Tools Required
7/32" Allen Wrench
9/16" Socket
9/16" Wrench or Adjustable Wrench
1
7"
1
BDS-220
Page 3
step
1
1
4
9
2
5
5
6
Step #1 Materials:
# Description Qty.
Leg
1
Base
2
3/8" Button Head Allen Screw 2 3/4"L
4
3/8" Flat Washer
5
3/8" Lock Nut
6
Wheel
9
1
1
2
4
2
4
A.
B.
C.
UNLOCKED
Slide the Leg (1) through the Base (2) as shown.
Attach the Leg (1) to the Base (2) using the hardware
shown.
Tighten all hardware.
Attach each wheel (9) to the Base. Wheels can be locked
into place by flipping the tab up or down as shown above.
2
LOCKED
BDS-220
Page 4

step
2
3
4
5
1
Step #2 Materials:
#
1
Leg
3
Dumbbell Platform
4
3/8" Button Head Allen Screw 2 3/4"L
5
3/8" Flat Washer
6
3/8" Lock Nut
Description
6
5
Qty.
1
1
2
4
2
Attach the Dumbbell Platform (3) to the Leg (1) as shown.
A.
Using the hardware shown, securely tighten the
Dumbbell Platform (3) to the Leg (1).
3
BDS-220
Page 5

step
3
3
LEVEL ADJUSTMENT
NUT - ALSO ON WHEELS
8
7
OPTIONAL
FOOT PEGS
#
3
Dumbbell Platform
7
Hold Down Strap - Male
8
Hold Down Strap - Female
Step #3 Materials:
Description
Qty.
1
2
2
A.
Attach the male and female ends of the Hold Down Strap (7 & 8) to the
Dumbbell Platform (3) as shown.
Each strap is secured by drawing the button end of the strap through the
cutout on the edge of the platform, folding the strap around the edge, and
snapping into place.
B.
Once the Dumbbell Stand is in its desired position, the stand can be leveled
by adjusting the feet and locking them into place with the attached 3/8" nut.
4
BDS-220
 Loading...