

Bounty Hunter Treasure detector, Gold Digger Owner's Manual
GOLD DIGGER
™
TREASURE
DETECTOR
Owner ’s Manual
GOLD DIGGER
™
TREASURE
Use 9-volt ALKALINE batteries.
Do not use “Heavy Duty” batteries.
Do not use ordinary “Zinc Carbon” batteries.

GOLD DIGGER™
TREASURE DETECTOR
Owner ’s Manual
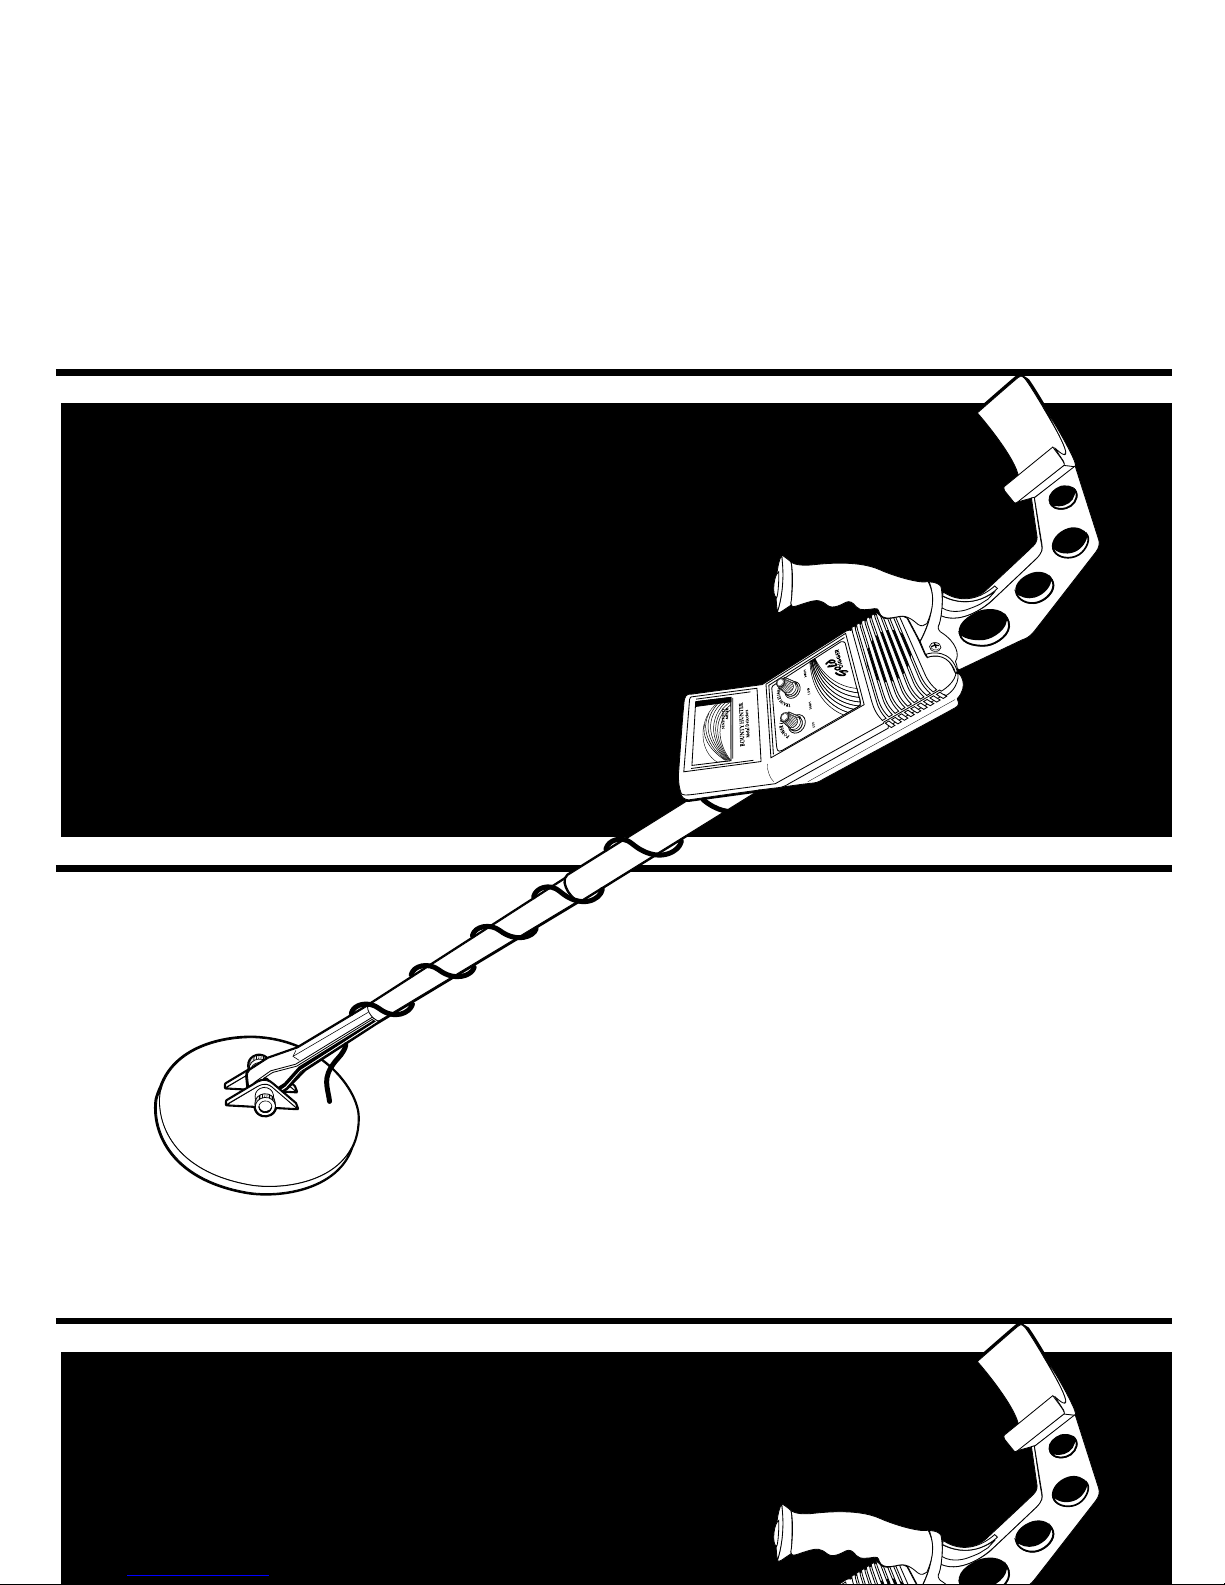
I. ASSEMBLY:
To assemble your GOLD DIGGER™ Treasure
Detector, follow this simple procedure:
1) Unpack your detector and find the following parts:
• Detector Body with armrest, searchcoil and attached coil knob.
• Upper Stem (thicker silver rod with many holes).
• Lower Stem (thinner silver rod with plastic extension and button).
• Two (2) stem attachment knobs (in the plastic bag).
Searchcoil
Searchcoil
Cable
GOLD DIGGER™
TREASURE DETECTOR
Owner ’s Manual
Stem
Attachment
Knobs
Coil Knobs
Upper
Stem
Lower
Stem
Detector
Body
Upper
Stem
Lower
Stem
Detector
Body
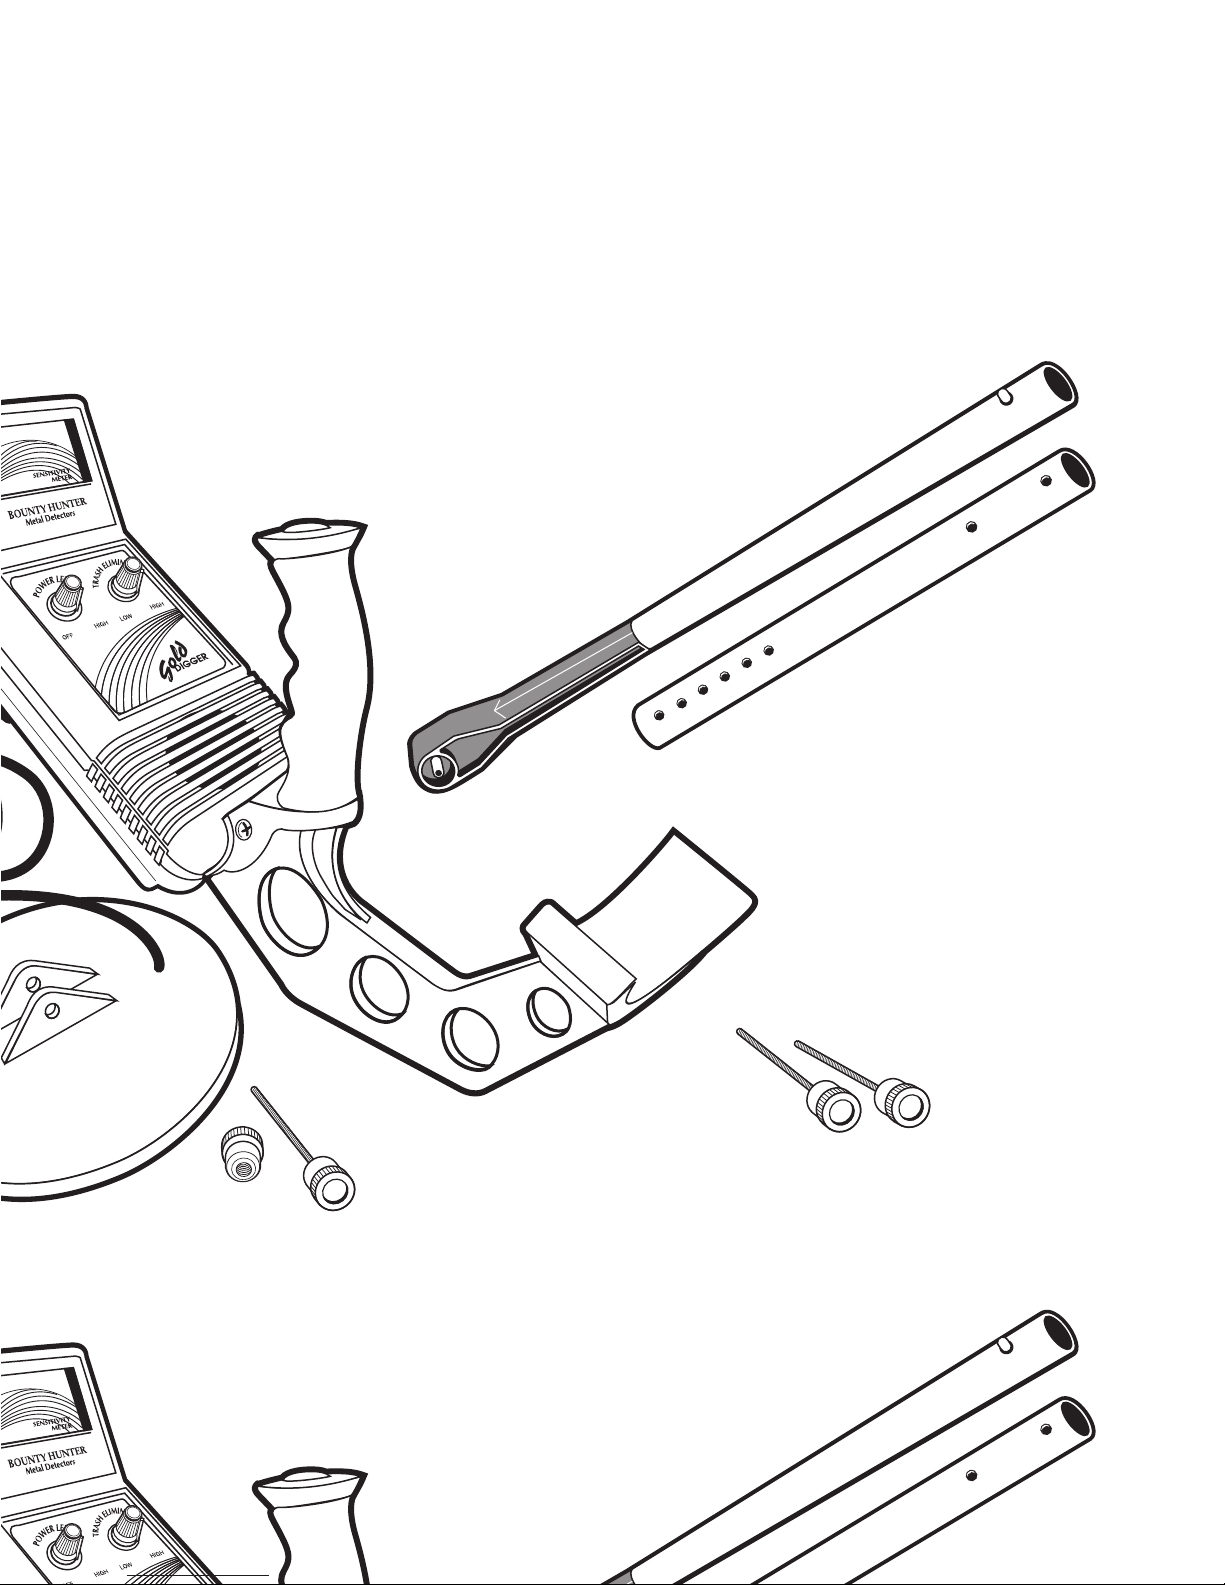
I. ASSEMBLY: (continued)
2) Attach the Upper Stem to the back of the
detector body with the two knobs supplied.
3) Depress the button on the lower stem and
push the lower stem into the upper stem.
4) Wind the searchcoil cable around the
two-piece stem.
5) Leave some slack in
the cable as you
reach the end of
the lower stem.
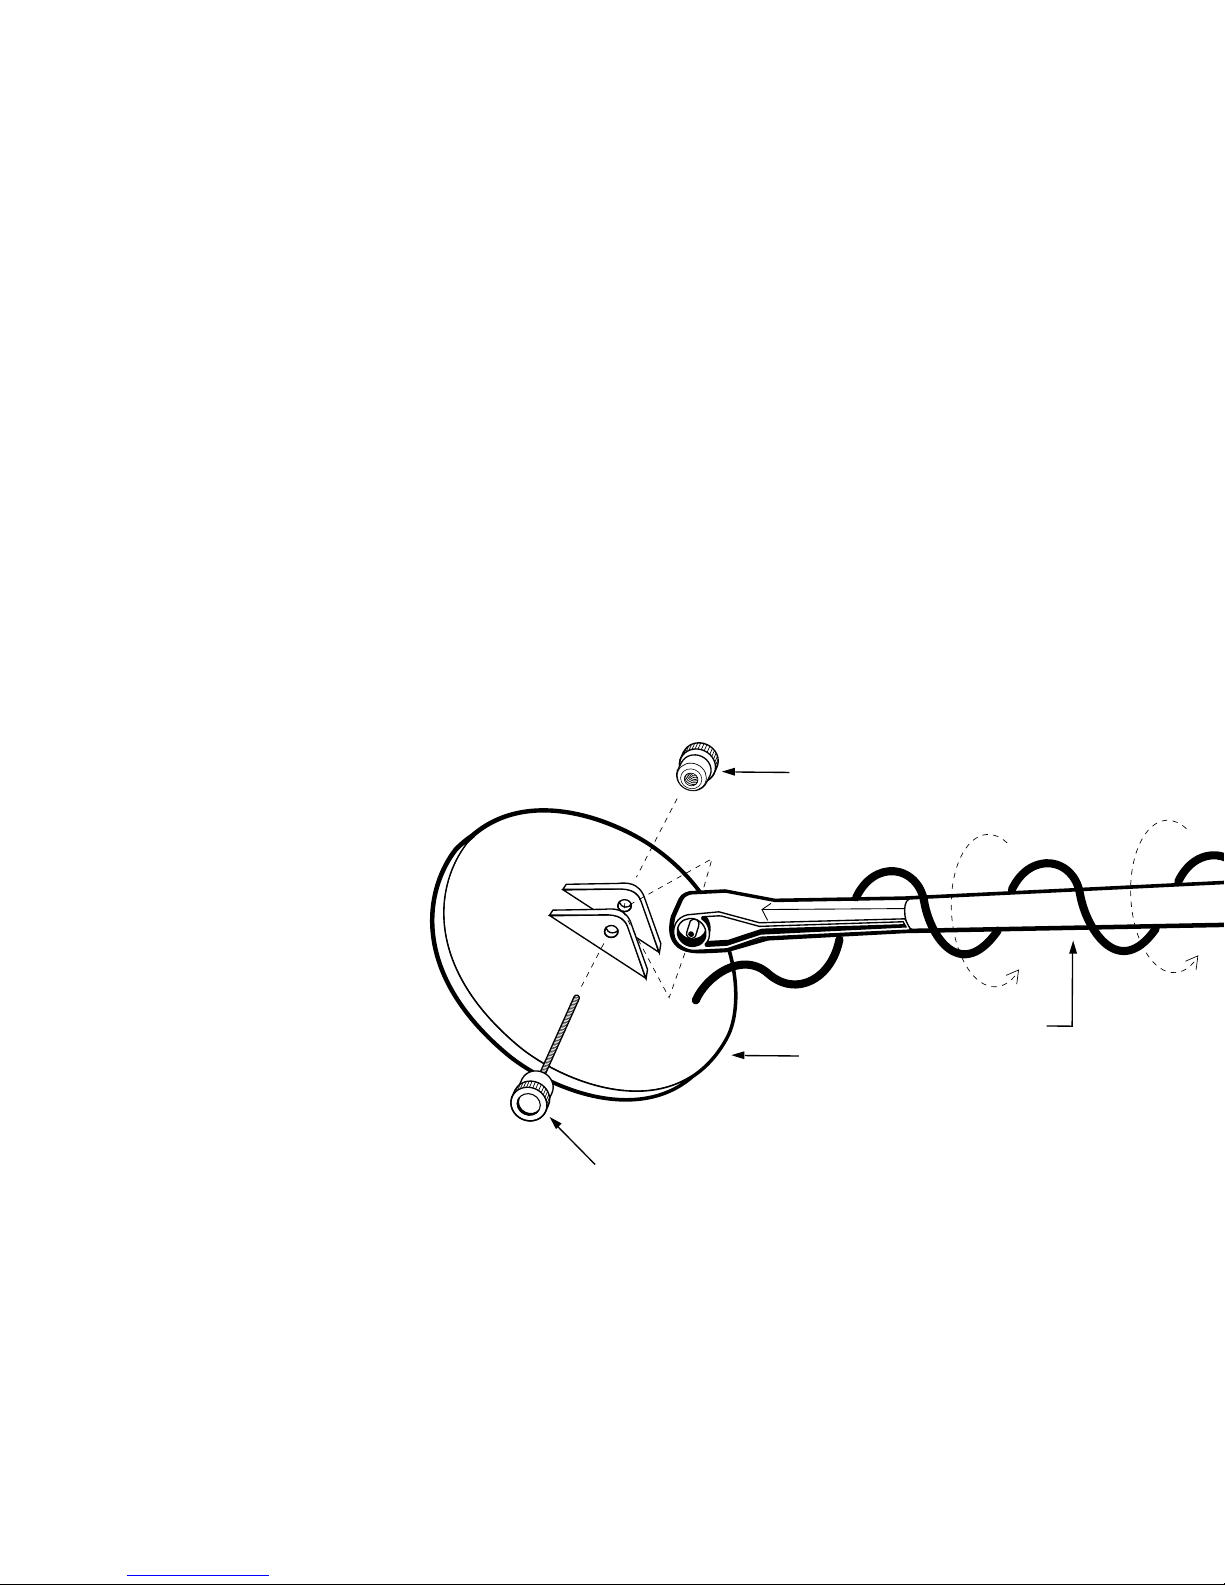
6) Attach the coil to
the lower stem using
the attached coil knob.
7) Install two (2) 9-volt
ALKALINE batteries (not
supplied).
There are two battery doors on the
back of the detector body.
IMPORTANT: use 9-volt ALKALINE
batteries ONLY.
Lower
Stem
Searchcoil
Coil Knob
Knurled
Coil Knob
I. ASSEMBLY: (continued)
2) Attach the Upper Stem to the back of the
detector body with the two knobs supplied.
There are two battery doors on the
back of the detector body.
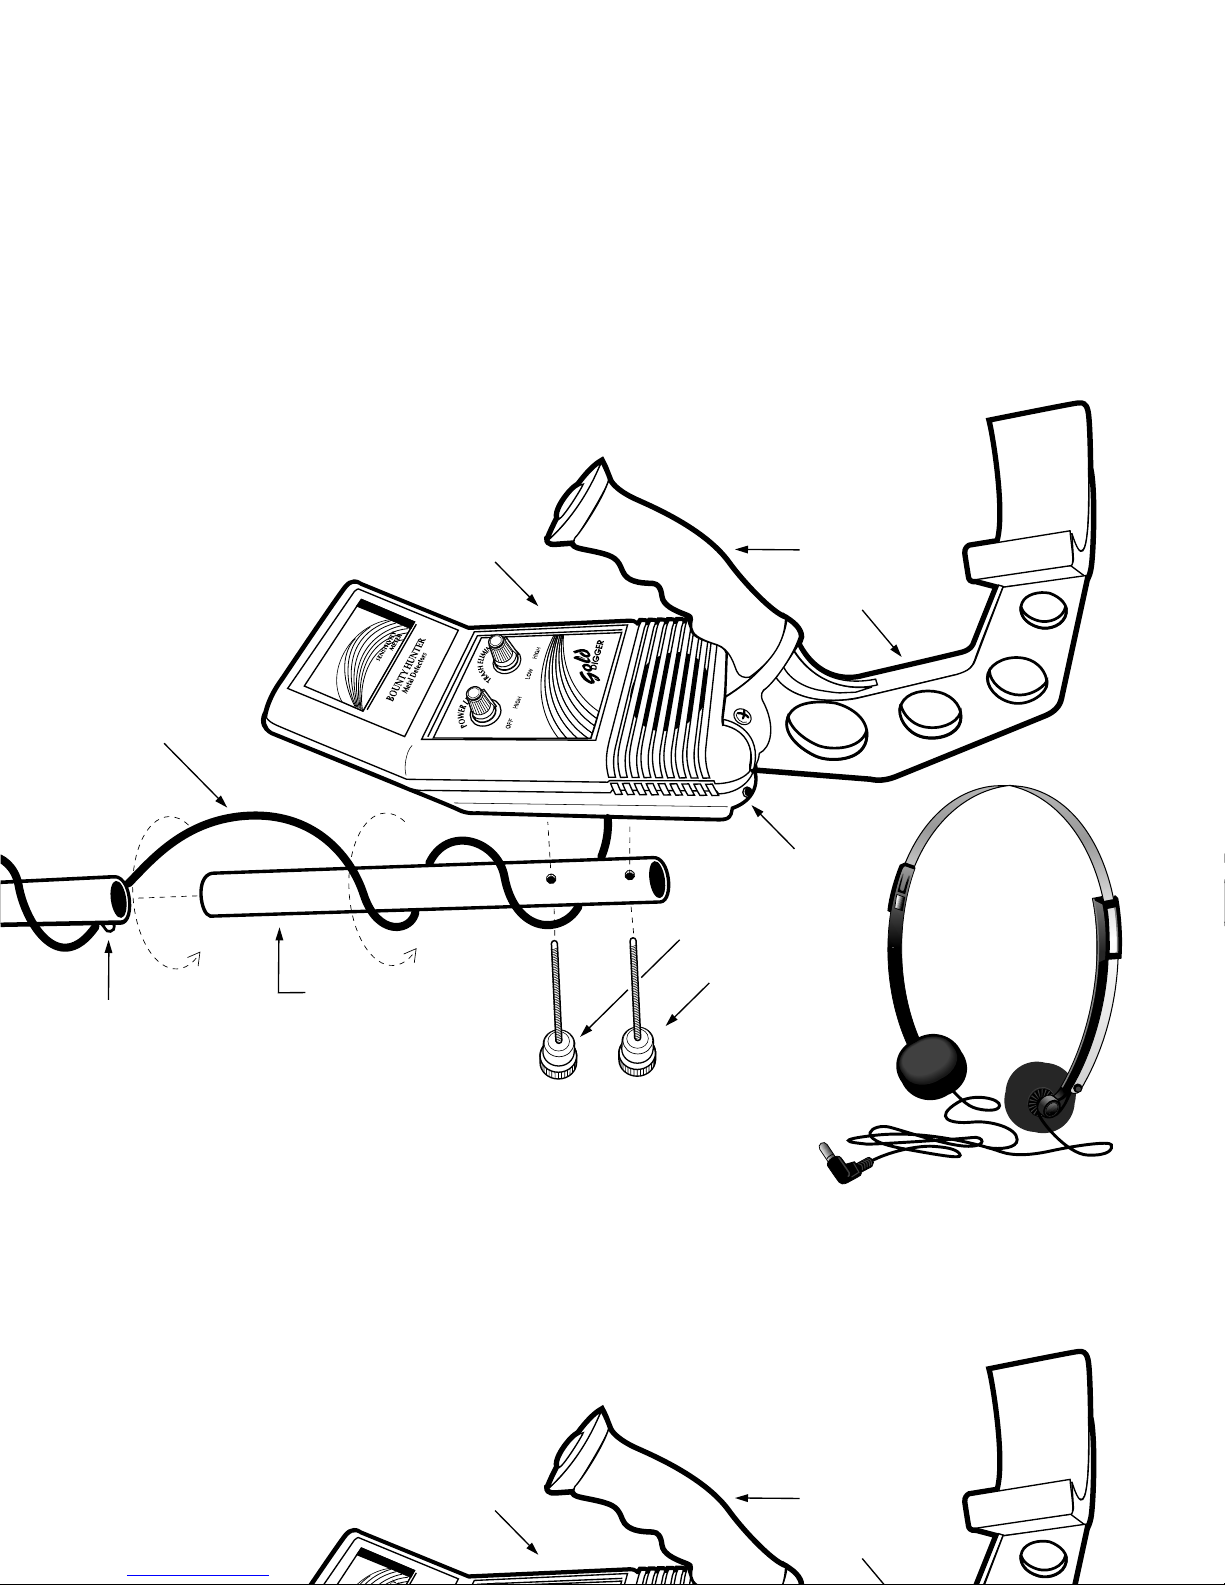
Armrest
Earphone
Jack
Handle
Detector
Body
Button
Upper
Stem
Searchcoil
Cable
Stem
Attachment
Knobs
Armrest
Handle
Detector
Body
 Loading...