

Bounty Hunter Legacy 1500 Owner's Manual
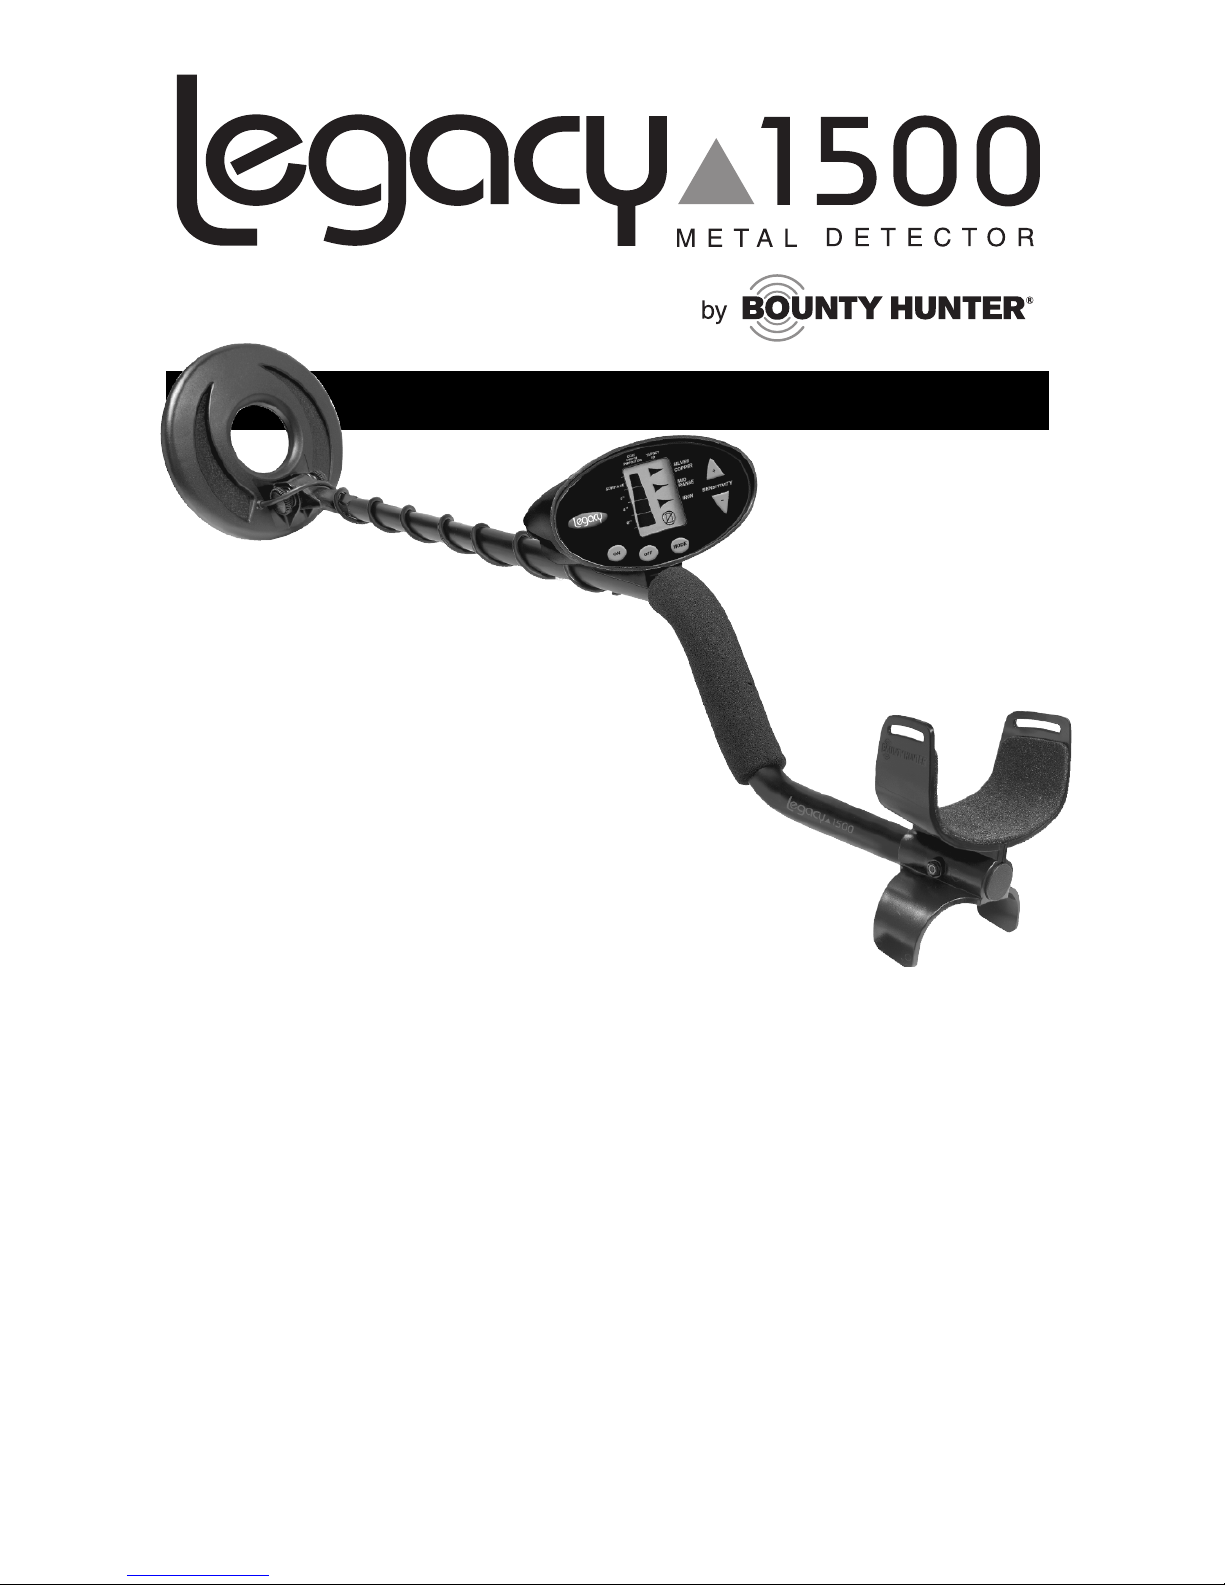
OWNER’S MANUAL
The
Legacy 1500 is
an easy to use detector.
The most difficult aspects of
metal detecting have been automated.
However, if you are new to the hobby,
we strongly recommend that you:
1) Adjust the Sensitivity to a low setting
in the event of false signals.
Always begin
use at a reduced sensitivity level; increase to full
sensitivity after you have become familiar with the
detector.
2) Do not use indoors. This detector is for outdoor use only. Many
household appliances emit electromagnetic energy, which can
interfere with the detector. If conducting an indoor demonstration,
turn the sensitivity down and keep the searchcoil away from
appliances such as computers, televisions and microwave ovens.
If your detector beeps erratically, turn off appliances and lights
(especially those with dimmer switches).
Also keep the searchcoil away from objects containing metal, such
as floors and walls.
3) Read this manual. Most importantly, review the Quick-Start Demo
(p.7) and Basic Operation (pp. 9-12).
4)
Use 9-volt ALKALINE batteries only. Do not use Heavy Duty
Batteries.

2
TABLE OF CONTENTS
Terminology . . . . . . . . . . . . . . . . . . . . . . . . . . . .3
Assembly
. . . . . . . . . . . . . . . . . . . . . . . . . . . .4-5
Batteries
. . . . . . . . . . . . . . . . . . . . . . . . . . . . . . .6
Quick-Start Demo
. . . . . . . . . . . . . . . . . . . . . .7-8
Basic Operation
Powering Up
. . . . . . . . . . . . . . . . . . . . . . .9
The Display
. . . . . . . . . . . . . . . . . . . . . .9-10
Mode Control (discrimination)
. . . . . . . . . . . .11
Discrimination Settings
. . . . . . . . . . . . . . . . . .12
Headphones
. . . . . . . . . . . . . . . . . . . . . . . . . . .12
Audio Target Identification
. . . . . . . . . . . . . . .13
Sensitivity Adjustment
. . . . . . . . . . . . . . . . . . .14
In The Field Techniques
. . . . . . . . . . . . . . .15-17
Troubleshooting
. . . . . . . . . . . . . . . . . . . . . . . .18
Warranty
. . . . . . . . . . . . . . . . . . . . . . . . . . . . .19
Treasure Hunter’s Code of Ethics
. . . . . . . . . . .19
Accessories
. . . . . . . . . . . . . . . . . . . . .Back Cover

3
TERMINOLOGY
The following terms are used throughout the manual, and are standard
terminology among detectorists.
ELIMINATION
Reference to a metal being "eliminated" means that the detector will
not emit a tone, nor light up an indicator, when a specified object
passes through the coil’s detection field.
DISCRIMINATION
When the detector emits different tones for different types of metals,
and when the detector "eliminates" certain metals, we refer to this
as the detector "discriminating" among different types of metals.
Discrimination is an important feature of professional metal
detectors. Discrimination allows the user to ignore trash and
otherwise undesirable objects.
RELIC
A relic is an object of interest by reason of its age or its association
with the past. Many relics are made of iron, but can also be made
of bronze or precious metals.
IRON
Iron is a common, low-grade metal that is an undesirable target in
certain metal detecting applications. Examples of undesirable iron
objects are old cans, pipes, bolts, and nails.
Sometimes, the desired target is made of iron. Property markers,
for instance, contain iron. Valuable relics can also be composed of
iron; cannon balls, old armaments, and parts of old structures and
vehicles can also be composed of iron.
FERROUS
Metals which are made of, or contain, iron.
PINPOINTING
Pinpointing is the process of finding the exact location of a buried
object. Long-buried metals can appear exactly like the surrounding
soil, and can therefore be very hard to isolate from the soil.
PULL-TABS
Discarded pull-tabs from beverage containers are the most
bothersome trash items for treasure hunters. They come in many
different shapes and sizes. Most pull-tabs can be eliminated with
the Mode Control, but some other valuable objects can have a
magnetic signature similar to pull-tabs, and will also be eliminated
when discriminating out pull-tabs.
GROUND BALANCE
Ground Balancing is the ability of the detector to ignore, or "see
through," the earth’s naturally occurring minerals, and only sound
a tone when a metal object is detected.

4
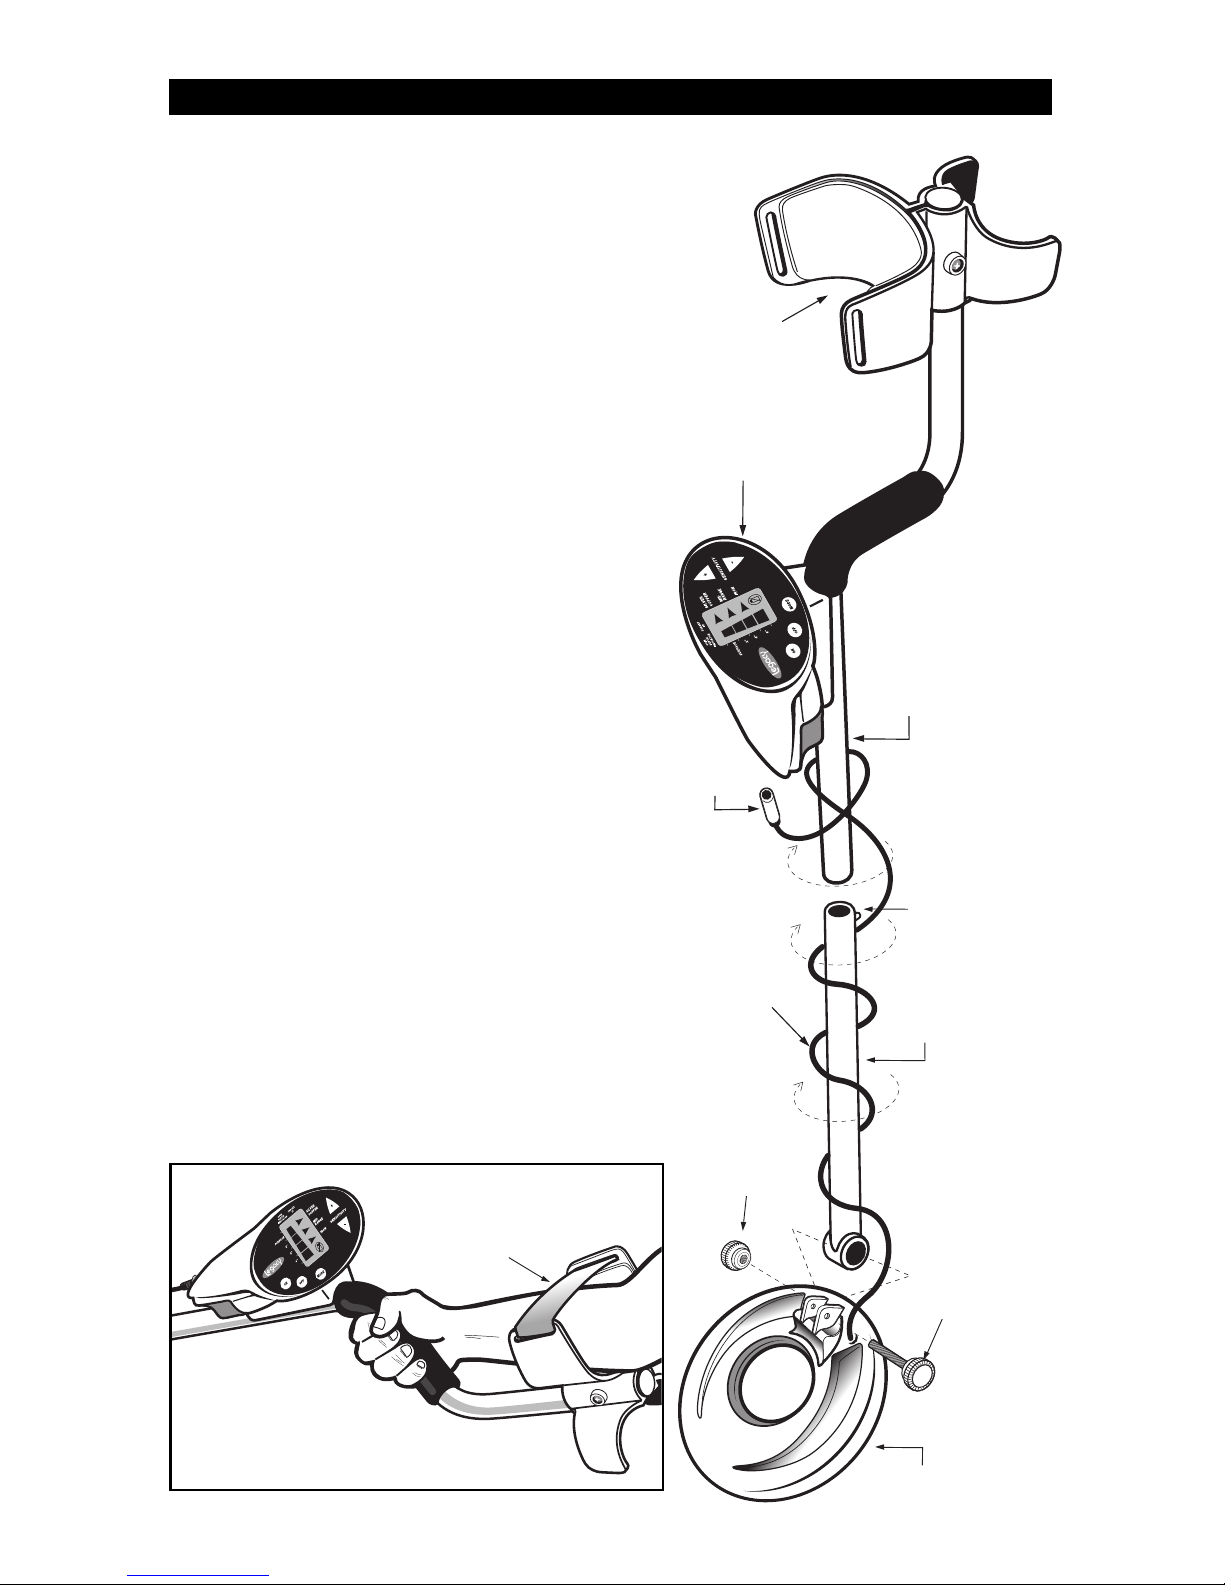
ASSEMBLY
Assembly is easy and requires no tools.
●
1 Position detector upright.
●
2 Insert the LOWER STEM into the S-ROD.
●
3 Rotate the LOWER STEM until the SILVER BUTTON locates in the hole.
●
4 Position the LOWER STEM (the straight tube) with the SILVER
BUTTON toward the back. Using the BOLT and KNURLED KNOB,
attach the SEARCHCOIL to the plastic extension protruding from the
LOWER STEM.
●
5 Press the button on the upper end of the LOWER STEM, and slide the
LOWER STEM into the SROD.
Adjust the Stem to a length
that lets you maintain a
comfortable upright
posture, with your arm
relaxed at your side, and
the SEARCHCOIL parallel to the
ground in front of you.
●
6 Wind the Cable securely around the Stem.
●
7 Insert the PLUG into the matching Connector on the right underside
of the Detector Body. Be sure that the key-way and pins line up
correctly.
Caution: Do not force the plug in.
Excess force will cause
damage.
To disconnect the
cable, pull on the plug.
Do not pull on the
cable.
5
ASSEMBLY
ARMREST
CONTROL
HOUSING
PLUG
SEARCHCOIL
CABLE
KNURLED
KNOB
LOWER
STEM
BOLT
SEARCHCOIL
SILVER
BUTTON
S-ROD
Adjusting the Armrest
The armrest may be moved
forward or backwards by
removing the single screw and
nut, and then repositioning the 2piece armrest. Users with
shorter arms may find the
armrest more comfortable in the
forward position. In order to
move the armrest backwards,
the plastic plug must be removed
from the aluminum tube.
Armrest Strap
(optional accessory)
The strap is available for
purchase as a separate
accessory. Some users prefer to
use the strap when swing the
detector vigorously, in order to
hold the detector secure against
the arm.
The detector can also be used
without the strap, with no
compromise to detector balance
and stability under most
conditions.
Optional Arm Strap

6
Use ALKALINE
batteries only.
To install the
batteries:
●
1 Remove the
battery cover by
disengaging the
clip at the back.
●
2 Align the polarity
of the batteries
correctly, with
the positive "+"
toward the coil
plug connection,
as indicated by
the + and –
indicators on the
housing.
●
3 Insert (2) 9-Volt ALKALINE batteries, with the contacts pointed inward,
and press down on the back of the batteries to snap them into place.
Some brands of batteries will require moderate force to clear the
retaining tabs.
●
4 Replace the battery door.
Most metal detector problems are due to improperly installed
batteries, or the use of non-alkaline or discharged batteries.
If the
detector does not turn on, please check the batteries.
BATTERIES
DO NOT MIX OLD AND NEW BATTERIES
 Loading...