

Page 1
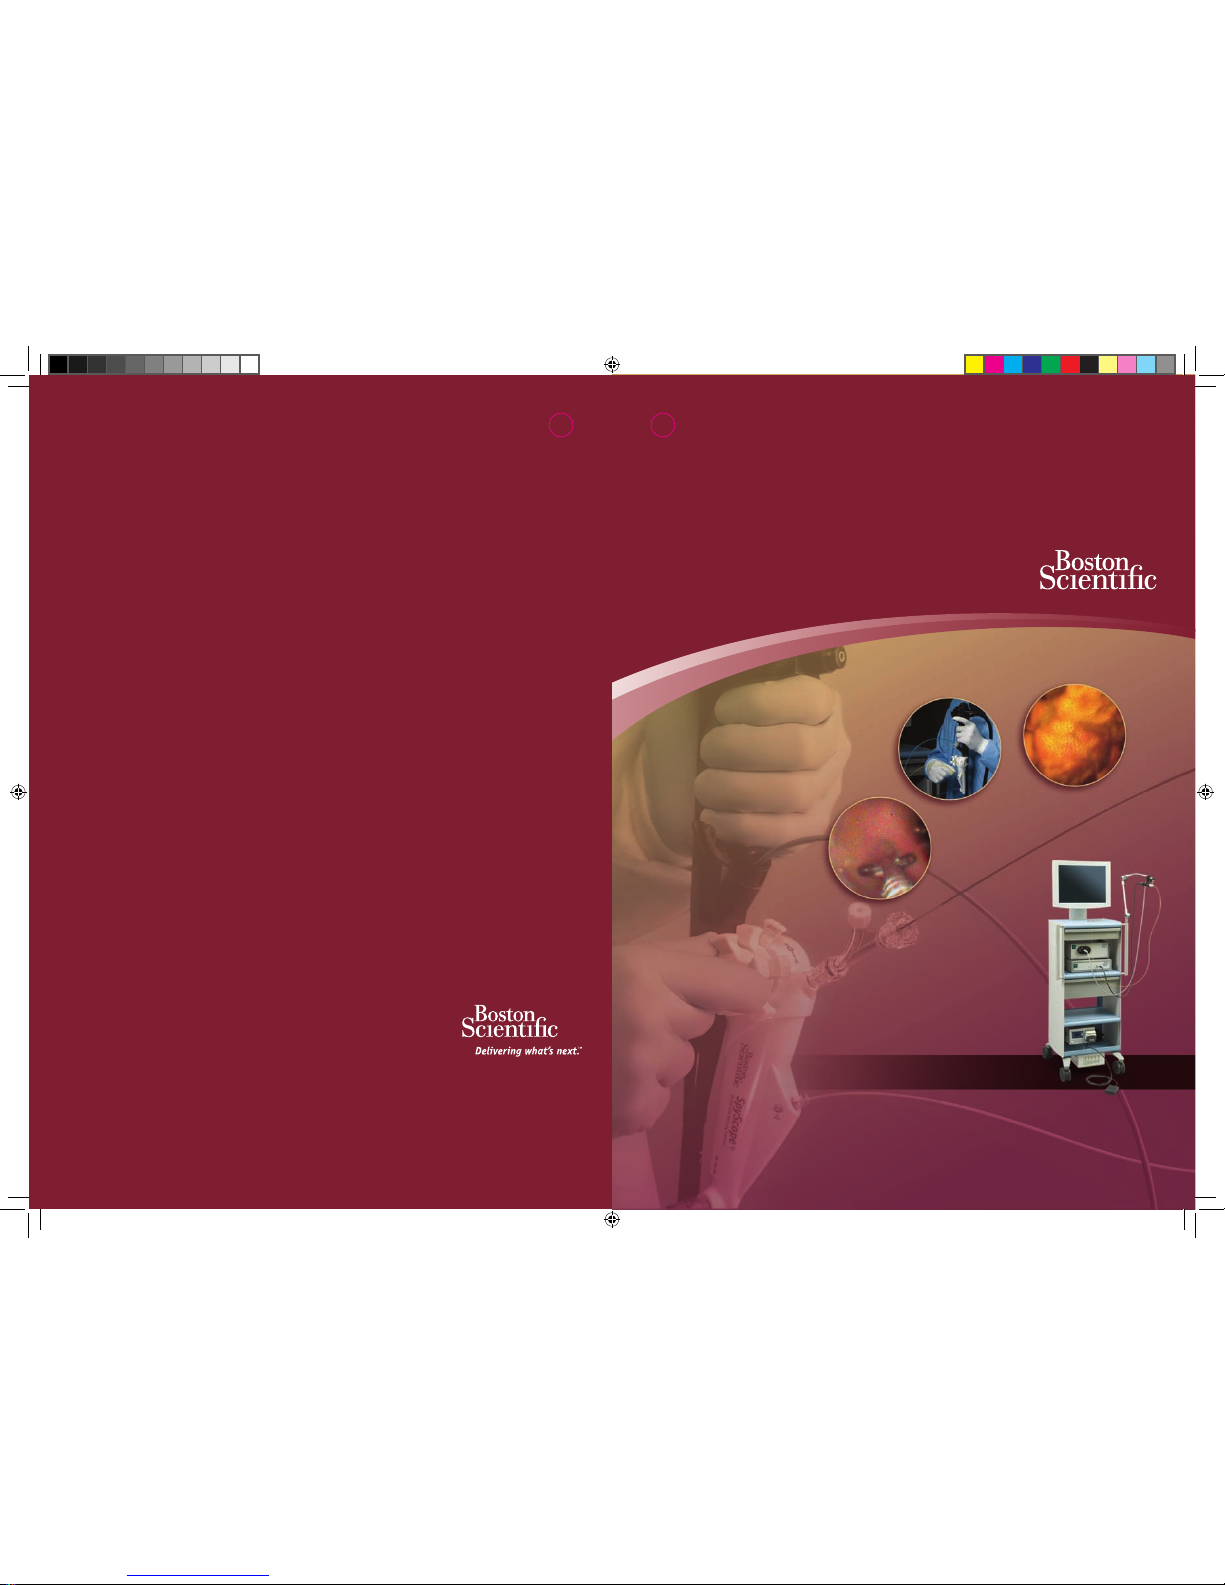
SpyGlass
™
Direct Visualisation System and Capital Components
User Reference Guide
RCS Nanterre B420 668 420
© 2008 Boston Scientific Corporation
or its affiliates. All rights reserved.
DINEN D2174E A
All cited trademarks are the property of their respective owners. CAUTION: The law restricts these devices to sale by or on
the order of a physician. Indications, contraindications, warnings and instructions for use can be found in the product labelling
supplied with each device. Information for the use only in countries with applicable health authority product registrations.
PSST 4893 Printed in Germany by medicalvision.
www.bostonscientific.com
www.bostonscientific-international.com
FV3_SpyglassGuide.indd 1-2 19.05.2008 12:51:35 Uhr
Page 2
This overview is provided for illustrative purposes only and is intended only as a brief summary of how the procedural
steps for using the SpyGlass™ Direct Visualisation System are generally performed. Please refer to the Directions For Use
for complete instructions.
SECTION PAGE
1 SpyGlass™ System Capital Components
and Consumable Devices 2
2 Verifying Power 4
3 Pre-Procedure Setup 6
4 Image Quality Test 8
5 Preparing and Using the
SpyScope™ Access and
Delivery Catheter 10
6 Accessory Passage 12
7 Probe and Ocular Care and Storage 14
8 SpyGlass System Components
Ordering Information 16
9 Intended Use 18
table
of
contents
FV3_SpyglassGuide.indd 3-4 19.05.2008 12:51:35 Uhr
Page 3
1
Figure 2 Figure 3
2
3
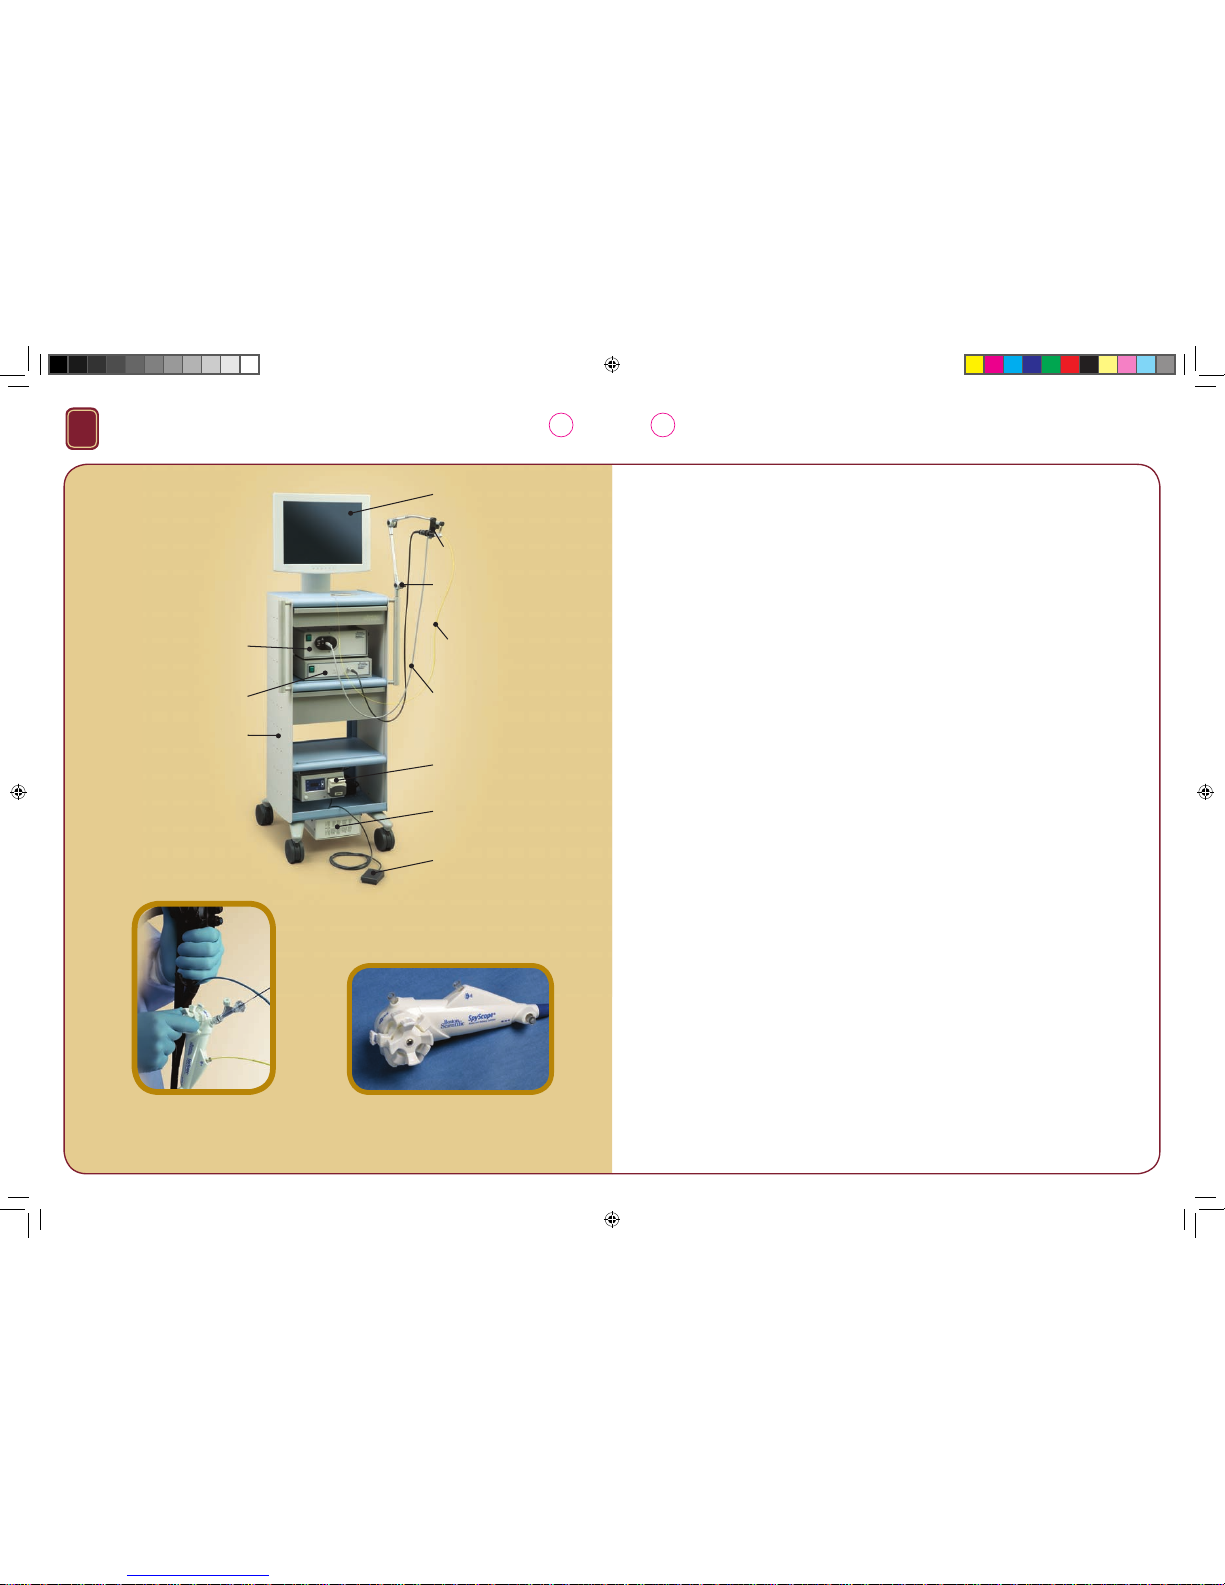
SpyGlass™ System Capital Components
and Consumable Devices
Video Monitor
SpyGlass Ocular
3-Joint Arm
SpyGlass Direct
Visualisation Probe
Lightsource Cable
Irrigation Pump
Isolation
Transformer
Pump Footswitch
SpyGlass
Lightsource
SpyGlass Camera
SpyGlass
Component Cart
Figure 1
SpyGlass
™
System Capital Components and
Consumable Devices (Figure 1)
The capital system contains several components that will require assembly:
• SpyGlass Camera – Auto shutter camera with 6.4 mm CCD chip
• SpyGlass Ocular – optical coupler that interfaces with the SpyGlass Probe
and the video camera head
• SpyGlass Lightsource – 300 watt, high intensity white light
• SpyGlass Travel Cart – includes 3-joint arm for extension
• Isolation Transformer
• Irrigation Pump with Footswitch
Consumable Devices
SpyGlass Fibre Optic Probe (Figure 2)
• 6000 pixel fibre optic probe
• 70 degree field view
• 0.33 in (8.4 mm) outside diameter
• 365 cm long
•
Fibre optic bundle surrounded by light fibres
• Multiple use device that is reprocessed after each use
SpyScope
™
10 F (3.3 mm) Access & Delivery Catheter (Figure 3)
• Multi-lumen catheter including:
- One 1.2 mm accessory channel
- Two independent irrigation channels
- One 1.0 mm optical channel
- Four steering wires embedded in length of the catheter
SpyBite™ Biopsy Forceps
• Minimum working channel of 1.2 mm required
• Jaw outside diameter: 1 mm closed, 4 mm open
• 286 cm working length
• Single-use device
FV3_SpyglassGuide.indd 2-3 19.05.2008 12:51:36 Uhr
Page 4
2
Figure 4
4
5
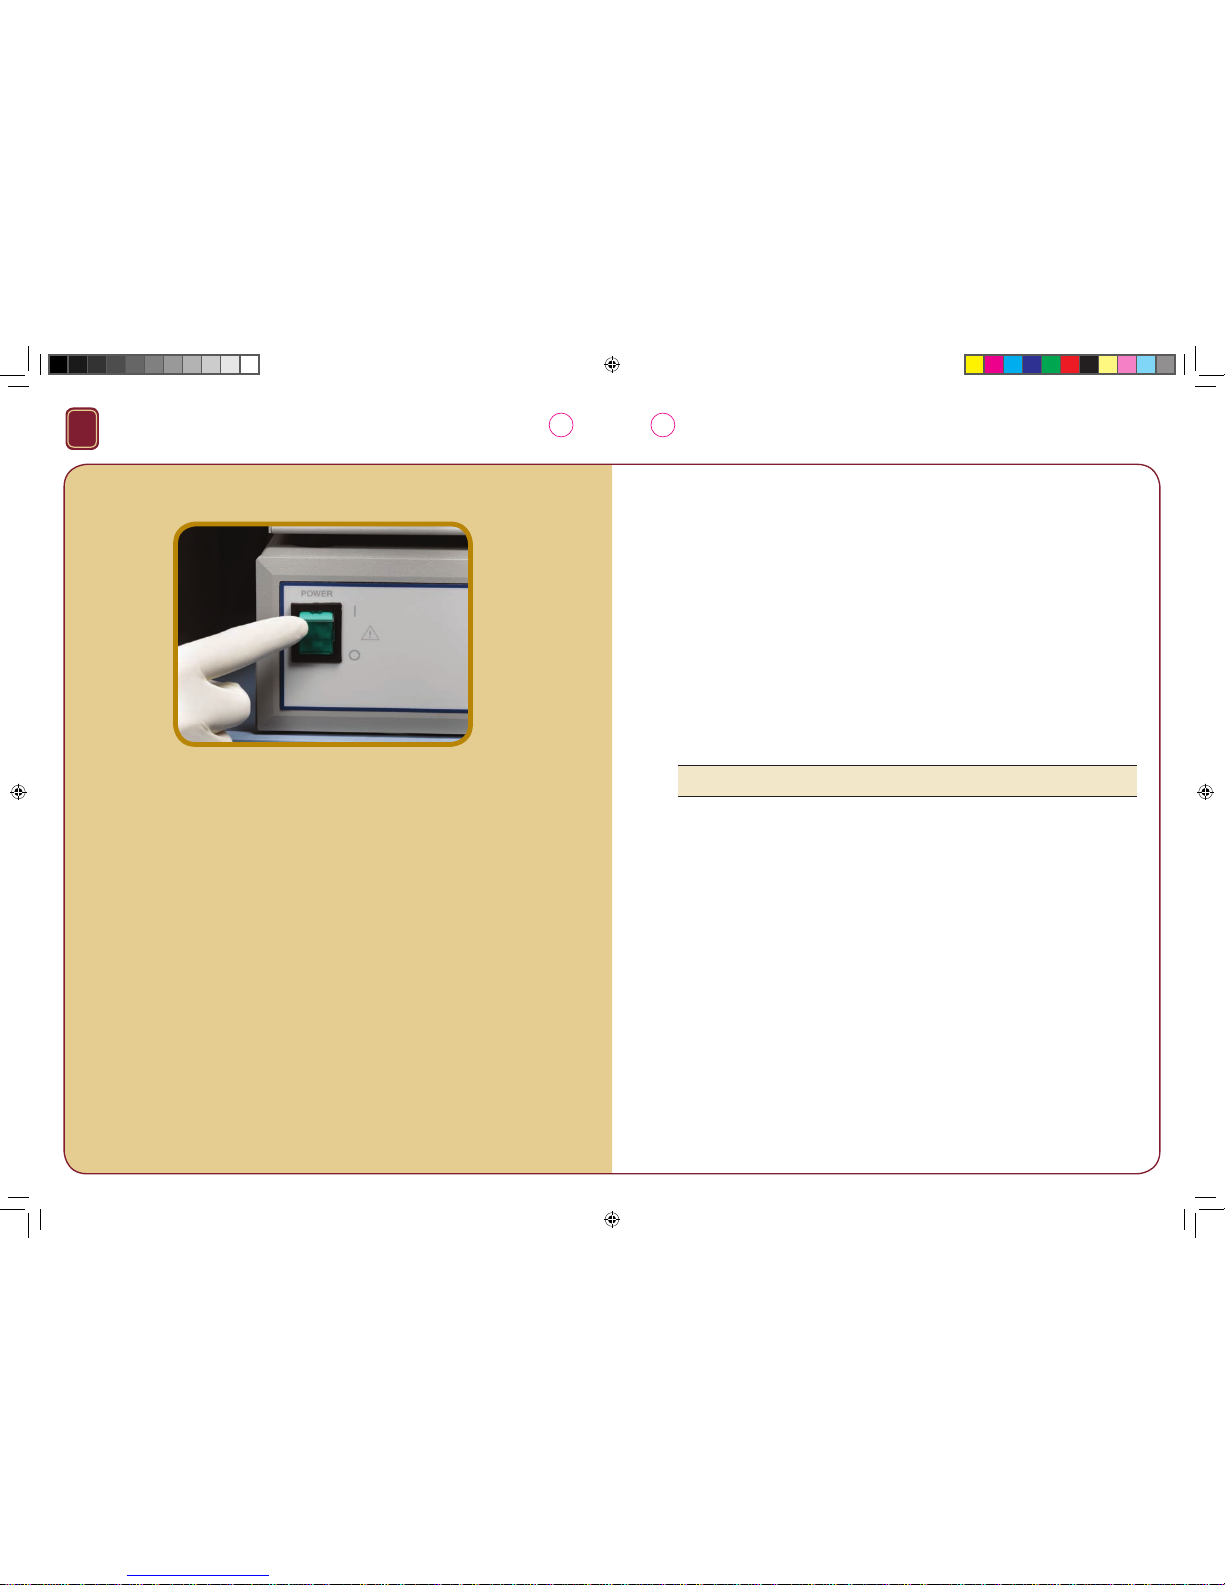
Verifying Power
NOTE: A clear image will not be seen until the SpyGlass™ Probe is connected.
To prepare for a procedure, check that all of the capital components are plugged into
the isolation transformer mounted below the bot tom shelf of the cart. Verify that the
power inlet cord attached to the isolation transformer is plugged into a wall outlet.
• Turn on the power switch on the isolation transformer.
• Turn the power on for the monitor, lightsource, camera and irrigation pump.
(Figure 4)
• Verify that an image appears on the video monitor. The monitor will
have a dull, indistinct white-gray image.
• Do not shine light directly into the camera as this may damage the
imaging sensor.
FV3_SpyglassGuide.indd 4-5 19.05.2008 12:51:36 Uhr
Page 5

3
Figure 5
Figure 6
6
7
Pre-Procedure Set-Up
NOTE: e “tongue” on the ocular holder is a slightly raised area on
the top of the C-shaped slot.
The SpyGlass™ System procedure is an extension of a typical ERCP, so initial steps
are the same as or similar to an ERCP. Pre-procedure device set-up is required.
A review of select pre-procedure set-up and typical procedural steps are listed
below. For complete instructions, please refer to the individual component
Directions for Use.
Pre-Procedure Set-Up
• Set up video camera and ocular
– Thread ocular into front of video camera head
• If 3-joint arm is used, attach ocular to holder
• Line up the groove in the ocular with the tongue on the ocular holder
– Push the ocular into the C-shaped receptacle on the ocular holder until it
contacts the far wall of the holder
– Rotate the ocular back and forth until an audible click can be heard, which
verifies that the ocular is locked in place
• Remove probe and verify that it has been high-level disinfected or sterilised
– Inspect probe for rough surfaces, sharp edges or protrusions
– Do not use if:
• Outer jacket is torn or abraded through
• Probe is kinked and/or permanently bent
– Attach probe to ocular (Figure 5)
•
Attach light cable to adapter light post on the probe (Figure 6)
•
Turn on video camera, monitor and lightsource (if they are not already on)
FV3_SpyglassGuide.indd 6-7 19.05.2008 12:51:36 Uhr
Page 6

4
Figure 7
8
9
Image Quality Test
NOTE: Lightsource cable should be attached to SpyGlass Probe at this point.
NOTE: Refocusing should not be required once the procedure begins.
Before a procedure, the following steps should be taken to test the image quality
of the capital equipment and the SpyGlass
™
Probe image:
•
Turn the lightsource to a mid-level power
• Verify a proper image using the SpyGlass Probe test target. Refer to the white
index card included in the SpyGlass Probe packaging.
• Adjust focus ring so image becomes clear within 1 cm of SpyGlass Probe
test target. (Figure 7)
•
Point the probe at a white object. Press the white balance button on the front
of the camera control unit.
FV3_SpyglassGuide.indd 8-9 19.05.2008 12:51:37 Uhr
Page 7

5
Figure 8
Figure 9
10
11
Preparing and Using the SpyScope™
Access and Delivery Catheter
NOTE: To avoid damage to the probe, pull the probe a few millimeters back into
the catheter during insertion of the catheter and probe into the duodenoscope.
NOTE: If a guidewire is not required for cannulation and the SpyBite™ Biopsy
Forceps will be used, you may preload the SpyBite Biopsy Forceps prior to passing
the SpyScope Catheter.
NOTE: Ensure the elevator of the duodenoscope is down as the SpyScope Catheter
exits the duodenoscope.
• Attach the SpyScope Catheter to the duodenoscope by securing the plastic strap
onto the handle of the duodenoscope.
• Through the optic port on the handle of the SpyScope Access and Delivery
Catheter, load the SpyGlass™ Probe, and advance using short strokes. (Figure 8)
You’ll be able to see the lighted, fibre optic probe going through the catheter.
• Advance the probe until it is flush with the end of the SpyScope Catheter.
As you approach the distal end of the SpyScope Catheter, you will observe on
the monitor that the visible image changes from a translucent appearance to
teal/blue.
• Check to be sure there is still a good image on the monitor to verify the probe
was not damaged during insertion into the SpyScope Catheter.
• If a guidewire will be used in the procedure, backload a 450 cm wire into the
working channel of the SpyScope Catheter before delivering the catheter and
probe through the duodenoscope. (Figure 9)
•
Ensure the probe is pulled back into the catheter several millimeters to avoid
damage to the probe.
• Using short strokes, insert the SpyScope Catheter and SpyGlass Probe into
the working channel of the duodenoscope, over the elevator and into the
Ampulla of Vater.
• Adjust the position of the probe inside the SpyScope Catheter as required during
the procedure.
FV3_SpyglassGuide.indd 10-11 19.05.2008 12:51:37 Uhr
Page 8

6
Figure 10
• If not already preloaded, insert the SpyBite™ Biopsy Forceps into the device port
of the SpyScope™ Catheter. (Figure 10)
•
Advance the SpyBite Biopsy Forceps using short strokes. Once the forceps
exit the tip of the SpyScope Catheter, the forceps can be extended to obtain
a tissue sample.
• Before advancing the SpyBite Biopsy Forceps through the SpyScope Catheter,
apply light pressure on the handle to make sure the jaws remain closed.
• Ensure the elevator of the duodenoscope is down as the SpyScope Catheter
exits the duodenoscope.
12
13
Accessory Passage
FV3_SpyglassGuide.indd 12-13 19.05.2008 12:51:37 Uhr
Page 9

7
Figure 11
Figure 12
14
15
Probe and Ocular Care and Storage
NOTE: e SpyGlass Probe should be coiled and transported using two hands as
shown in Figure 12.
NOTE: e probe contains no hazardous materials. When the probe no longer
delivers a satisfactory image, dispose of the device in accordance with hospital,
administrative and/or local government policy.
• When the procedure is complete, pull the SpyGlass™ Probe a few millimeters
back into the SpyScope™ Catheter, detach the light cable from the probe by
firmly holding the aluminum portion of the probe and detaching distal portion
of the light cable.
• Detach the SpyGlass Probe from the ocular by rotating the probe in a
counter-clockwise direction, and then pulling the probe straight off the ocular.
• Wipe the SpyGlass Probe distal and proximal lenses and ocular clean using a
soft cloth or gauze. (Figure 11) Do not leave any residue on the window of
the ocular. The ocular can be stored on the camera head or in the drawer of
the SpyGlass Components Cart.
• After scope is removed from the body, carefully remove the probe from the scope.
Wipe with an enzymatic cleaner and then carefully wind the probe in the tray
for cleaning.
• With proper handling and care, the SpyGlass Probe can be used for multiple uses.
Before each use, the probe is reprocessed according to the recommended methods
identified in the reprocessing section of the SpyGlass Probe Directions for Use.
FV3_SpyglassGuide.indd 14-15 19.05.2008 12:51:37 Uhr
Page 10

8
CAPITAL COMPONENTS
PART NUMBER COMPONENT DIMENSIONS in cm WEIGHT
M00546160
Components Cart
1
49.5 W x 122.6 H x 53.3 D 68 kg
M00546190
Lightsource 32 W x 14.2 H x 24.6 D 5.89 kg
M00546110
Camera 240V (PAL)
2
32 W x 10.2 H x 35.6 D 4.53 kg
M00546120
Video Monitor 48.3 cm (19“) n/a
M00546140
Irrigation Pump with Footswitch 20.3 W x 14 H x 16.5 D 2.26 kg
M00546070
3-Joint Arm with Clamp
1
80 cm long (extended) 0.73 kg
M00546040
Ocular <0.226 kg
M00546210
Light Cable 12.7 cm long <0.453 kg
M00546240
Isolation Transformer (240 V) 30.5 W x 11.4 H x 21.8 D 10.432 kg
M00546250
Power Cable Pack
(Cables included): 2 – 0.5 meter
1 – 1 meter
2 – 1.5 meter
n/a
M00546060
Large Probe Storage Tray
3
27.9 W x 5.1 H x 20.3 D 1.134 kg
M00546050
Small Probe Storage Tray
3
17.8 W x 5.1 H x 14 D 0.589 kg
CONSUMABLE DEVICES
PART NUMBER COMPONENT WORKING LENGTH MINIMUM WORKING CHANNEL
M00546270
SpyBite
™
Biopsy Forceps 286 cm 1.2 mm
M00546030
SpyGlass Probe 231 cm 1 mm
M00546230
SpyScope
™
Access & Delivery Catheter 230 cm 4.2 mm
M00546451
SpyGlass Irrigation Tube Set (Box 10)
16
17
SpyGlass™ System Components
Ordering Information
NOTE: SpyGlass System, when completely assembled, has an approximate space footprint of 49.5 cm W x 53.3 cm D.
Total weight of the assembled system is approximately 97.068 kg.
1
Cart includes a 3-joint arm with connector for ocular, but no table clamp
2
Camera System includes camera controller (box), camera head, and video cables for connection to monitor.
PAL version does not contain a power cord.
3
Large Storage Trays are recommended unless the customer reprocesses in a machine, into which the large
storage trays will not fit. In this case, order two small storage trays, #M00546050.
FV3_SpyglassGuide.indd 16-17 19.05.2008 12:51:38 Uhr
Page 11

9
18
19
Intended Use
CAPITAL COMPONENTS
SpyGlass™ Camera System
INDICAT IONS FOR USE
The Spy Glass Camera Syst em is for use during diagnos tic and/or surgic al procedures wh en endoscopic vide o
assistan ce is required.
WARNIN G
Operato rs who are not traine d and qualified to perf orm endoscopic pr ocedures should no t use this device.
Always ex ercise safety p recautions when u sing electrical equip ment to prevent op erator and patien t shock,
fire hazar d, or equipment damage . When implemented f or therapeutic app lications, a second e quivalent
camera sho uld be available in case the p rimary camera s tops working.
CONTRAINDICATIONS
None know n.
SpyGlass Lightsource
INDICAT IONS FOR USE
Boston S cientific SpyGlass L ightsource is use d for surgical lighting an d other applications .
WARNIN G
Operato rs who are not traine d and qualified to perf orm endoscopic pr ocedures should no t use this device.
When implem ented for therap eutic applications, a s econd equivalent ligh tsource should be a vailable in case the
primary lig htsource stop s working.
CONTRAINDICATIONS
None know n.
Irrigation Pump and Footswitch
INDICAT IONS FOR USE
To provide irrig ation during endosc opic surgical proce dures.
WARNIN G
Operato rs who are not traine d and qualified to perf orm endoscopic pr ocedures should no t use this device.
CONTRAINDICATIONS
None know n.
Isolation Transformer
INTE NDED USE
The Isolat ion Transformer is inten ded for applications w here medical devic es require improve d electrical isolatio n
and/or r educed leakage cur rent to comply wit h existing safet y standards. Wi th the Isolation Transfo rmer connecte d
betwe en the device and the w all outlet where the d evice is installed, the l eakage current and t he electrical isola tion
of the inst alled device will be that of t he Isolation Transfor mer.
SpyGlass Light Cable
INDICAT IONS FOR USE
Boston S cientific Light Cabl e is for use with cyst oscope, arthro scopes, pediatr ic endoscopes, an d others.
WARNIN G
Operato rs who are not traine d and qualified to perf orm endoscopic pr ocedures should no t use this device.
When implem ented for therap eutic applications, a s econd equivalent ligh t cable should be available in c ase the
primary lig ht cable stops wor king.
CONTRAINDICATIONS
None know n.
CONSUMABLE DEVICES
SpyScope™ Access and Delivery Catheter
INTENDED USE
The device is intended to guide the SpyGlass
™
Direct Visualisation Probe or other Visualisation probe and various
accessory devices into the biliary duct system during endoscopic biliary duct exploration procedures.
INDICATIONS FOR USE
The SpyScope Device is intended to guide both optical and accessory devices for diagnostic and therapeutic
applications during endoscopic procedures in the biliary system including the hepatic ducts.
CONTRAINDICATIONS
Contraindications for this device are those specific to endoscopic biliary duct exploration and cannulation.
SpyGlass Direct Visualisation Probe and Ocular
INTENDED USE
The SpyGlass Probe and Ocular have been designed to examine the biliary system and associated ducts and organs.
INDICATIONS FOR USE
The SpyGlass Probe and Ocular are intended to provide direct visualisation for examination for diagnostic and
therapeutic applications during endoscopic procedures in the biliary system including the hepatic ducts.
CONTRAINDICATIONS
Contraindications associated with the use of the SpyGlass Probe and Ocular include:
• Patientsforwhomendoscopicproceduresaremedicallycontraindicated.
• Patientsforwhomendoscopicretrogradecholangiopancreatography(ERCP)ismedicallycontraindicated.
• AnyuseotherthanthosespecicallyoutlinedundertheIndic ations for Use.
SpyBite™ Biopsy Forceps
INTENDED USE
The SpyBite Biopsy Forceps are designed to collect tissue samples endoscopically for histologic examination.
These instruments should not be used for any purpose other than the intended function.
INDICATIONS FOR USE
The SpyBite Biopsy Forceps are indicated for tissue acquisition in the pancreaticobiliary system.
CONTRAINDICATIONS
Contraindications for this device are those specific to endoscopic retrograde cholangiopancreatography
(ERCP) procedures.
FV3_SpyglassGuide.indd 18-19 19.05.2008 12:51:38 Uhr
Page 12

Notes
20
21
FV3_SpyglassGuide.indd 20-21 19.05.2008 12:51:38 Uhr
 Loading...