

Page 1
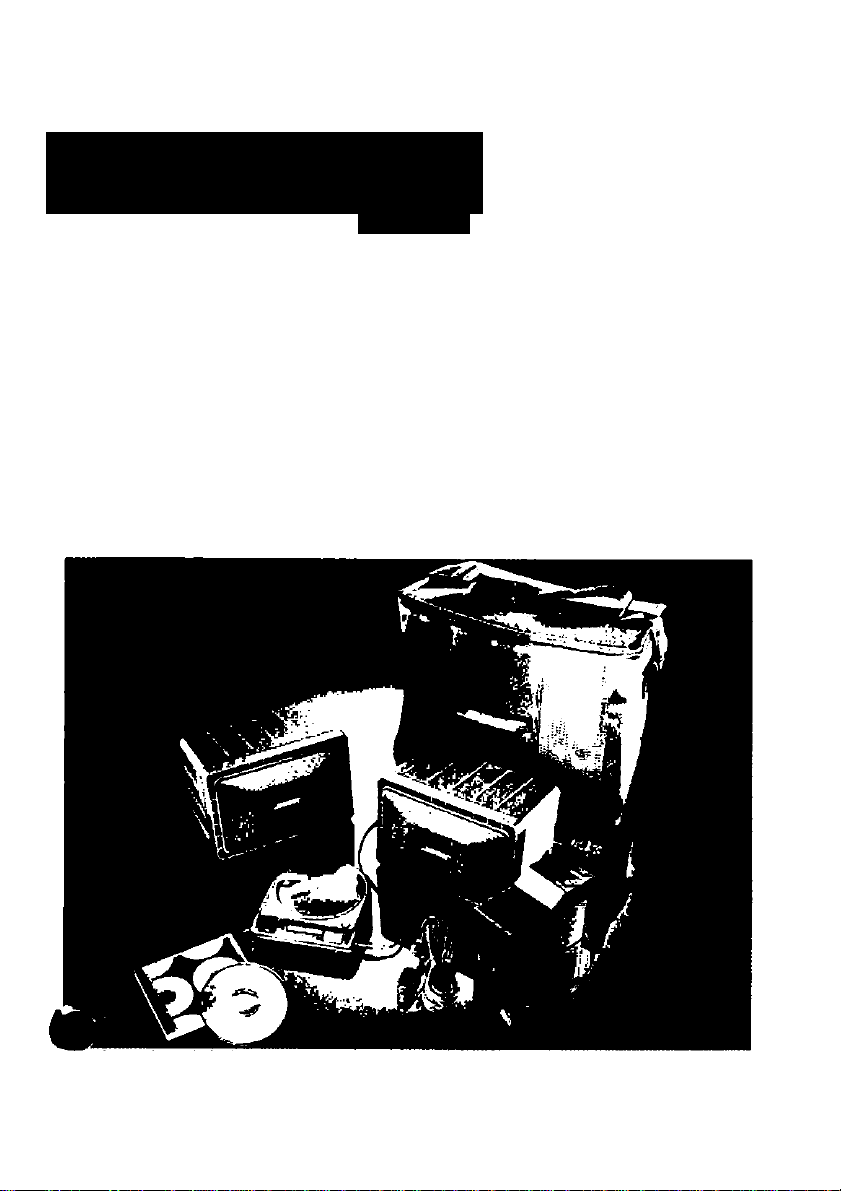
RoomßMl^ll
RoomMate II
^jpwered Speaker System
Owner^s Guide
Page 2
Thank you for purchasing lha Bose RoomMat^
// ponaOie powered speaker system. Ww wth
AC/DC compaliOiiiiy and new optionaf
accessories for greater ponabitity. the
RoomMate It system can go anywhere you
want to go to fxovide you with full, clear stereo
sound. ^ that you can fully enjoy your new
system, kve recommend that you take the time
to read this o^'ner's guide thoroughly.
Important Safety Instructions Before You Begin,..
To avoid potential problems and
hazards, please observe the following.
WARNING
To reduce the risk of (ire or electric shock, do
not expose this system to rain or moisture.
CAUTION
To reduce the risk of sl^ock. do rjof remove the
cover of this system. There are no user.serviceable parts inside. Refer servicing to
qualified service personoel.
The CAUTION marks shown on this page are
located on the back of your system.
' f \ arrowfiead symbol within an
If \ equilateral triangle, is intertded
f \ to alert the user to the
"dangerous voltage" within the system
enclosure tfwi may be of sufficient magnitude
to constitute a risk of efecfr^ shock.
maintenance instructions in this ow-ner's guide.
RISK Cf ELECnCAL^XK-OO (K>T OPEN
ropfC'.B'n b£ctf»:m.sho>; do r<ioi rexkOvE
BgERSEP/>qHo TootmiBBO perect-wa.
n^OfJE C€ CHOC £L£Cm0I^-t<£ PAS
AF)t< OG PRÉ^^R UN CHOC d£CT AOUC *lE PAS
1WX(\6 À U'IKTÉREUIR AIJCUPE PéCEPCíJ^'ANT
Warning
Never disassemble any pan of your RoomMate
if system There are no user-serviceable pans
inside.
Never connecf yotrr RcomMate II system to the
speaker outputs of a receiver or amplifier, s/nce
// could be damaged if connecfed in this
manner.
The lightrjing flash.
presence of uninsulated
The exclamation point within an
equilateral triarigle, as maiked
on the system, is intended to
ateri the user to the presence
of important operating and
CAUTION
•OOVCR N0USJTR^B7\KFjiPJJ-PARrSirSM
ro Pn BJ Bí í RRS OR SHOCK H<>£ARO. DO NOT
EXPOSE Ilib Itlir lOR&NOR M0ISTUR£.
l£ OOIAB^OE AATte^ tU NESE
ÊiniR^PAMiCPARUjSACER SACRE6SER
k UN PÉP^ATÉLfi OOf^ÊTe<T
1. Read instructions. Read all of these
safety and operating instructions before
you use your RoomMate^ II system.
2. Retain instructions. Retain these
safety and operating instructions for
future reference.
3. Heed warnings. Adhere to all
warnings on the RoomMate H
and in these operating instructioni^^
4. Follow instructions. Follow all
operating and use instructions as
ouf/ined in this guide.
5. Water and moisture. Never use
your RoomMate H system near water ~
for example, near a bathtub, sink,
laundry lub. in a wet basement, near a
swimming pool. etc.
6. Mounting. Use only Bose^' MMA-4
Mounting Arms to mount your Room-
Mate H system. Consult the instructions
supplied with the mounting arms and
mount your RoomMate II system only in
the manner recavmended by Bose.
7. Ventilation. Be sure to provide
adequate ventilation for the LEFT
(POWERED ) speaker that has the AC
(mains) line cord and audio input
cables going into it. For example, the
LEFT (POWERED) speaker should not
be placed in a built-in bookcase or
cabinet that may impede the flow of air
around the system.
8. Heat. Avoid placing the system near
direct heat sources such as radiators,
heat registers, stoves, or other appli
ances (including amplifiers) that
Page 3

produce heat. Avoid placing ihe
system in direct sunlight.
9. Power sources. The RoomMate U
system is available for connection to
AC lines (mains) of various voltages.
If your unit has a line voltage selector
switch on the back, make sure the
selector is in the correct setting, e.g.
setto 115VforU.S. and230Vfor
Europe.
The RoomMate II can also be con
nected to 12V DC voltage sources
such as the rechargeable Bose PC-1
powercase battery designed for use
with this system, as well as automo-
K/o or marine power sources. Ob-
\rvc the connections to the
source. Note: For portable applica
tions, the RoomMate II system should
be used only with ffie Bose PC-1
powercase.
10. Power cord protection. Route
the power supply (mains) cord so that
it will rtot be walked on. cut, or
pinched by items placed upon or
against it. Pay particular attention to
cord at plug, and at the point where it
connects with the RoomMate II
system.
11. Non-use periods. If the
RoomMate II system is not going to
be used for any length of time, unplug
it from the wall outlet. Always unplug
the unit by grasping the plug itself.
Never pull the plug out by the cord.
Also, if the system is connected to the
battery or other DC power source and
is not going to be used for several
hours or more, unplug the system
from the DC power source.
?2. Object and liquid entry. Take
care that objects do not fall and
liquids do not spill into the enclosure
of the RoomMate II system through
the openings.
13. Cleaning/care and mainte
nance. The RoomMate II system
requires very little maintenance.
Occasional cleaning should be done
with a damp cloth WHILE THE
SYSTEM IS UNPLUGGED. Never use
any chemicals to clean your system,
and never allow any liquids to enter
the unit’s openings.
14. Use with other systems. Do not
connect either the POWERED
speaker or the COMPANION speaker
to any other manufacturer's system.
15. Servicing. Never attempt to
service the RoomMate II system
yourself. There are no user service
able parts inside. Refer all servicing to
qualified personnel.
16. Damage requiring service.
Have your RoomMate II system
services by qualified service person
nel when any of the following occur:
A. The power supply cord or plug
has been damaged.
B. Objects have fallen onto or
liquid has spilled into the
enclosure.
C. The RoomMate II system has
been exposed to rain.
D. The system does not appear to
operate normally or shows a
marked change in performmanee.
E. The RoomMate II system has
been dropped or the enclo
sure damaged.
ATTENTION
This unit ts equipped with a polanzed
alternating current fíne plug (a plug havHTg
one blade wider than the other). Tlvs plug will
fit into the power outlet only one way. This is a
safety (eaiure. if you are unable to insert the
plug fully into the outlet, try reversing lite plug.
If ihe plug sivx/fd still fail to fH. coniaci your
electrician to replace your obsolete oullei.
Do noi defeat the safety purpose of the
polarized plug.
Page 4

How to Use Your RoomMate' II System
Hooking up
Befae you plug the RoomMate II
system into your wall outlet (AC
mains) or your battery power supply
(DC), make sure that the following
connections have been made
properly and that the volume control
on your audio source (personal
stereo. CD player, keyboard, etc.) is
turned all the way down.
Use the enclosed two-conductor
speaker wire to connect the
terminals on the LEFT speaker
with those on the RIGHT speaker.
The conductor with the RED stripe
should be connected to the RED
terminal on the back of each
speaker. The remaining all-BLACK
conductor should be ccxinected to
the BLACK terminal on each
speaker.
A. Carefully identify the two separate
speakers. The LEFT (POWERED)
speaker has the AC (wall current
or mains) and DC battery input
jacks, auxiliary input connectors,
and speaker terminals located on
the back. The RIGHT (COMPAN
ION) speaker has speaker
terminals.
B. For AC (mains) power use. attach
the enclosed line (mains) cord to
the AC jack on the LEFT (POW
ERED) speaker and set the
vdtage selector switch (if appli
cable) to the correct AC voltage.
Use the 115V setting for North and
Central America and the Carib
bean. or the 230V setting for
Europe. UK. Ireland, and Australia:
and 100V in Japan.
Insert the AC power (mains) cord
plug into your wall outlet.
Page 5

C. For portable DC power supply,
plug the cord from the Bose PC-1
powercase battery into the DC
input jack on the LEFT (POW
ERED) speaker. Make sure the AC
(mains) cord is disconnected.
Note: Do not use any battery power
supply other than the Bose PC-1
powercase. Be sure to follow all
instructions and observe all safety
precautions printed in the PC-1
Pov^rcase Owner's Guide. Discon
nect the system from the battery if it
will rtot be used for any length of time.
Replace the battery only with a
battery of this same type. See the
ccessones section to learn how to
L
^tain the Bose PC-1 powercase as
an optional accessory.
voltage output, designed for
headphones), and two of high
level input (for use v/ith preamp or
line out equipment, such as
keyboards and CD players without
headphones). Connect your audio
source to the correct set of
D. To use an automotive or marine
power supply, the optional Car
Adapter (Part ft 139992) is
required. Plug orte end of the
adapter cord into the DC input
jack on the LEFT (POWERED)
speaker, then plug the adapter
into the cigarette lighter socket of
your car. boat, o'recreational
vehicle. See the Accessories
section to learn how to obtain the
Car Adapter as an optional
accessory.
E. Your RoomMate^ II system is
desigrted to accept any (unampiified) audio source with a volume
control. As marked on the
system's backplate. the four input
jacks include two for low level
input (to be used with pocket
stereo type source with a small
auxiliary inputs on the POWERED
speaker, via the supplied six-foot
cable with dual RCA plugs going
into the system, and the 3.5mm,
connector into your audio source.
F. Your RoomMate II system is
now ready for use.
Operating the System
Properly connected, the Bose ^'
RoomMate II system is very easy to
use. Be sure that it is connected to an
audio source with a volume control
that will let you adjust the output level
of your RoomMate II system. It is
important that the connection to a
CD player, personal stereo, key
board, etc. be made via its headphone/earphone jack.
Warranty Period
The Bose*- RoomMate II powered
speaker system is covered by
a limited one-year ^ansferable
warranty.
Page 6

In Case of Difficulty
Although actual servicing should be
referred to qualified personnel, any of
the problems that could occur will
most probably result from improper
hookup rather than any real defect. If
you have any of the following prob
lems. try the suggested solutions
before returning your unit.
RoomMate fl System Components
The RoomMate II system, designed to
deliver true high fidelity sound from
virtually any (unamplified) stereo or
mono audio source, through use of
either AC (wall current) or DC (bat
tery) power supply, consists of the
following:
No sound with system plugged in.
Audio source component (CD player,
personal stereo) not properly con
nected to unit. Also, make sure that
the audio source itself is working and
volume controls are properly ad
justed. Make sure your source is
connected to the correct impedance
level.
System doesn’t play.
Power cord may be either unplugged
or improperly connected. Battery may
need recharging. Check cord and
connections. Recharge battery.
Only one speaker plays.
1. The COMPANION speaker
(RIGHT) may be improperly
connected. Check connections,
wires, and terminals.
2. The balance control on the audio
source may be turned all the way
left or right. Check the control.
Interchange audio input plugs.
3. The audio source may not be
stereo. Use the “mono" adapter
provided with your RoomMate^ II
system to connect the mono
signal to both input jacks.
Sound Is too loud and/or
is distorted.
The audio source volume may be too
high. Turn the source volume down.
Two (2) fully amplified and equalized
compact black speakers of rugged
construction.
One (1) removable power line (mains)
cord, suitable for use with various
power fine (mains) sources. These
include 120V for use in U.S.. Centra^^
and N. America, and the Caribbean;
115^30V sold in military store outlets;
220-240V for use in Europe and the
UK.. Ireland, and Australia; and 100V
for use in Japan.
One (1) six-foot cable with dual RCA
plugs and a 3.^m ccxmector that
will fit most portable CD or tape
players, personal stereos, and
keyboards.
One (1) mono adapter for conneciii^^
the system to a mono audio source.
Page 7

RoomMate' II System Accessories
You may obtain the following RoomMate II system accessories from your
dealer or directly from Bose'-" by
cryitacting:
Bose Corporation
1-800-444-2673
NOTE: The Bose PC-1 battery is
designed specifically for the Bose
RoomMate fl system and should not
be used for any other purpose. Do
not attempt to use any other battery or
charger with the RoanMate II system.
The Bose TB-II Travel Bag
(Part #134899)
Made of protective, heavy weight
cordura nylon, the TB-II travel bag is
the same basic unit as the
powercase. but does not include the
power supply options. This is the
perfect choice for the person w/to
needs basic transportation for the
RoomMate II system from home to
office, hotel room, or vacation spot.
The Bose PC-1 Powercase
(Part #135605)
Comes complete with the Bose
battery pack, charger, travel bag and
car adapter.
• battery pack provides 12 hours of
continuous play at full volume on an
overnight charge
• play in the bag feature provides
jjitimate portability
car adapter allows mobile use in
car. recreational vehicle, or boat
NOTE: While the travel bag is
weather resistant, it will not provide
full protection from water; do not
leave flbe system in the rain, or other
places where it may get wet.
Page 8

The Bose Car Adapter
(Part 0139992)
The Bose MMA-4 Mounting Arms
(Part 0132210)
You can plug your RoomMate II
system into a car, boat or recreational
vehicles ’ cigarette lighter socket
using the optional Bose 12V to 15V
adapter.
MMA-4 mounting arms allow you to
place the RoomMate II system exac^fc
where you want it The mounting arrTW^
have mar-resistant pads to protect
your furniture, and can be used both
horizontally and vertically.
NOTE: Do not use substitute arms
unless they are specifically designed
for this system.
Better sound through research.
£> fS92 Bose CofpofUlion. The Mountain. Framingham.
MA0)7O91-91€SUSA
50в-в79- 7330 FAX 508-872-6541
PN13S487Rev3
 Loading...