

Bosch NES935UC User Manual

Bosch Use and Care Manual:
NES

®
TM
magnetic
for the fi rst time.
your cooktop. Keep it handy as it has answers to the questions that may come to mind
when you start to cook. The information in this manual will help you easily operate
...................................
Avoid These Cleaners
.........................
...............................
......................................
..............................
4
Good Appearance of the Surface
.......
4
..........................................
4
.......................................
4
The Elements
/
.....................................
............................
.............................................
...........................................
..........................
........

WARNING
AREA. Even though dark in
Areas adjacent
to the elements may become hot enough to
with a cooking area until it has cooled.
Tie long hair so that it doesn't hang loose.
WARNING
TO PERSONS,
the manufacturer. If you have any questions,
top has broken. If the cooktop glass should
fi x it. Cleaning solutions and spill overs may
the cooktop or at the back of it. If children climb
WARNING — TO REDUCE
with a close-fi tting lid, cookie sheet, or other metal
tray, then turn off the gas burner. BE CAREFUL
TO PREVENT BURNS. If the fl ames do not go
towels on grease fi res. A violent steam explosion
• ALWAYS have a working SMOKE DETEC-
TOR near the kitchen.
• LEAVE THE HOOD VENTILATOR ON when
fl ambéing food.
where it started.
• SMOTHER FLAMES from other types of food
fi res with baking soda. NEVER use water on
This appliance is approved for residential use. It
touch hot cooking areas.
Always use
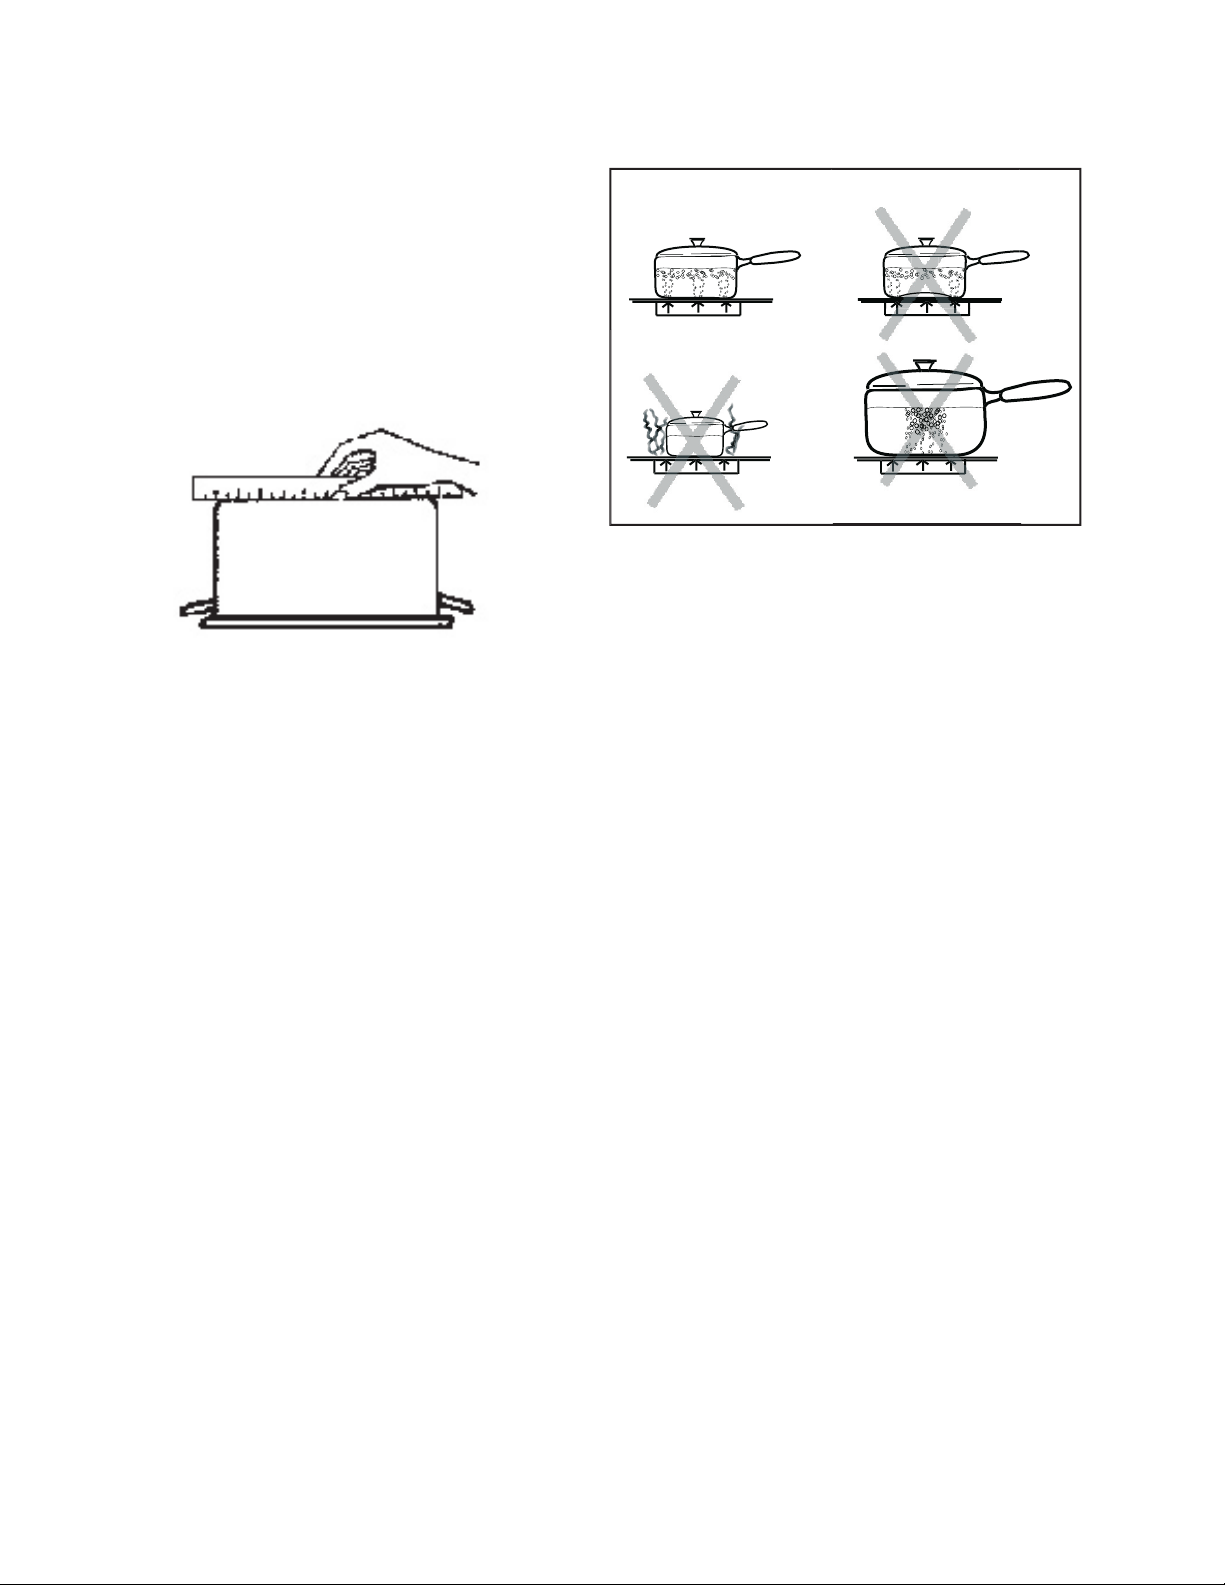
The use of a utensil smaller than the size of the
The cooktop is for cooking. Never use it to
warm or heat a room.
with the Installation Instructions provided with
the cooktop.
All other servicing should be
for the type and amount of food being
when necessary. Use low to medium settings
to heat oil slowly.
fat fryer. Wait until it is cool.
types of glass, heatproof glass ceramic,
the hot top with the metal razor blade scraper
the cooktop frequently so that grease from the
fi lters, fan, intake, or hood.
wearing electronic implants should keep the
4 Single 6" (160 mm) 1500
4
4

the cooktop surface.
dry.
®
packaged
with the cooktop. Buff with a clean cloth. (See
Page 9 for daily care instructions.)
several uses; this is normal and will disappear.
cookware being selected and used. (See Page
7.)
main hot up to 25 or 30 minutes after the
elements have been turned off.
Manual information prior to operating.
for
Appear-
the
Creme will protect the surface and make it easier
to remove food soil and water spots.
material resistant to impact but not unbreakable if
a pan or other object is dropped on it.
will melt and damage the glass surface.
contact with the hot glass surface; these items
can melt or burn and damage the glass surface.
the pan, element and/or the cooktop.
metal stand on the glass surface.
surface; it may scratch the glass.
The glass cooking surface retains heat and stays hot
for a short time.
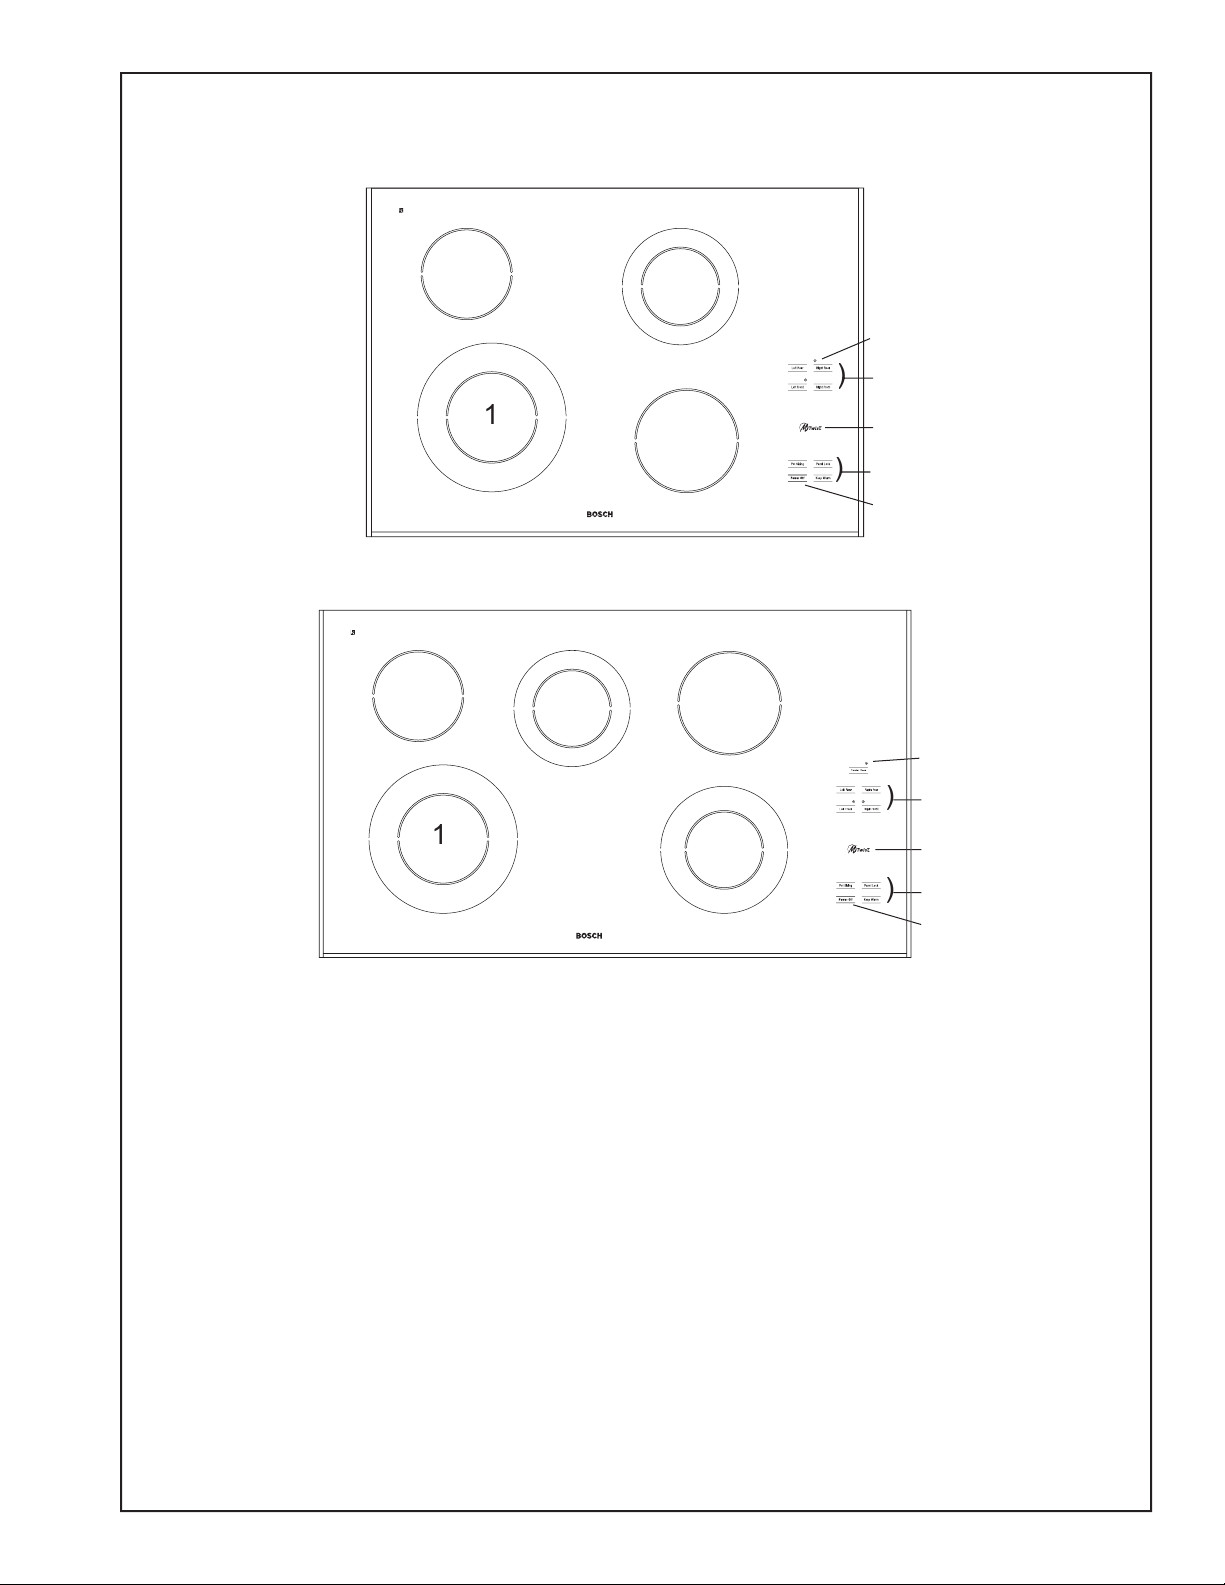
The cooktop uses touch pads and a magnetic dial to
The cooktop uses a mTwisT magnetic dial to select the
the cooktop.
The dial can be set to beep as it turns or to be silent
To activate dial sound:
following order:
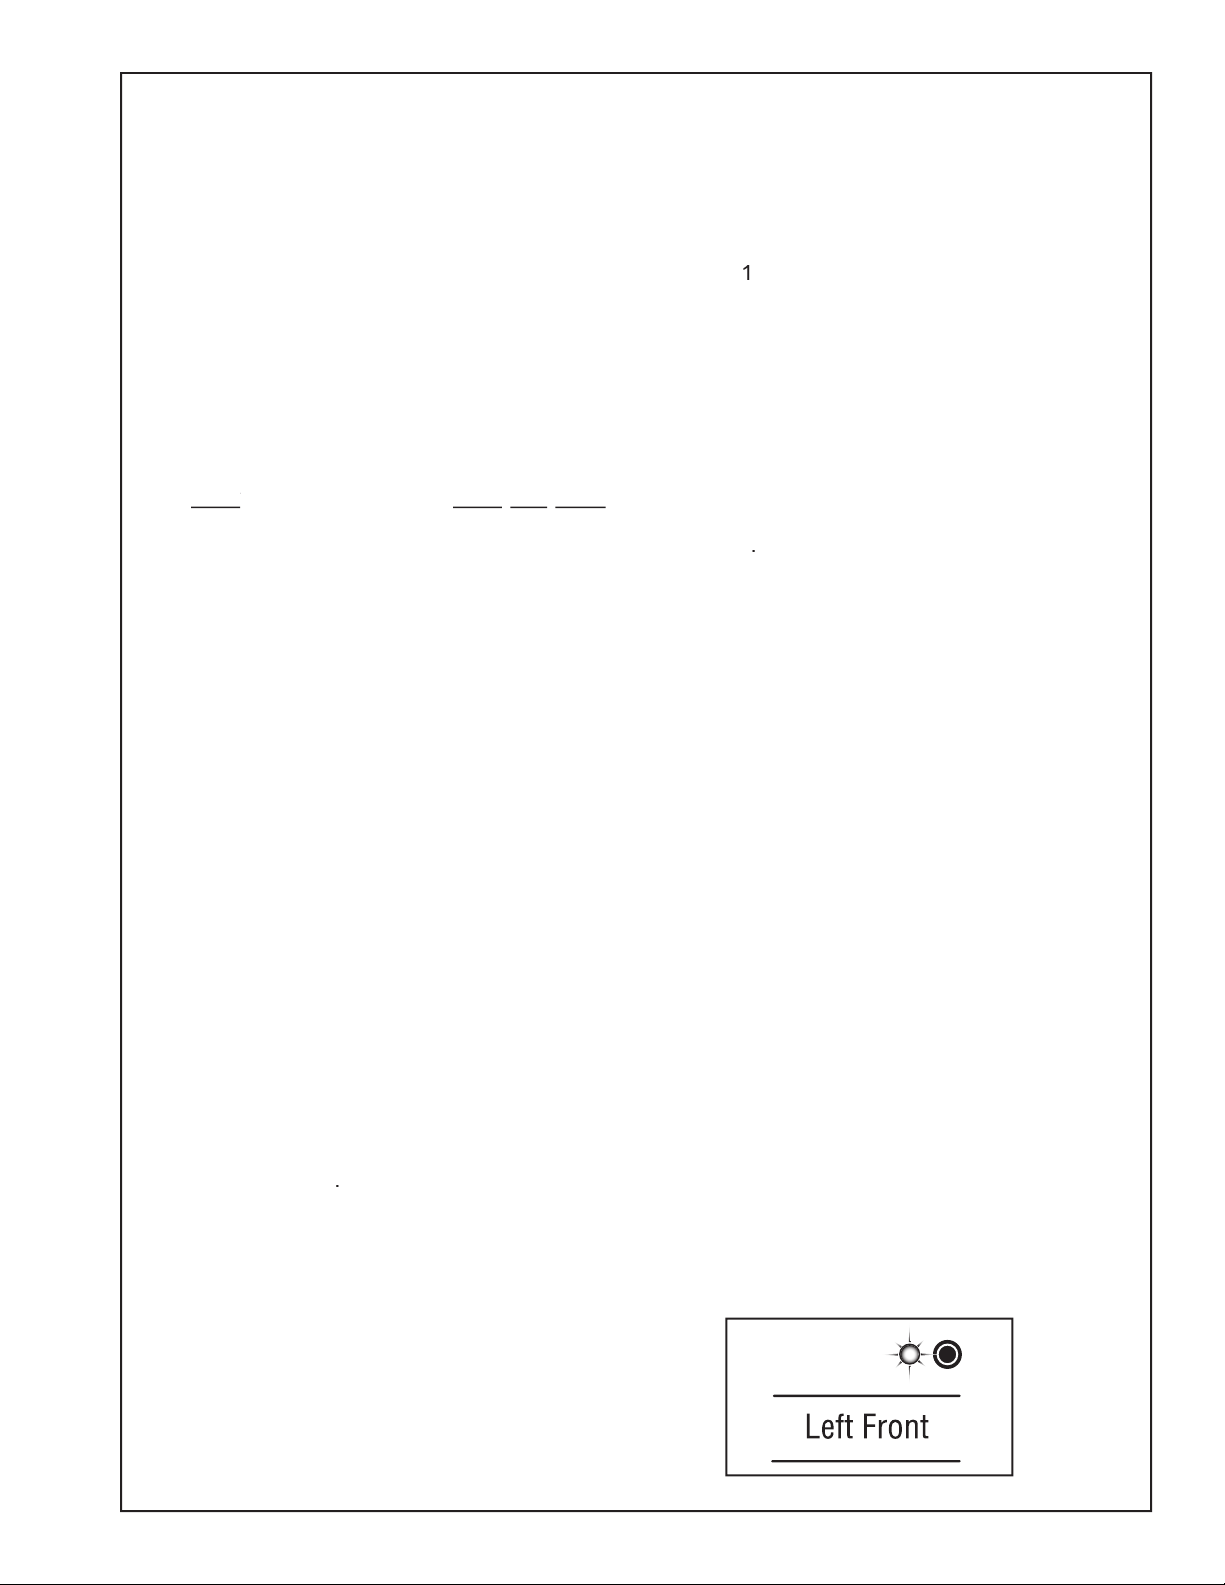
1. Front Right
2. Rear Right
3. Rear Left
4. Front Left
fi ve seconds).
To turn knob sound off
The panel lock can be set to activate immediately upon
To turn the delay off :
followng order:
1. Front Right
2. Rear Right
3. Rear left
4. Front Left
fi ve seconds).
To activate the delay
The area above the element touch pad being used will
when the cooking surface is too hot to touch. A letter
will appear above the element touch pad.
The light
to-touch temperature.
/
TM
radiant elements use a wire
to provide the heat for cooking. These radiant
element or both the
the size of cookware. (See page 7.)
Although cycling is normal, any one of the following
with the heating surface (due to a warped or
transfer the heat.
pad. Control defaults
to large size (inner and outer) element. Touch
the POT SIZING element pad again for smaller
when using large element.
4. Turn the mTwisT dial to the desired setting.
To the right (clockwise) starts with heat
(low).
To the left (counterclockwise) starts with heat
(high).
Turn the dial until the desired heat setting is
will show
Or
touch element pad twice.
Or
touch element pad once. After fi ve seconds,
the element turns off.
pad.
Or
Remove mTwisT dial from cooktop. Once
Turns off
elements at the same time. The indicator
The panel lock is selected to prevent the cooktop from
will not function when turned on.
A light above the pad stays lit when the panel is
locked.
To unlock: Touch the panel lock pad and hold for three
The cooktop cannot be locked when a surface element
defaults to larger element. Dual element light
comes on above element pad indicating large
size is selected.
ment. Dual element light will turn off.
To change element size for different size cooking
sen, element turns off.
The cooktop can be operated without the mTwisT
shows 0.
ment).
4. Touch element pad repeatedly until desired heat
settting is displayed.
ting is displayed.
displayed.
Turn Off Element
1. Touch element pad.
2. Touch element pad until 0 is displayed.
Or
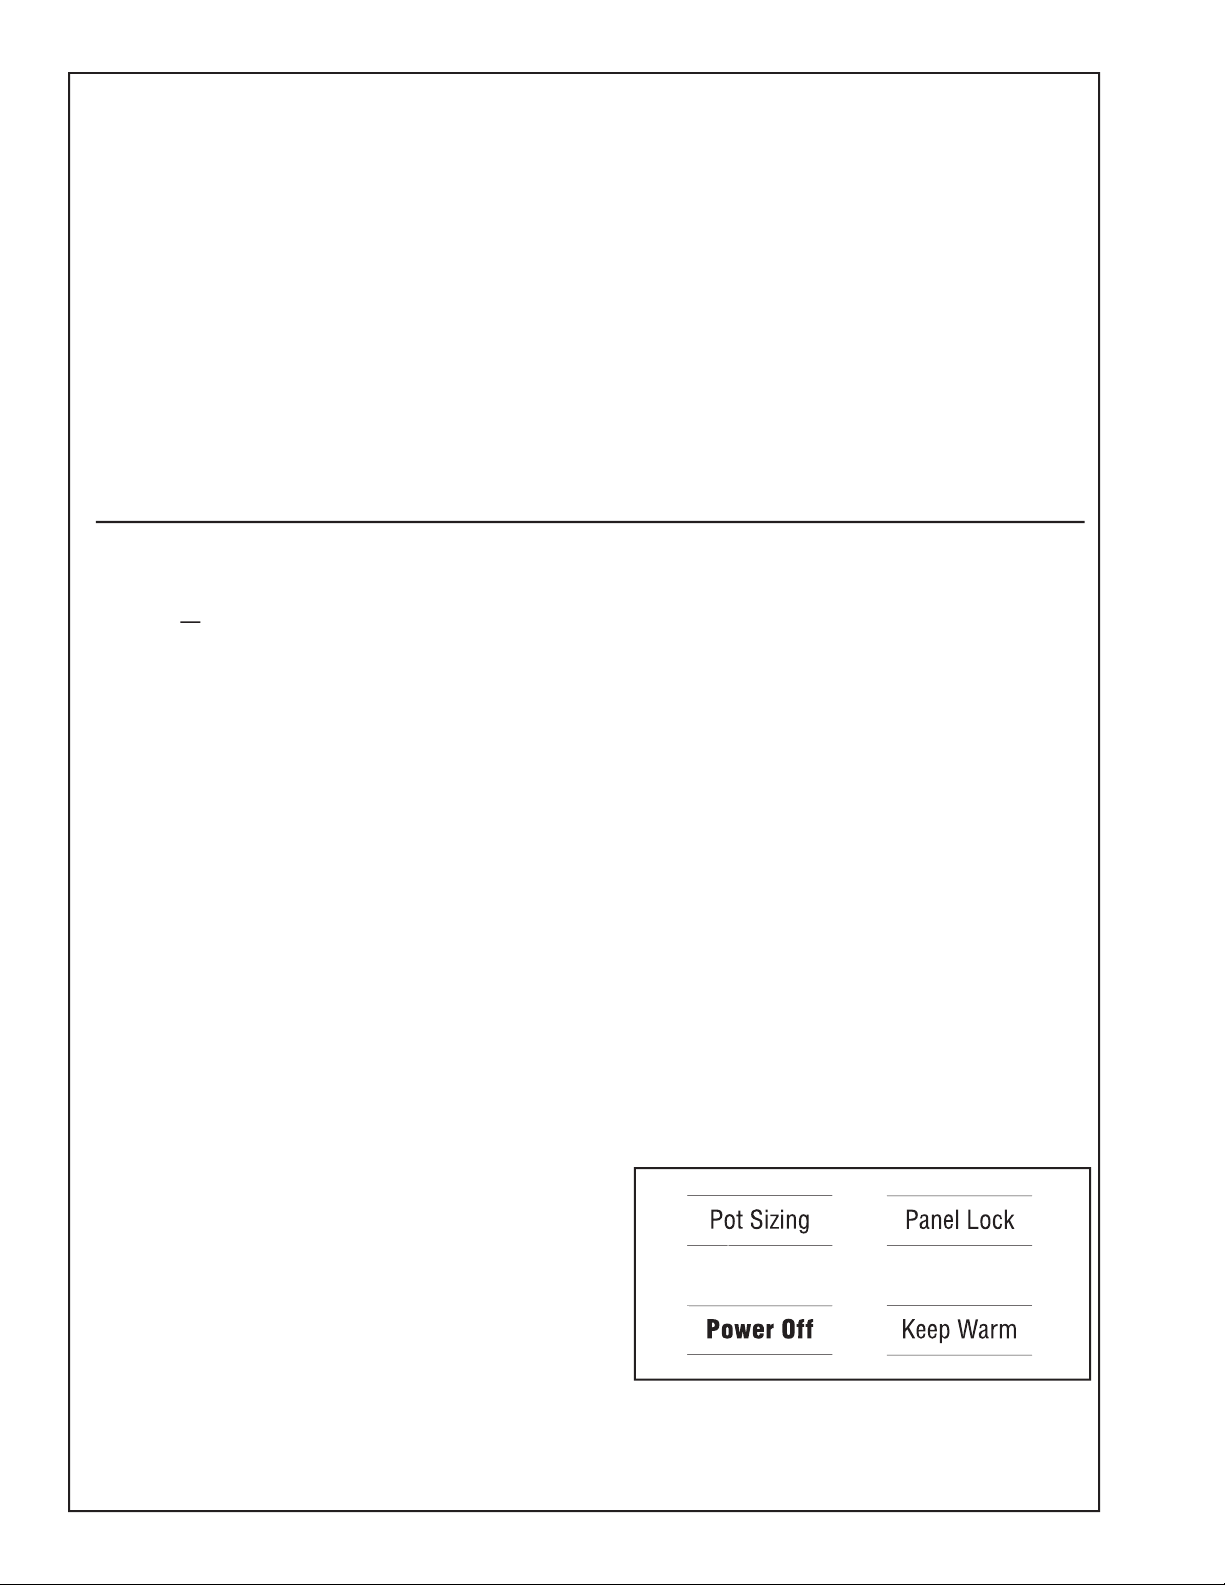
for several elements, select Power Off pad.
To set Keep Warm feature:
lected element and element comes on.
for Rangetop" rather than Pyrex® which is not recom-
to raise food off bottom of pan.
The choice of pans directly affects the cooking
with the following features:
without wobbling (rocking). Flat, medium to
Turn the pan upside down on the countertop and
The bottom of the pan and the straight edge of the
Another simple test to determine even heat
water starts to boil. Good, fl at cookware will have
trivet, on the cooking surface.
should
for cooking; aluminum foil can melt and cause
when
This can perma-
the surface.

All these settings are recommended without the element being preheated. Use this chart as a guide.
A range of heat settings are listed because the
4) the cook’s preference.
The Heat Settings
volt power source. If your cooktop is connected to
4-6
fi sh, broths
vegetables, pasta, 9
Type of Food HEAT SETTINGS

Avoid These Cleaners
These ingredients may
Oven cleaners may etch the cooktop surface.
and scrub sponges can
can scratch the
such as lighter fl uid or
WD-40.
towel or cloth. Wipe on the surface and buff with
®
®
(without bleach): rinse and dry.
Note: The recommended cleaners indicate
This provides a protective fi lm that makes it easy
to remove water spots or food spatters. The
temperature of the cooking surface reduces the
before each use.
with a clean, damp sponge or
with the following exception.
Remove
immediately
with the razor
When dry, buff surface with a clean
the surface is hot; use only the razor blade scraper.
Always wipe with the grain when cleaning. For
®
or Soft Scrub
®

o
angle,
try a mild abrasive (Bon Ami
®
®
without
white vinegar, rinse and dry. Recondition with
Remove boilovers and stains, before using the
Be Careful: Diamond
For authorized service or parts information, call 800/944-2904. We want you to remain a satisfi ed
Write:
BSH Home Appliances Corp., Customer Support, 5551 McFadden Avenue, Huntington Beach,
A slight odor is noticeable when an
automatically to protect the glass ceramic surface
from extreme high temperature damage.
from extreme high temperature damage.
with the heating surface.
transfers too slowly
The warranties provided by BSH Home Appliances Corp. in this Statement of Limited Warranty apply only to the BSH Elec-
tric Cooktops ("Cooktop") sold to you, the fi rst using purchaser, provided that the Cooktop was purchased (1) for your use
the fi rst using purchaser and are not transferable.
the Date of Installation. During the warranty period, BSH or its authorized service center will repair or replace, at its sole op-
tion, any Cooktop that proves to have been defective under conditions of normal use without charge. All removed parts and
warranty period, BSH will replace any electric heating elements, controls, or ceramic glass of the Cooktop that proves to
formance of this extended warranty. All replaced parts covered under this paragraph shall assume the Identity of the original
for purposes of this extended warranty and this warranty shall not be extended with respect to such parts.
The warranties provided in this Statement of Limited Warranty exclude defects or damage resulting from (1) use of the
To the extent allowed by law, this warranty sets out your exclusive remedies with respect to products covered by it, whether
the claim arises in contract or tort (including strict liability and negligence) or otherwise. BSH will not be liable for conse-
TIES. ANY WARRANTY IMPLIED BY LAW, WHETHER FOR MERCHANTABILITY OR FITNESS FOR A PARTICULAR
To obtain warranty service for the Cooktop, you should contact the nearest BSH authorized service center or the BSH Cus-
tomer Support Call Center, 5551 McFadden Avenue, Huntington Beach, CA 92649, 800/944-2904.

TM
............
Avant d’utiliser la plaque la première fois
et une belle apparence de la surface
........................
4
Voyants
............................................................
4
................................................
................................
Alimentation hors circuit (Power Off)
...............
Verrouillage du panneau (Panel Lock)
.........
............
.......................
Avant l’entretien
...............................................
.......................................
Techniques de nettoyage quotidien
Tableau d’entretien spécial
............................
(Cooktop Cleaning Creme
®
 Loading...