

Page 1
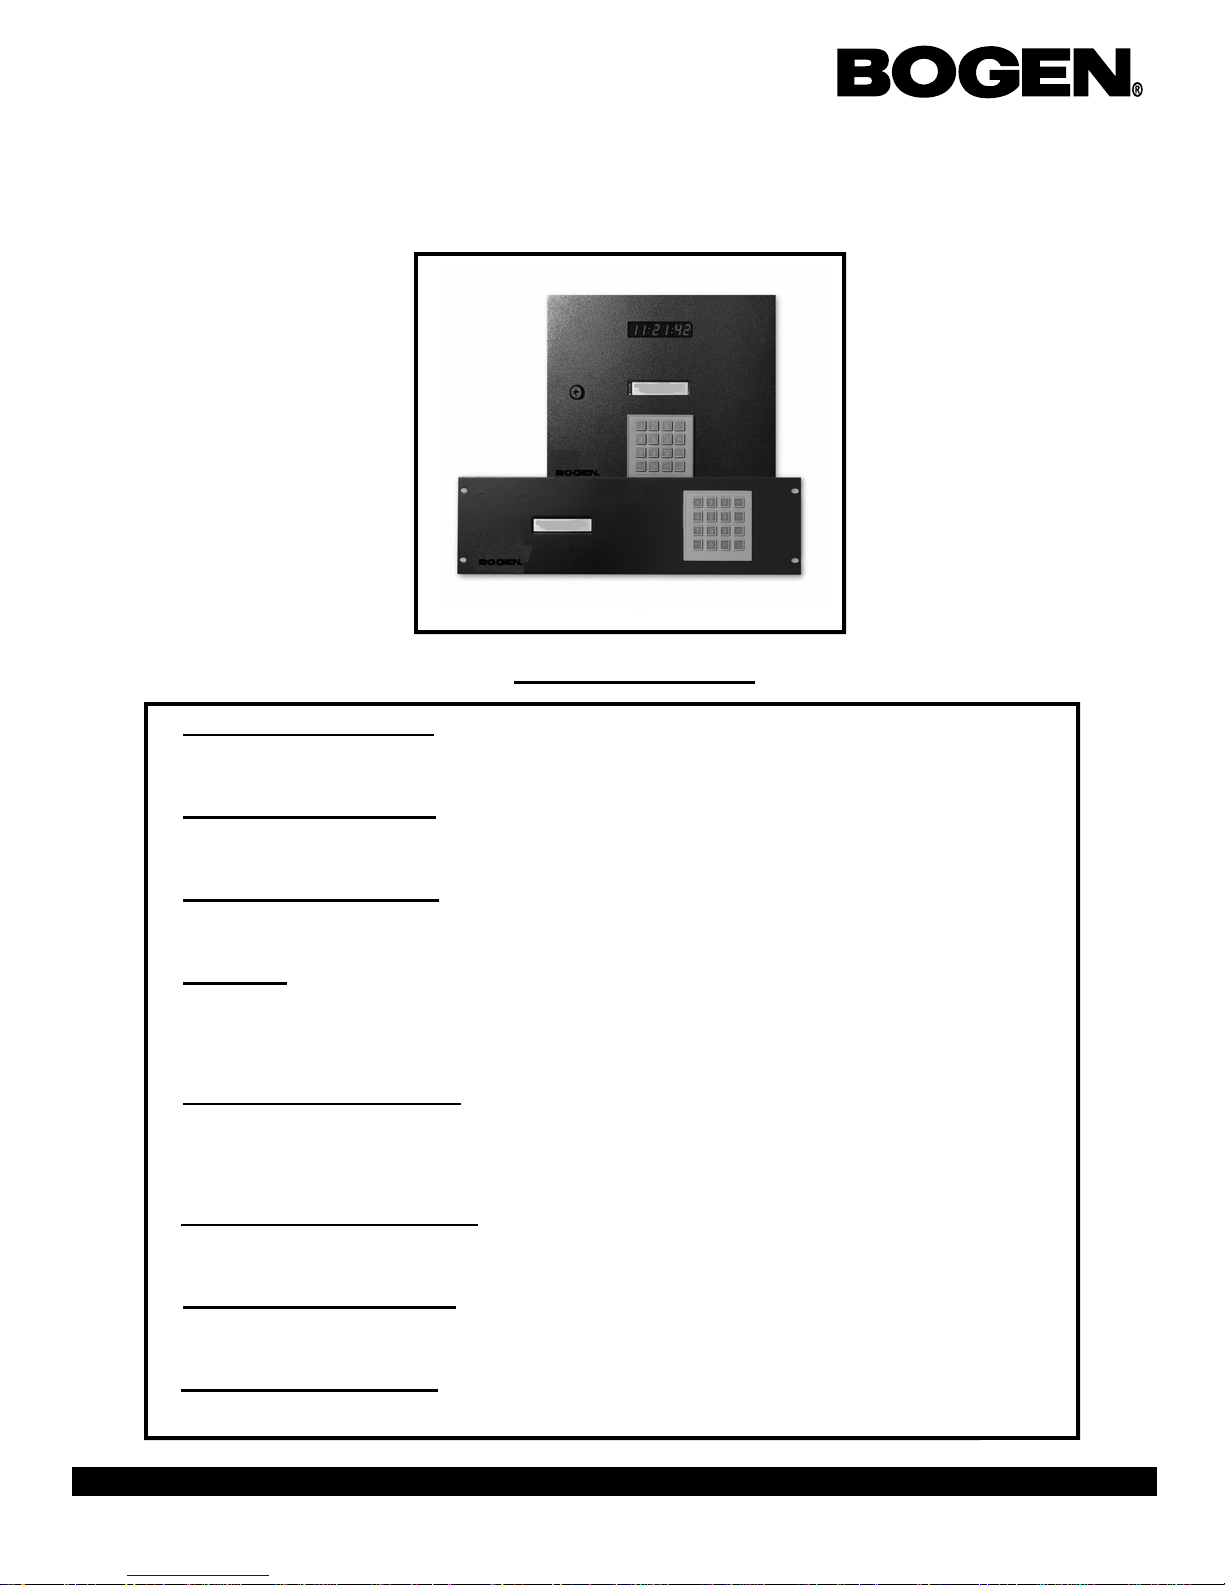
BCMC 3000 Series Master Clock Programming Manual
Table of Contents
GETTING STARTED
Getting Started…………………………………………………………………………….. Page 2
SETTING THE TIME
Setting The Time of Day...………………………………………………………………… Page 3
SETTING THE DATE
Setting the Date………………….………………………………………………………… Page 4
EVENTS
Programming Events..…………………………………………..………………………. Pages 4 - 5
Editing Events……………………………………………………………………………... Page 6
SCHEDULE CHANGES
Adding Schedule Changes…..….…………………………………………………………. Page 7
Edit Schedule Changes…………………………………………………………………….. Page 8
ACTIVATE MANUALLY
Activate Manually..…...…………………………………………………………………… Page 8
ADVANCED OPTIONS
Advanced Options……………………………………………………………………...….. Page 9
TECHNICIAN MODE
Technician Modes and Addresses……………………………………………………… Pages 9 - 12
50 Spring Street, P.O. Box 575, Ramsey, New Jersey 07446 Tel: 201-934-8500, Fax: 201-934-9832, Web Site: www.bogen.com
Page 1
Page 1
Page 2
BCMC 3000 Series Master Clock Programming Manual
Getting Started
Definitions
Event: A pre-programmed action, such as ringing of bells, at a specific time, which is triggered by
a relay closure in one or more of the zones of the master clock
Schedule: A series of programmed events. One schedule can include enough events to cover a com plete school day.
Zone: Each zone is controlled by a relay closure, to which devices such as bells or fire alarms can
be connected. The master clock has four zones as a standard, with up to twelve optional.
User programming features
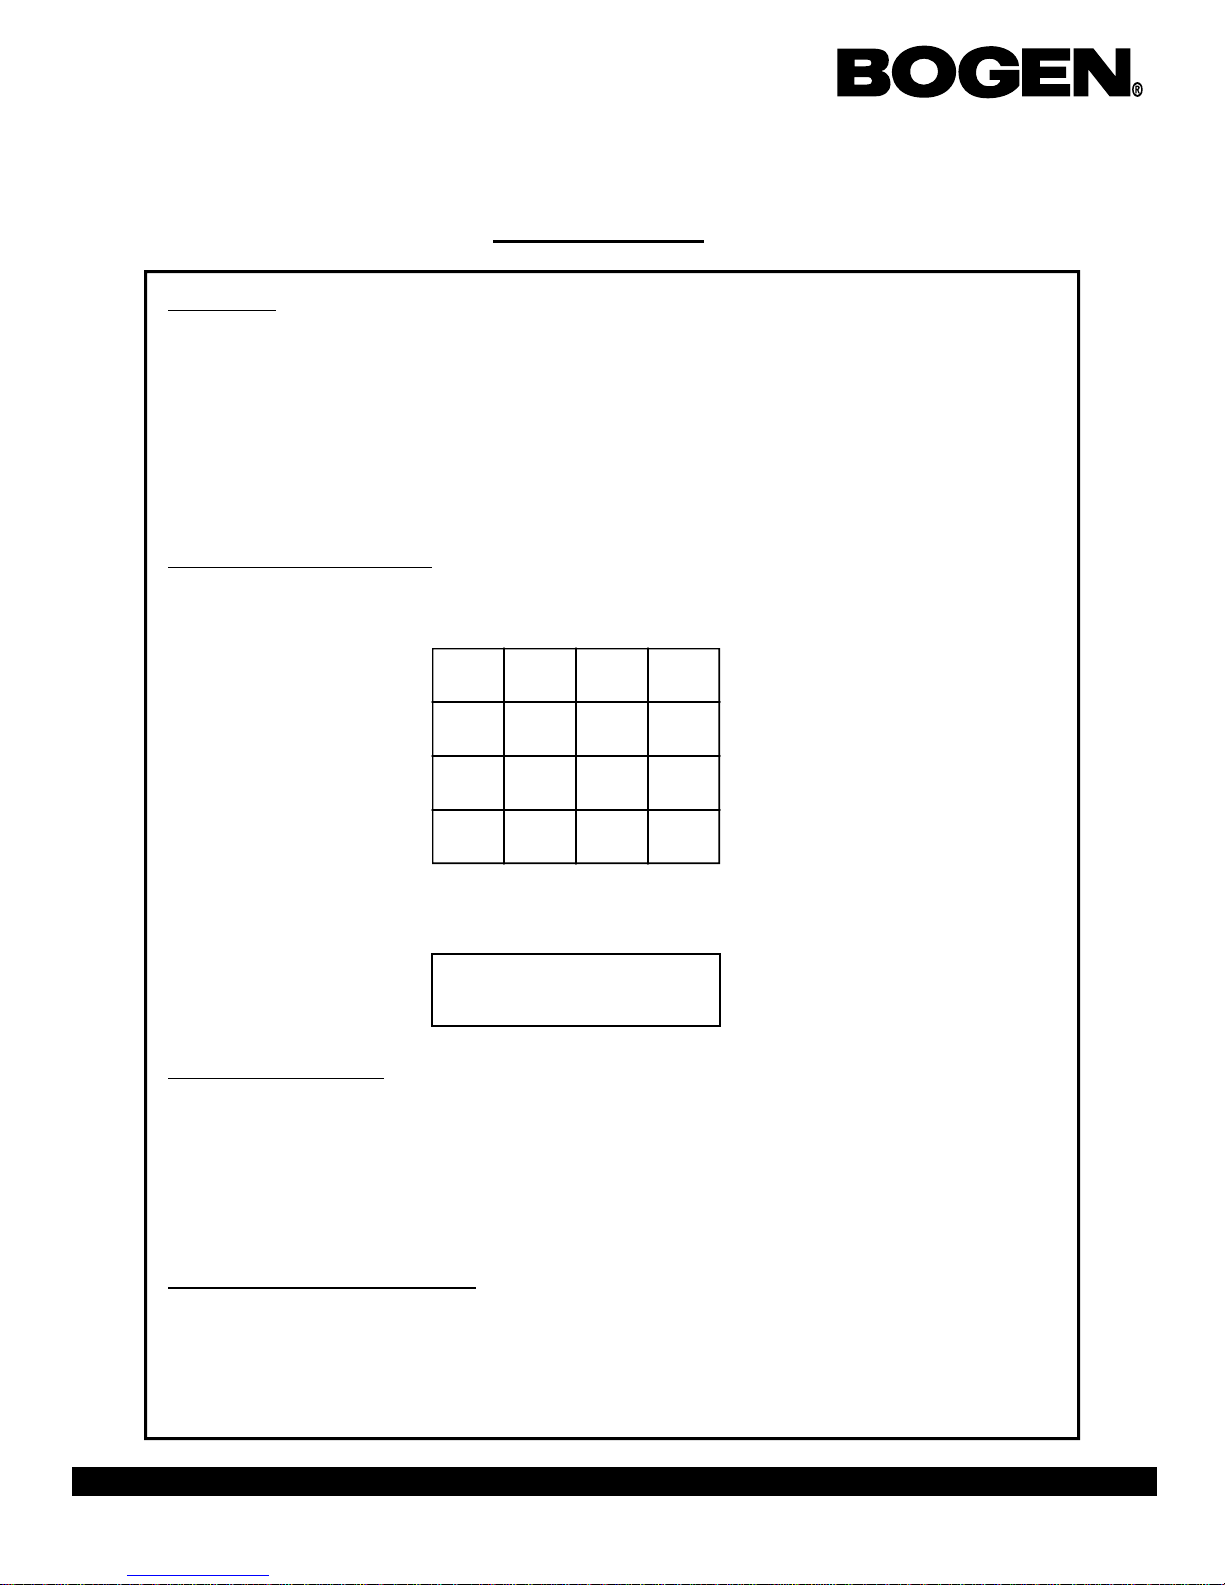
All user programming is to be done by using the 16-button keypad located on the front of the Sapling master
clock. The keypad is shown below:
The LCD display is 20 characters wide and consists of both a top and a bottom line. When the master is
powered on, the LCD display should read:
Entering the Password
To enter the user-programming mode you will need to use the 4-digit User Password provided on page one of
this manual. (The user password will be programmed prior to installation by the contracting company technician who is supplying the clock system.) Press the four digits of the password on the keypad. There is no
need to press the <YES/ENTER> key after entering the password. You will automatically be brought to the
next step upon entering the password. Please note: your password will be hidden as you enter it. The * sign
will appear instead of digits.
To Exit the Programming Mode
If at any time during programming, you wish to exit programming mode, press the <YES/ENTER> key or
the <NO/CLEAR> key, as appropriate, in response to the prompts on the LCD display. After scrolling
through all the options and responding to all applicable prompts the LCD display will then return to the main
screen.
1 2 3 ↓
4 5 6 ↑
7 8 9 →
YES 0 NO ←
Bogen Communications
Sch:001 hh:mm:ss
50 Spring Street, P.O. Box 575, Ramsey, New Jersey 07446 Tel: 201-934-8500, Fax: 201-934-9832, Web Site: www.bogen.com
Page 2
Page 3
BCMC 3000 Series Master Clock Programming Manual
Setting The Time Of Day
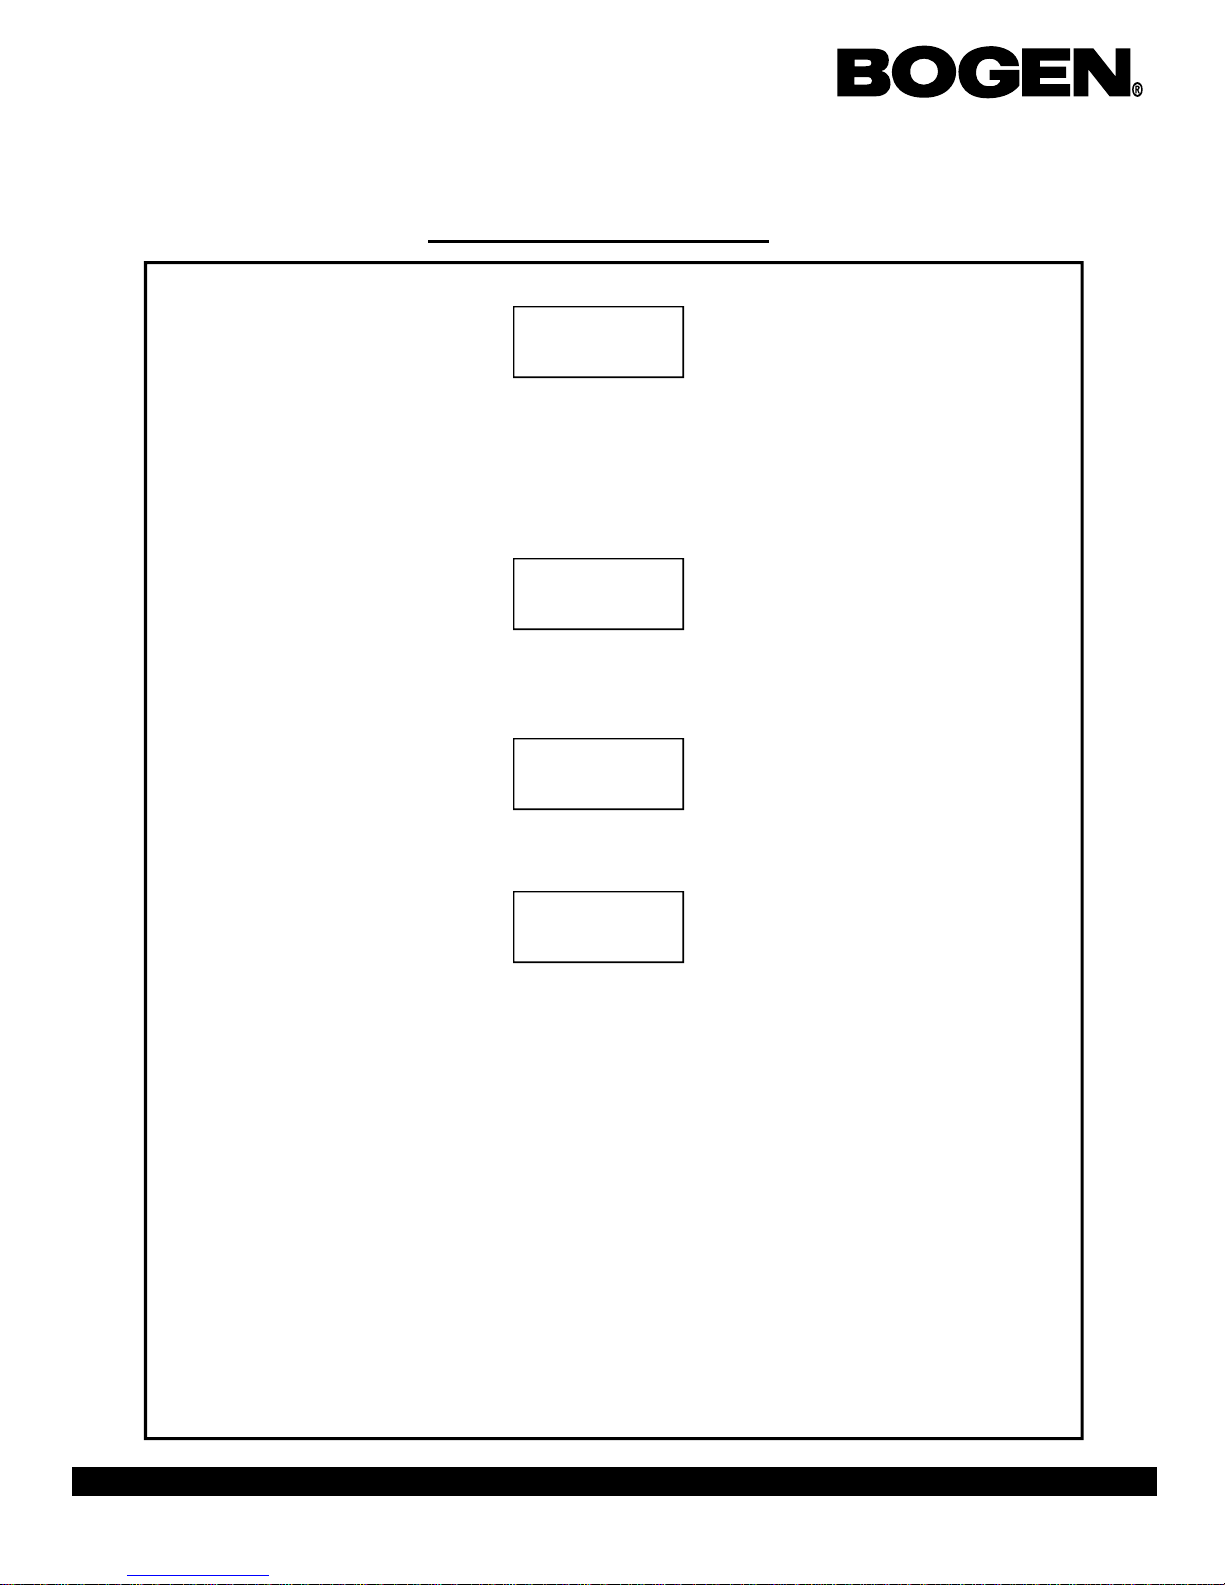
To begin, enter the user password when the master clock is at the main screen. The display
will read:
If you wish to change the time press the NO/CANCEL button on the keypad. If the time is
correct, press the YES/ENTER button.
If the YES/ENTER button is button is pressed, the display will go to the next option. If the
NO/CANCEL button is pressed, the display will read:
Enter the time that you want into that master clock in 24 hour mode.
The display will read:
Press the YES/ENTER key. Then the prompt will go back to:
Press the YES/ENTER button to advance to the next option.
Time OK?
hh:mm:ss
Enter Time:
??:??:??
Are You Sure
hh:mm:ss
Time OK?
hh:mm:ss
50 Spring Street, P.O. Box 575, Ramsey, New Jersey 07446 Tel: 201-934-8500, Fax: 201-934-9832, Web Site: www.bogen.com
Page 3
Page 4
BCMC 3000 Series Master Clock Programming Manual
Setting The Date
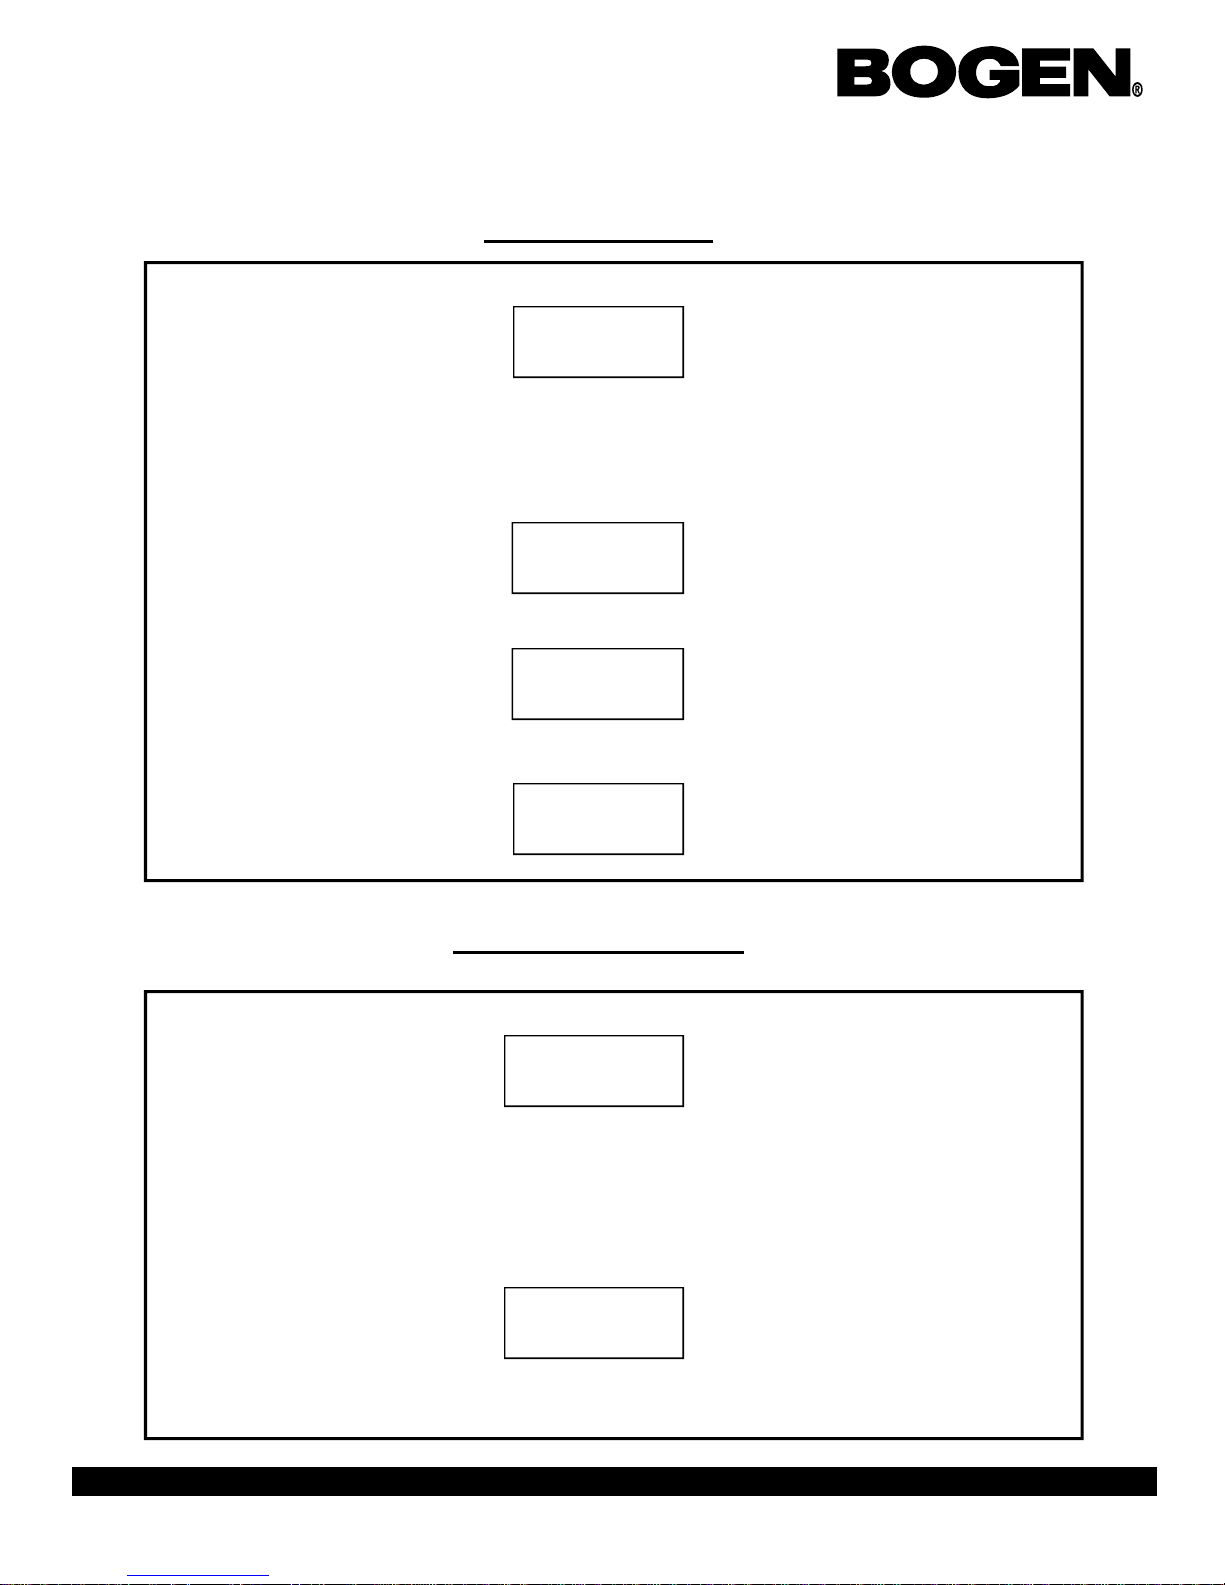
The prompt will read:
If you wish to change the date, press the NO/CANCEL button. If the date is correct, press the
YES/ENTER button and this will take you to the next option.
If you selected to change the date, then the display will read:
Enter the correct date. After entering the correct date in, the display will read:
Press the YES/ENTER button. The display will read:
Date OK?
mm.dd.yy
Enter Date:
??:??:??
Are you sure:
mm.dd.yy
Date OK?
mm.dd.yy
Programming Events
The prompt will read:
If you wish to enter programming, press the YES/ENTER button. If you do not wish to enter
programming, press the NO/CANCEL button and it will advance to the next option.
If you selected to add programming the display will read:
50 Spring Street, P.O. Box 575, Ramsey, New Jersey 07446 Tel: 201-934-8500, Fax: 201-934-9832, Web Site: www.bogen.com
Add Programming?
Sch 000 00:00:00
s,m,t,w,t,f,sa,mf,ed
Page 4
Page 5

BCMC 3000 Series Master Clock Programming Manual
Programming Events
Type in the schedule number that you want the event to occur on. After entering the schedule
number, the cursor will go to the time. Enter the time in 24 hour mode that you want the
event to transpire.
The cursor will go down to the days of the week. The list goes from Sunday through Saturday, as well as “mf” for Monday through Friday and “ed” for everyday. Move the cursor to
the desired day(s), and press the YES/ENTER button. The letters will capitalize confirming
your selection.
After making your selection press the ↓ arrow. A new display will come up and will read:
To toggle through the zones, press the → and ← arrow keys. To toggle through the durations, press the YES/ENTER button till the desired choice is made.
After selecting the options, press the ↓ arrow key. The display will read:
Press the YES/ENTER key to accept. The display will then read:
If you wish to enter more events, the master clock will keep the information for the durations
and days of the week selected, until the master clock goes back to the main screen.
Sch ### hh:mm:ss
Zone 001 Dur: N.A.
Sch ### hh:mm:ss
Are You Sure?
Add Programming?
50 Spring Street, P.O. Box 575, Ramsey, New Jersey 07446 Tel: 201-934-8500, Fax: 201-934-9832, Web Site: www.bogen.com
Page 5
Page 6

BCMC 3000 Series Master Clock Programming Manual
Editing Events
The display will read:
Press the YES/ENTER button if you wish to edit an event. If you do not wish to edit any
events, press the NO/CANCEL button.
If you selected to edit programming, the display will read:
Type in the schedule number of where the event is located. When the schedule number is entered a screen will come up that looks like the following:
Cycle through the events by using the ↓and ↑ buttons. When the event comes up that you
want to edit, press the YES/ENTER key and the display will come up that looks like the
following:
Follow the instructions on page 5 for programming events.
If you wish to delete the event, go to the schedule number and type 000. This will erase the
event. Then go down to accept the changes.
Edit Programming?
Sch 000
Sch 001 hh:mm:dd
Choose Event
Sch 000 00:00:00
s,m,t,w,t,f,sa,mf,ed
50 Spring Street, P.O. Box 575, Ramsey, New Jersey 07446 Tel: 201-934-8500, Fax: 201-934-9832, Web Site: www.bogen.com
Page 6
Page 7

BCMC 3000 Series Master Clock Programming Manual
Adding Schedule Changes
Schedule changes are necessary for days that involve early dismissals, 2 hour delays or special days.
The display will read:
Press the YES/ENTER button to add a schedule change. Press the NO/CANCEL button to
advance to the next option.
If the user chooses to add a schedule change, the display will read:
Enter the schedule that you wish to change to. Then the display will read:
Enter the time you wish the schedule change to occur. Then the display will read:
Enter the date you wish the schedule change to occur. Then the display will read:
Press the YES/ENTER button to accept the schedule change.
Add Schedule Change?
Sch 000
Sch ### 00:00:00
Enter Time
Sch ### 00.00.00
Enter Date
Sch ### mm.dd.yy
OK?
50 Spring Street, P.O. Box 575, Ramsey, New Jersey 07446 Tel: 201-934-8500, Fax: 201-934-9832, Web Site: www.bogen.com
Page 7
Page 8

BCMC 3000 Series Master Clock Programming Manual
Editing Schedule Changes
The display will read:
Press the YES/ENTER button to edit a schedule change. Press the NO/CANCEL button to
advance to the next option.
If the user selected to edit a schedule change, the display will read:
Scroll using the ↑ and ↓ buttons till the schedule change that you want to edit appears on the
display. Press the YES/ENTER button to edit. Follow the instructions on page 7 to set up a
schedule change.
If you wish to delete the schedule change, type in 000 over the schedule and accept the
changes.
Edit Schedule Change
Sch ### mm.dd.yy
Edit? hh:mm:ss
Activate Manually
The display will read:
Press the YES/ENTER button to enter this option. Press the NO/CANCEL button to leave
programming.
The display will read:
Scroll through the zones using the ← and → buttons. Press the YES/ENTER button to scroll
through the durations. Press the NO/CANCEL button when the user is done selecting their
preference. The display will read:
Press the YES/ENTER button to confirm.
50 Spring Street, P.O. Box 575, Ramsey, New Jersey 07446 Tel: 201-934-8500, Fax: 201-934-9832, Web Site: www.bogen.com
Activate Manually?
Press NO To Exit
Zone 001 Dur: N.A.
Are You Sure?
Page 8
Page 9

BCMC 3000 Series Master Clock Programming Manual
Advanced Options
There are two advanced programming options, they are "Clock System On/Off" and "Send Numeric Message".
“Clock System On (Off)?”
tion would be used to turn off the power if you wanted to perform maintenance on the slave clocks without turning off the entire system.
“Send Numeric Message?”
tal clocks, the master can send numeric messages to individual clocks, or groups of clocks, which have been assigned individual “addresses” by the technician prior to installation. If you wish to “silently page” someone by
flashing a code onto a specific digital clock location, this function allows you to send such a message.
- This allows the customer to control the power sent to the clock systems. This func-
- Only for use with a digital clock system. When used with Sapling SBD series digi-
Technician Mode
Type in the technician password: 6063
There are 46 different addresses in the Technician Mode. Each address does something different for the master
clock. The addresses are as follows:
Address Description Address Description
000 Customer Password 032 Duration 1 for Zone 4
004 Select clock system 034 Duration 2 for Zone 4
005 Select clock system 036 Duration 1 for Zone 5
006 Clock system on/off 038 Duration 2 for Zone 5
007 Enable numeric messaging 040 Duration 1 for Zone 6
008 Send BELL message Zone 1 042 Duration 2 for Zone 6
009 Send BELL message Zone 2 044 Duration 1 for Zone 7
010 Send BELL message Zone 3 046 Duration 2 for Zone 7
011 Send BELL message Zone 4 048 Duration 1 for Zone 8
012 Send BELL message Zone 5 050 Duration 2 for Zone 8
013 Send BELL message Zone 6 052 Duration 1 for Zone 9
014 Send BELL message Zone 7 054 Duration 2 for Zone 9
015 Send BELL message Zone 8 056 Duration 1 for Zone 10
016 Send BELL message Zone 9 058 Duration 2 for Zone 10
017 Send BELL message Zone 10 060 Duration 1 for Zone 11
018 Send BELL message Zone 11 062 Duration 2 for Zone 11
019 Send BELL message Zone 12 064 Duration 2 for Zone 12
020 Duration 1 for Zone 1 066 Duration 2 for Zone 12
022 Duration 2 for Zone 1 069 Enable Daylight Savings Time
024 Duration 1 for Zone 2 071 Keyboard time-out
026 Duration 2 for Zone 2 078 RS485 transmission rate
028 Duration 1 for Zone 3 079 Self test
030 Duration 2 for Zone 3 080 Reset to default values
50 Spring Street, P.O. Box 575, Ramsey, New Jersey 07446 Tel: 201-934-8500, Fax: 201-934-9832, Web Site: www.bogen.com
Page 9
Page 10

BCMC 3000 Series Master Clock Programming Manual
T echnician Addr esses
Customer Password
Address 000: This address allows the customer password to be modified. The default value
is 1111. This password can be any four (4) characters.
Clock System Selection
Address 004: This address controls Clock System #1 (000 is off, default value is 006)
Address 005: This address controls Clock System #2 (000 is off, default value is 001)
Clock System On/Off
Address 006: This address controls the Clock Systems (000 is off, default value is 001, 002
allows the user to manually control the power sent to the clock systems)
Send Numeric Message
Address 007: This address enables/disables the numeric messaging function. This function
can only be used when running a digital clock system (except the BCBL 1000 series). Numeric messaging allows the customer to send a numeric message to individual clocks, or to a
group of clocks in the system, or to all the clocks. To allow for numeric messaging, enter
“001” to enable this feature. “000” turns this feature off. (default value is 000)
Send Bell Message
Address 008 - 019: This address enables/disables the Bell message function. This function
can only be used when running a digital clock system (BCBD 1000, BCBZ Zone, or BCBD
2000 series). It sends a message to the digital clocks whenever the relay closes to display the
word “BELL” on the digital clock screen whenever a bell rings. This function is helpful
when dealing with a hearing-impaired community. You can program the master clock to
send the Bell message to individual clock zones by entering the programmed zone into each
address. There are four relays that come standard with each master clock, with an additional
eight as options. Addresses 008 through 019 turn on or off this option for each relay/zone in
the master clock. Enter “001” to send a bell message to each zone (default value is 255 and
will disable this function).
Duration Settings For Zones
Address 020 - 066: These addresses allow the user to set the desired duration of the relay
closure from 1 - 3600 seconds. Addresses 020 - 034 control the standard four (4) zones. Addresses 036 - 066 control the option eight relays that are available. For example, Address
020 is Duration 1 for Zone 1 (default value is 3). Address 022 is Duration 2 for Zone 1
(default value is 5). Address 024 is Duration 1 for Zone 2. Address 026 is Duration 2 for
Zone 2, etc.
50 Spring Street, P.O. Box 575, Ramsey, New Jersey 07446 Tel: 201-934-8500, Fax: 201-934-9832, Web Site: www.bogen.com
Page 10
Page 11

BCMC 3000 Series Master Clock Programming Manual
T echnician Addr esses
Enable/Disable Daylight Savings Time
Address 069: This address allows the user to enable/disable Daylight Savings Time. Entering 001 will disable this feature. Entering 000 will enable DST (default is 000)
Keyboard Time-out
Address 071: This option allows the user to set how much time elapses in between keystrokes before the master clock will automatically “time out” of programming mode and return to the main screen. This option is set is seconds from 001 - 255. “000” will disable this
feature (default value is 30).
RS485 Transmission Rate
Address 078: When using the master clock to control an RS485 clock system, you can control how often data from the master is transmitted to the slave clocks (default value is 001).
001 = data transmitted every second
002 = data transmitted every 5 seconds
003 = data transmitted every 10 seconds
004 = data transmitted every 15 seconds
005 = data transmitted every 30 seconds
006 = data transmitted every minute
007 = data transmitted every 2 minutes
008 = data transmitted every 5 minutes
009 = data transmitted every 10 minutes
010 = data transmitted every 15 minutes
011 = data transmitted every 30 minutes
Any other value will turn off RS485 data transmission
BIT Testing
Address 079: This address enters the self testing mode called BIT testing. This tests all aspects of the master clock. Any value entered in this address will activate the BIT tests
(default value is 000).
Keypad: Press YES to test the keypad. Press the buttons as shown on the display on the
master clock. After completion, the display will display the next option.
LEDs: Press NO at this option.
Real Time Clock: Press YES to enter this test. This will check the internal time base of the
master clock. If the Real Time Clock passes the test, at the end of test, the display will read:
“RT-Clock OK. Press any key.” Press any key to advance to the next option.
EEPROM: Press YES to enter this test. This will check the EEPROM to make sure the master is functioning properly. If it passes the test, the display will read: “EEProm OK”.
50 Spring Street, P.O. Box 575, Ramsey, New Jersey 07446 Tel: 201-934-8500, Fax: 201-934-9832, Web Site: www.bogen.com
Page 11
Page 12

BCMC 3000 Series Master Clock Programming Manual
T echnician Addr esses
RAM: This will test to make sure the RAM is functioning optimally. Press YES to enter this
test. If the RAM tests good, the display will read “RAM OK”.
Relays: Press YES to test the relays. Enter the number of zones to test. Pressing 1 tests
Zones 1 - 4. Pressing 2 tests Zones 1 - 8. Pressing 3 tests Zones 1 - 12.
Inputs: Press YES to test the inputs. Use a jumper to jump pins 5 and 6. The Clk in: will
flash between 0 and 1.
Communication Out: The master clock will check the communication output. An oscilloscope is needed, and you should get a square wave if the communication output is functioning properly.
Reset
Address 080: This address will clear out the programming and will reset to the manufacturer’s preset parameters. The default value is 255. Any different values will prompt for the
user to clear the programming.
50 Spring Street, P.O. Box 575, Ramsey, New Jersey 07446 Tel: 201-934-8500, Fax: 201-934-9832, Web Site: www.bogen.com
Page 12
 Loading...