

Bluestream BS001CR User Manual
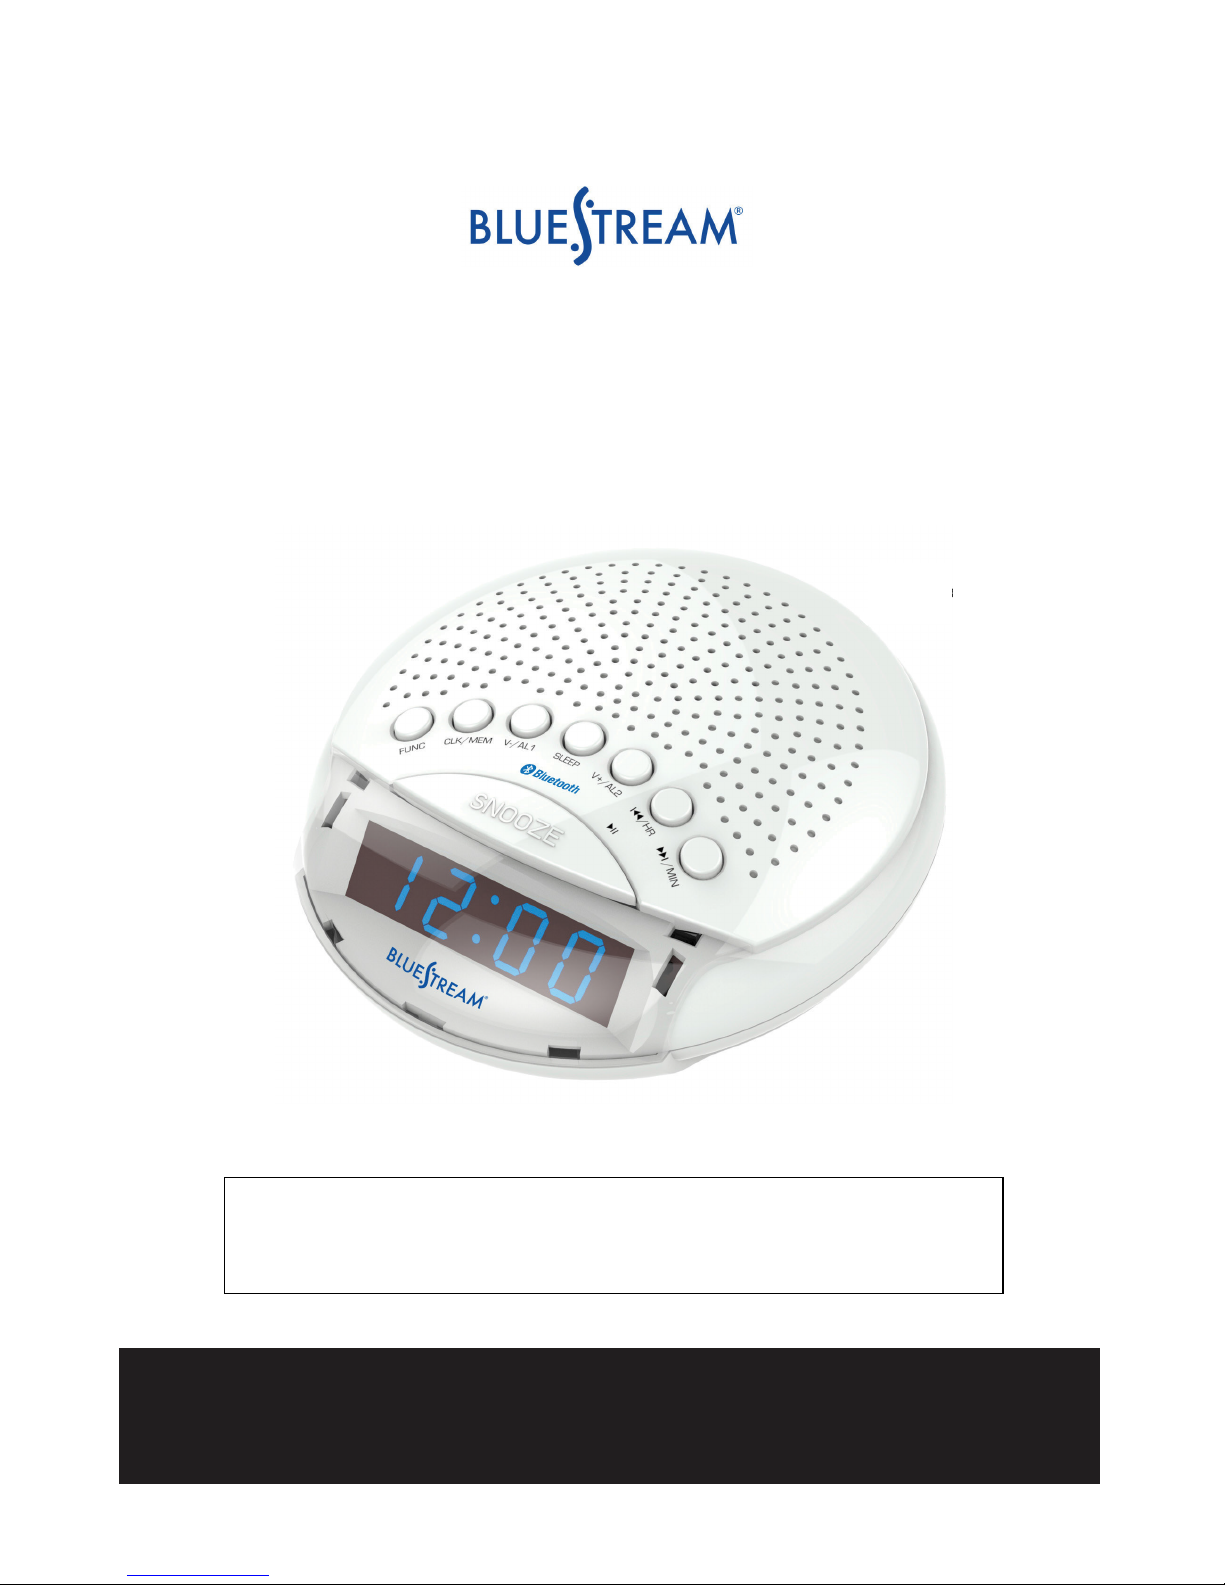
BLUETOOTH CLOCK RADIO
Model: BS001CR
PLEASE READ THIS USER MANUAL COMPLETELY BEFORE
OPERATING THIS UNIT AND RETAIN THIS BOOKLET FOR
FUTURE REFERENCE.
For technical assistance or troubleshooting please
call 1-855-719-8324 or visit www.sibrandssupport.com
WARNINGS
• To reduce the risk of fire or electric shock, do not expose this appliance to rain or moisture.
• To reduce the risk of electric shock, do not open the cabinet. No user serviceable parts are inside. Refer
servicing to qualified personnel.
• This appliance uses a Laser System. To prevent direct exposure to the laser beam do not open the cabinet.
Visible and invisible laser radiation is present when the cabinet is open. Avoid direct exposure and do not stare
into the beam.
• Batteries should not be exposed to excessi
ve heat such as direct sunlight, fire, or other heat sources.
• Caution: Do not expose this appliance to dripping or splashing liquids. Do not put objects filled with liquid, such
as vases on or near the appliance.
• Caution: To turn this appliance off completely, the POWER cord must be unplugged from the wall outlet. The
power cord must be easily accessible at all times.
THE LIGHTNING FLASH WITH
ARROWHEAD SYMBOL, WITHIN
AN EQUILATERAL TRIANGLE,
IS INTENDED TO ALERT THE
USER TO THE PRESENCE OF
NON-INSULATED "DANGEROUS
VOLTAGE" WITHIN THE
PRODUCT'S ENCLOSURE THAT
MAY BE OF SUFFICIENT
MAGNITUDE TO CONSTITUTE
A RISK OF ELECTRIC SHOCK
TO PERSONS.
CAUTION
DO NOT OPEN
WARNING: TO REDUCE THE
RISK OF ELECTRIC SHOCK, DO
NOT REMOVE THE FRONT OR
REAR COVER. NO USER
SERVICEABLE PARTS ARE
INSIDE. REFER SERVICING TO
QUALIFIED SERVICE
PERSONNEL.
THE EXCLAMATION POINT
WITHIN AN EQUILATERAL
TRIANGLE IS INTENDED TO
ALERT THE USER TO THE
PRESENCE OF IMPORTANT
OPERATING AND MAINTENANCE
(SERVICING) INSTRUCTIONS IN
THE LITERATURE
ACCOMPANYING THE
APPLIANCE.
FCC WARNINGS
WARNING: Changes or modifications to this unit not expressly approved in this manual could void the
user’s authority to operate the equipment.
NOTE: This equipment has been tested and found to comply with the limits for a Class B digital device, pursuant to
Part 15 of the FCC Rules. These limits are designed to provide reasonable protection against harmful interference in
a residential installation. This equipment generates, uses, and can radiate radio frequency energy and, if not installed
and used in accordance with the instructions, may cause harmful interference to radio co
mmunications. However,
there is no guarantee that interference will not occur in a particular installation. If this equipment does cause harmful
interference to radio or television reception, which can be determined by turning the equipment off and on, the user is
encouraged to try to correct the interference by one or more of the following measures:
• Reorient or relocate the receiving antenna.
• Increase the separation between the equipment and receiver.
• Connect the equipment into an outlet on a circuit different from that to which the receiver is connected.
• Consult the dealer or an expe
rienced radio/TV technician for help.
IMPORTANT SAFETY INSTRUCTIONS
1) Read these instructions.
2) Keep these instructions.
3) Heed all warnings.
4) Follow all instructions.
5) Do not use this apparatus near water.
6) Clean only with dry cloth.
7) Do not block any ventilation openings. Install in accordance with the manufacturer's instructions.
8) Do not install near any heat sources such as radiators, heat registers, stoves, or other apparatus (including
amplifiers) that produce heat.
9) Do not defeat the safety purpose of the polarized or grounding-type plug. A polarized plug has two blades with
one wider than the other.
A grounding type plug has two blades and a third grounding prong. The wide blade
and/or the third prong are provided for your safety. If the provided plug does not fit into your outlet, consult an
electrician for replacement of the obsolete outlet.
10) Protect the POWER cord from being walked on or pinched particularly at plugs, convenience receptacles, and
the point where they exit from the apparatus.
11) Only use attachments/accessories specified by the manufacturer.
12) Use only with the cart, stand, tripod, bracket, or table specified by the manufacturer, or
sold
with the apparatus. When a cart is used, use caution when moving the cart/apparatus
combination to avoid injury from tip-over.
13) Unplug this apparatus during lightning storms or when unused for long periods of time.
14) Refer all servicing to qualified service personnel. Servicing is required when the apparatus has been damaged in
any way, such as POWER-supply cord or plug is damaged, liquid has been spilled or objects have fallen into the
apparatus, the apparatus has been exposed to rain or moisture, does not operate normally, or has been dropped.
2
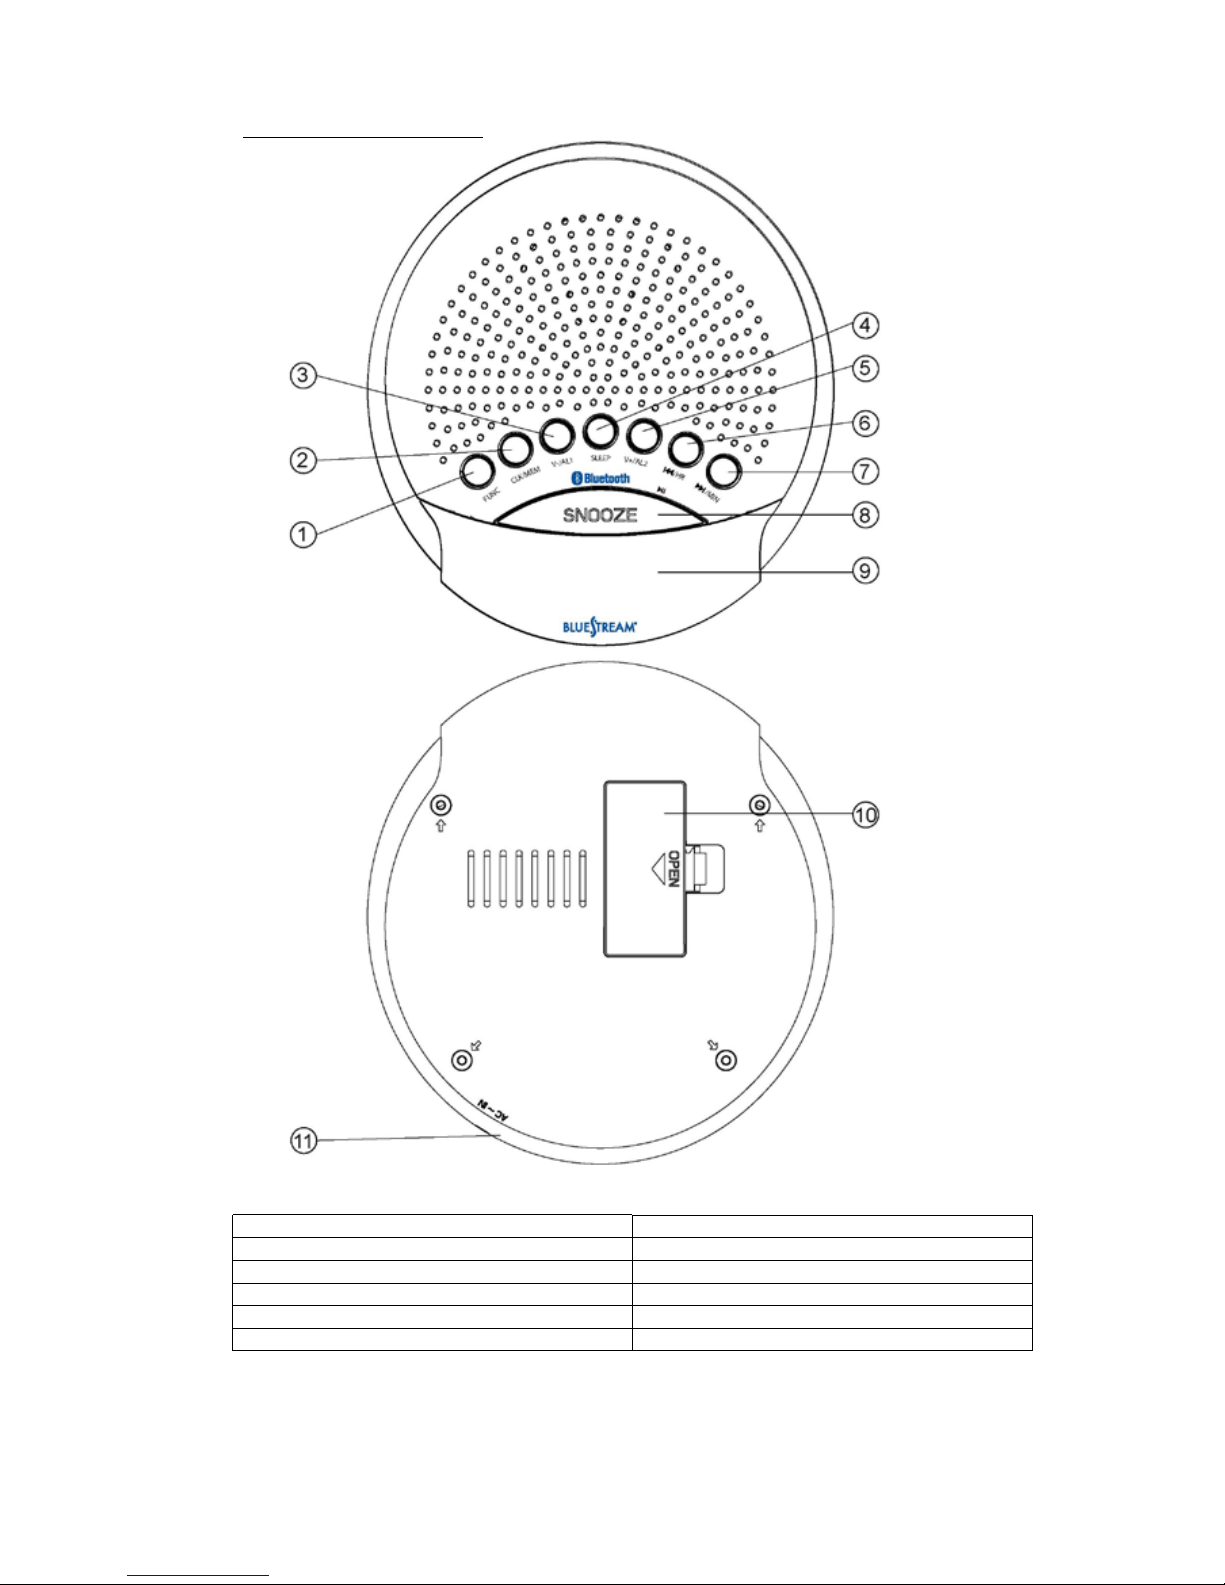
LOCATION OF CONTROLS
1. FUNCTION button
7. NEXT / MINUTE button
2. CLOCK / MEMORY button
8. SNOOZE button
3. VOLUME DOWN / ALARM-1 button
9. LED Display
4. SLEEP button
10. Battery Door
5. VOLUME UP / ALARM-2 button
11. AC Power Cord
6. PREV / HOUR button
• AC 120V~60Hz to DC 6V 0.4A
3
NOTE: Some buttons have multiple functions based on if the function requires a
“Press” (Press & Immediately Release the button) command or a “Press & Hold”
(Press & Hold the button for 1-2 seconds) command.

SETTING THE TIME
NOTE: Before setting the TIME make sure all of the non-clock functions (BLUETOOTH, FM,
AM) are turned OFF. If any of the non-clock functions are playing, turn the function OFF by
simply pressing & holding the FUNCTION button (1).
1. Press & hold the CLOCK / MEMORY button (2) until the time flashes on the LED
display. Once the time is flashing you can release the CLOCK / MEMORY button (2).
2. Press the PREV /
HOUR button (6) repeatedly until the correct HOUR is shown on
the LED display.
• NOTE: The “AM” Indicator
Light (A) will turn ON when the hour is set to AM.
For PM hours the “AM” Indicator Light (A) will turn OFF.
3. Press the NEXT / MINUTE button (7) repeatedly until the correct MINUTE is shown
on the LED display.
12:34
B
C F
E
A
EXPLANATION OF DISPLAY LIGHTS
LETTER DESCRIPTION
A
B
C
D
E
“AM” INDICATOR LIGHT
ALARM-1 BUZZER INDICATOR LIGHT
ALARM-1 RADIO INDICATOR LIGHT
ALARM-2 BUZZER INDICATOR LIGHT
ALARM-2 RADIO INDICATOR LIGHT
F
D
BLUETOOTH INDICATOR LIGHT
4
NOTE: Some buttons have multiple functions based on if the function requires a
“Press” (Press & Immediately Release the button) command or a “Press & Hold”
(Press & Hold the button for 1-2 seconds) command.
 Loading...