

Blue Rhino NB1854WR User Manual
OWNER’S MANUAL
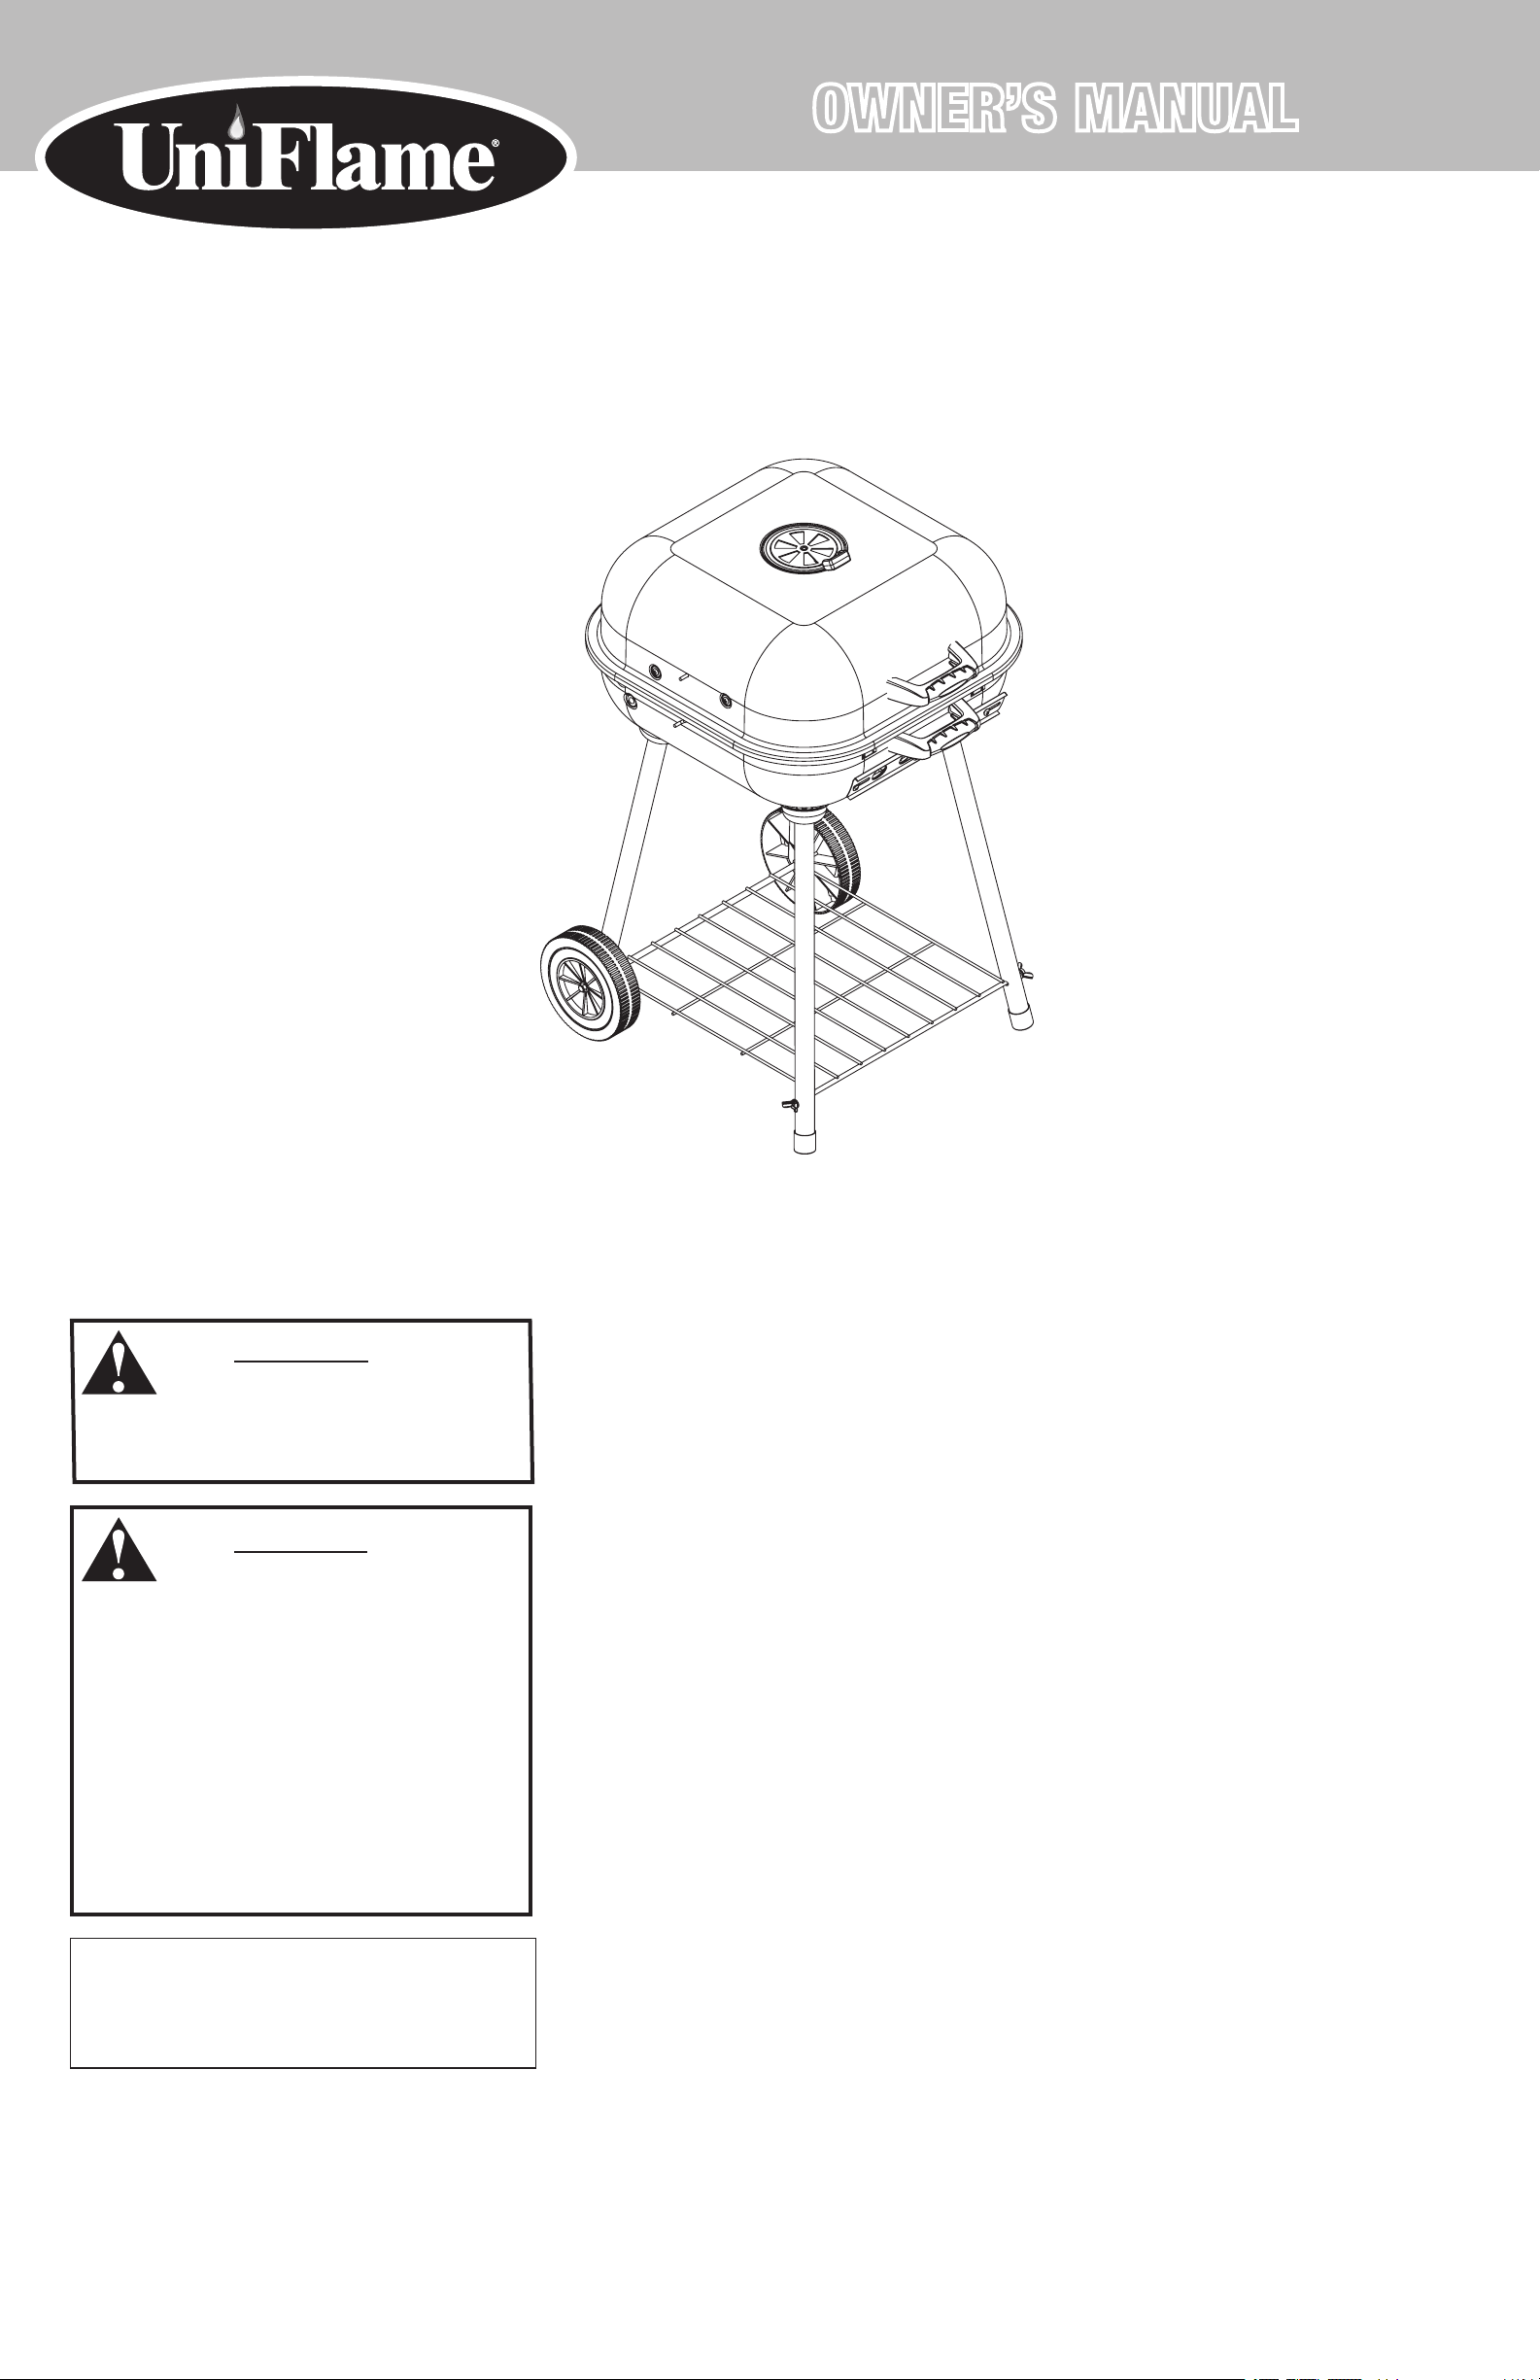
Outdoor Charcoal Grill
Model No. NB1854WR
WARNING
FOR YOUR SAFETY:
For Outdoor Use Only
(outside any enclosure)
WARNING
FOR YOUR SAFETY:
1. Improper installation, adjustment, alteration,
service or maintenance can cause injury or
property damage.
2. Read the installation, operation, and
maintenance instructions thoroughly before
installing or servicing this equipment.
3. Failure to follow these instructions could
result in fire or explosion, which could
cause property damage, personal injury, or
death.
Table of Contents
Important Safeguards . . . . . . . . . . . . . . . . . . . . . . . . . . . . . . . . . . . . . . . . . . . . . . . . . . . .1
Assembly Instructions . . . . . . . . . . . . . . . . . . . . . . . . . . . . . . . . . . . . . . . . . . . . . . . . . . . .1
Operating Instructions . . . . . . . . . . . . . . . . . . . . . . . . . . . . . . . . . . . . . . . . . . . . . . . . . . 3
Cleaning and Care . . . . . . . . . . . . . . . . . . . . . . . . . . . . . . . . . . . . . . . . . . . . . . . . . . . . . .3
Product Registration . . . . . . . . . . . . . . . . . . . . . . . . . . . . . . . . . . . . . . . . . . . . . . . . . . . . .3
Limited Warranty . . . . . . . . . . . . . . . . . . . . . . . . . . . . . . . . . . . . . . . . . . . . . . . . . . . . . . 3
Exploded View & Hardware . . . . . . . . . . . . . . . . . . . . . . . . . . . . . . . . . . . . . . . . Appendix A
Save these instructions for future reference.
If you are assembling this unit for someone else,
give this manual to him or her to read and save
for future reference.
Manufactured in China for:
Blue Rhino Global Sourcing, LLC
104 Cambridge Plaza Drive, Winston-Salem, NC 27104 USA
1.800.762.1142, www.bluerhino.com
© 2004 Blue Rhino Global Sourcing, LLC. All Rights Reserved
UniFlame® is a Registered Trademark of Blue Rhino Global Sourcing, LLC. All Rights Reserved NB1854WR-OM-102 ES

Outdoor Charcoal Grill Model No. NB1854WR
B
H
J
F
K
L
G
WARNING
FOR YOUR SAFETY
1. This grill is for outdoor use only, and shall not be used in a building,
garage, or any other enclosed area.
2. This grill is NOT for commercial use.
3. Do not use grill for indoor cooking or heating. Toxic carbon monoxide
fumes can accumulate and cause asphyxiation.
4. Do not use gasoline, kerosene, or alcohol for lighting.
5. Do not use in an explosive atmosphere. Keep grill area clear and free
from combustible materials, gasoline and other flammable vapors and
liquids.
6. Do not store or use gasoline or other flammable liquids or vapors
within 25 feet (7.62 m) of this appliance.
7. Instant light charcoal can burn at very high temperatures during
initial startup. Make sure lid is open until charcoal turns to hot coals.
8. Keep all combustible items and surfaces at least 21 inches (53 cm)
away from the grill at all times. DO NOT use this grill or any gas
product under any overhead or near any unprotected combustible
constructions.
9. Do not alter grill in any manner.
10. Do not use the grill unless it is completely assembled and all parts
are securely fastened and tightened.
11. This grill should be thoroughly cleaned and inspected on a regular
basis.
12. Use only Blue Rhino Global Sourcing, LLC. factory authorized parts.
The use of any part that is not factory authorized can be dangerous.
This will also void your warranty. Contact 1.800.762.1142.
17. Do not use in or on boats or recreational vehicles.
18. Position grill so wind can not carry ashes to combustible surfaces.
19. Do not use in high winds.
20. Never lean over the grill when lighting.
21. Do not leave a lit grill unattended, especially keep children and pets
away from grill at all times.
22. Do not attempt to move grill when in use. Allow the grill to cool
before moving or storing.
23. Always open grill lid carefully and slowly as heat and steam trapped
within grill can severely burn you.
24. Always place your grill on a hard, level surface. An asphalt or
blacktop surface may not be acceptable for this purpose.
25. Do not remove the ashes until all ashes are completely and fully
extinguished.
26. Live hot briquettes and coals can create a fire hazard.
27. Always empty the ash catcher and grill after each use. Do
not remove the ashes until all ashes are completely and fully
extinguished.
28. Do not place fuel (charcoal briquets, wood or lump charcoal) directly
into bottom of grill. Place fuel only on the charcoal pan/grid.
29. Check to make sure the air vents are free of debris and ash before
and while you are using the grill.
30. Make sure ash catcher is securely and completely in place before
using the grill.
13. Do not use this appliance without reading “Operating Instructions” in
this manual.
14. Do not touch metal parts of grill until it has completely cooled (about
45 min.) to avoid burns, unless you are wearing protective gear (pot
holders, gloves, BBQ mittens, etc.).
15. Never touch grates (charcoal or cooking), ashes or coals to see if
they are hot.
16. Do not use on wooden decks, wooden furniture or other combustible
surfaces.
31. Always wear protective gloves when adding fuel to retain desired
heat level.
32. Keep all electrical cords away from a hot grill.
33. Always use a meat thermometer to ensure food is cooked to a safe
temperature.
34. Deaths, serious injury or damage to property may occur if the above
is not followed exactly.
Assembly Instructions
DO NOT RETURN PRODUCT TO STORE.
For assistance call 1.800.762.1142 toll free. Please have your owner’s manual and serial
number available for reference.
For Easiest Assembly:
• To avoid losing any small components or hardware, assemble your product on a hard level
surface that does not have cracks or openings.
• Clear an area large enough to layout all components and hardware.
• When applicable, tighten all hardware connections by hand first. Once the step is
completed go back fully tighten all hardware.
• Follow all steps in order to properly assemble your product.
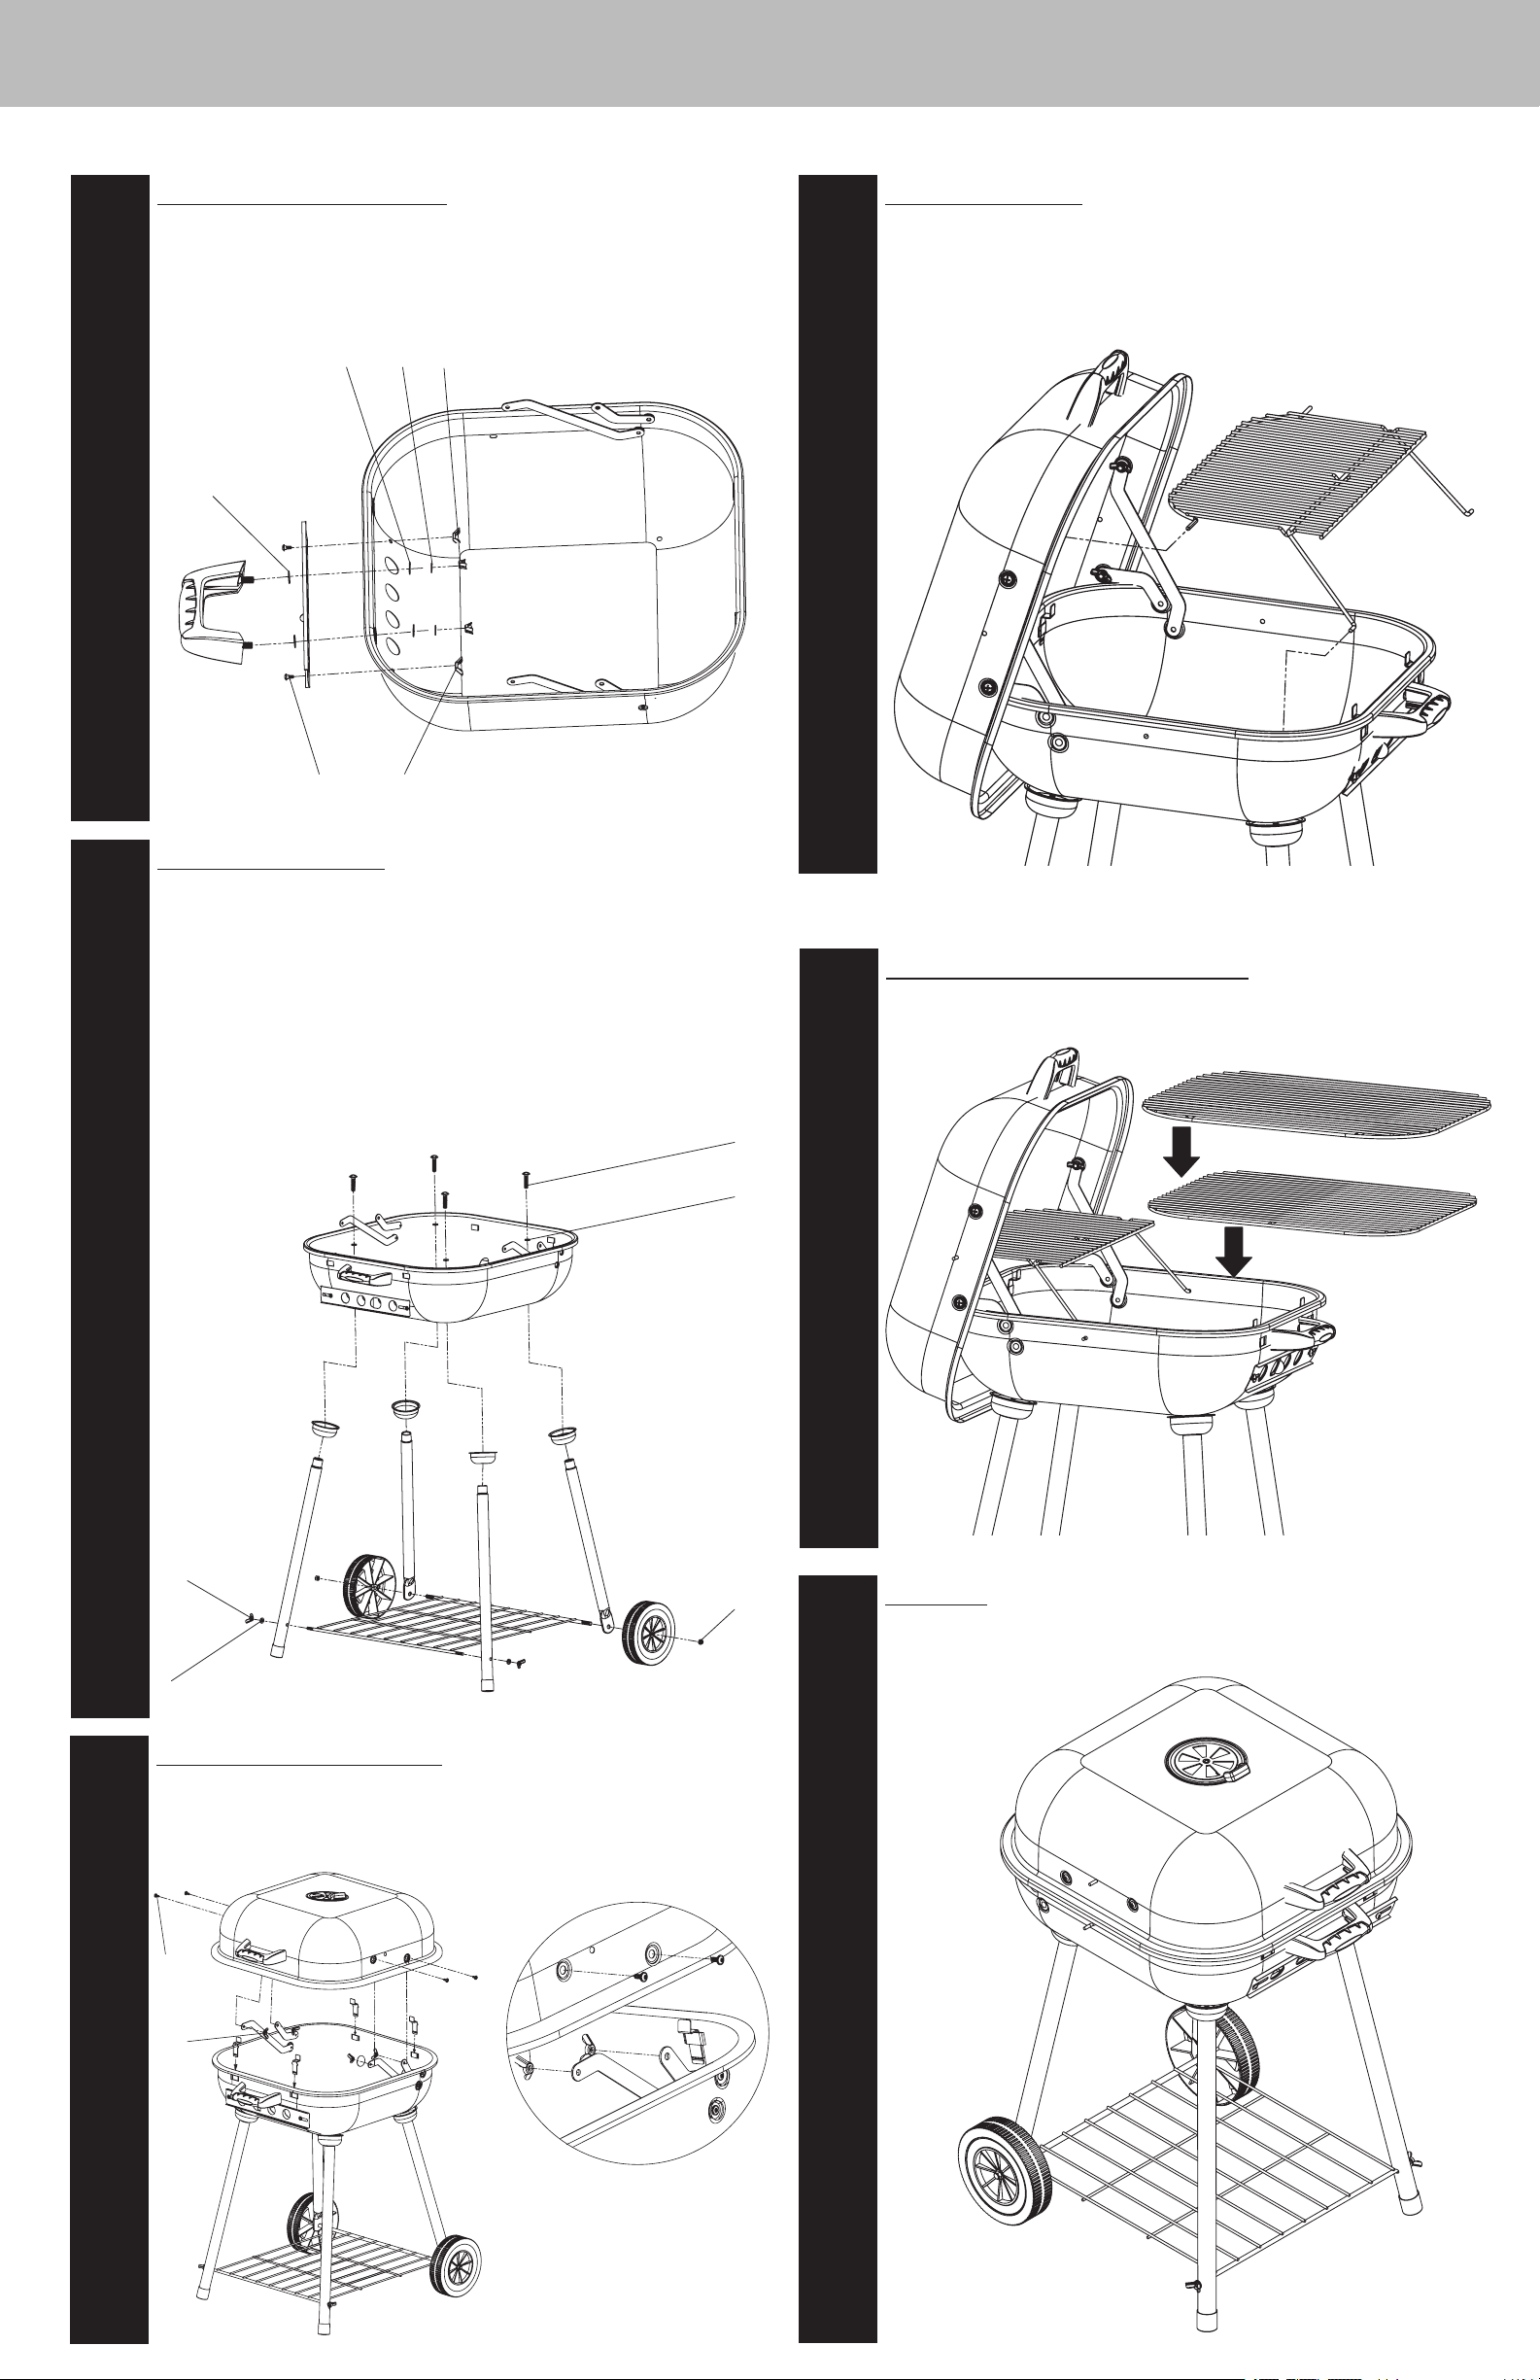
Step
1
Attach handle and air vent
A. Attach handle to lid using 2 sets of heat resistant washers (J), small washer (H),
large lock washer (L), large wing nut (G).
B. Attach air vent to lid using medium screw (B), small lock washer (K) and medium
wing nut (F).
Contact 1.800.762.1142 for assistance. Do not return to place of purchase.
A
E
J
L
H
G
H
G
D
C
I
E
A
page no.
2
Step
2
Attach handle and air damper
A. Attach handle to bottom bowl using 2 sets of heat resistant washers (J), small
washer (H), large lock washer (L), large wing nut (G).
B. Attach air damper to bottom bowl using 2 sets of small screws (A) and small
wing nuts (E).
Step
5
Insert warming rack
A. Slide warming rack into holes in lid and bottom bowl.
Note: Look for corresponding holes on side of lid. Insert short wire ends into lid
holes, one side at a time. Position warming rack legs into slots on grill body sides.
B. Cut zip tie on warming rack.
Step
3
Attach legs and wheels
A. Attach front legs and wheel legs to bottom bowl using 4 sets of leg cups, large
washers (I), and large screws (C).
Note: Do not tighten large screws (C) until bottom support grid is attached.
B. Attach bottom support grid to front legs using 2 sets of small washers (H) and
large wing nuts (G).
C. Attach wheels and bottom support grid to wheel legs using 2 sets of wheel nuts
(D).
D. Tighten all 4 large screws (C).
Step
6
Insert charcoal grid and cooking grid
Place charcoal grid and cooking grid into bottom bowl.
Step
Completed
Congratulations your assembly is now complete. Read Operating Instructions
before proceeding.
7
Step
4
Attach top lid to bottom bowl
A. Attach lid to bottom bowl using 4 sets of small screws (A) and small wing
nuts (E).
B. Insert support clips.
 Loading...