


iSENDER
!1
BLUEBROADCASTER iSENDER!
User Guide

!2
How it works!
Bluetooth 3!
WiFi 4
Set Up!
Hardware Set-up!
Quick Start 5!
Set up Continued 6
iSender Portal!
Logging in 7!
General Layout 8!
Portal Menu 9!
Getting Started 10!
Home Devices List 11!
Devices Config 12!
Bluetooth!
Bluetooth Files 13!
Bluetooth Campaign 14
WiFI"
"
WiFi Campaign 15!
WiFi Route 16!
Reports!
Statistics Retrieval 17!
Statistics Visibility 18
Commands/Operations!
!
Commands/Operations 19
Forms"
"
Create a form 20!
Contents
!3
Device Detection. The iSender scans for nearby Bluetooth enabled
devices located up to 200 meters (660 feet) away, actual distance is
dependant on exterior conditions and the target mobile type.!
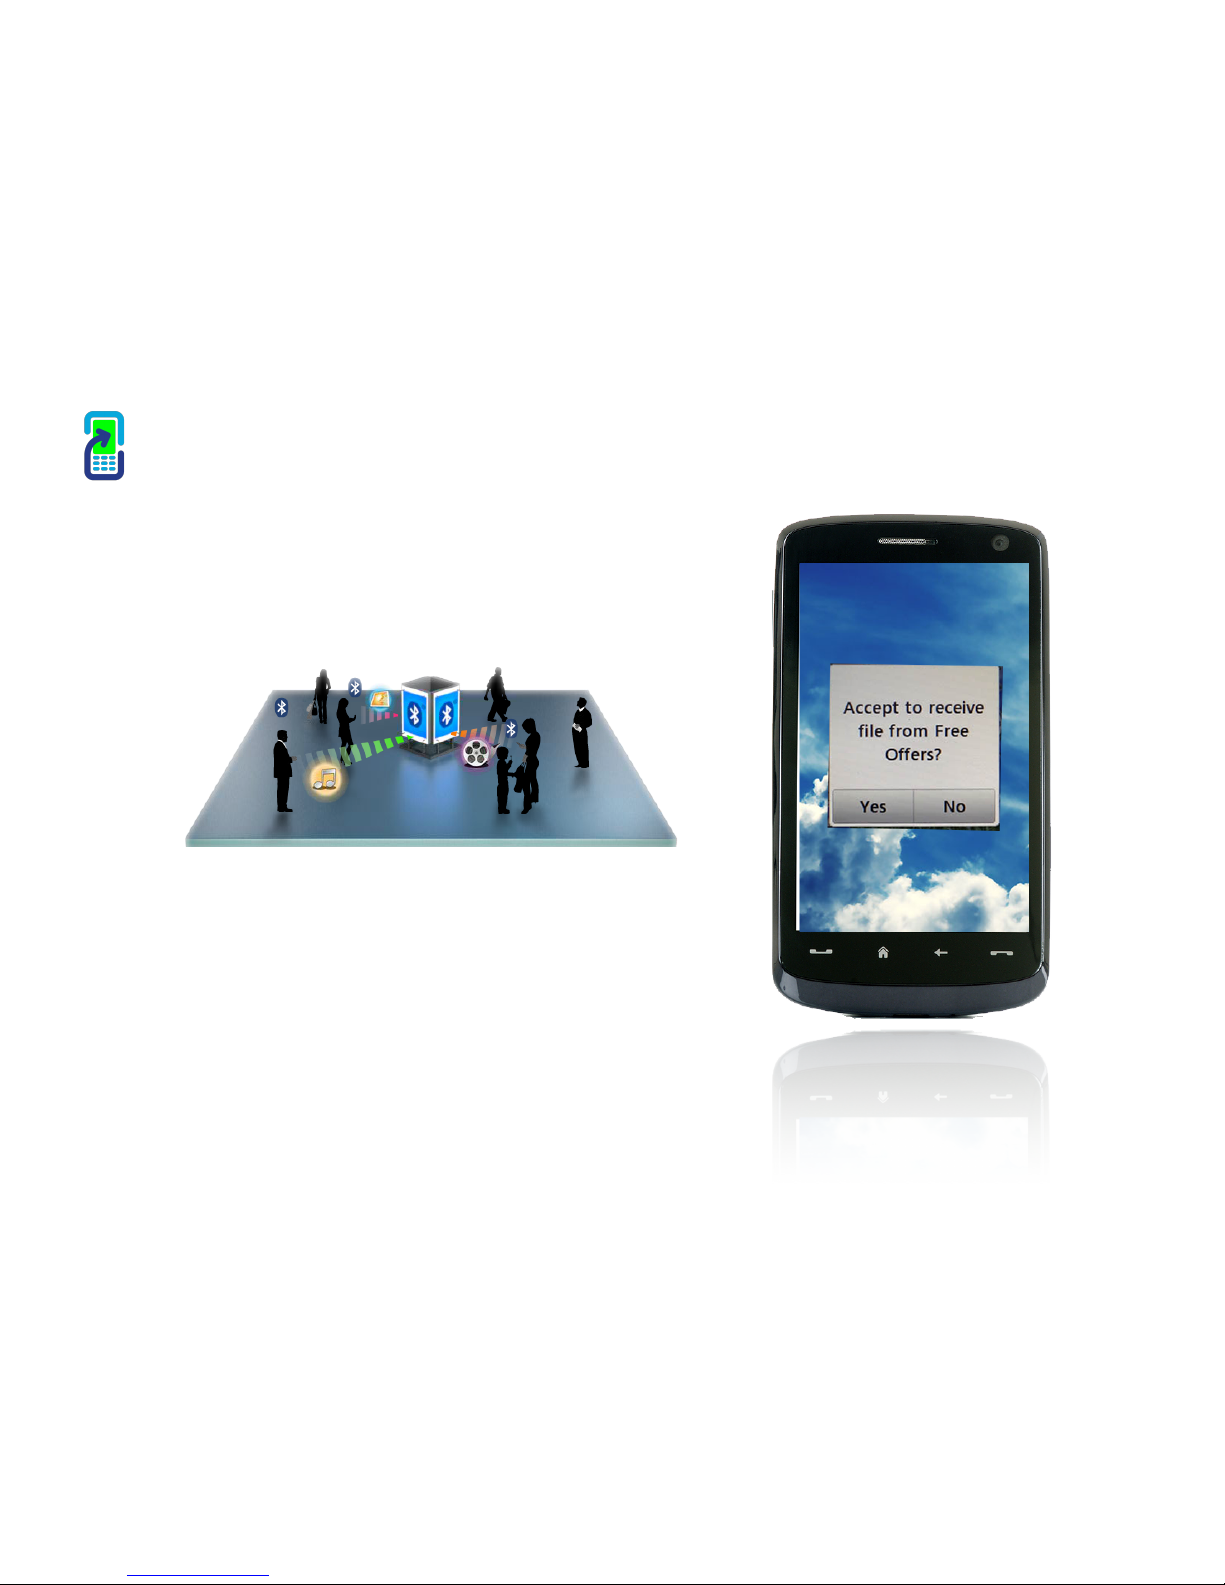
Permission Request. System sends a permission request to each
mobile prior to sending any content. It looks like “Receive data from
‘Free Offers’?” (Free Offers can be configured in Bluetooth Campaigns)!
!
!
!
Permission Accepted. Once user has accepted the request, the
system sends the data.!
Permission Declined. If a user declines the request the iSender places
the device into a blacklist and the device is not contacted again unless
the Blacklist is cleared.
!
Permission Missed. - A user occasionally misses the request, perhaps
because the device is not accessible. If this is the case the iSender will
attempt 3 times, if the request is not seen by the user, the device is
placed into the Blacklist.
Bluetooth Marketing!
How it works

!4
WiFi Marketing!
How it works
Device Detection.!
System generates a WiFi hotspot for any smart phone with WiFi capability
to join. i.e. iPhones, Blackberry, Android, iPad, etc
Mobile Operational Procedures of WiFi Marketing:!
a. Turn on WiFi, search for the available WiFi hotspot.
b. Connect to the WiFi Hotspot.
c. Direct your Browser to any website or webpage.!
iSender WiFi mode options.!
Option 1. Redirect to Intranet then Internet. "
"
When any WiFi user connects to the device hotspot, they are initially
directed to the !
web page or website that you have uploaded into the device. If a
button or link is placed in your content then when a user click on
that link they are taken to that URL.!
Option 2. Redirect Intranet."
"
When WiFi users connect to the hotspot, the user is immediately
redirected to the !
specific website that has been programmed into the settings, only
after a set period of configurable time are users able to surf the
internet freely.
Firmware Options:
The iSender has two firmware options,
1. Apple Pre Browser. - When iPhones connect to your content the
pre browser automatically opens.
2. Apple Normal Browser - When iPhones connect to you WiFi, the
browser has to be opened.

!5
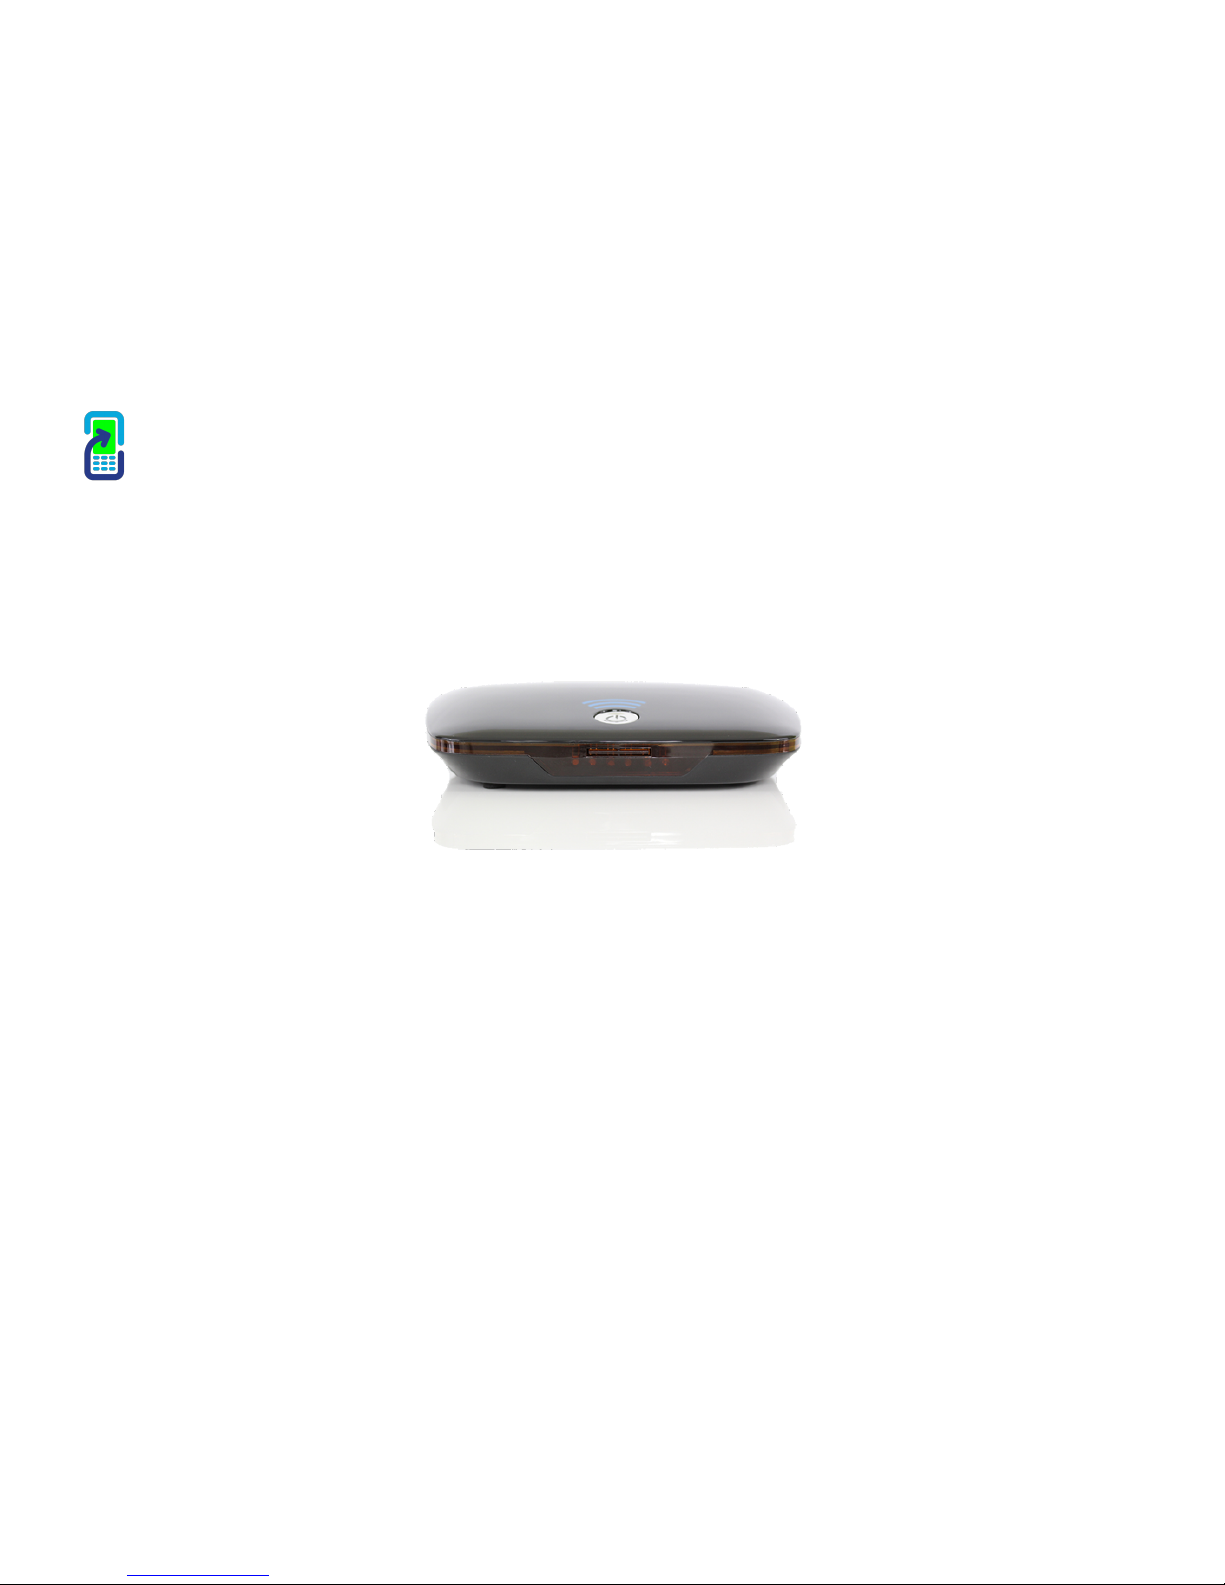
Quick Start!
Set up
1.
Connect Mains Adaptor to power supply connector (1).
2.
Connect the Antennas to the SMA antenna connectors (5).
(Don't over tighten)
3.
Connect an ethernet cable to your internet router and the other
to your device ethernet port (4).
4.
Press the power button to turn on the Proximity Marketing
Device.
1.
Power Supply
2.
Reset Button
3.
USB Ports
4.
Ethernet Port
5.
SMA Antenna Connector

!6
Quick Start!
Set up Continued
1.
POWER - Solid Red light.!
2.
BLUETOOTH - Flashing Green Light when device broadcasting over Bluetooth!
3.
READ/WRITE - Blue Flashing intermittent light when device reading/writing.!
4.
WIFI - Amber WiFi network established. Solid light."
5.
WIFI - Amber WiFi network established. Solid light."
6.
WIFI - Amber WiFi network established. Solid light."
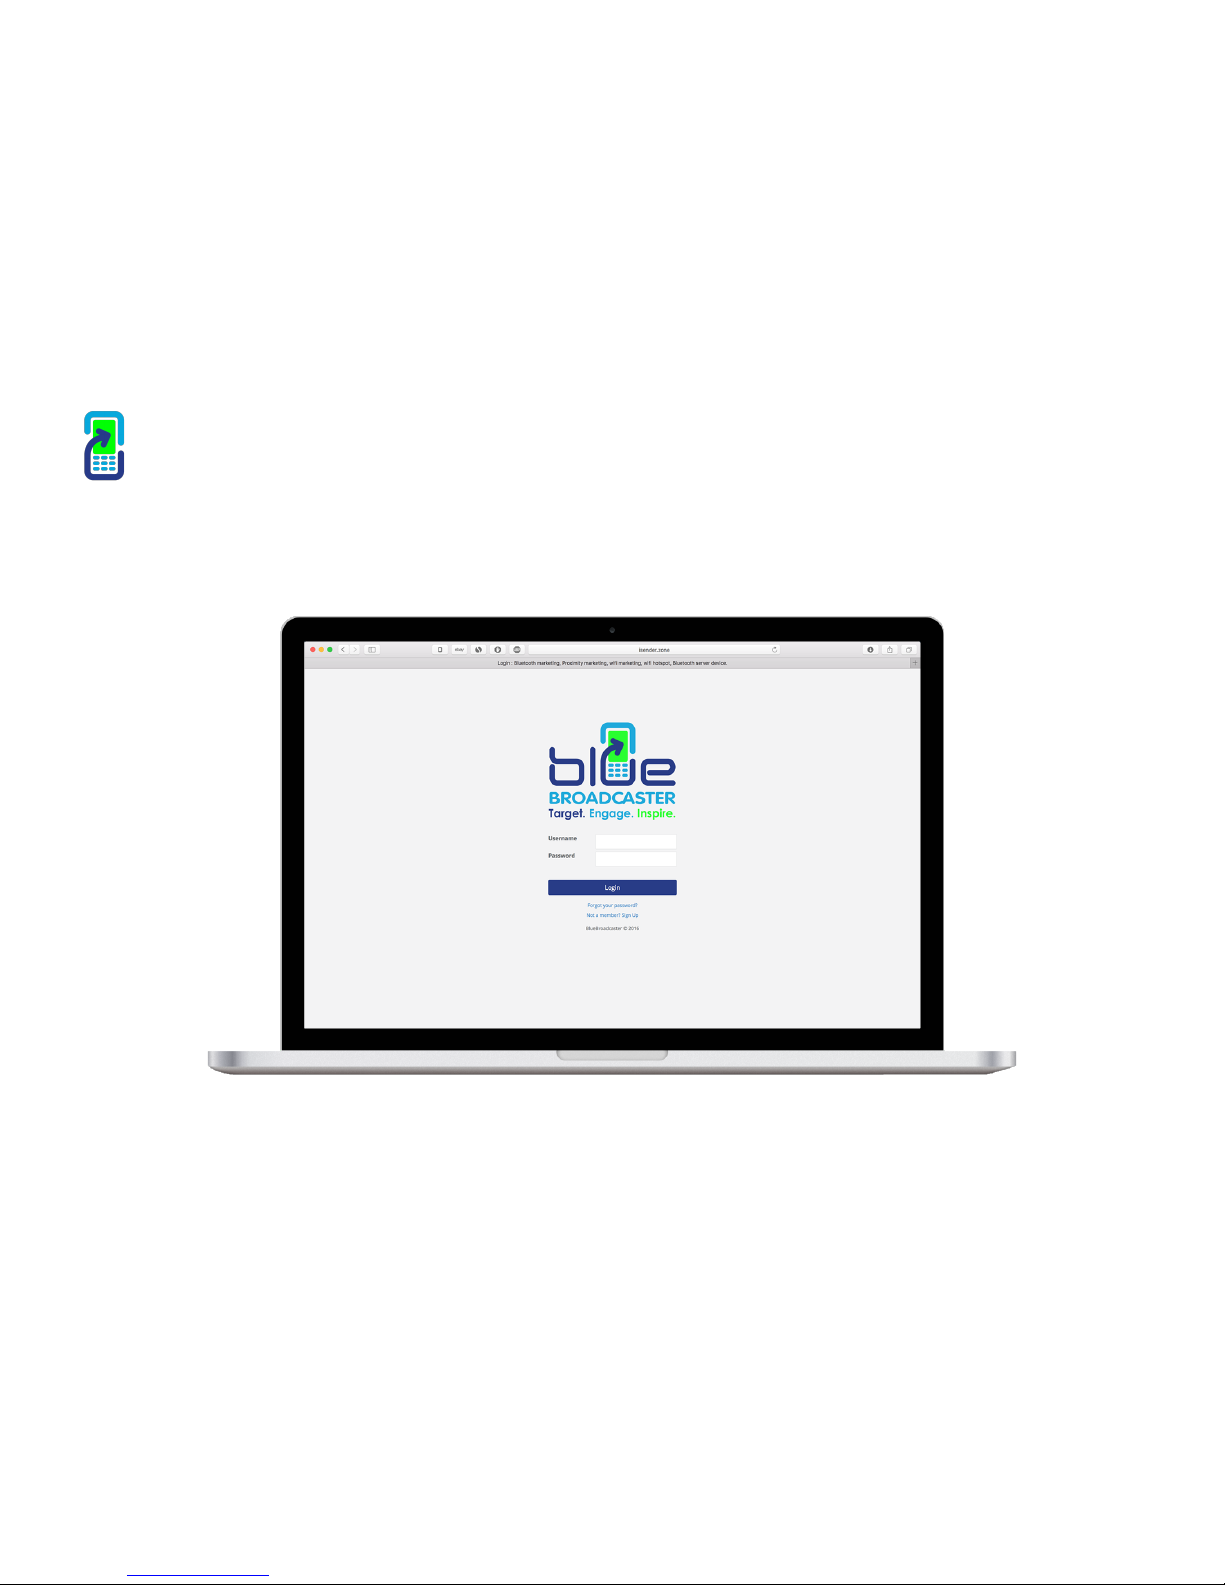
!7
iSender Portal!
Logging In
Navigate to http://www.isender.zone
Log in using your log in credentials or click the sign up link.
 Loading...