

Page 1

Blueair Pro
User Manual
Page 2
Contents
Welcome 4
The Blueair Pro Series Air Purifiers 5
Getting the Most from
Your Blueair System 6
Getting Star ted 7
Settings 8
Care and Maintenance 10
How it Works 11
Changing the Filter 12
Adding the Carbon+ Filter 14
Filters 15
Air Intelligence Module 16
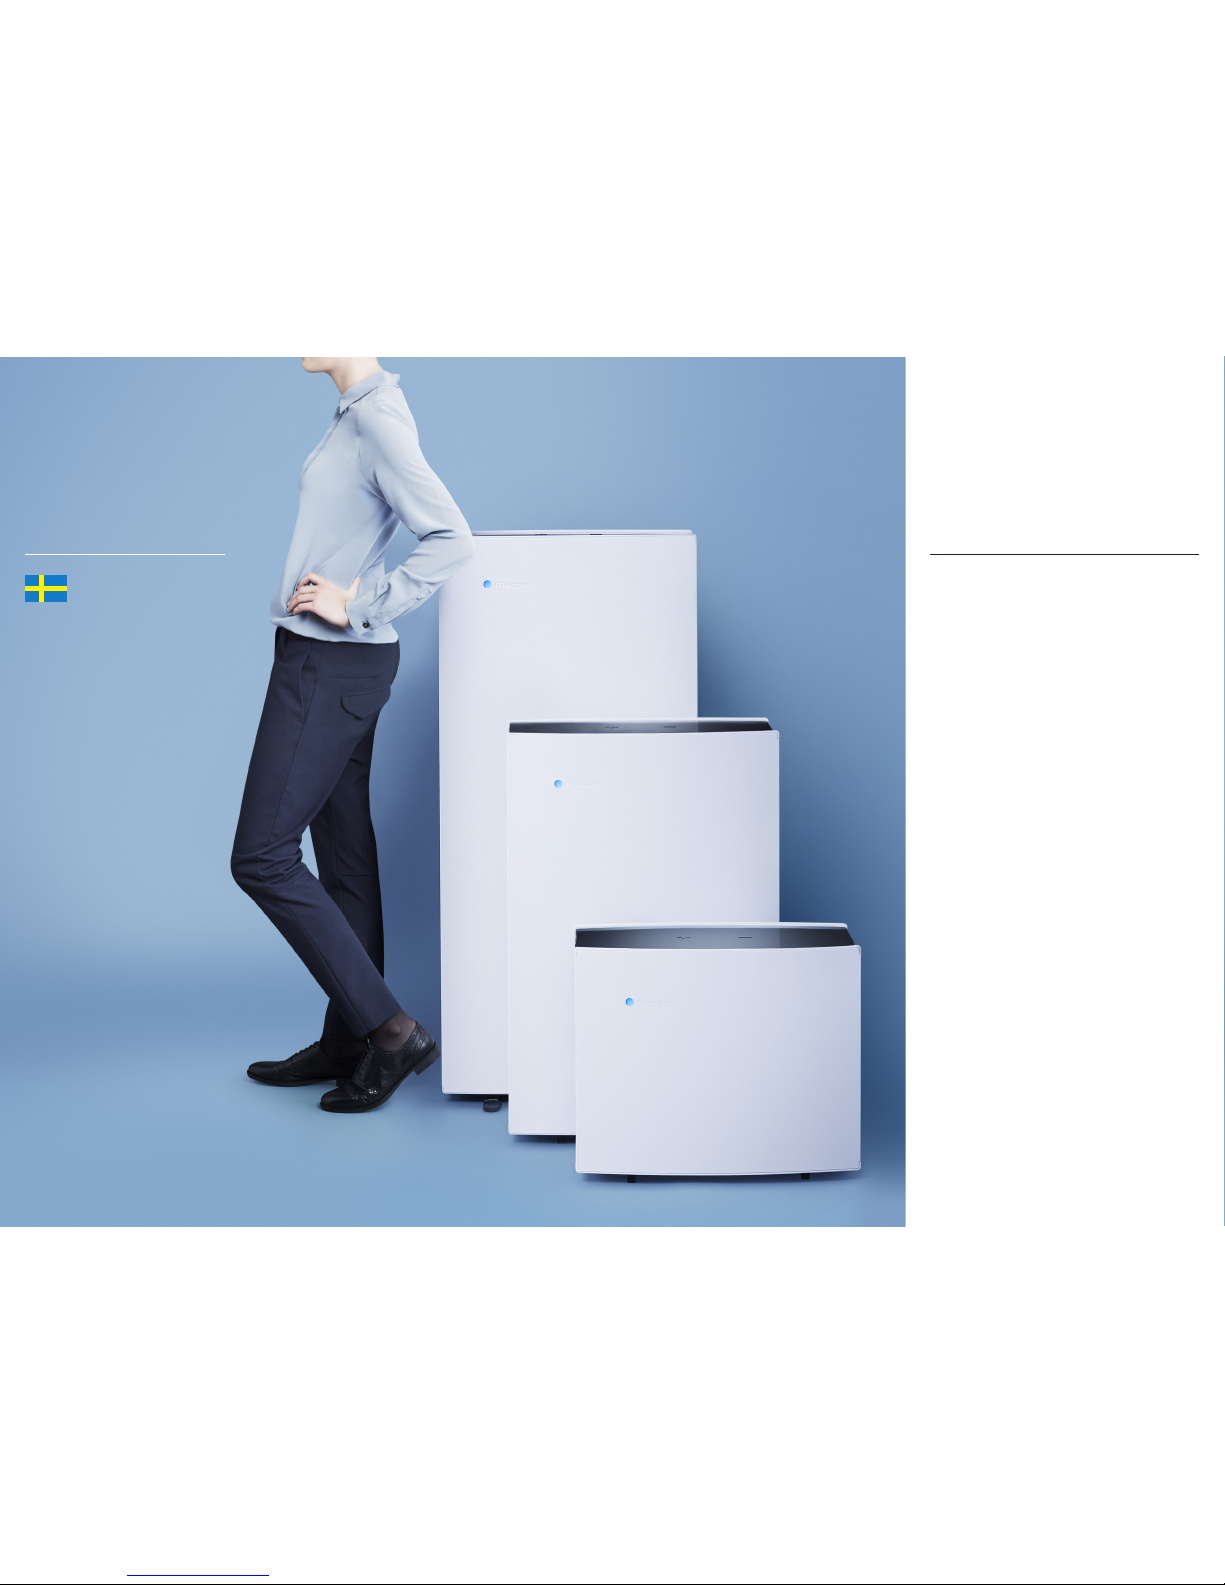
Pro M
Pro L
Pro XL
Innovated
with Love
in Sweden
Page 3
English Blueair Pro Serie s 4 English Blueair Pro Serie s 5
Thank you for buying a Blueair Pro Air Purifier.
With patented HEPASilent
TM
technology and
state-of-the-art filters it is our most power ful
and technically advanced air purifier yet. Still it’s
remarkably easy to set up. Just plug in, turn o n
and let it breeze.
Keep the Filters Fresh
Changing filters according to the replacement
schedule keeps your Blueair Pro in tip-top form.
Extend Your Warranty
Complete and send your warranty c ard to Blueair
today to extend your limited warranty.
Keep the Planet Healthy, Too
Maximum ef fect, minimum footprint. Your Blueair
Pro can be recycled so it lives forever.
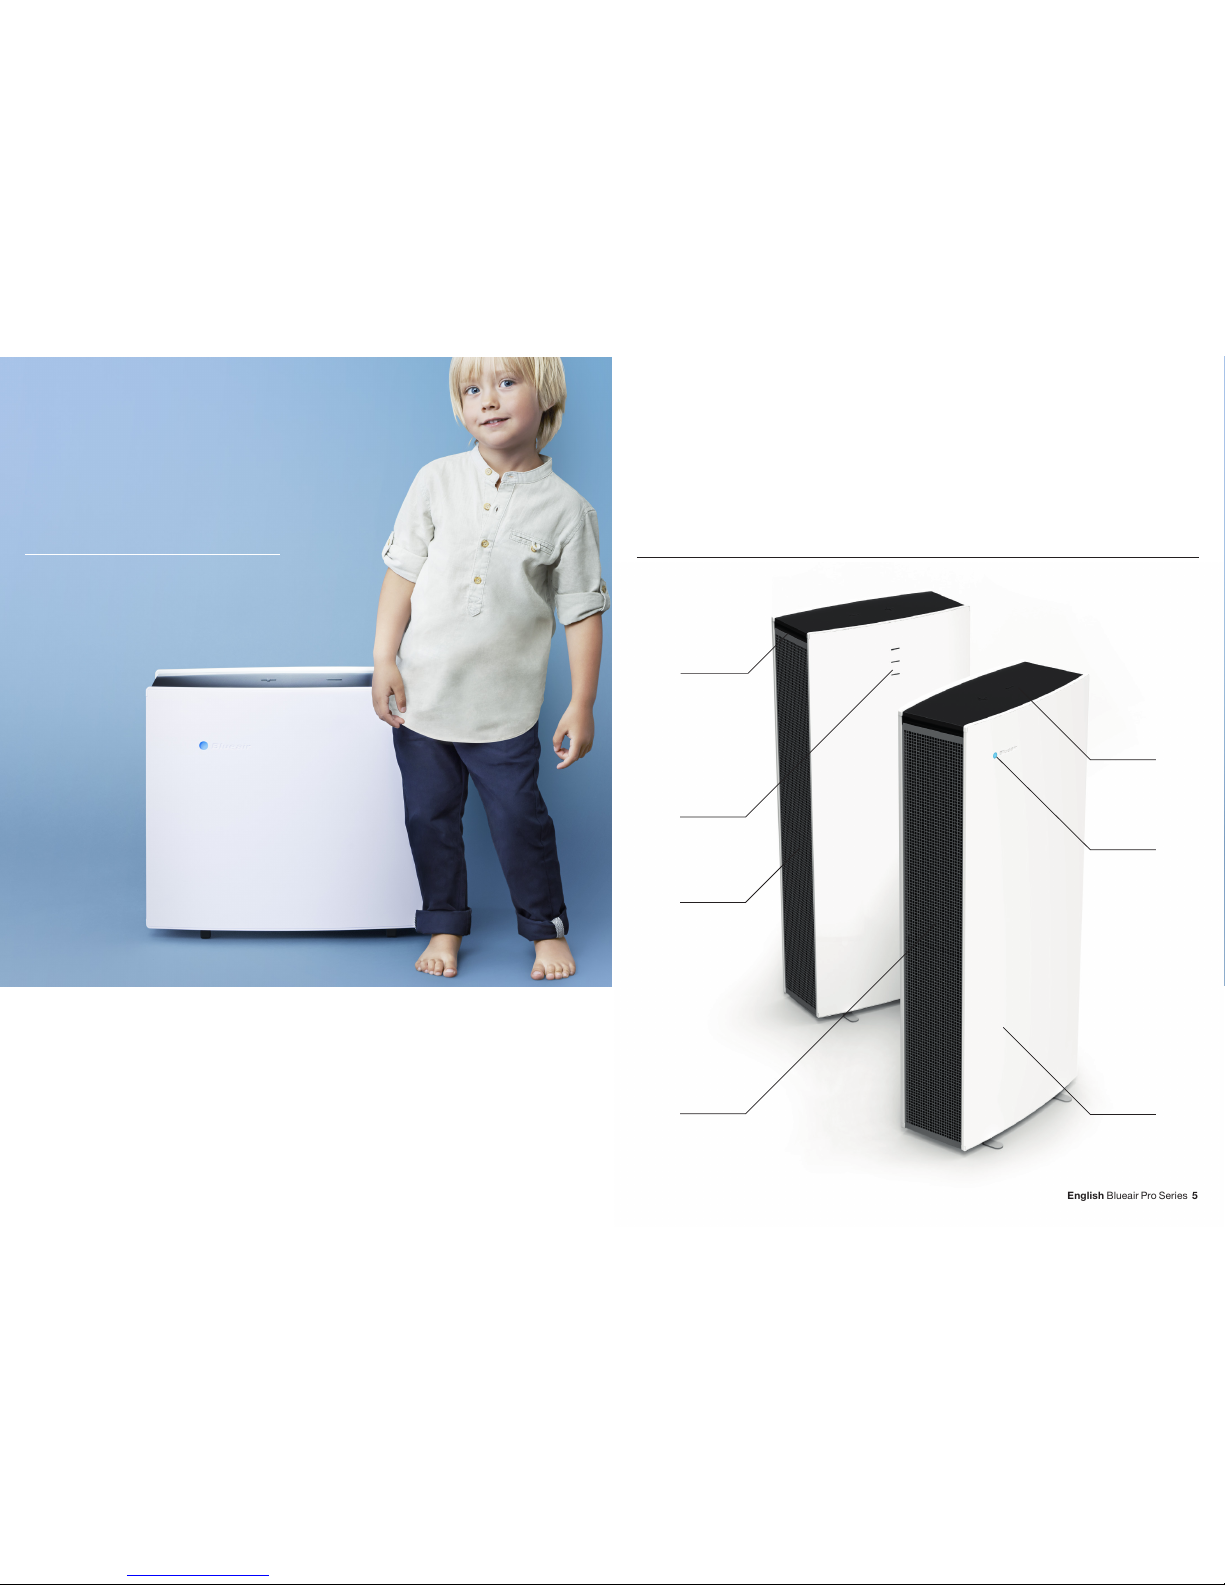
The Blueair Pro
Air Purifier
Handle
Air Intelligence
Module intake
Air inta ke
Controls
Clean air outlet
Running
indicator light
Galvanized
steel housing
Welcome
To The Blueair
Pro family
FRONT
BACK
Page 4

English Blueair Pro Serie s 6 English Blueair Pro Serie s 7
Getting
Started
General Safety Instructions
The Blueair Pro Series air purifier is an electrical
appliance. Please read the safety instructions
before use and take the necessar y precautions
to reduce the risk of fire, electric shock or injury.
The Blueair Limited Warranty applies only if the
unit is used according to these instructions.
This applia nce is not intended for use by persons
(including children) with reduced physical, sensory
or mental capabilities, or lack of experience
and knowledge, unless they have been given
supervision or instruction concerning use of the
appliance by a person responsible for their safety.
Children should be supervised to ensure that
they do not play with the appliance. If the supply
cord is damaged, it must be replaced by the
manufacturer or its service agent or similarly
qualified persons in order to avoid a ha zard.
Placement
Place the unit in a loc ation that allows air to circulate
freely in, out and around the unit. The minimum
acceptable distance from another object is 4˝ or
10 cm. Use only genuine Blueair filters.
Do not plac e the unit:
Directly on or against soft furnishings,
such as bedding or cur tains.
Near sources of heat, such as radiators,
replace s or ovens.
Outdoors.
Near wet areas, such as bathrooms o r
laundry rooms, whe re it may come into
contact with water.
Getting the
Most from your
Blueair System
The Blueair system is easy to use. Make sure
your unit is the right size for your room, and
change the filters according to recommended
filter replacement schedule. Remember that,
just as air conditioners and heaters have limits
to the volume of air they can cool or heat, every
air purification system has limits to the volume
of air it can clean. Follow these common-sense
guidelines.
Close Your Windows
You wouldn’t throw open your windows on a hot
summer day and expect your air conditioner to
work efficiently, because you can feel the hot
air coming in and the cool air going out. Even
though you can’t see the contaminated air
coming in and the clean air going out, the same
logic applies to your air purifier.
Close Your Doors
Just as you might seal off part of your house on
a cold winter night to keep your heater working
more efficiently, seal off the room in which your
system is working for best results.
Run Your System 24 hours p er Day
For best results, run your Blueair unit 24 hours a
day, 7 days a week. Round-the-clock operation
ensures that a continuous supply of clean,
filtered air constantly circulates throughout the
room. Blueair systems are designed for phenomenally low power usage. In fact, it costs about
the same to power a Blueair air purifie r as it does
to power a single light bulb, depending on the
unit and the operating speed.
This symbol on the product or on its packaging indicates that this product may not be tre ated as
househol d waste. Instead it shall b e handed over to Blueair se rvice or collection point for t he recycling
of electrical and electronic e quipment. By ensuring this prod uct is disposed of cor rectly, you will help
prevent potential negative consequences for the environment and human health which could otherwise be caus ed by inappropriate was te handling this produc t.
To reduce the risk of electric shock, this equipment has a grounding type plug that has a third
(grounding) pin. This plug will only t into a grounding type power outlet. If the plug does not t into
the outlet, c ontact qualied personnel to install the p roper outlet. Do not alter the plug in any way.
Page 5

English Blueair Pro Serie s 8 English Blueair Pro Serie s 9
Settings
Plug the power cable firmly and completely into
the recessed power cord socket located at the
bottom of the unit and plug the other end into a
grounded wall outlet or power strip. Set the unit
to maximum speed, which is recommended for
fast initial cle aning, daytime use, or very polluted
air. After a few minutes, adjust the unit to the
desired speed. Minimum speed is generally
recommended for nighttime use.
A. Dis play Function wit hout the
Air Intelligence Module
The display i s on standby. Turn on your Bluea ir air purier by touc hing the PLUS
button on th e unit. A blue bar will a ppear between
the buttons.
Adjust the s peed from 1 to 3 using th e PLUS and MINUS
buttons.
Turn the air puri er off by pressin g the MINUS button w hen
the unit is in r st speed.
When lter r eplacement is re quired, a red repla cement
lter light w ill appear.
While the unit is r unning, the display will slowly d isappear after 30 sec onds.
To activate the d isplay again, simply touch one of t he buttons.
B. Display Function with t he
Air Intelligence Module
For automati c mode, touch the PLUS bu tton when the unit
is running o n speed 3. The word AUTO w ill appear, and the
two air qual ity sensors wil l adjust the speed a ccording to
the contaminant levels.
To return to manual o peration, touch th e MINUS button.
When lter r eplacement is re quired, a red repla cement
lter light w ill appear.
Air Intelli gence Module req uired. For instal lation and maintenance of th e Air Intelligenc e Module, please s ee page 16,
”Air Intelligence Module”.
Turn on your Bluea ir air purier by touc hing the PLUS
button on th e unit. A blue bar will a ppear between th e
buttons.
Above the bar, two ba r columns show the leve ls of airsuspended particles (PM2.5) and gaseous contaminants
(GAS). One bar ( green) represe nts a low particle o r
gas level.
Three bar s (green, yellow and r ed) represent a h igh level
of partic les or gas, indica ting the need to incr ease the
operatin g speed, or to set the un it in automatic mode .
Turn the air puri er off by pressin g the MINUS button when
the unit is in r st speed.
Please note: The Air I ntelligence Module wil l show high levels of bot h particles and
gas during the first five minutes of operation while the air quality sensors calibrate.
Page 6

English Blueair Pro Serie s 10 English Blueair Pro Serie s 11
Blueair air purifiers feature high quality design,
materials and workmanship. To keep your unit in
top condition, we recommend routine cleaning.
The appliance must be disconnected from the
supply mains before cleaning or maintenance.
Vacuum the air intake grille from the inside
when you remove the filter to replace it.
Wipe the exterior of the unit with a soft, clean,
damp cloth.
Never clean with gasoline, chemical solvents
or corrosive material as these agents may
damage the surface.
Do not allow foreign objects to enter the intake
or exhaust openings. This may cause electric
shock or damage the unit.
Do not try to repai r or adjust any of the electrical
or mechanical functions on your Blueair unit
yourself. Contact your local dealer or Blueair
for warranty information.
Air passes through an ion chamber where airborne particles are charged with negative ions.
Charged par ticles are drawn to the HEPASilent
TM
filter surface. Purified air, which is vir tually
contaminant-free, is re-circulated into the room.
How it
Works
Care and
Maintenance
Page 7

English Blueair Pro Serie s 12 English Blueair Pro Series 13
Changing
the Filter
Turn the unit off a nd open the intake
door by pulli ng at the top edge. The
intake door i s on the right hand sid e
when facin g the front of the unit.
The lter is tted into the unit in
a V shape. Two tabs pro trude on
the sides.
Using the ta bs, push the two lter
sides together.
Gently pul l the dirty lter s traight out
of the unit.
1
Keeping the lter sides togethe r, line
up the new lter i nto the unit using the
guiding ba rs in the top and botto m of
the lter housing.
2
4
5
3
Gently pus h the new lter in. Re-attach the intake door.
Turn on the unit.
6
Push the two l ter sides out usin g
the tabs.
7
8
For Blueai r Pro L and XL, repea t steps
2–7 for all lter p acks.
Before you start
changing the filter,
turn of f the unit and
remove the plug from
the wall socket.
Page 8

English Blueair Pro Serie s 14 English Blueair Pro Series 15
Patented HEPASilentTM technology makes the
Blueair Pro Series incredibly quiet. The unit
comes with a HEPASilent
TM
filter already installed.
Particle Filter. Includes a particle filter that
removes dust, pollen, bacteria, pet dand er, mold
spores and other airborne particles. The particle
filter is made of polypropylene, which mechanically
filters out airborne particles. To maximize filter
effectiven ess, particles are negati vely charged by
the Blueair unit before reaching the filter.
SmokeSto p™ Filter. Includes a combined
particle and active carbon filter to remove
gaseous pollutants such as cigarette and cigar
smoke or other VOCs (volatile organic compounds, including household paints and other
chemicals). Adding activated carbon to a filter
may affect air flow and CADR. You may also
notice a slight odor from the carbon when the
filter is first used; this will quickly dissipate.
Carbon+ Fi lter. An extra active carbon filter
stage that can be mounted in the Blueair Pro
Series in add ition to the main HEPASilentTM particle
filter or SmokeStop™ filter. It provides extra
protection against gaseous contaminants such
as formaldehyde, sulphur dioxide and volatile
organic compounds.
For optimal performance, Blueair
recommends that you replace filters every
six (6) mo nths of use.
We offer a convenient Filter Subscription
Program in some countries. Contact your local
dealer or Blu eair to find out whether the program
is available to you.
IMPORTANT! Use only genuine Bluea ir filters
to ensure proper function of your unit and to
qualify for full warranty coverage.
Adding the
Carbon+ Filter
Filters
Keeping the lter sides closed, gently
slide the Car bon+ Filter into the uni t.
Push the side s out towards the
main lter.
Snap the Car bon+ Filter to the main
lter frame tab.
1 2 3
Customer’s Record
The mode l number and ser ial number of th is product can b e found on the bot tom of
the uni t. Please note th em in the space p rovided below an d keep for future re ference.
Model number Dealer’s name
Serial number Dealer’s address
Date of purchase Telephone number
While the unit is r unning, the display will slowly d isappear after 30 sec onds.
To activate the d isplay again, simply touch one of t he buttons.
Page 9

English Blueair Pro Serie s 16 English Blueair Pro Serie s 17
Air Intelligence Module Maintenance
Remove the module from the unit.
Use a vacuum cleaner to gently clean the
intake in front of the gas sensor.
Use a damp cotton swab to clean the dust
sensor lens. After cleaning the dir t off the lens,
use a dry cotton swab to wipe the l ens. Do not
use alcohol to clean the lens.
Re-insert the module.
Air Intelligence
Module
By adding the Blueair Air Intelligence Module, the
Blueair Pro Series can continuously monitor and
report the surrounding air quality through stateof-the-art particle and gas sensors. The unit can
also run on automatic mode, where the speed
is set according to the level of pollution the
sensors are detecting.
If you wish to upgrade your Blueair Pro unit
with an Air Intelligence Module, please visit
www.blueair.com to find your closest dealer.
Pull out the du mmy cover sitting in
the module holder.
Insert t he Air Intelligen ce Module into
the module holder.
Insert t he lter pack and re -attach the
intake door.
1 2 3
Remove the top filter pa ck, see Changing the Filter steps 1– 4.
Dust sensor lens
Intake for ga s sensor
Page 10

English Blueair Pro Serie s 18
Blueair was founded on the belief that everyone
should be able to enjoy clean air indoors, at
home or in the workplace. We have become
a global authority on how to remove indoor air
impurities down to the tiniest particle thanks to
our deep comm itment to research and innovation.
Our healthier air solutions work quietly and
using very little energy to clean more air faster,
removing allergens, asthma triggers, viruses,
bacteria and other airborne pollutants.
We develop the
world’s best air cleaners
because we passionately
believe that clean
air is a basic human right. Blueair – Innovated
with love in Sweden.
Blueair Pro
Professional
Performance
Superior Style
Page 11

Blueair AB
Danderydsgatan 11
SE-114 26 Stockholm
Sweden
Tel: +46 8 679 45 00
Fax: +46 8 679 45 45
info@blueair.se
Blueair (Shanghai)
Trading Co. Ltd.
Rm 1005 City Gateway
No. 398 North Caoxi Road
Xuhui Distr, Shanghai
Tel: +86 21 6091 0981
Fax: +86 21 6091 0989
info@blueair.cn
Blueair Inc.
Suite 1900
100 N LaSalle Street
Chicago
IL 60602
Tel: +1 888 258 3247
Fax: +1 312 727 1153
info@blueair.com
Blueair India
Embassy of Sweden
Nyaya Marg
Chanakyapuri
New Dehli – 110021
Tel: +91 11 4606 7121
Fax: +91 11 4606 7120
india@blueair.se
www.blueair.com
 Loading...