

Page 1
BLOOMFIELD INDUSTRIES
2 Erik Cir. P.O.Box 280
Verdi, NV USA 89439
www.wellsbloomfield.com
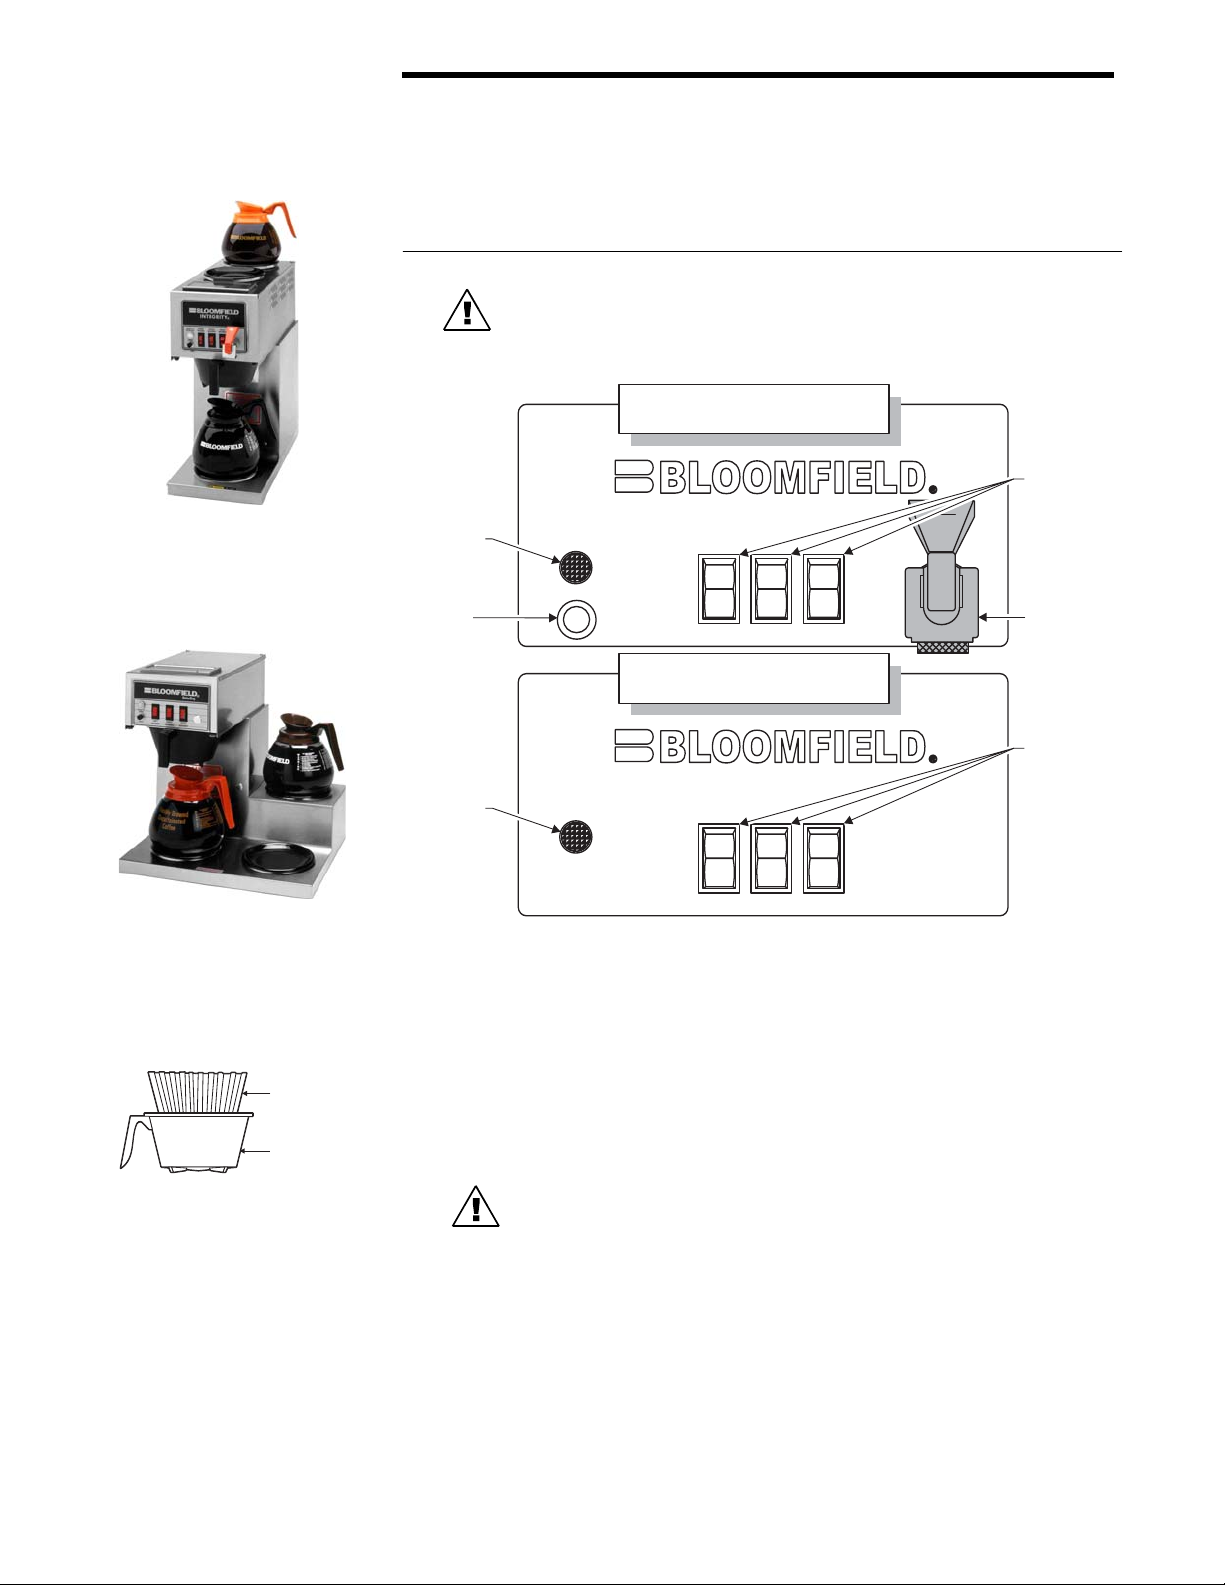
Automatic Brewer
Model 9003 w/optional
8900-Series Decanters
COFFEE BREWER USER GUIDE
Automatic & Pour-Over Decanter Coffee Brewers
Includes Instructions for
Brewing Coffee, Cleaning the Brewer and Deliming the Water Tank
BREW COFFEE
CAUTION: Water from the brew head is extremely hot. Hot
water can cause serious burns.
TYPICAL AUTOMATIC BREWER
CONTROL PANEL
“READY
TO BREW”
INDICATOR
BREW
SWITCH
READY
READY
BREW
TO BREW
TO
BREW
LOWER
LOWER
FRONT
FRONT
REAR
WARMER
WARMER
REAR
WARMER
WARMER
WARMER
WARMER
TYPICAL POUR-OVER BREWER
CONTROL PANEL
HOT
WARMER
SWITCHES
HOT WATER
FAUCET
Pour-Over Brewer
Model 8573 w/optional
8900-Series Decanters
PAPER
FILTER
BREW
CHAMBER
“READY
TO BREW”
INDICATOR
READY
READY
BREW
TO BREW
TO
LOWER
LOWER
WARMER
WARMER
FRONT
FRONT
WARMER
WARMER
REAR
REAR
WARMER
WARMER
1. Preparation
Place one (1) genuine Bloomfield paper filter in the brew chamber.
Add a pre-measured amount of fresh coffee grounds.
Gently shake the brew chamber to level the bed of grounds.
Slide the brew chamber into place under the brew head.
Press the “LOWER WARMER” or “MAIN WARMER” switch ON.
2. Automatic Operation
CAUTION: Prevent overflow. Always use an EMPTY decanter
to brew coffee. Overflowing hot coffee can cause serious burns.
Place the appropriate EMPTY decanter in place under the brew chamber.
BE sure “READY TO BREW” light is glowing.
Press the “BREW” switch. The solenoid will open for an amount of time
determined by the timer setting, admitting a measured quantity of water into
the basin.
WARMER
SWITCHES
BLOOMFIELD DECANTER BREWERS
Page 1 of 4
Page 2
3. Pour-over Operation
to brew coffee. Overflowing hot coffee can cause serious burns.
NOTE: Any Integrity™ or Koffee-King™ brewer can be used in the
pour-over mode.
Place the appropriate EMPTY decanter in place under the brew chamber.
BE sure “READY TO BREW” light is glowing.
Fill a decanter with tap water.
Lift the pour-over cover and pour the entire contents of the decanter into
the pour-over opening, which will fill the basin.
4. The Brew:
Water from the basin will displace a like amount of heated water from the
tank. The hot water will be forced into the brew head where it will spray
over the bed of grounds.
Freshly brewed coffee will begin to fill the decanter under the brew
chamber.
When the flow and all dripping stops, the coffee is ready to serve.
Press the appropriate warmer switch ON. Gently set the decanter of coffee
on the warmer plate.
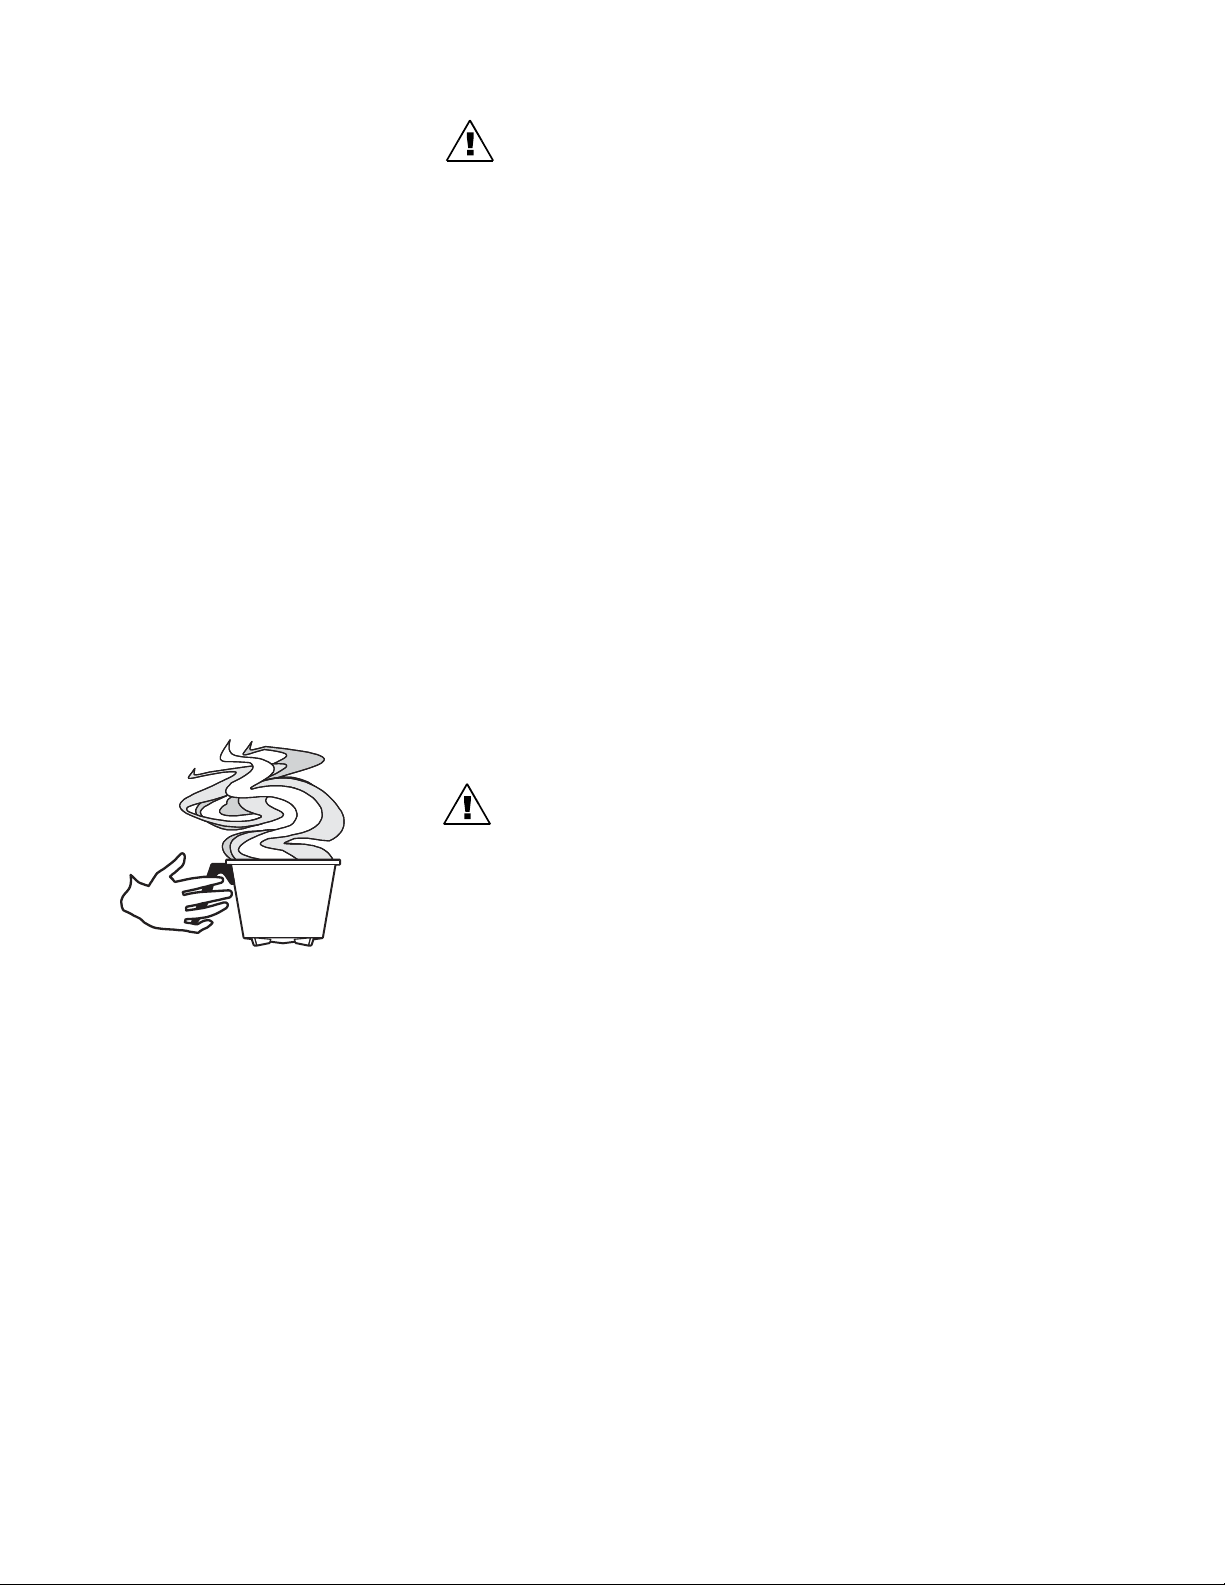
5. Empty the Brew Basket:
CAUTION: Prevent overflow. Always use an EMPTY decanter
Use the handle to manipulate the hot brew chamber.
Discard the grounds and the paper filter. Rinse the brew chamber under
clear water.
When the “READY TO BREW” light glows, the brewer is ready for another
brew cycle.
6. Hot Water Faucet (Automatic Brewers Only):
Hot water may be drawn from the hot water faucet at any time by lifting the
red handle. Hot water flow will shut off automatically when the handle is
released.
IMPORTANT:
Excessive use of the hot water faucet during a brew will lower the
temperature of the brew water and compromise the quality of the coffee
product.
CAUTION: Brew chamber and contents will be very hot.
Page 2 of 4
Page 3

CLEANING
CAUTION: Burn Hazard
Brewing and serving temperatures of coffee are extremely hot.
Unplug brewer and allow to cool before cleaning
BREW HEAD
GASKET
SPRAY DISK
INSTALL
REMOVE
CAUTION: Electric Shock Hazard
Do not submerge or immerse brewer in water.
IMPORTANT:
DO NOT use steel wool, sharp objects, or caustic, abrasive or chlorinated
cleansers to clean the brewer or decanters.
PRECAUTIONS: Disconnect brewer from electric power.
Allow brewer to cool.
FREQUENCY: Daily
TOOLS: Mild Detergent, Clean Soft Cloth or Sponge
Bristle Brush.
1. Disconnect brewer from electric power. Allow brewer to cool before
cleaning.
2. Remove and empty decantert.
3. Remove and empty brew chamber.
4. Remove the spray disk from the brew head. Press up on the spray disk
ears, then turn the disk to the left to unlatch. Remove the gasket from
inside the brew head.
5. Wipe inside of brew head and area around the brew head with a soft clean
cloth or sponge moistened with clean water.
6. Wash the spray disk in a sink using warm water and a mild detergent. A
bristle brush may be used to clear clogged spray holes. Rinse the spray
disk with clean water and allow to air dry.
7. Wash the brew chamber in a sink using warm water and a mild detergent.
A bristle brush may be used to clean the inside. Rinse with clean water and
allow to air dry.
8. Wipe the exterior of the brewer and all warmer plates with a soft clean cloth
or sponge moistened with clean water.
10. Reinstall the gasket INSIDE the brew head, then reinstall the spray disk.
11. Reinstall the brew chamber.
12. Clean decanters by filling with warm soapy water. Scrub the inside with a
bottle brush. Empty, then rinse with clean water. Wipe the exterior with a
soft clean cloth or sponge moistened with clean water. Invert and allow to
air dry.
Procedure is complete
Page 3 of 4
Page 4

DELIME THE WATER TANK
CAUTION - CHEMICAL BURN HAZARD
Deliming chemicals may be caustic. Wear appropriate protective gloves and
goggles during this procedure. Never siphon deliming chemicals or solutions by
mouth.
IMPORTANT:
This operation to be performed by qualified service personnel ONLY!
IMPORTANT:
DO NOT spill, splash or pour water or deliming solution into or over any internal
component other than the inside of the water tank.
IMPORTANT:
DO NOT allow any internal components to come into contact with the deliming
solution. Take care to keep all internal components dry.
PRECAUTIONS: Disconnect brewer from electric power.
Allow brewer to cool.
FREQUENCY: As required (Brewer slow to heat)
TOOLS: Deliming Solution
Protective Gloves, Goggles & Apron
Mild Detergent, Clean Soft Cloth or Sponge
Bristle Brush, Bottle Brush
Large Sink (or other appropriate work area)
1. Disconnect brewer from the electrical supply. Turn off the water shut-off
valve and disconnect the water supply line from the brewer inlet fitting.
2. Disconnect faucet plumbing. Remove the tank lid assembly.
3. Remove the water tank from the brewer body by lifting straight up. Empty
all water from the tank. Set the tank back into the brewer.
4. Mix 2 quarts of deliming solution according to the manufacturer’s directions.
Carefully pour the deliming solution into the water tank. Lower the lid
assembly back onto the tank. Allow to sit for 30 minutes, or as directed by
the chemical manufacturer.
5. At end of soaking period, remove lid assembly from tank. Thoroughly rinse
internal components of lid assembly with clear water. Using a stiff bristle
brush, scrub the heating element to remove lime and calcium build-up.
Rinse with clean water. Store lid assembly in a safe location.
6. Remove the tank from the brewer and empty. Using a stiff bristle brush,
scrub the interior of the water tank to remove lime and calcium build-up.
Rinse with clean water.
7. Set the tank back into the brewer. Reassemble faucet plumbing to the tank
lid, and the tank lid to the water tank. Make sure the gasket is properly in
place, then reinstall the hold-down strap.
Page 4 of 4
 Loading...