

Page 1
INSTRUCTION MANUAL
CERAMIC TOWER HEATER
Thank you for choosing BLACK+DECKER!
PLEASE READ BEFORE RETURNING THIS PRODUCT FOR
ANY REASON.
If you have a question or experience a problem with your BLACK+DECKER
purchase, go to www.blackanddecker.com/instantanswers
If you can’t find the answer or do not have access to the Internet, call
844-299-0879 from 10:30 a.m. to 6:30 p.m. EST Mon. - Fri. to speak with an
agent. Please have the catalog number available when you call.
SAVE THIS MANUAL FOR FUTURE REFERENCE.
CATALOG NUMBER
BHTC301B
Page 2

Page 2
Thank you for purchasing our
BLACK+DECKER product. This
easy-to-use manual will guide you
in getting the best use of your
ceramic tower heater.
Remember to record the model and
serial numbers. They are on a label
on the rear.
Staple your receipt to your manual.
You will need it to obtain warranty service.
Model number
Serial number
Date of purchase
PRODUCT REGISTRATION
CONTENTS
SAFETY INFORMATION
Important Safety Instructions ..........................................................................................................................................3-5
Electrical Requirements ..........................................................................................................................................................4
Battery Information .............................................................................................................................................................5, 9
SET UP & USE
Parts & Features .........................................................................................................................................................................6
Control Panel ............................................................................................................................................................................7-8
Remote ........................................................................................................................................................................................8-9
Operating Instructions .....................................................................................................................................................10-12
Care & Cleaning .........................................................................................................................................................................13
TROUBLESHOOTING & WARRANTY
Troubleshooting........................................................................................................................................................................ 14
Limited Warranty ......................................................................................................................................................................15
SPECIFICATIONS
Voltage: 120V, 60Hz
Power Consumption: 1500W
Unit Size (WxDxH): 7.48” x 7.48” x 17.52”
Page 3
Page 3
SAFETY INFORMATION
IMPORTANT SAFETY INSTRUCTIONS
When using electrical appliances, basic precautions should always be
followed to reduce the risk of fire, electric shock, and injury to persons,
including the following:
1. Read all instructions before using this heater.
2. This heater is hot when in use. To avoid burns, do not let bare skin
touch hot surfaces. If provided, use handles when moving this heater.
Keep combustible materials, such as furniture, pillows, bedding,
papers, clothes, and curtains at least 3 feet (0.9m) from the front of
the heater and keep them away from the sides and rear.
3. Extreme caution is necessary when any heater is used by or near
children or invalids and whenever the heater is left operating and
unattended.
4. Always unplug heater when not in use.
5. Do not operate any heater with a damaged cord or plug or after the
heater malfunctions, has been dropped or damaged in any manner.
Discard heater or return heater to authorized service facility for
examination, electrical or mechanical adjustment, or repair.
6. Do not use outdoors.
7. This heater is not intended for use in bathrooms, laundry areas and similar
indoor locations. Never locate heater where it may fall into bathtub or
other water container.
8. Do not run cord under carpeting. Do not cover cord with throw rugs,
runners, or similar coverings. Do not route cord under furniture or
appliances. Arrange cord away from trac area and where it will not be
tripped over.
9. To disconnect heater, first turn controls to o, then remove plug from
outlet.
10. Do not insert or allow foreign objects to enter any ventilation or exhaust
opening as this may cause an electric shock or fire, or damage the
heater.
11. To prevent a possible fire, do not block air intakes or exhaust in any
manner. Do not use on soft surfaces, like a bed, where openings may
become blocked.
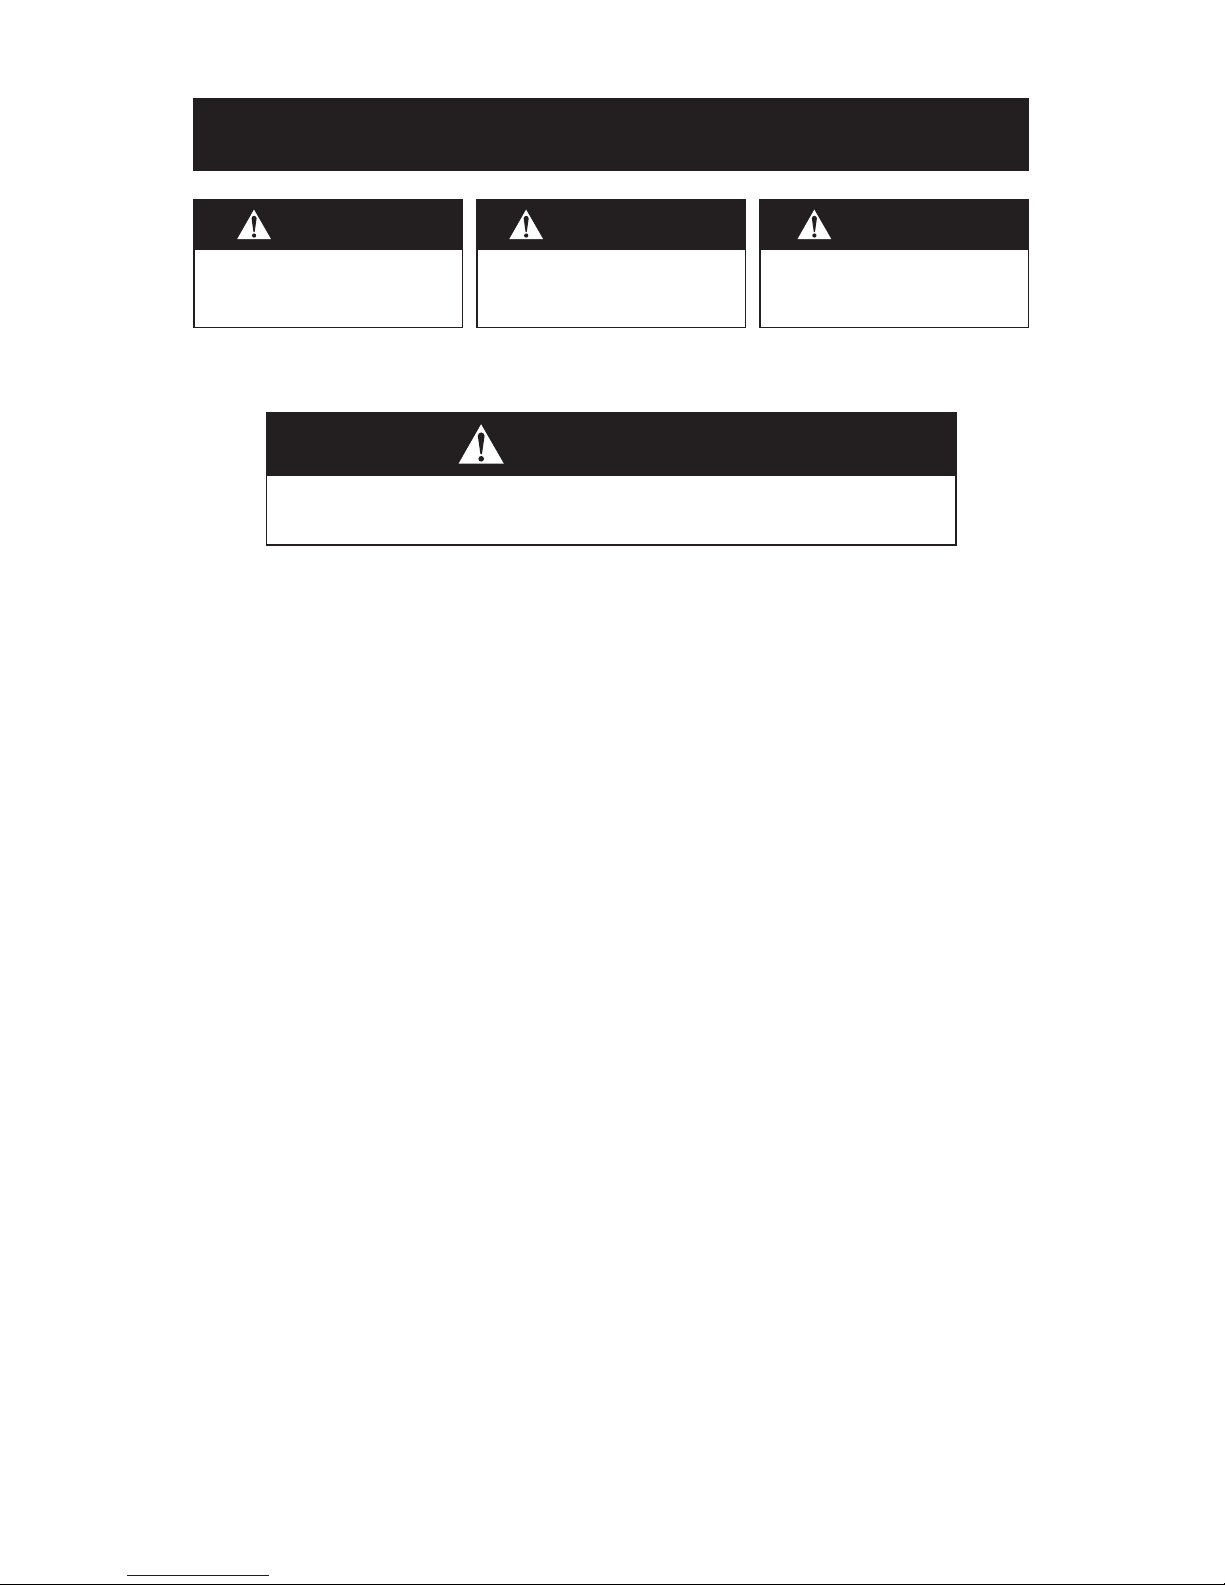
WARNING
When using electrical appliances, basic safety precautions
should be followed, including the following
DANGER
DANGER - Immediate hazards
which WILL result in severe
personal injury or death
WARNING
WARNING - Hazards or unsafe
practices which COULD result in
severe personal injury or death
CAUTION
CAUTION - Hazards or unsafe
practices which COULD result in
minor personal injury
Page 4

Page 4
12. A heater has hot and arcing or sparking parts inside. Do not use it in the
areas where gasoline, paint, or flammable liquids are used or stored.
13. Use this heater only as described in this manual. Any other use not
recommended by the manufacturer may cause fire, electric shock, or
injury to persons.
14. CAUTION: Always plug heaters directly into a wall outlet/receptacle.
Never use with an extension cord or relocatable power tap (outlet/power
strip).
15. This heater draws 12.5 amps during operation. To prevent overloading
a circuit, do not plug the heater into a circuit that already has other
appliances working.
16. The output of this heater may vary and its temperature may become
intense enough to burn exposed skin. Use of this heater is not
recommended for persons with reduced sensitivity to heat or an inability
to react to avoid burns.
17. Don’t leave the heater on unattended.
SAVE THESE INSTRUCTIONS
HOUSEHOLD USE ONLY
SAFETY INFORMATION
ELECTRICAL REQUIREMENTS
This appliance has a polarized plug (one blade is wider than the other). To
reduce the risk of electric shock, this plug is intended to t into a polarized outlet
only one way. If the plug does not t into the outlet, reverse the plug. If it still
does not t, contact a qualied electrician. Do not attempt to modify the plug in
any way.
NOTE: Neither BLACK+DECKER nor the dealer can accept any liability for damage to the
product or personal injury resulting from failure to observe the electrical connection
procedures.
WARNING: To reduce the risk of electric shock, do not use with an extension cord.
Page 5
Page 5
OVERHEAT SAFETY FEATURE
This heater is equipped with a overheat safety feature. When the heater’s internal
components reach a certain temperature that could cause overheating and
possible fire, the heater will automatically shut o. If this should occur, please
contact our Customer Satisfaction Center at 844-299-0879.
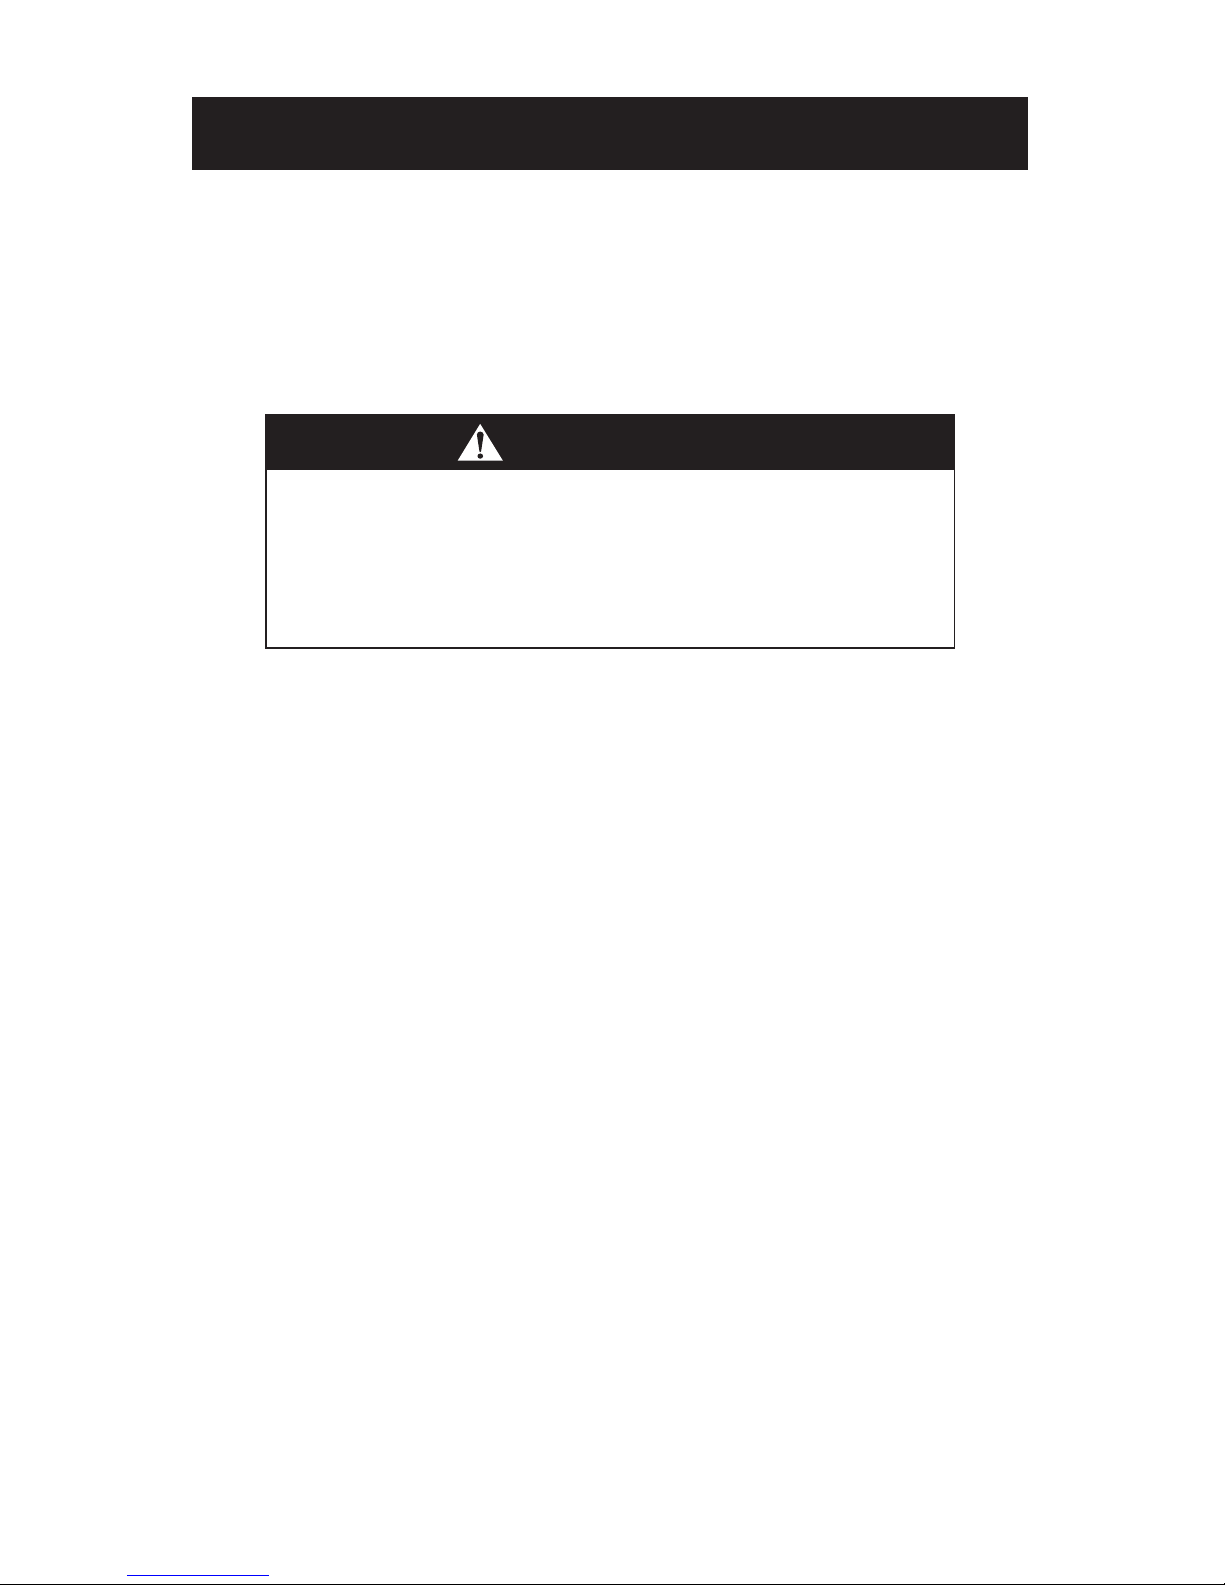
WARNING
It is normal for the power cord to feel warm to the touch; however, a
loose fit between the outlet and the plug may cause overheating of
the plug. If this occurs, try inserting the plug into a dierent outlet.
Contact a qualified electrician to inspect the original outlet for
damage.
BATTERY INFORMATION
• KEEP OUT OF REACH OF CHILDREN. Swallowing may lead to serious injury
or death. Severe burns can occur within 2 hours of ingestion. Immediately see
a doctor and have the doctor phone (202) 625- 3333 collect. Keep in original
package until ready to use. Dispose of used batteries immediately. Risk of injury
due to fire, explosion or leakage. Do not disassemble, charge, crush or expose to
fire or high temperatures.
• LITHIUM COIN CELL SAFETY NOTICE: Keep lithium coin batteries out of the reach
of small children; coin cell batteries can be accidentally ingested. If ingested,
these batteries may leak harmful contents causing chemical burns, perforation of
soft tissue, and in severe cases may cause death. Lithium coin batteries must be
removed immediately if swallowed. Seek medical attention immediately. If you or
your doctor suspects that a battery has been ingested for assistance in the US call
the NATIONAL BATTERY INGESTION HOTLINE any time at (202) 625-3333: in
Canada call 416-813-5900.
• In order to prevent unnecessary battery drain, do not store anything on the scale.
• Do not dispose of batteries in fire. Batteries may explode or leak.
• Remove the battery if the remote is not used for a long period of time.
SAFETY INFORMATION
Page 6

Page 6
SAFETY INFORMATION
PARTS & FEATURES
Front Housing
Airflow Grill
Oscillating Base
Remote Control (CR2025 Lithium Battery Included)
Back Housing
Air Intake Grill
Carry Grip
Page 7

Page 7
CONTROL PANEL
1
2
9
345678
SET UP & USE
1. Fahrenheit indicator light: Will be lit when temperature displayed is in
Fahrenheit.
2. Celsius indicator light: Will be lit when temperature displayed is in Celsius.
3. Power indicator light: Indicates that the heater is receiving power from outlet.
Will flash when unit is powered “ON”
4. Swing indication light: Will be lit when the swing/oscillating mode is engaged.
5. Timer indication light: Will be lit when the timer mode is engaged.
6. Fan indicator light: will be lit when the fan mode is engaged
7. Low Mode indicator light: Will be lit when low heat mode is engaged.
8. High Mode indicator light: Will be lit when high heat mode is engaged.
9. Digital display: Indicates the room temperature or time that has been set.
Page 8

Page 8
SET UP & USE
101112131415 16
CONTROL PANEL
10. ON/OFF button: Powers the display on and o.
11. Swing button: Opening and closing of swing/oscillating function.
12. Temp up button: To increase desired temperature.
13. Temp down button: To decrease desired temperature.
14. Mode button: To select between HIGH (1500w), LOW (800w)
and FAN modes.
15. Timer button: Used to engage and set timer mode.
16. ˚C/˚F Button: Push “MODE” for 3 seconds to change between ˚C and ˚F.
REMOTE CONTROL
MODE button
ON/OFF POWER Button
TIMER button
SWING/OSCILLATION
button
TEMP DOWN button
TEMP UP button
Page 9

Page 9
SET UP & USE
Remote Control Battery Cover
PULL TAB
TO ACTIVATE BATTERY
PUSH
TO REPLACE BATTERY
Battery
NOTE: Your remote control comes with a CR2025 type lithium battery already
installed. To operate your remote control, however, you must activate
the battery by removing the plastic tab that is sticking out of the battery
compartment door. Once the tab is removed, your remote control should
be functional.
When it is necessary to replace the battery, push the button next to the
battery cover to release the battery cover/door. Remove old battery and
replace with the new, making sure “+” side is facing up as shown in the
diagram. Once battery is installed, push battery cover/door closed and
remote control should once again be functional.
Remote Control Battery Cover
PULL
Page 10

Page 10
SET UP & USE
OPERATING INSTRUCTIONS
Place the heater on a firm, level surface and plug the unit directly into a 120 V AC
electrical outlet.
NOTE: Only operate heater in upright position with caster wheels attached.
1. Powering Your Unit and Selecting the Desired Mode
2. Setting Desired Temperature
Turn the heater on by pressing the ON/OFF button
on the control panel or by pressing the POWER
button on the supplied remote control.
NOTE: Once power is turned o, heating element will
stop working first. Fan will keep working for 1 min to
emit remaining heat inside.
Push MODE button on control panel or remote
control to select between high heat, low heat or fan
modes.
NOTE: High mode uses 1500W; Low mode uses
800W. When in “FAN”, LED display will automatically
show the room temperature.
or
or
Adjust the desired temperature by pressing the
UP/DOWN buttons on the control panel or remote
control.
Desired temperature options vary from 59˚F to 86˚F
or from 15˚C to 30˚C. Once you have chosen the
desired temperature, the heater will remain on until
the room temperature increases to the temperature
on the digital display. The heater will cycle on and o
to maintain the desired room temperature.
or
or
or
Page 11

Page 11
Push “MODE” for 3 seconds to go between ˚C and ˚F
The Fahrenheit indicator LED will light when the
temperature is displayed in Fahrenheit.
The Celsius LED will light when the temperature is
displayed in Celsius.
3. Setting the POWER-OFF TIMER Function
NOTE: The Power-OFF Timer function will allow for the heater to power OFF
after a certain set time and can only be set while the heater’s display is in
the “ON” position.
Turn the heater to the “On” position .Press the Timer
button on the heater’s control panel or the remote.
The digital display changes from the “temperature”
to the “hours” option for the timer. Continue to press
the timer button to change the number of hours you
would like the heater to run before powering itself
o .The hour options for the timer are from 0 to 12
hrs. (in 1 hr increments).
The selected hour increments will flash for a
few seconds, then revert back to the set desired
temperature .The Timer indicator light will remain lit
as long as the Timer is set. The heater will power OFF
when the internal heater clock counts down the hour
increments you set.
or
SET UP & USE
Page 12

Page 12
SET UP & USE
4. Setting the POWER-ON TIMER Function
NOTE: The Power-ON Timer Function will allow for the heater to power ON after
a certain set time, and can only be set while the heater’s display is in the
“OFF” position.
Turn the heater to the “OFF” position .Press the
TIMER button on the heater’s control panel or the
remote.
The digital display shows the “hours” option for the
timer. Continue to press the timer button to change
the number of hours you would like the heater’s
internal clock to count down before powering on .The
hour options for the timer are from 1 to 12 hours in
one hour increments.
NOTE: The timer indicator light will remain lit as long
as the timer is set. The heater will power itself ON
when the internal heater clock counts down to the
time you set.
or
5. Setting the Child Safety Lock
The child safety lock avoids the heater from being accidentally engaged by
children. The locking mechanism can be set in both the ON and OFF modes.
Press TEMP UP and TEMP DOWN buttons at the
same time for 3 seconds. Locking is complete when
you hear a beep. When locked, the functions of the
control panel and remote will not operate.
When you need to unlock it, press TEMP UP and
TEMP DOWN buttons at the same time for 3
seconds. You will hear a beep .The control panel and
remote control will become functional again.
and
and
6. Setting Swing/Oscillation Function
Press the “Swing” button on control panel or the
“Oscillation” button on the remote.
With the heater ON, swing/oscillation will start
working and indicator will light. Press same buttons
to shut o swing/oscillation function and indicator
light will turn o.
and
Page 13

Page 13
MAINTENANCE
1. Turn power o either from control panel or remote control.
2. Unplug the unit and let it cool completely.
3. To keep the heater clean, the outer shell may be cleaned with a soft, damp cloth.
You may use a mild detergent if necessary. After cleaning, dry the unit with a soft
cloth.
CAUTION: DO NOT let liquid enter the heater.
4. DO NOT use alcohol, gasoline, abrasive powders, furniture polish, or rough brushes
to clean the heater. This may cause damage or deterioration to the surface of the
heater.
5. DO NOT immerse the heater in water.
6. Wait until the unit is completely dry before using again.
7. If you do not use the heater for a long time, please take out the remote’s battery
as shown below to prevent corrosion as shown below. Store the remote in a safe
place.
STORAGE
Store the heater in a cool, dry location when not in use. To prevent dust and dirt
build-up, use the original packaging to repack the unit.
CARE & CLEANING
Page 14

Page 14
TROUBLESHOOTING & WARRANTY
BEFORE YOU CALL FOR SERVICE
IF THE HEATER/FAN FAILS TO OPERATE:
A) Check to make sure that the heater/fan is plugged in securely. If it is not,
remove the plug from the outlet, wait 10 seconds and plug it in again securely.
B) Check for a blown circuit fuse or a tripped main circuit breaker. If these seem
to be operating properly, test the outlet with another appliance.
C) Check if electricity to the main power switch in the back of the unit appears
to be working.
D) Make sure the heater is in the upright position.
E) Check to see if the battery on the remote is placed in correctly and is not
damaged or exhausted.
NOTE: For the heater to function properly, the desired temperature on the heater
must be set a few degrees higher than the temperature in the room. If the
unit seems to not be heating properly, increase the desired temperature
on the heater to fully engage the heating elements.
IF NONE OF THE ABOVE SOLVES THE PROBLEM, CONTACT A QUALIFIED
TECHNICIAN. DO NOT TRY TO ADJUST OR REPAIR THE HEATER/FAN
YOURSELF.
CUSTOMER SERVICE
IMPORTANT
DO NOT RETURN THIS PRODUCT TO THE STORE
If you have a problem with this product, please contact the
W Appliance Co. Customer Satisfaction Center at
844-299-0879.
DATED PROOF OF PURCHASE, MODEL # AND SERIAL #
REQUIRED FOR WARRANTY SERVICE
Page 15

Page 15
TROUBLESHOOTING & WARRANTY
LIMITED WARRANTY
Any repair, replacement, or warranty service,
and all questions about this product should be
directed to W Appliance Co. at 844-299-0879
from the USA or Puerto Rico.
W Appliance Co. warrants to the original purchaser
that the product will be free from defects in material,
parts and workmanship for the period designated for
this product. The warranty commences the day the
product is purchased and covers up to a period of 1
year (12 months) for labor/1 year (12 months) for parts
(manufacturing defects only).
W Appliance Co. agrees that it will, at its option,
replace the defective product with either a new
or remanufactured unit equivalent to your original
purchase during the warranty period.
Exclusions: This warranty does not apply to the
below:
1. If the appearance or exterior of
the product has been damaged or
defaced, altered or modified in design or
construction.
2. If the product original serial number
has been altered or removed or cannot
be readily determined.
3. If there is damaged due to power line
surge, user damage to the AC power
cord or connection to improper voltage
source.
4. If damage is due to general misuse,
accidents or acts of God.
5. If repair attempts are done by
unauthorized service agents, use of
parts other than genuine parts or parts
obtained from persons other than
authorized service companies.
6. On units that have been transferred
from the original owner.
7. On products that have been purchased
as refurbished, like new, second-hand, in
a “As-Is” or “Final Sale” terms.
8. To products used in a commercial or
rental setting.
9. To products used in settings other than
ordinary household use or used other
than in accordance with the provided
instructions.
10. To damages for service calls for
improper installations.
11. Transportation and shipping costs
associated with the replacement of the
unit.
12. Service calls to instruct you how to use
your product.
13. Service calls to repair or replace the
house fuse, reset the circuit breaker or
correct the wiring in the house.
REPAIR OR REPLACEMENT AS PROVIDED UNDER
THIS WARRANTY IS THE EXCLUSIVE REMEDY OF
THE CUSTOMER; W Appliance Co. SHALL NOT BE
LIABLE FOR ANY INCIDENTAL OR CONSEQUENTIAL
DAMAGES FOR BREACH OF ANY EXPRESS OR
IMPLIED WARRANTY ON THIS PRODUCT, EXCEPT
TO THE EXTENT PROHIBITED BY APPLICABLE LAW.
ANY IMPLIED WARRANTY OF MERCHANTABILITY
OF FITNESS FOR A PARTICULAR PURPOSE ON THIS
PRODUCT IS LIMITED TO THE DURATION OF THE
WARRANTY.
Some states do not allow the exclusion or limitations
of incidental or consequential damages, or limitations
on how long the warranty lasts. In these cases the
above exclusions or limitations may not apply to you.
This warranty gives you specific legal rights and you
may also have other rights which vary from state to
state.
Obtaining Service: To obtain service, product
literature, supplies or accessories please call
844-299-0879 to create a ticket for exchange/repair.
Please make sure to provide the date of purchase,
model number and a brief description of the problem.
Our customer service representative
will contact you or send detailed return instructions.
W Appliance Co. does not warrant that the appliance will work
properly in all environmental conditions, and makes no warranty
and representation, either implied or expressed, with respect
to the quality, performance, merchantability, or fitness for a
particular purpose other than the purpose identified within this
user’s manual. W Appliance Co. has made every eort to ensure
that this user’s manual is accurate and disclaims liability for any
inaccuracies or omissions that may have occurred. Information in
this user’s manual is subject to change without notice and does
not represent a commitment on the part of W Appliance Co.. W
Appliance Co. reserves the right to make improvements to this
user’s manual and/or to the products described in this user’s
manual at any time without notice. If you find information in this
manual that is incorrect, misleading, or incomplete, please contact
us at 844-299-0879.
W Appliance Co.
1356 Broadway
New York, NY 10018
Page 16

Page 16
BLACK & DECKER, BLACK+DECKER, the BLACK & DECKER and BLACK+DECKER
logos and product names and the orange and black color scheme are trademarks of The
Black & Decker Corporation, used under license. All rights reserved.
Product in this box may differ slightly from that pictured. Does not affect function.
Not all accessories shown in photography are included in this package.
Imported by W Appliance, Inc., 1356 Broadway, New York, NY 10018
October 2016 Printed in China
 Loading...