

Page 1
Silver Stain Plus
Catalog Number
#161-0449
™
For Technical Service, call your local Bio-Rad office or
in the U.S. call 1-800-424-6723
Page 2

Page 3

Introduction
Silver Stain Plus™ is a quick, simple system for detecting
proteins or nucleic acids in polyacrylamide and dried
agarose gels after electrophoresis. Proteins and nucleic
acids can be visualized in 1 hour with very little handson time by employing a carrier-complex silver staining
chemistry similar to that developed by Gottlieb and
Chavko for detecting DNA in agarose gels.1 Silver staining
is very sensitive. Silver Stain Plus is 30 to 50-fold more
sensitive than Coomassie Blue R-250 dye and will detect
nanogram quantities of protein and DNA. To ensure best
results, always use high-quality deionized distilled water
and extremely clean glassware. Always wear gloves when
using the kit components and when handling gels.
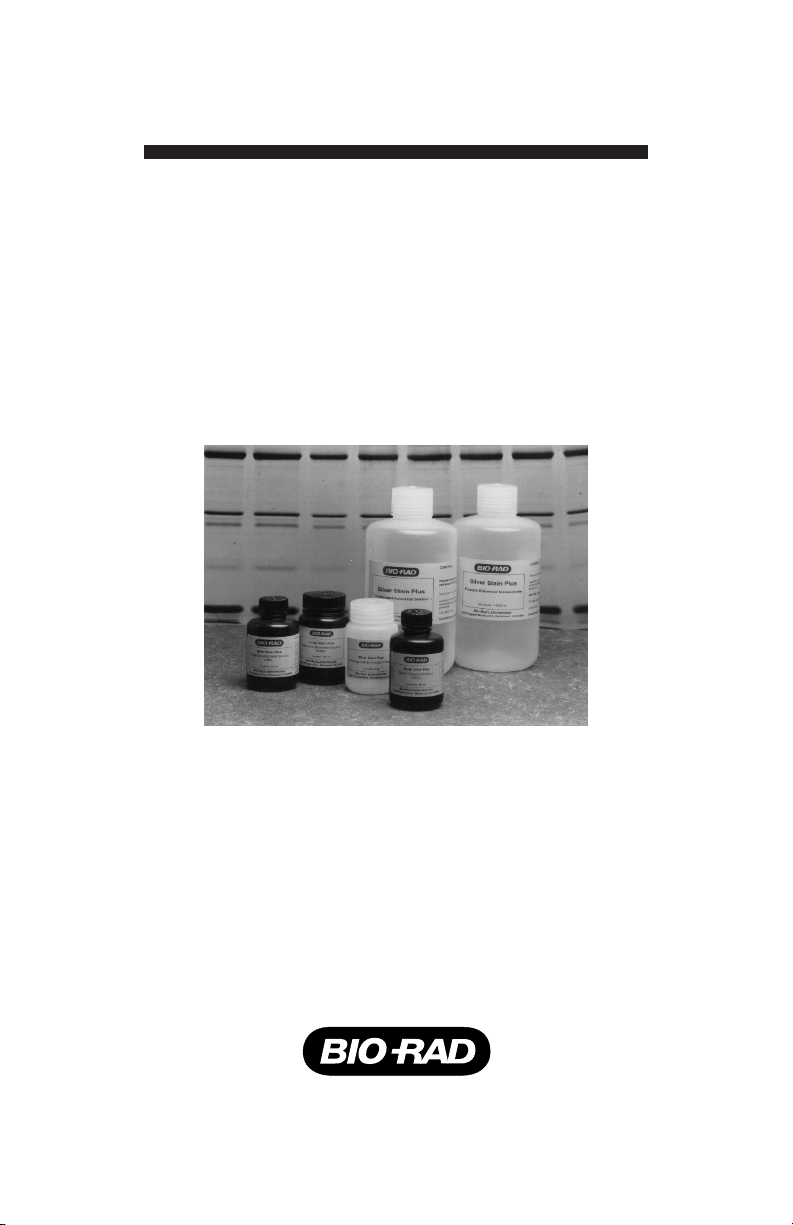
Components
The Silver Stain Plus kit includes the following components
in quantities sufficient to stain 40 mini gels
(8 x 10 cm) or 13 conventional gels (16 x 16–20 cm):
• Fixative enhancer concentrate
• Silver complex solution (contains NH4NO3 and AgNO3)
• Reduction moderator solution (contains tungstosilicic
acid)
• Image development reagent (contains formaldehyde)
• Development accelerator reagent (contains Na2CO3)
• Empty 1 L bottle for development accelerator
Silver Stain Plus 1
Page 4

Additional Materials Needed
In addition to the components in the Silver Stain Plus kit,
the following materials are required:
• Reagent-grade methanol and acetic acid
• Deionized, distilled, or high-purity water
• Water of 18-megohm-cm resistivity recommended
• Polytetrafluoroethylene (PTFE)-coated stir bars
• Glass or plastic staining trays
All steps in this procedure require gentle agitation of the
gel in solution. For best results, a shaker table is
recommended.
Warnings and Precautions
Read each label in the kit before beginning the procedure.
Wear gloves, safety glasses, and protective clothing while
preparing and working with all the solutions in this kit.
The image development reagent should be used only in
areas with good ventilation. Avoid breathing vapors. Avoid
contact with skin. In case of contact with eyes, flush with
copious amounts of water and contact a physician.
See Material Safety Data Sheets for additional
information.
Storage
All reagents except the development accelerator solution
can be stored at room temperature. The development
accelerator solution should be stored at 4°C but allowed
to reach ambient temperature before use. This may be
done by aliquoting the volume needed and either warming
in a water bath for 2–5 min or allowing to stand at room
temperature for approximately 30 min before use.
2 Silver Stain Plus
Page 5

Recommendations for Optimal
Staining
• To prevent silver deposits on staining trays and
inconsistent staining, all containers used for mixing
and staining should be scrupulously clean. Glass,
polyethylene, or polypropylene containers may be
cleaned with 50% (approx. 8 N) nitric acid after
cleaning with laboratory detergent. Rinse thoroughly
with high-quality deionized water
• Throughout the procedure the gel should always be
completely submerged in solution. Gels that float on
the surface of the solution will not stain consistently
and will show background discoloration
• Avoid staining gels in direct sunlight or at
temperatures above 25°C
• Never touch gels with metal objects or bare skin.
PVC or latex gloves rinsed with deionized water
should be used if the gel must be handled. Perform
gel manipulations with glass or polyethylene rods, if
possible
• Stopping point: The fixative step is a desirable
stopping point if there is not enough time to complete
the procedure
Silver Stain Plus 3
Page 6

Reagent Preparation
Development Accelerator Solution
1. Prepare once for use with the entire contents of the
kit.
2. Place 950 ml of deionized distilled water in a
1 L cylinder containing a PTFE-coated stir bar.
3. Begin stirring and slowly add the entire
50 g contents of the development accelerator reagent.
Stir until dissolved.
4. Add water to make 1 L. Pour the solution into the
provided empty 1 L bottle labeled development
accelerator solution.
5. Store at 4°C. Use at room temperature.
If the entire solution will not be used within 3 months,
prepare the development accelerator solution according to
your use rate.
To prepare half the solution, add 25 g development
accelerator reagent to 475 ml deionized distilled water,
add water to make 500 ml.
4 Silver Stain Plus
Page 7

Polyacrylamide Gel Staining Procedure
The following preparations are adequate for staining two
mini gels (8 x 10 cm), 0.75–1.0 mm thick. Refer to Table A
for staining gels of other sizes.
1. Fixative Step — 20 min
Fixative enhancer solution
preparation (for 2 mini gels)
Reagent-Grade
Methanol
Reagent-Grade
Acetic Acid
Fixative Enhancer
Concentrate
Deionized Distilled
Water
Total 400 ml 100% V/V
200 ml 50% V/V
40 ml 10% V/V
40 ml 10% V/V
120 ml 30% V/V
After gel electrophoresis, place gels in the fixative
enhancer solution. With gentle agitation fix the gels for
20 min. Refer to Table A for fixing times and solution
volumes for larger gels.
2. Rinse Step — 20 min
Decant the fixative enhancer solution from the staining
vessel. Rinse the gels in 400 ml deionized distilled
water for 10 min with gentle agitation. After
10 min, decant water and replace with fresh rinse
water. Rinse for an additional 10 min. Decant rinse
water. For larger and thicker gels, rinse with 800 ml
water for 40 min.
Silver Stain Plus 5
Page 8

3. Staining and Developing Step — 20 min
Staining Solution Preparation and Procedure
(prepare within 5 min of use)
Place 35 ml deionized water into a large
beaker or Erlenmeyer flask and stir with
a PTFE-coated stir bar. Add the following to the
beaker in this order:
5.0 ml Silver Complex Solution
5.0 ml Reduction Moderator Solution
5.0 ml Image Development Reagent
Immediately before use quickly add 50 ml of the
room temperature development accelerator solution
to the beaker. Swirl well. Add the contents of the
beaker to the staining vessel. Stain with gentle
agitation.
Stain both mini and large-format gels for
approximately 20 min or until desired staining intensity
is reached. It may take at least 15 min before the
bands first become visible. Note: Staining time is
dependent on the sample and the quantity loaded.
After the desired staining is reached place the gels in
5% acetic acid to stop the reaction.
4. Stop Step — 15 min
Prepare a 5% acetic acid solution to stop the staining
reaction.
Place gels in stop solution for a minimum of 15 min.
After stopping the reaction rinse the gels in high-purity
water for 5 min. The gels are then ready to be dried or
photographed.
6 Silver Stain Plus
Page 9

Table A. Times and volumes required to stain 2 gels.
Gel Thickness
0.75 to 1.0 mm
Step Time Mini
Fixative 20 min 400 ml 800 ml 30 min 400 ml 800 ml
Water wash 10 min 400 ml 800 ml 20 min 400 ml 800 ml
Water wash 10 min 400 ml 800 ml 20 min 400 ml 800 ml
Stain 20 min 100 ml 300 ml 20 min 100 ml 300 ml
Stop 15 min 400 ml 400 ml 15 min 400 ml 400 ml
Gel
Large
Gel
Gel Thickness
1.5 to 3 mm
Time Mini
Gel
Large
Gel
Silver Stain Plus 7
Page 10

Agarose Gel Staining
To prepare an agarose gel for silver staining, it is first
necessary to dry the gel after electrophoresis. When the
gel is dry it will be clear, wafer-thin, and easy to handle.
Follow any one of the three following techniques for drying
agarose gels up to 6 mm thick. When the gel is dried,
follow the procedure for polyacrylamide gel staining.
Suggested Techniques for Drying
Agarose Gels
Air Drying
Place the gel on the hydrophobic side of a sheet of gel
support film and air dry in a hood overnight. If necessary,
use tape to keep the gel in place. Remove the gel from the
support film and follow the procedure for polyacrylamide
gel staining.
Compression Drying
Sandwich the gel between two pieces of dry cellophane.
Place the sandwiched gel on three sheets of filter paper
and cover with three sheets of filter paper. Apply a
1–2 kg weight on top of the filter paper. Let dry overnight.
When dry, remove cellophane from the gel and follow the
procedure for polyacrylamide gel staining.
Vacuum Drying
A gel dryer, such as Bio-Rad’s Model 583 gel dryer, is
used in this method. First place a sheet of filter paper
on the porous gel support plate. Place a sheet of dry
cellophane on the filter paper. Lay the gel on top of the
cellophane and cover it with a second sheet of cellophane,
plastic wrap, or gel support film.
8 Silver Stain Plus
Page 11

Place the sealing gasket over the gel sandwich and apply
vacuum. Do not apply heat. High heat will melt the gel. Dry
overnight. When dry, remove the cellophane from the gel
and follow the procedure for polyacrylamide gel staining.
Silver Reagent Disposal
The final staining solution is considered hazardous
waste and should not be poured down the sink. Place
the staining solution in a disposable plastic or hazardous
waste container under the hood. In 1–2 days the silver
metal will precipitate from the solution. Once the silver has
precipitated the aqueous waste can then be decanted
from the silver and disposed of separately. Disposal of
both the solid and aqueous waste should be according to
local and state regulations.
Silver Staining after Coomassie Blue
R-250
Completely destain the Coomassie stained gel in
40% methanol/10% acetic acid. Follow with the wash step
of the Silver Stain Plus procedure and thoroughly rinse the
destain from the gel. Proceed with the staining step.
Destaining
Gels stained with Silver Stain Plus can be completely
destained in 1% hydrogen peroxide. Use several changes
of 100 ml of 1% hydrogen peroxide per mini gel for
2–15 min or until completely destained. To restain, place
gel in fixative enhancer solution (step 1) or 10% acetic
acid. Water wash (step 2) and proceed with staining.
Silver Stain Plus 9
Page 12

Silver Staining Tips
• Containers must be scrupulously clean. Clean
glassware and staining containers prevent
inconsistencies in staining. Glass, polyethylene,
or polypropylene staining vessels may be cleaned
with 50% nitric acid after cleaning with laboratory
detergent. Rinse thoroughly with high-quality
deionized water
• Never touch gels with metal objects or with bare skin.
PVC or latex gloves, rinsed with deionized water,
should be used if the gel must be handled. Perform
gel manipulations with glass or polyethylene rods, if
possible
• If the gel is squeezed, bent, or torn, uneven
background staining may result in the affected portion
of the gel
• The gel should always be completely submerged in
solution. Gels that float on the surface of the solutions
will not stain consistently and will show background
discoloration
10 Silver Stain Plus
Page 13

Troubleshooting Guide
Problem Cause Solution
The silver
precipitates
on the staining
containers.
The staining
solution is
cloudy or
contains a
precipitate.
Note: The
presence of
a precipitate
does not affect
the quality of
staining but may
require longer
staining times.
Staining
containers may
contain residues
from soap or
prior staining
solutions, which
silver will bind
with to form
metallic silver.
The development
accelerator
solution is too
dilute.
Silver staining techniques
require containers to be
thoroughly cleaned before
use. After washing
containers with laboratory
soap and water, rinse
with 50% nitric acid
solution to remove
residues. Water rinse the
acid from the container.
Use deionized distilled
water as a final rinse.
Add 2–10 ml of
development accelerator
solution until the
precipitate disappears.
If the precipitate does not
disappear, the solution
may still be used, but
precipitate should be
prevented by following
these tips.
1. The development
accelerator solution
must be used at
ambient temperature.
Precipitate will form
if the solution is used
cold.
2. Always add the
aliquoted volume
of development
accelerator solution
all at once and never
a few ml at a time.
Silver Stain Plus 11
Page 14

Troubleshooting Guide (continued)
Problem Cause Solution
Bands are
taking longer
than 20 min
to develop
and a high
background
is developing
with the
extended
staining time.
If you have further question about the procedure, call technical
service in the U.S. at 1-800-424-6723 or contact
your local Bio-Rad office.
Since all proteins
are not identical
longer fixative
times may be
required in some
cases.
The presence of
acetic acid still in
the gel from the
fixative step will
slow detection.
The development
accelerator
solution was cold
when used.
Extend the fix step
15–30 min to
improve detection.
Note: The fixative step is
a desirable stopping
point if the staining
procedure cannot be
completed in one day.
Extend the wash times.
Allow the development
accelerator solution
to come to ambient
temperature before use.
12 Silver Stain Plus
Page 15

Reference
Gottlieb M and Chavko M (1987). Silver staining of native and denatured eucaryotic DNA in agarose gels. Anal
Biochem 165, 33-37.
Ordering Information
Catalog
Number Product Description
161-0449 Silver Stain Plus Kit, includes fixative enhancer
concentrate, silver complex solution, reduction
moderator solution, image development reagent,
development accelerator reagent, and complete
instructions.
161-0448 Development Accelerator
Concentrate
161-0461 Fixative Enhancer Concentrate
161-0462 Silver Complex Solution
161-0463 Reduction Moderator Solution
161-0464 Image Development Reagent
Coomassie is a trademark of BASF Aktiengesellschaft.
Silver Stain Plus 13
Page 16

Page 17

Page 18

Page 19

Page 20

Life Science
Group
Sig 1212Lit-442 Rev E US/EG
Bio-Rad
Laboratories, Inc.
Web site ww w.bio-rad.com USA 800 424 6723 Australia 61 2 9914 2800
Austria 01 877 89 01 Belgium 09 385 55 11 Brazil 5 5 11 5044 5699
Canada 905 364 3435 China 86 21 6169 8500
Czech Republic 420 241 430 532 Denma rk 44 52 10 00
Finland 09 804 22 00 France 01 47 95 69 65 Ger many 08 9 31 884 0
Greece 30 210 9532 220 Hon g Kong 852 2789 3300
Hungary 36 1 459 6100 India 91 124 4029300 Israel 03 963 6050
Italy 39 02 2160 91 Japan 03 6361 7000 Korea 82 2 3473 4460
Mexico 52 5 55 488 7670 The Netherlands 0318 540666
New Zealand 64 9 415 2280 N orway 23 3 8 41 30
Poland 48 22 331 99 99 Portugal 351 21 472 7700
Russia 7 495 721 14 04 Singapore 65 6415 3188
South Africa 27 861 246 723 Spain 3 4 91 590 5200
Sweden 08 555 1270 0 Switzerland 026 674 55 05
Taiwan 886 2 2 578 7189 Thailand 800 88 22 88
United Kingdom 020 8328 200 0
 Loading...