

Bh fitness SK9900RTV User Manual
SK9900RTV
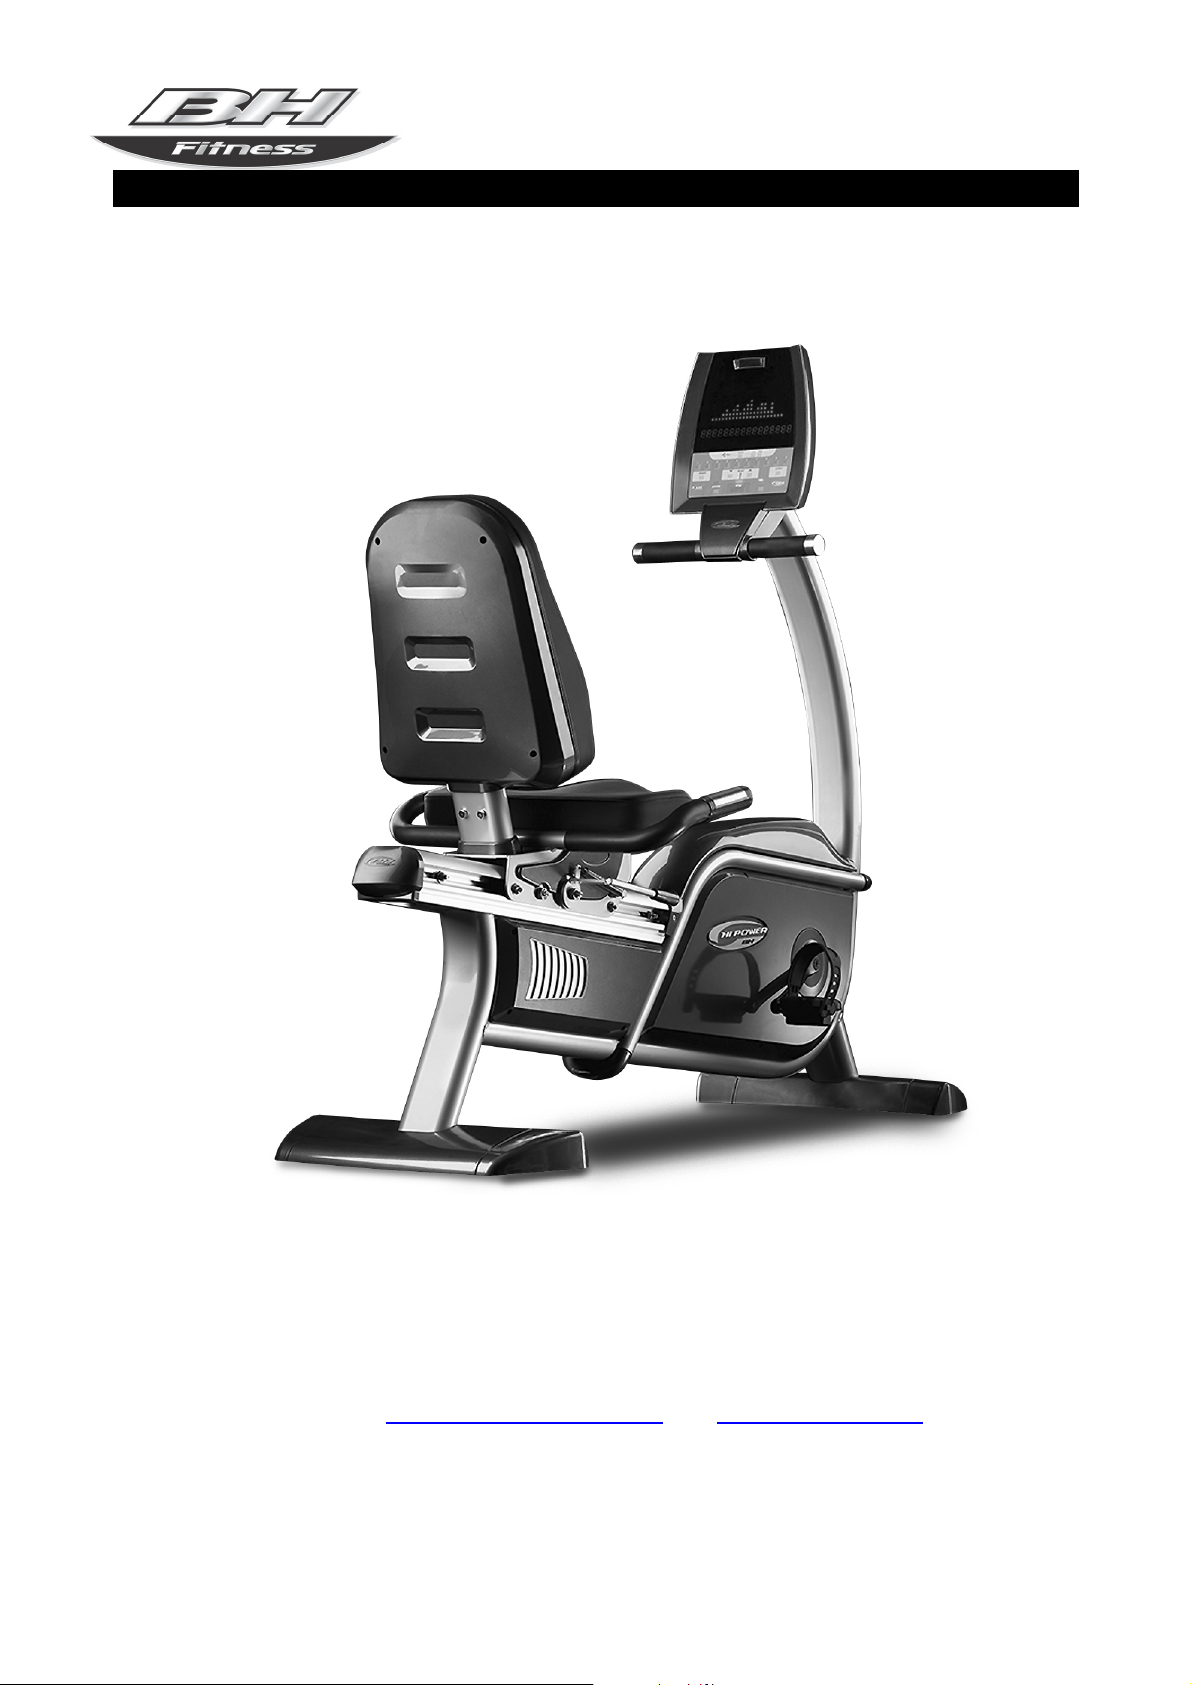
BH FITNESS SK9900RTV
Recumbent Bike Owner�s Manual
BH FITNESS
20155 Ellipse, Foothill Ranch, CA 92610
Phone: 949-206-0330, 866-325-2339 (USA & Canada)
Fax: 949-206-0013
Email: fitness@bhnorthamerica.com
Web: www.bhnorthamerica.com
Issued: 31 July 2008 (v2)
and www.bhfitness.com
Page 1

SK9900RTV
TABLE OF CONTENTS
IMPORTANT SAFETY INFORMATION....................................................... 3
ASSEMBLY GUIDE ..................................................................................... 4
CONSOLE OPERATION ........................................................................... 10
Elements of the Monitor ........................................................................ 11
Exercise Programs ............................................................................... 19
Heart Rate Cauculation.................................................................... 19
Goals................................................................................................ 19
Goals Time.................................................................................. 20
Goals Distance............................................................................ 21
Goals Calories ............................................................................ 21
Profile Manager ............................................................................... 22
Cross Country ............................................................................. 23
Aerobic State .............................................................................. 24
Gluteal Course ........................................................................... 25
Intervals ..................................................................................... 26
Fitness Test ................................................................................... 27
Heart Control................................................................................... 28
Constant Watt ................................................................................. 30
TELEVISION MANUAL.............................................................................. 31
WARRANTY .............................................................................................. 34
BH RESERVES THE RIGHT TO MODIFY THE SPECIFICATIONS OF ITS PRODUCTS
WITHOUT PRIOR NOTICE
Page 2

SK9900RTV
IMPORTANT SAFETY INFORMATION
PRECAUTIONS
This exercise machine has been designed and constructed to provide maximum safety. Nevertheless,
certain precautions should be taken when using exercise equipment. Read the whole manual before
assembling and using the exercise machine. The following safety precautions should also be observed:
Caution: Consult your doctor before beginning to use the exercise machine. This advice is
especially important for those over 35 or suffering from health problems. Read all of the
instructions before using any exercise equipment.
1. Users should pass a full medical examination before they embark upon any type of exercise
program.
2. If you experience dizziness, nausea, chest pains or any other symptom, STOP the exercise.
SEEK MEDICAL ATTENTION IMMEDIATELY.
3. Do warm up stretching exercises before using the equipment.
4. The weight of the user must not exceed 330 pounds (150 kg).
5. To guarantee the safety of the user and that of the equipment, the user should read through
the entire manually carefully before assembling and/or using the equipment. The owner is
responsible for explaining safety instructions to each user.
6. Close supervision is necessary when this unit is used by or near children, invalids or
disabled persons. Children are curious and vulnerable to accidents. Do not use the unit
as a toy.
7. The equipment can only be used by one person at a time.
8. Keep your hands well away from any of the moving parts.
9. Wear clothing suitable for doing exercise. Do not use baggy clothing that might get caught
up in the exercise equipment. Always wear running shoes or trainers when using the exercise
equipment. Make sure all shoe laces/cords are tied correctly.
Unit Safety:
WARNING: To reduce the risk of fire, electric shock, injury to persons or inflicting
the harm of a burn:
1. Never leave the unit unattended when plugged in. Unplug the unit from the electrical power
before leaving the room, when unused and before servicing or adding or removing parts.
2. Unplug the unit prior to cleaning to reduce the risk of electric shock, serious burns, and the
risk of injuries.
3. Never operate this unit if it has a damaged electrical cord or plug. Do not operate this unit if it
is not working properly. Do not operate this unit if it has been dropped or damaged. Do not
operate this unit if it has been immersed into water. Return the unit to a service center for
examination and repair.
4. Do not pull or carry the unit by the electrical cord. Do not use the cord as a handle.
5. Keep the electrical cord away from heated surfaces.
6. Connect this unit to a properly grounded 110-120V, 15 or 20 Amp dedicated outlet only.
7. Call your service center or BH Fitness with your concerns before taking your unit in for repair.
8. Do not place sharp objects near the unit. Never drop or insert any object into any opening.
9. Use the equipment on a level, solid surface. DO NOT use the exercise machine outdoors
or close to water.
10. Do not operate where aerosol (spray) products are being used or where oxygen is being
administered.
11. Use the unit only as described in this manual. Only use attachments recommended by the
manufacturer.
12. For safety, keep a minimum clearance of 18” on the front and each side and 24” at the rear
of the treadmill. Place the unit on a flat stable surface.
PLEASE SAVE THESE INSTRUCTIONS FOR FUTURE USE.
Page 3

SK9900RTV
ASSEMBLY GUIDE
Figure 1
A) Main post.
B) Main body.
C) Front trim cover. a) Combination Spanner (wrench)
D) Top trim cover. b) Star driver spanner (wrench)
E) Backrest c) Allen key 5 mm.
F) Flat washer M-10 Quantity 4 d) Allen key 8 mm.
G) Grower washer M-10 Quantity 4
H) Allen screw M-10x25 Quantity 4 M) Bottle holder
I) Screw M-4x25 Quantity 1 O) Adapter 12V, 3 Amp.
J) Allen Screw M-5x15 Quantity 2 P) Adapter Electrical Cable.
K) Screw M-8x15 Quantity 4 Q) MP3 Cable.
L) Grower washer M-8 Quantity 4
LL) Flat washer M-8 Quantity 4
Page 4

SK9900RTV
ASSEMBLY GUIDE
Figure 2 Figure 3
Page 5

SK9900RTV
ASSEMBLY GUIDE
Figure 4 Figure 5
3
Page 6

SK9900RTV
ASSEMBLY GUIDE
Figure 6 Figure 7
Figure 8 Figure 9
Install 12V Adapter (O) here
Page 7

SK9900RTV
ASSEMBLY GUIDE
IMPORTANT:
The exercise machine is heavy. At least two people are required to ensure the safety of
those that are unpacking, installing and moving the equipment.
NOTE: For safety, maintain a minimum clearance around the equipment. Maintain 18 inches on
the front and each side plus 24 inches at the rear of the unit.
NOTE: Position on a level floor near a 110-120V dedicated electrical outlet.
1. ASSEMBLY INSTRUCTIONS
Figure 1. Take the unit out of the box and place it on the floor as shown in Figure 1. Verify
that the parts are undamaged and quantities are correct.
2. ATTACH THE MAIN POST
Figure 2. Take the post (A) and bring it up to the boss on the main body (B).
Connect the terminals (O and R), sticking out of the bottom of post (A), with terminal (P and
S) coming up out of the top of the tube on the main body (B).
Connect the terminals (s and v), sticking out of the bottom of post (A), with terminal (r and t)
coming up out of the top of the tube on the main body (B).
Slip the main post (A) over the boss on the main body (B), making sure not to damage any
of the cables.
Figure 2. Loosely fasten using flat washers (F), Grower spring washers (G) and screws (H).
Check alignment of post (A) and Body (B). Tighten the screws securely.
3. INSTALL THE BACKREST
Figure 2. Insert the backrest (E) into the tube on the seat.
Fasten using flat washers (LL), grower washers (L) and screws (K).
4. FIT THE FRONT TRIM COVER
Figure 3. Fit the front trim cover (C) by sliding it onto the side tubes. Install and tighten screw
(I) to secure the cover.
5. FIT THE TOP TRIM COVER AND BOTTLE HOLDER
Figure 4. Position the cover (D) so as to avoid hitting the Monitor. Move the cover (D) in the
direction of arrows (1), (2) and (3). Position the cover (D) over the side tubes of the main
body (B). Secure using screws (J).
Figure 4A. Remove the screws from the main post (B). Position the bottle holder (M) and
secure it by using the screws previously removed.
6. ADJUST THE SEAT
Figure 5. The seat position can be slid forwards or backwards by pressing lever (U)
upwards. Lever (U) is on the lower right side of the seat.
Release the lever to lock the seat into a position.
7. VIEW PULSE SENSOR
Figure 8. View the pulse sensors (Y) located on the handlebar. The users pulse rate is
measured by placing both hands on pulse sensors (Y).
8. LEVELING
NOTE: For safety, maintain a minimum clearance around the equipment. Maintain 18 inches
on the front and each side plus 24 inches at the rear of the unit.
Figure 6. Once the unit has been placed into its final position, make sure that it sits flat on
the floor and that it is level. Screw the adjustable support blocks (R) up or down to level the
unit.
Page 8

SK9900RTV
ASSEMBLY GUIDE
9. MOVEMENT & STORAGE
Figure 7. The unit is equipped with wheels (W) making it easier to move about. The two
wheels at the front of the unit make it easy to store the unit away.
10. ELECTRICAL CONNECTON
Figure 9. Connect the 12V, 3 Amp Adapter (O) to electrical cable (P). Connect to a 110-120V
dedicated outlet.
Page 9
SK9900RTV
CONSOLE OPERATION
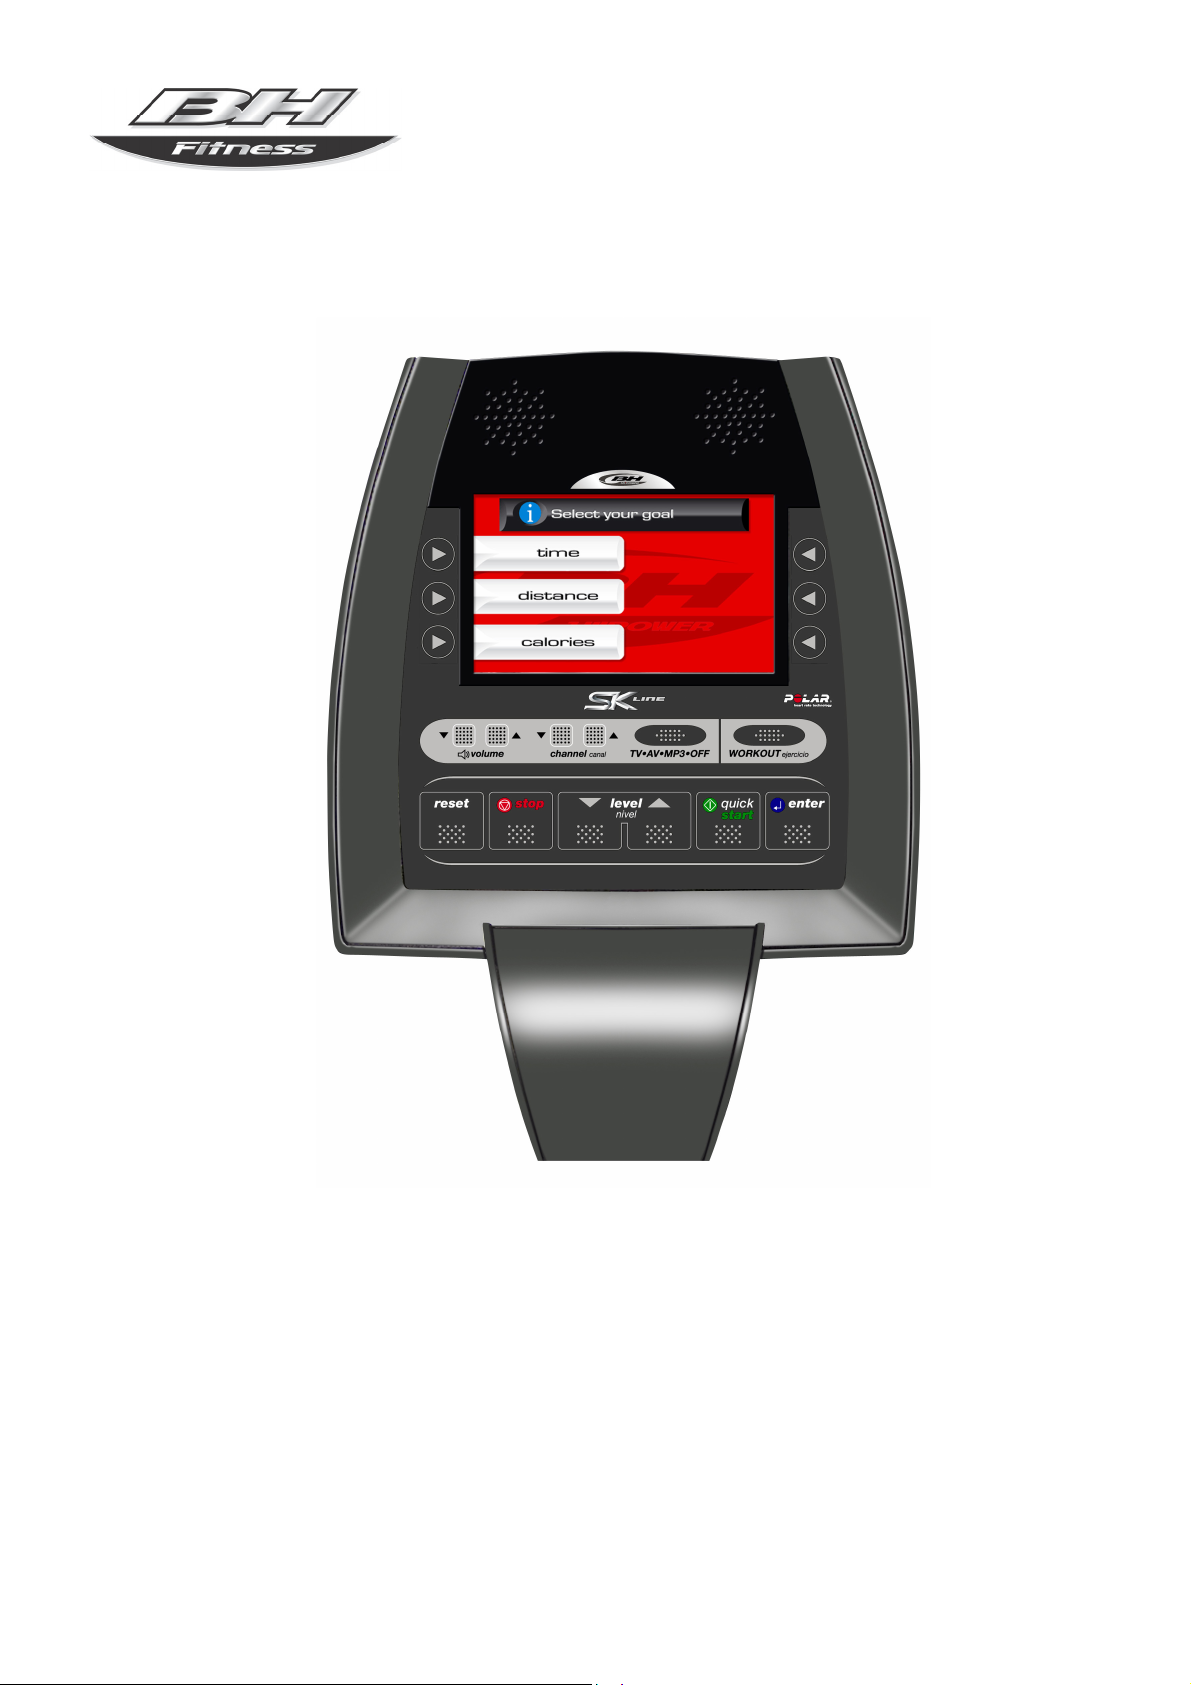
ELECTRONIC MONITOR
Page 10
SK9900RTV
CONSOLE OPERATION
GENERAL INSTRUCTIONS
This electronic monitor is designed to be easy and intuitive to use. The messages that appear on the
television screen will guide the user throughout the whole exercise.
We recommend that the gym instructor becomes familiar with operating the electronic monitor, by reading
the following instructions, in order to correctly guide the users.
Figure 10 Figure 11
ELEMENTS OF THE MONITOR
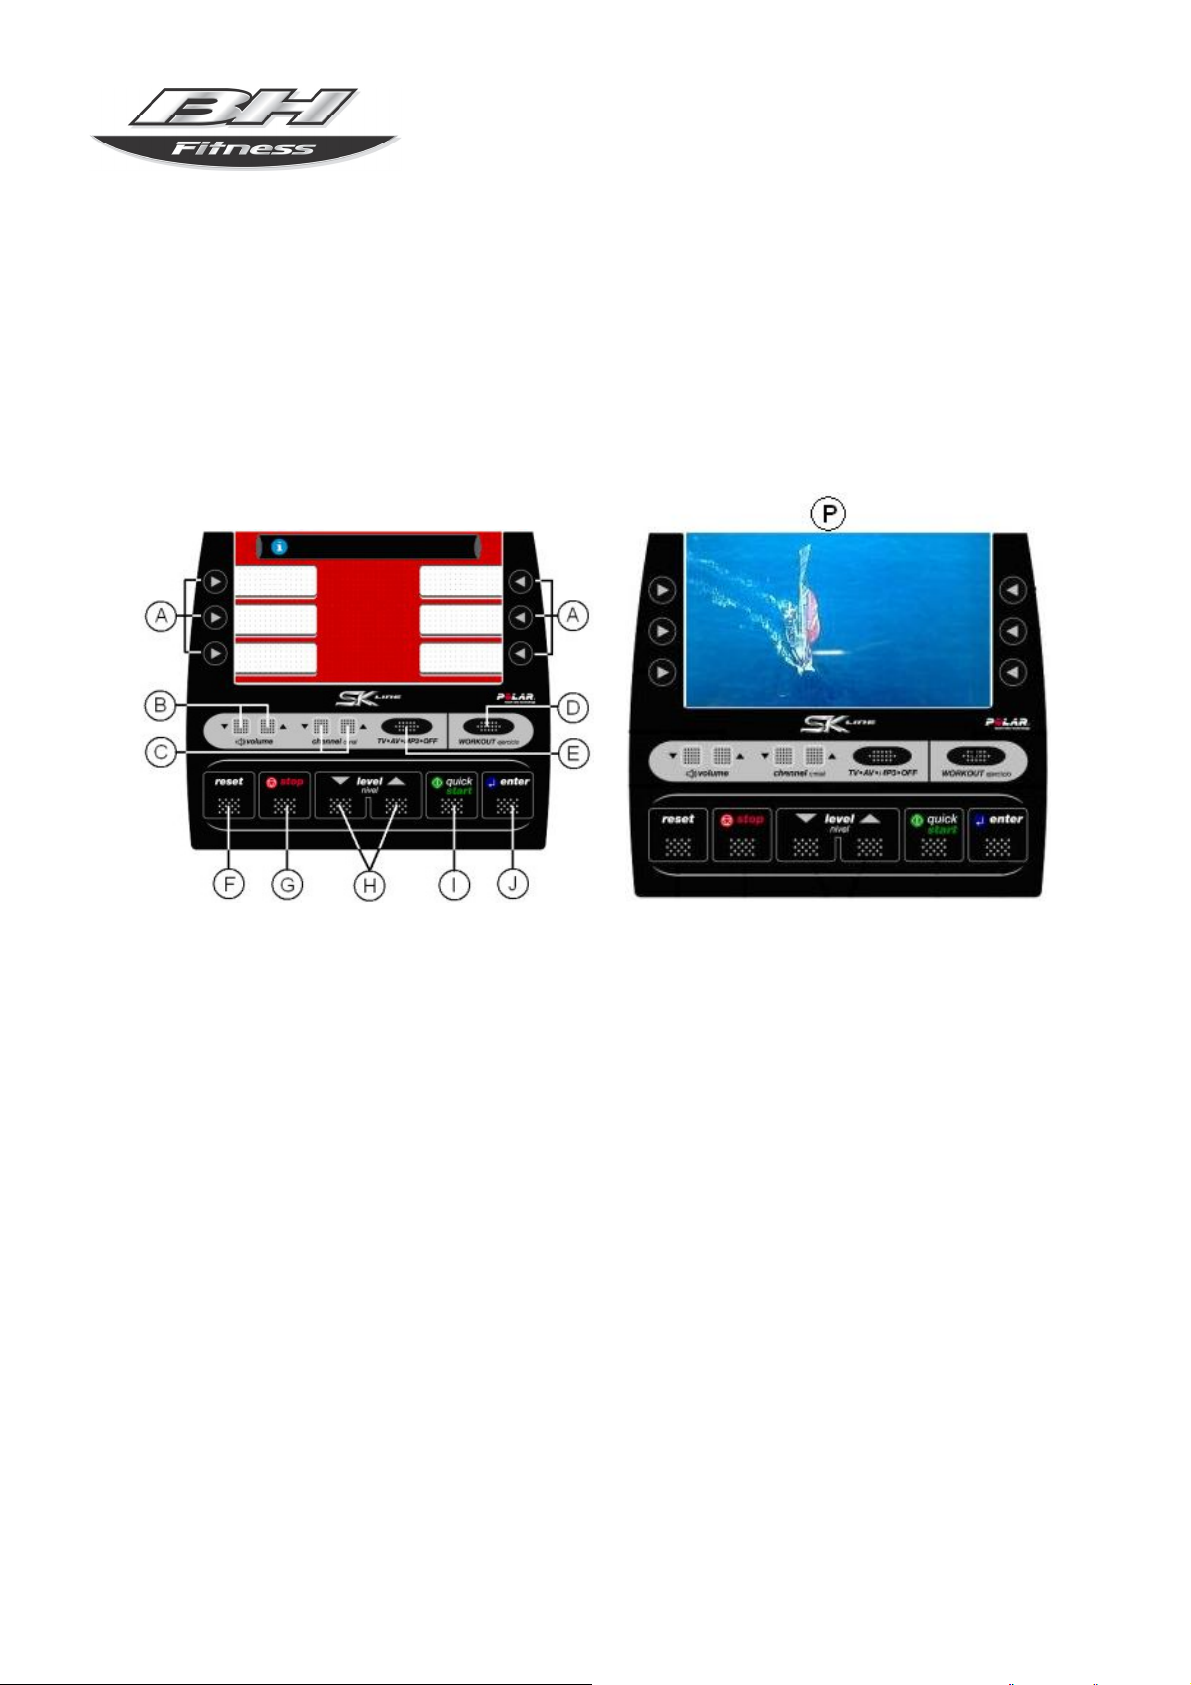
Figure 10
A.- Direct access button to displayed screen data.-
B.- TV volume control ▲▼
C.- Channel select key ▲▼
D.- Exercise screen / TV changeover button
E.- TV; AV; MP3; OFF (switch TV off) selector.
F.- reset.- Reset key. This is used to erase the data that have been entered when selecting a program.
G.- stop.- Stop key. If this is pressed during the session, the exercise will finish and the exertion level
will return to minimum setting. A summary of all the exercise data will be displayed and then it returns to the
start screen.
H.- level▲-level▼.- Key for increasing/decreasing exertion levels. When pressed during exercise
this key will increase or decrease the exertion level by one machine setting.
Page 11
 Loading...