

Bernafon SoundGate 3, Phone Adapter 2, TV Adapter 2, SoundGate Mic, RC-N Remote Control Manual For Wireless Connectivity
Page 1
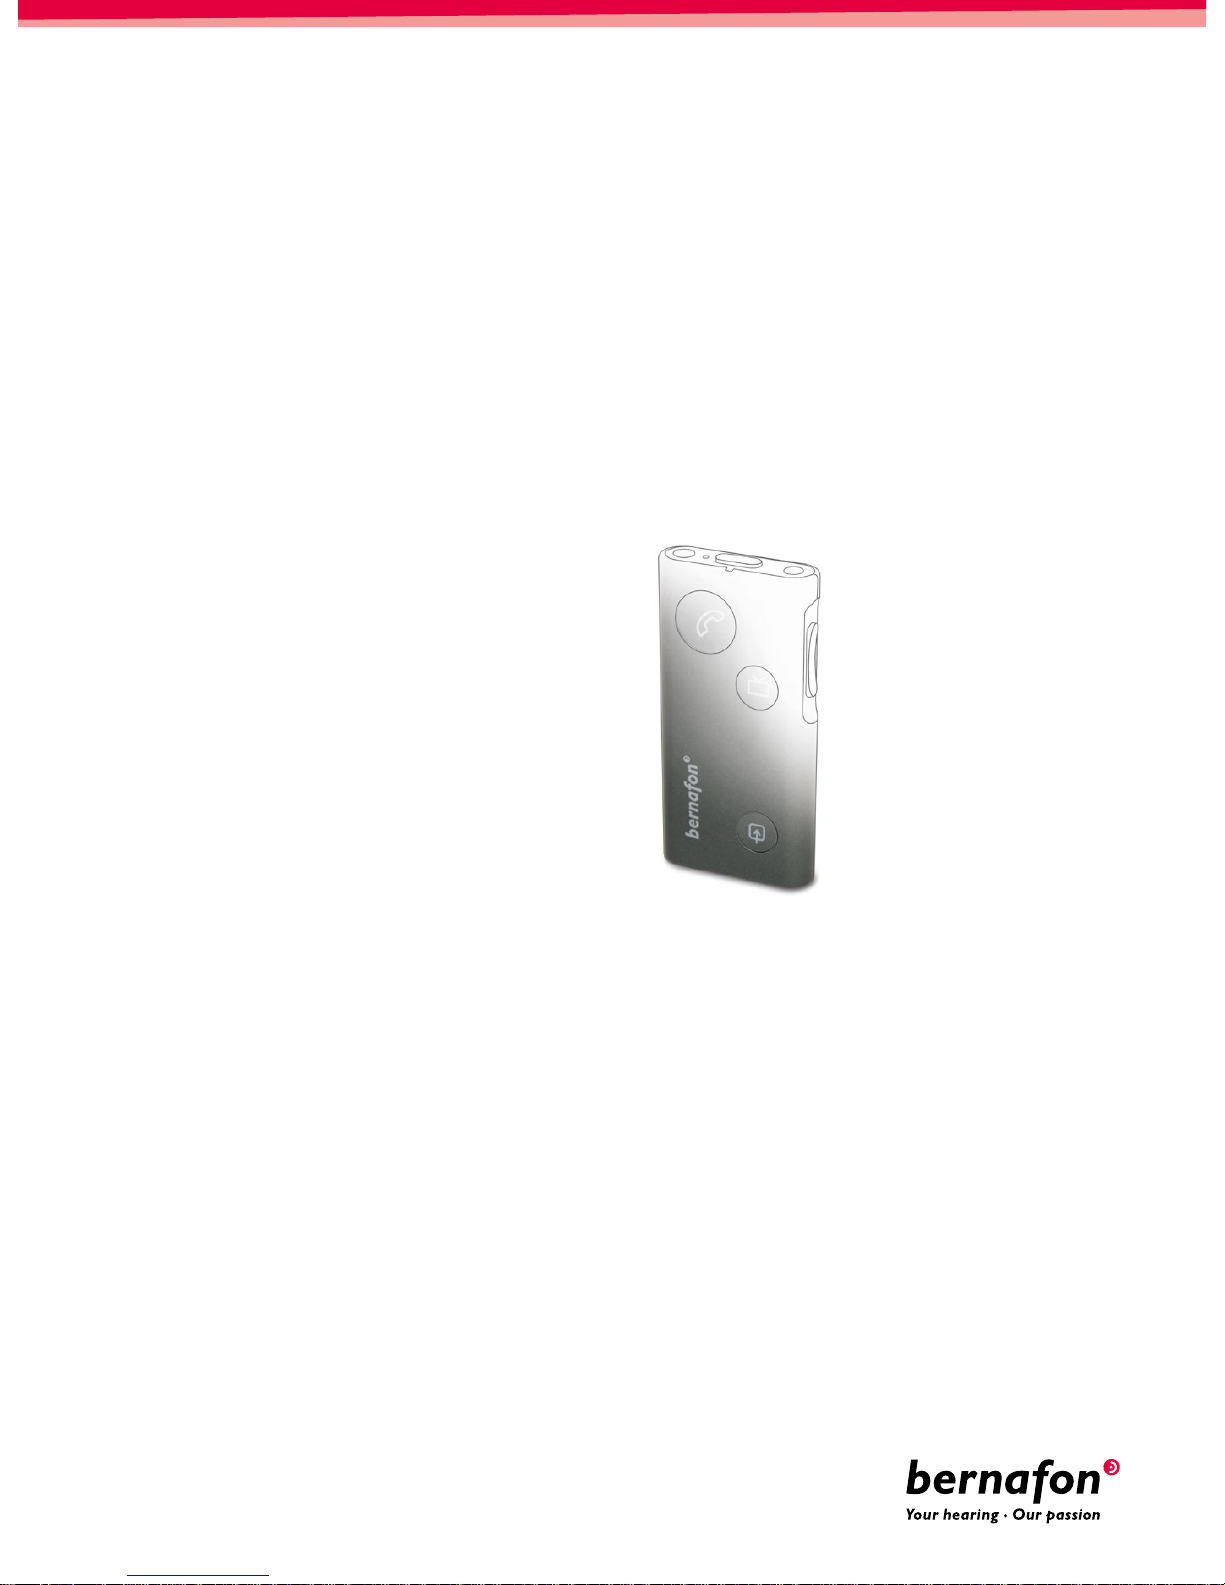
GUIDE
FOR WIRELESS
CONNECTIVITY
SoundGate 3
SoundGate Mic
TV
Adapter 2
Phone Adapter
2
RC-N Remote Control
Page 2
2
Purpose
In this guide, you will nd detailed instructions for SoundGate 3 operation with a Bluetooth®-enabled
mobile telephone, SoundGate Mic, and accessories for television and landline telephone use.
You will also nd instructions for how to set up the demo version of the RC-N remote control.
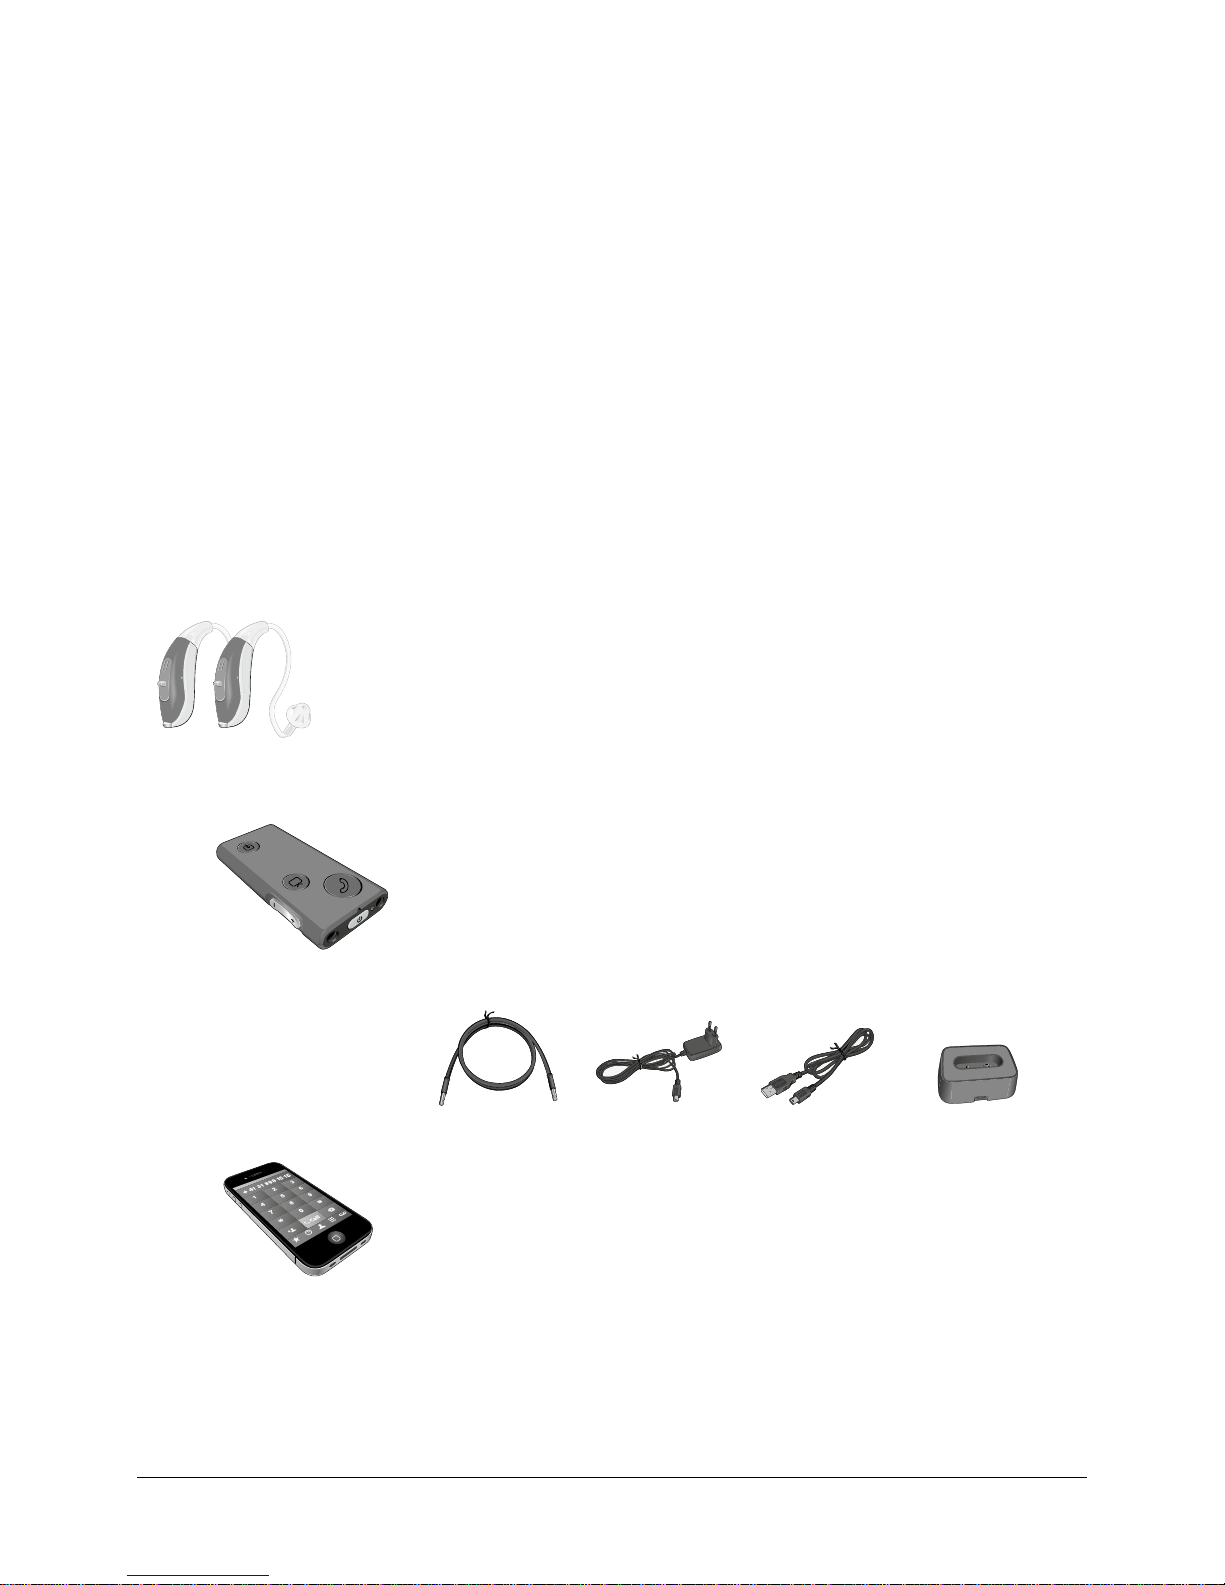
Equipment Required for SoundGate 3 Operation
Before you begin, ensure the SoundGate 3 is completely charged and the following components
are readily available for use:
· One, or a pair of hearing aids that offer wireless connectivity with
S o u n d G ate 3
· One completely charged SoundGate 3 and the accessories delivered
within its original packaging
– Neck strap antenna
– Wall outlet charging unit or USB charger cable
– Charger cradle
· One Bluetooth
®
-enabled mobile phone
· One iPhone
®
(SoundGate App supports iPhone 5s, iPhone 5c, iPhone 5, iPhone 4s,
andiPhone 4)
Page 3
3
GUIDE FOR WIRELESS CONNECTIVITY
· One SoundGate Mic and the following accessory delivered within its
original packaging
– Power adapter
· One TV Adapter 2 and the following accessories delivered within its
original packaging
– Power adapter
– SCART adapter
– RCA stereo cable
– TOSLINK cable
– Mini jack adapter
· One television or audio/video source, e.g., PC or laptop computer
· One Phone Adapter 2 and the following accessories delivered within its
original packaging
– Power adapter
– Standard analog phone cable
· One landline telephone with an active telephone network connection
Page 4
4
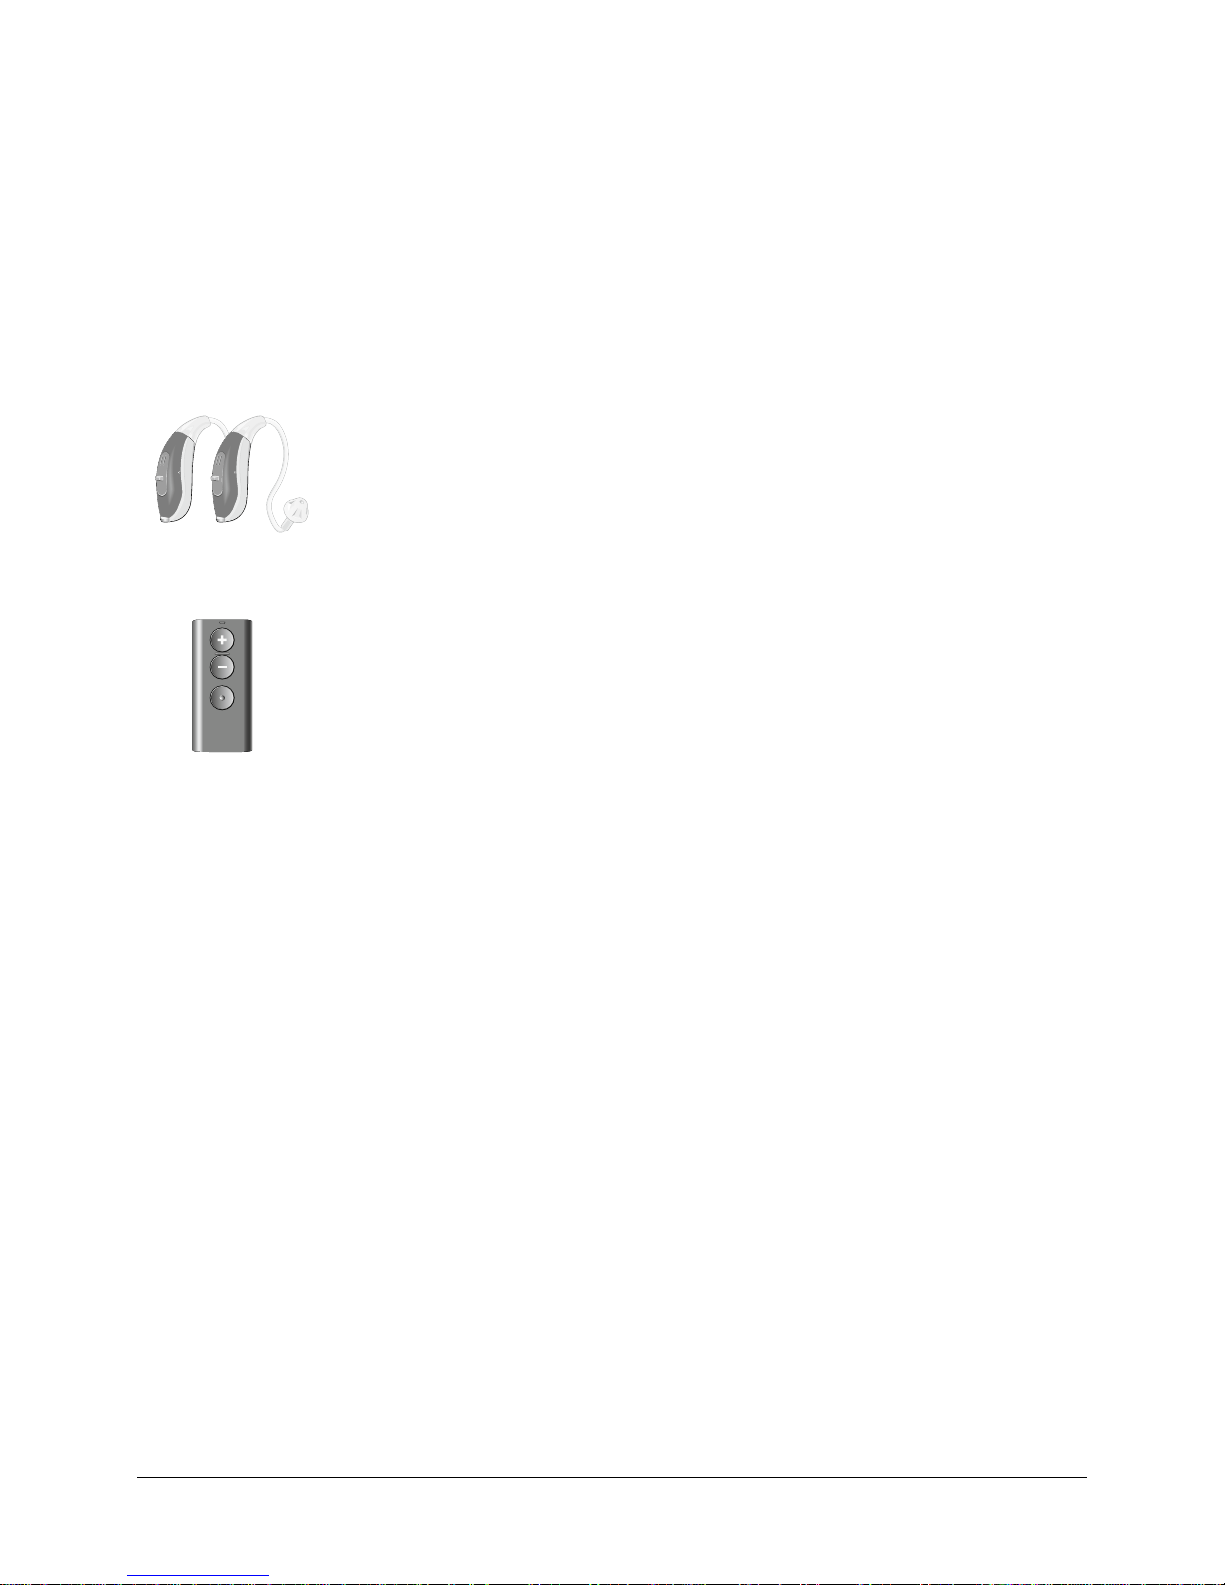
Equipment Required for
RC-N Operation
Before you begin, ensure the RC-N remote control has two (2) AAAA batteries inserted and the
following components are readily available for use:
· One, or a pair of hearing aids that offer wireless connectivity
· One RC-N remote control
Page 5

5
GUIDE FOR WIRELESS CONNECTIVITY
Preparing the SoundGate 3
and Hearing Aids
With the hearing aids connected to the Oasis tting software, choose Options and select
Start Pairing in the area of the screen designated for SoundGate 3 / Remote control.
Ensure the SoundGate 3 is fully charged and powered ON. Then follow the tting software
instructions to complete the pairing between the SoundGate 3 and the connected hearing aids.
1. Press the Volume Up key on the SoundGate 3 while holding it approximately 30 – 50 cm (1– 1½ feet)
from the hearing aids
2. To conrm the link between SoundGate 3 and the connected hearing aids, repeat this step by pressing
the Volume Up key
The Oasis tting software will conrm the successful pairing.
Before disconnecting the hearing aids, be sure to save the tting session in Oasis by clicking
Save and Quit.
Page 6

6
Using SoundGate 3
with a Mobile Telephone
Pairing the SoundGate 3 and Mobile Telephone
A secure connection between the SoundGate 3 and mobile telephone must be established prior
to Bluetooth® streaming. Ensure the SoundGate 3 and mobile telephone are positioned within one meter
(3 feet) of each other, and follow the steps below to pair the devices.
1. Prepare the mobile telephone for Bluetooth® pairing
As this process may vary from one mobile telephone to the next, refer to the instruction manual for
the mobile telephone when available. If the manual is not readily available, Bluetooth® settings can
typically be found under the mobile telephone’s “Settings” menu.
Here is an example, using an iPhone 5 mobile telephone:
· Press the “Settings” icon on the home screen
· Press “Bluetooth
®
”
· If Bluetooth
®
function is turned OFF, swipe your nger across the touch screen from left toright to
turn the function ON
The mobile telephone is now prepared to search for other active Bluetooth® devices within range.
2. Prepare the SoundGate 3 for Bluetooth® pairing
· Press and hold the SoundGate 3 Power key for 5- 6 seconds
· The LED indication will begin ashing rapidly blue. This indicates that the SoundGate 3
is in pairing mode. Pairing mode will be active for two minutes.
3. Activate pairing
· Once both devices are in active pairing mode, the Bluetooth
®
mobile telephone will locate
the SoundGate 3, and the name “SoundGate 3” will appear in the mobile phone display
· Select “SoundGate 3”
· When prompted to enter a pin code by the mobile telephone, enter “0000” (four zeros)
and press “OK”. The phone will now complete pairing and connect the two devices.
Page 7

7
GUIDE FOR WIRELESS CONNECTIVITY
Using SoundGate 3 with a
Mobile Telephone
For optimal use with a mobile telephone, ensure the SoundGate 3 is worn with the neck strap
antenna and that the hearing aids are powered ON.
Make a Phone Call
1. Dial a phone number from the connected mobile telephone
2. The Phone key on the SoundGate 3 will illuminate green and the normal ringing signal will
become audible to the wearer
3. When the other party answers the phone call, the conversation can begin
4. To end the phone call at any time, press the SoundGate 3 Phone key. The Phone key will
no longer illuminate and the previous listening program will resume.
Answer a Phone Call
1. When the paired mobile telephone rings, the SoundGate 3 Phone key will ash green and a ring
tone will become audible to the hearing aid wearer. Press the SoundGate 3 Phone key to accept
the incoming call.
2. The SoundGate 3 Phone key will now illuminate steady green
3. Begin speaking toward the SoundGate 3 microphone to initiate the conversation
4. To end the phone call at any time, press the SoundGate 3 Phone key. The Phone key will
no longer illuminate and the previous listening program will resume.
For additional information on mobile telephone streaming, please refer to SoundGate 3
Instructions for Use.
Page 8

8
A secure connection between the SoundGate 3 and mobile telephone must be established prior to
Bluetooth® streaming (see page 6).
If an iPhone (SoundGate App supports iPhone 5s, iPhone 5c, iPhone 5, iPhone 4s, and iPhone 4)
is used, the hearing aid volume, program, and more can alternatively be controlled via the SoundGate
App. The app can be downloaded for free from the App Store. Search for “Bernafon SoundGate”.
A demo version is available with the
SoundGate App. SoundGate 3 and the
mobile telephone must not be paired in
this demo mode.
Apple, the Apple logo, and iPhone are trademarks of Apple Inc., registered in the U.S. and other
countries. App Store is a service mark of Apple Inc.
Using the SoundGate App
Page 9

9
GUIDE FOR WIRELESS CONNECTIVITY
A secure connection between the SoundGate 3 and SoundGate Mic must be established.
Follow the instructions below to prepare the devices for use.
Setting Up the SoundGate Mic
Ensure the SoundGate Mic is fully charged. To charge the microphone, connect the power
adapter to the mini USB connector at the bottom of the microphone. The power indicator will be
illuminated green when SoundGate Mic is fully charged.
Battery charge
connector (mini USB)
Constant
green light
Fully charged
After approx. 1.5 hours
of charging, device will
operate for up to 5 hours
Using SoundGate 3
with the SoundGate Mic
Page 10

10
Pairing the SoundGate 3 and SoundGate Mic
Ensure the SoundGate Mic is fully charged, and the SoundGate 3 battery is charged and powered ON.
The power indicator on the SoundGate Mic and the status indicator on the SoundGate 3 should be
illuminated green.
6 secs
1. Press and hold the SoundGate 3 Power key
for 5 – 6 seconds until the status indicator
starts ashing blue rapidly.
2. Press and hold the SoundGate Mic ON/OFF
button for 5 – 6 seconds until the LED indicator
starts ashing orange rapidly.
The pairing is completed when the SoundGate Mic
LED indicator and the SoundGate 3 AUX input key
turn stable orange.
Page 11

11
GUIDE FOR WIRELESS CONNECTIVITY
Using SoundGate 3 with the SoundGate Mic
For optimal use with the SoundGate Mic, ensure the SoundGate 3 is worn with the neck strap
antenna and that the hearing aids are powered ON. The SoundGate Mic should be in direct line with
the speaker’s mouth within a distance of 10 – 20 cm (4 – 8 inches). Streaming distance between the
SoundGate Mic and SoundGate 3 is up to 15 m (49 feet).
1. Ensure SoundGate 3 is turned on by giving a 1 – 2 second press of the Power key. The SoundGate 3
LED indicator will illuminate green.
2. Turn on the SoundGate Mic by giving a short press of the ON/OFF key. The power indicator will
illuminate green and the LED indicator will blink orange until it locates the paired SoundGate 3.
The LED indicator will then illuminate stable orange.
3. Double press the AUX input key (2x) on the SoundGate 3 to begin streaming sound from the
microphone
4. To end streaming sound from the microphone, give one short press of the AUX input key on the
SoundGate 3
Page 12

12
Using SoundGate 3
with the Phone Adapter 2
A secure connection between the SoundGate 3 and Phone Adapter 2 must be established.
Follow the instructions below to prepare the devices for use.
Setting Up the Phone Adapter 2
1. Ensure the Phone Adapter 2 is connected to
a power outlet using the micro USB charging
unit included in the Phone Adapter 2 packaging. The status indicator will be illuminated
green when the power source is connected.
2. Remove the telephone cable from an active
landline telephone
3. Insert the telephone cable removed from
the landline phone into the “IN” connector
of the Phone Adapter 2
4. Insert one end of the telephone cable included
in the Phone Adapter 2 packaging, into the
“OUT” connector of the Phone Adapter 2
5. Insert the opposite end of the telephone cable
included in the Phone Adapter 2 packaging
into the landline telephone (or base station)
Lift the handset from your landline phone. You should now be able to hear the dial tone from the
handset speaker.
Page 13

13
GUIDE FOR WIRELESS CONNECTIVITY
Pairing the SoundGate 3 with the Phone Adapter 2
Ensure the Phone Adapter 2 is connected to a power outlet, and the SoundGate 3 battery is charged
and powered ON. The status indicator on the Phone Adapter 2 and the SoundGate 3 should be
illuminated green.
1. Press and hold the SoundGate 3 Power key
for 5 – 6 seconds until the status indicator
starts ashing blue rapidly
2. Place the SoundGate 3 on top of the
Phone Adapter 2 – the pairing can take up to
60 seconds. The pairing is completed when
Phone Adapter 2 power indicator turns stable blue.
Page 14

14
Using SoundGate 3 with the Phone Adapter 2
For optimal use with the Phone Adapter 2, ensure the SoundGate 3 is worn with the neck strap
antenna and that the hearing aids are powered ON.
Make a Phone Call
1. Press the SoundGate 3 Phone key. The user will hear a dial tone in the hearing aids and the green
light will illuminate in the SoundGate 3 Phone key. The Phone indicator on the Phone Adapter 2 will
also illuminate green when streaming a call.
2. Pick up the handset from your landline phone and dial a phone number. Then return the handset
to the landline phone cradle. The user will now hear the call tone.
3. When the other party answers the phone call, the conversation can begin
4. To end the phone call at any time, press the SoundGate 3 Phone key. The Phone key on the
SoundGate 3 and Phone indicator on the Phone Adapter 2 will no longer illuminate and the previous
listening program will resume in the hearing aids.
Answer a Phone Call
1.
When the paired landline telephone rings, press the
SoundGate 3 Phone key to accept the phone
call. The SoundGate 3 Phone key and the Phone Adapter 2 Phone indication will illuminate green.
2. The call is now directed into the hearing aids and the phone conversation can begin
3. To end the phone call at any time, press the SoundGate 3 Phone key. The Phone key will no longer
illuminate and the previous listening program will resume.
Page 15

15
GUIDE FOR WIRELESS CONNECTIVITY
Using SoundGate 3
with the TV Adapter 2
A secure connection between the SoundGate 3 and T V Adapter 2 must be established.
Follow the instructions below to prepare the devices for use.
Setting Up the TV Adapter 2
1. Connect the T V Adapter 2 to a power outlet
using the micro USB charging unit
included within the TV Adapter 2 packaging.
The status indicator will be illuminated
green when the power source is
connected.
2. Included within the TV Adapter 2 packaging
is an RCA audio cable. Both ends of this
cable have a red and white connector.
Connect one end of this cable to the “L”
(white connector) and “R” (red connector)
ports on back of the TV Adapter 2.
3. Connect the red and white connectors to
the “AUDIO OUT” terminals on the T V
(often marked “L” and “R” and found on
the back of the TV)
Page 16

16
Optional – A separate TOSLINK digital cable is included within the TV Adapter 2 packaging for use
with home theater and surround sound systems. This cable can be used in place of the RCA cable
only when you are using a TV and digital sound system which support TOSLINK cable inputs.
1. Connect the included TOSLINK cable from
the TV output (often marked “Optical” and
found on the back of the TV) to the terminal
marked “IN” on the back of the TV Adapter 2
2. Then, connect a separate TOSLINK cable from
the terminal marked “OUT” on the back of the
TV Adapter 2, to the appropriate input terminal
of the home theater or surround sound
system (often marked “Optical”)
Page 17

17
GUIDE FOR WIRELESS CONNECTIVITY
Pairing the SoundGate 3 with the TV Adapter 2
Ensure the TV Adapter 2 is connected to a power outlet, and the SoundGate 3 battery is charged
and powered ON. The status indicator on the TV Adapter 2 and the SoundGate 3 should be
illuminated green.
1. Press and hold the SoundGate 3 Power key
for 5 – 6 seconds until the status indicator
starts ashing blue rapidly
2. Place the SoundGate 3 on top of the
TV Adapter 2 – the pairing can take up to
60 seconds. The pairing is completed when
the TV Adapter 2 power indicator turns blue
and then stable orange.
Page 18

18
Using SoundGate 3 with the TV Adapter 2
Ensure the hearing aids, SoundGate 3, and TV Adapter 2 are all powered ON. Your SoundGate 3 battery
should be fully charged for demonstration. A steady green status indicator light will illuminate if you
have sufcient battery power.
SelectMe
With SoundGate 3, you can use multiple T V Adapter 2 devices (e.g., one in the living room and one
inthe bedroom).
1. Turn on the TV or begin playing a DVD
through the TV which has been paired
with the TV Adapter 2
To Switch Between Multiple TV
Adapter 2
Devices
1. Make sure you are not connected to any
TVAdapter 2, i.e., the SoundGate 3 should
be turned on, but not active
2. Briey press the SelectMe button on the
back of the TV Adapter 2 you wish to hear
the sound from
3. The TV Adapter 2 is automatically
connected. You will hear a conrmation
beep in your hearing aids bythesound
from the connected TV.
2. Press the TV key on the SoundGate 3.
The TV Adapter 2 TV indicator will be
illuminated steady green, and the
SoundGate 3 TV key will illuminate
steady orange when streaming is active.
The TV Adapter 2 and Phone Adapter 2
may also be used with previous
SoundGate versions.
SelectMe
SoundGate 3 may also be used with
previous versions of the TV Adapter and
Phone Adapt er.
Page 19

19
GUIDE FOR WIRELESS CONNECTIVITY
Preparing the RC-N Remote Control
and Hearing Aids
With the hearing aid(s) connected to the Oasis tting software, choose Options and select
Start Pairing in the area of the screen designated for SoundGate / Remote control.
Ensure the RC-N remote control is fully charged and powered ON. Then follow the tting software
instructions to complete the pairing between the RC-N and the connected hearing aids.
1. Press the volume control up key on the RC-N while holding it approximately 30 – 50 cm
(1 – 1½ feet) from the hearing aids
2. To conrm the link between RC-N and the connected hearing aids, repeat this step by pressing
the volume control up key
The Oasis tting software will conrm the successful pairing.
Before disconnecting the hearing aids, be sure to save the tting session in Oasis by clicking
Save and Quit.
Using the RC-N Demo Mode
RC-N Demo Mode enables you to give an interactive demonstration to your clients without rst
having to pair the RC-N to the hearing aids.
1. Press all 3 buttons on the RC-N simultaneously for 5 seconds. A status light ashes 3 times per
5 seconds to indicate that the Demo Mode is active.
2. To exit Demo Mode, press all 3 buttons again. The RC-N will switch back automatically to normal
mode after 20 minutes.
Page 20

www.bernafon.com
Bernafon Companies
Australia ∙ Canada ∙ China ∙ Denmark ∙ Finland ∙ France ∙ Germany ∙ Italy ∙ Japan ∙ Korea ∙ Netherlands ∙ New Zealand ∙ Poland ∙ South Africa ∙ Spain ∙
Sweden ∙ Switzerland ∙ Tu rkey ∙ UK ∙ USA
Manufacturer:
Bernafon AG
Morgenstrasse 131
3018 Bern
Switzerland
www.bernafon.com
Local Manufacturer &
Distributor:
Bernafon Canada
500 Trillium Drive, Unit 15
Kitchener, ON, N2R 1A7
www.bernafon.ca
Since 1946, we have been passionate about developing quality hearing systems that enable people
with hearing dif culties to enjoy authentic listening experiences. With Swiss Engineering, precision
technology, and our commitment to individual service, we strive to exceed our customer’s expectations.
Our aim is to provide extra value to our partners every day. Bernafon representatives and employees
in over 70 countries ful ll our vision to help people with impaired hearing communicate again without
limitation.
09.14/rev. 1.0/BAG/144125/US/subject to change
 Loading...