

Page 1
Page 2
A
B
> 8cm
> 8cm
C
45°
D
Page 3
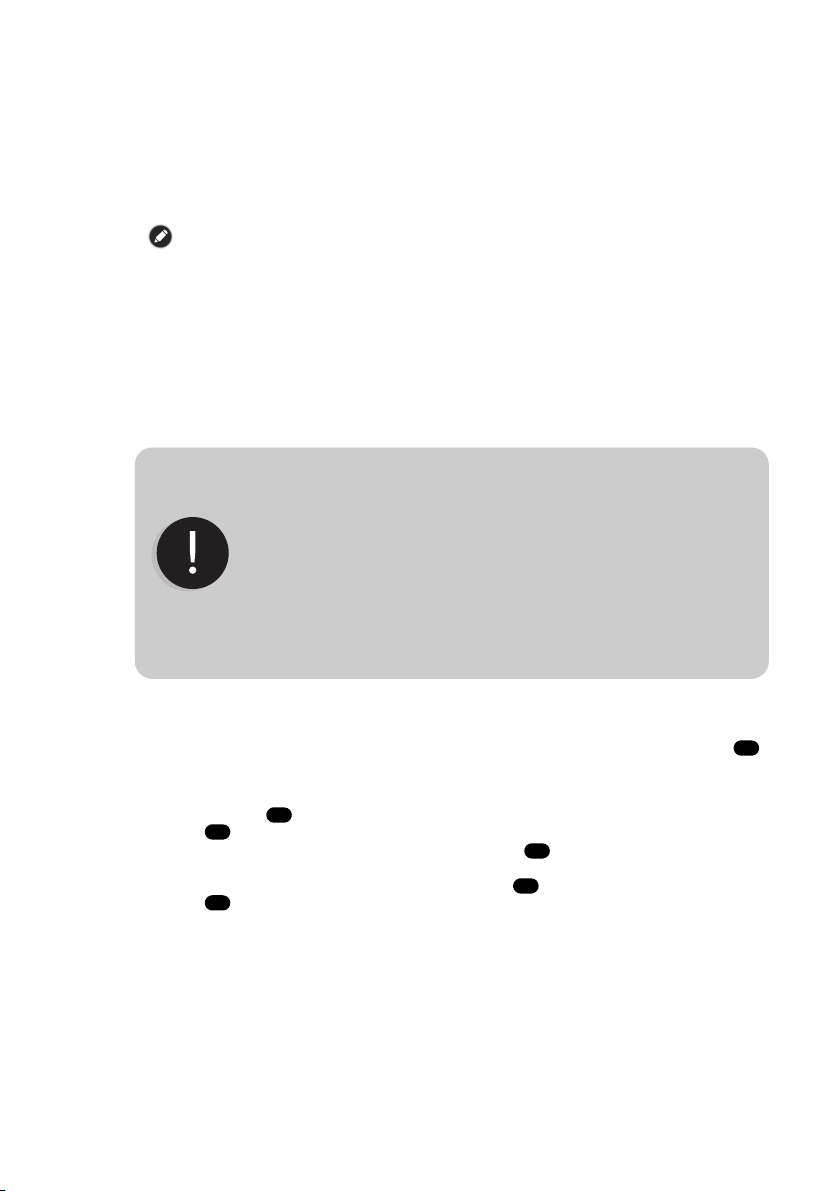
Package Contents
CAUTION
A
B
B
CCC
Check the packaging for the following items. If any is missing or damaged, please contact the place
of purchase immediately.
• BenQ Genie e-Reading Lamp body x 1
• Pedestal base with arm x 1
• Hex L-key x 1
• Rubber cover x 1
The illustrations in this guide are for your reference only and may look different from the
appearance of the product you purchased.
• Screw x 2
• Power adapter x 1
• User guide x 1
For Your Safety
• Use only the supplied power adapter (WB-18D12FU) and connect only to a suitable outlet
power (100-240V AC, 50-60 Hz). Otherwise the lamp will fail to work normally or result in a
fire hazard.
• In order to prevent any damages to the lamp, do not hang or place any objects over the lamp.
• Route the power cord so as to avoid it from being walked on or pinched by items placed upon
or against it.
• Place the lamp only on a solid, flat and stable surface. Otherwise the lamp may topple over and
result in damages.
• If the lamp will not be used for a long period of time, unplug it from the power outlet.
In case of the following situations, unplug the lamp from the power outlet
immediately and contact the authorized service center or a qualified service
person for inspection or repair:
• When the outer casing of the lamp is broken
• When there are strange odors coming from the lamp
• When the lamp flickers
• When the insulation of the lamp’s wiring is damaged or frayed, and the metal
strings inside can be seen
Do not use the lamp in a humid environment (like in a bathroom or outdoors).
Otherwise the components inside may short-circuit and result in accidents.
This lamp is designed for indoor use only. Do not use it outdoors.
Never disassemble the lamp or remove any components from it, as doing so may
result in accidents and will void the product warranty.
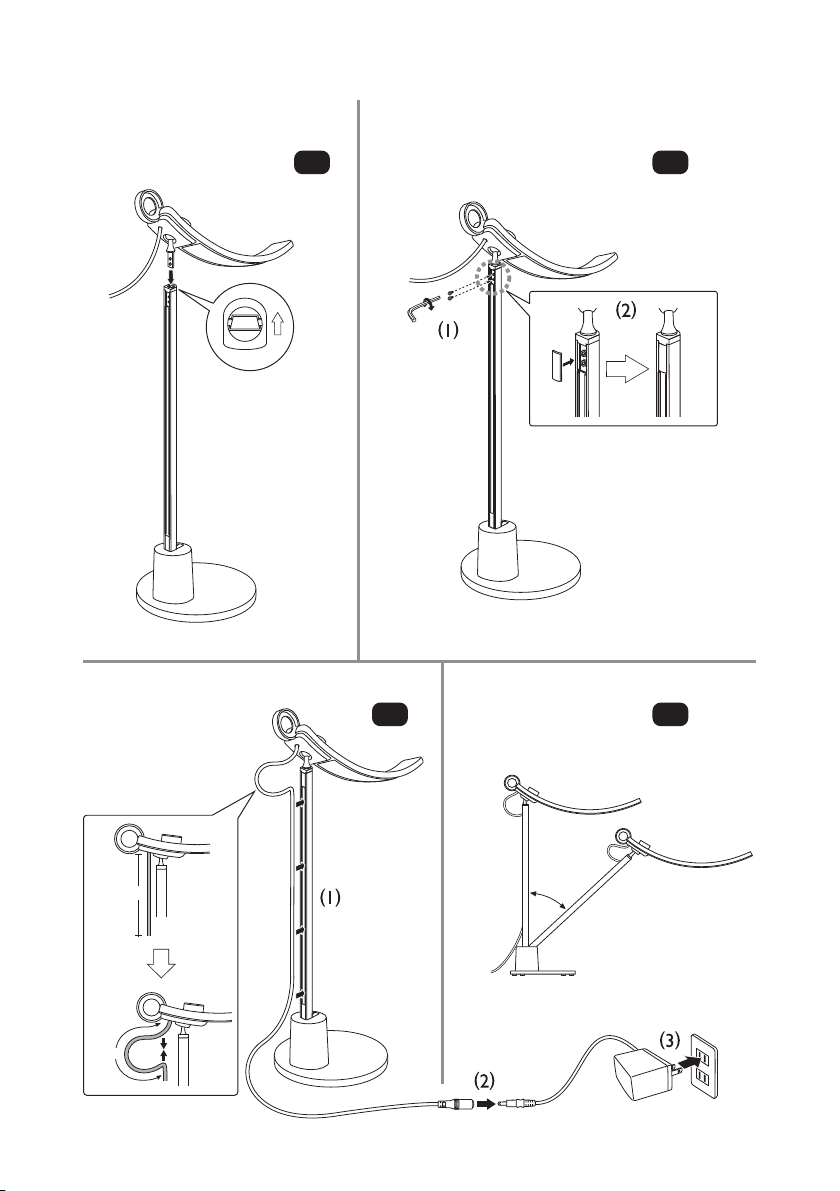
Installation
1. Place the pedestal base on a solid, flat and stable surface.
2. Insert the metal shaft on the lamp body into the hole on the top of the lamp arm. [Figure ]
When inserting, note the direction of the shaft and ensure that the lamp body is horizontally
seated on the lamp arm.
3. Secure the lamp body to the lamp arm by tightening the two screws using the hex L-key
provided [Figure (1)], and then press the rubber cover into the groove as illustrated.
[Figure (2)]
4. Press the cable into the groove on the lamp arm [Figure (1)]. Note that at least 8 cm of
excess length should be left in order for the lamp body to move freely.
5. Connect the power cord to the power adapter [Figure (2)] and plug it into a power outlet
[Figure (3)].
1
Page 4

Using the Lamp
Eye-care sensor
Eye-care Mode
indicator
D
Turning on/off the Lamp and Entering Eye-care Mode
• To turn on the lamp, gently touch the metal ring on the lamp.
To turn off the lamp, touch the metal ring again. You can also
turn the lamp on by pressing the knob on the lamp.
• To enter Eye-care Mode, touch and hold the metal ring on
the lamp for approximately 2 seconds when the lamp is on.
The Eye-care Mode indicator will light up green. The Eyecare Mode protects your eyes by adjusting the lamp’s
brightness according to the ambient lighting condition
automatically and optimizing the color temperature settings
for screen reading.
• Do not block the Eye-care sensor on the lamp. Otherwise the
Eye-care Mode will not function properly.
• Do not hold the metal ring when adjusting the angle of the
lamp arm.
• The Eye-care Mode will exit automatically and the Eye-care
Mode indicator will go off if you manually adjust the
brightness and/or color temperature using the knob on the
lamp.
Adjusting Brightness and Color Temperature
• When the lamp is on, turn the knob on the lamp clockwise
to increase brightness, or counter-clockwise to decrease it.
• When the lamp is on, press the knob on the lamp to switch
to the Color Temperature adjustment. Turn the knob
clockwise to increase color temperature (the light becomes
whitish), or counter-clockwise to decrease it (the light
becomes yellowish).
To switch back to the Brightness adjustment, press the knob
on the lamp again.
Adjusting Angle
You can adjust the angle of the lamp arm according to your
desktop space to obtain a suitable lighting effect [Figure ].
Maintenance and Troubleshooting
Turn off the lamp first, and unplug the lamp from the power outlet. Wipe any smears or dusts off
the lamp’s outer casing using a soft, lint-free cloth lightly moistened with a mild detergent
solvent. Do not use alcohol or any other chemical solvents like kerosene, naphtha and so on, as
the lamp’s casing may become damaged.
Do not rinse the lamp or any of its components directly with water.
If the lamp does not turn on, check to make sure that there are no loose connections between
the power cord, power adapter, and the power outlet.
If the problem persists, please contact the original place of purchase for help.
Specifications
Model AR15 _D
DC power input 12V, 1.5A
Max. power consumption 18W
Dimensions 669 x 200 x 548 mm (W x D x H)
2
Page 5

Page 6

<Memo>
Page 7

<Memo>
 Loading...