

Operations Manual
OM-BENCHMARK T205 (Ver. 2017.12.12)

Table of Contents PAGE
Precaution for safety 3
1. General information and and precautions 3
1.1 Precaution related to power cable 3
1.2 Precaution for use 3
2 Feautures and specification 5
2.1 Features 5
2.2 Specification 5
3. OPERATION 6-15
▶Booting 6
▶Basic screen explanation
▷Temperature setting change
▷RPM setting change
▷Time setting change
▷The end of setting time
▶Advanced mode
▶Temperature calibration
▶Temperature setting(Advanced screen)
▷Temperature setting change
▷Time setting change
▷Alarm setting change
▷Alarm off
▶Shaker setting(Advanced screen)
▷RPM setting change
▷Time setting change
6
7
7
7
8
8
9
9
9
10
10
11
11
11
11
▷Alarm setting change
▷Alarm off
▶Temperature Step setting
▷Temperature, time setting
▶Shaker Step setting
▷RPM, Time setting
▶Step One Cycle Ending Screen
4. Warning message and fuse replacement
▶Fuse replacement
▶Event view
▷Door open event
▷Temperature and shaker event
▷Maintenance
▷Contact
12
12
13
13
14
14
15
15-16
15
16
16
16
16
16
OM-BENCHMARK T205 (Ver. 2017.12.12)

OM-BENCHMARK T205 (Ver. 2017.12.12)
1. General Information and Precautions
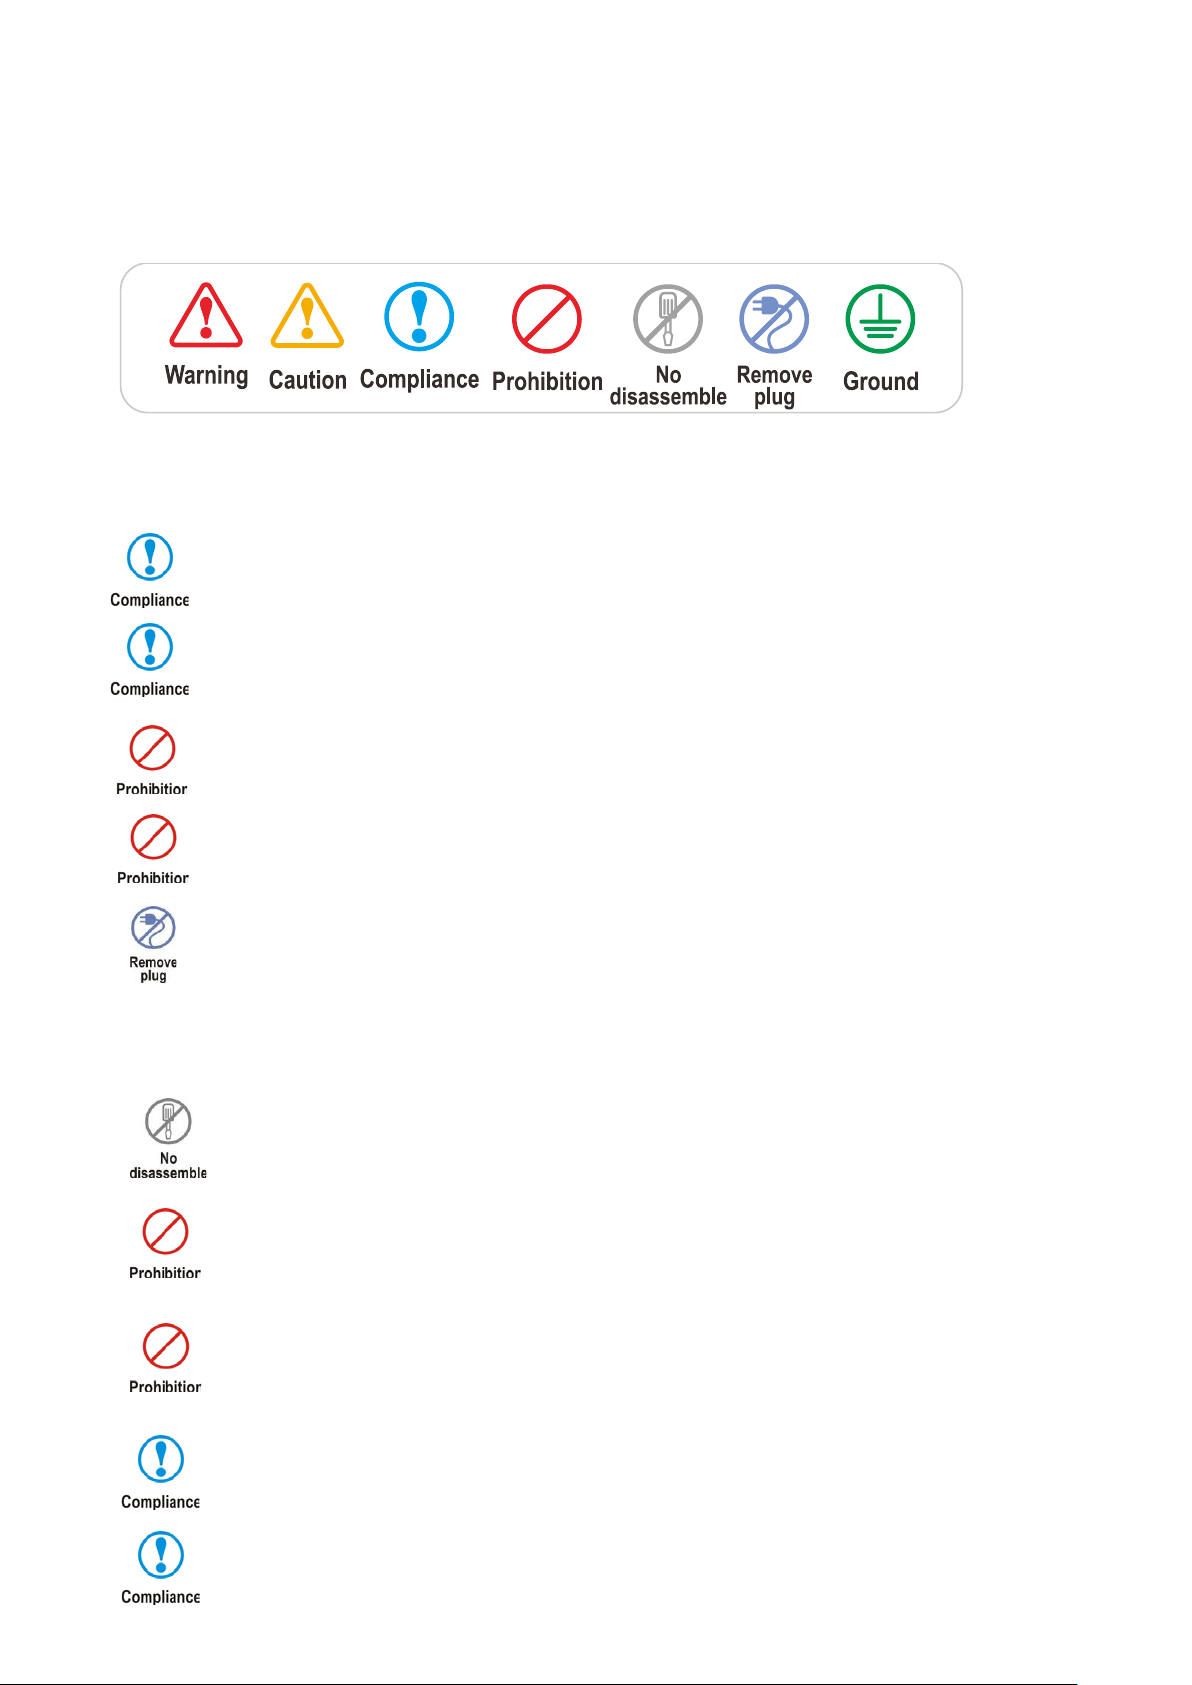
Safety Symbols:
1.1. Precautions related to the power cable
Always allow at least 3cm between the power c abl e a nd th e b ac k wall to prevent the b ac k wall from caus ing
pressure on the power cable.
3
Always use the electrical plug that was supplied with this instrument.
Never touch the power cord with wet hands. (This can result in electric shock.)
Never use a damaged power cord or power outlet.
In the event of smoke or a burning smell, immediately remove the power cord from the outlet.
1.2. Precaution for use
Do not attempt to disassemble this instrument. If service is required, please contact your local
representative.
Never operate a flammable spray near this instrument. (This can result in a fire hazard.)
Always use caution when using flammable substances such as benzene, alcohol
and LP gas. (Failure to do so can result in a fire hazard.)
Prevent foreign substa nces f r om contac ting the door seal. ( T he inf lo w of outside air can negatively impact
the temperature in chamber.)
Permissible ambient temperature range for transport: -10℃ to 60℃.
OM-BENCHMARK T205 (Ver. 2017.12.12)

4
ALWAYS ensure that the instrument is connected to an outlet with specifciations that match those of the serial number label.
(Over-v oltage or under-voltage can damage the product and result in poor performance.)
When installing the instrument, always allow a distance of at least 30cm from the back wall. Install
the unit in the way that the power plug is easily accessible
and can be easily pulled in case of danger.
Install the instrument on a f lat and stable surface, free from vibration and in a well-ventilated location. (If the surface is not level, it can cause an excessive vibration of the product.)
OM-BENCHMARK T205 (Ver. 2017.12.12)

2. Feature & Specification
2.1 Features
● Magnetic induction drive & Brush less DC motor provides less vibration and maintenance.
● No interference with uniformity for cell culture by BLDC motor
● User friendly, intuitive LCD touch panel
● Moisture resistant structure by Epoxy – coated
● Automatic stop function Once LID opens, shaker automatically stops for safety and convenience
● Once-piece construction with acrylic cover
Transparent acrylic cover allows internal viewing without disturbance
● Stable and Low Noise Shaking
Blushless DC motor and beltless drive system for shaker minimizes noise and vibration
● Non-volatile memory for operation.
● Easy - Platform Installation
Very simple way to place holder or spring rack platform on the shaker.
And Optional accessories available for most common laboratory vessels
5
2.2 Specification
1) Dimension (Exterior) : 28(W) X 47(D) X 33(H) cm
11.1(W) X 18.5(D) X13(H) in.
(Internal): 27.5(W) X 32.5(D) X 22.2(H) cm /
10.8(W) X 12.8(D) X 8.75(H) in. /
(Platform): 23.5(W) x 29.2(D) cm / 9.5(W) X 11.5(D) in.
2) Temperature range : Ambient +5℃ to 70℃
3) Temperature accuracy: ±0.2℃ at 37℃
4) Tempearature uniformity: ±0.5℃ at 37℃
5) Speed Range: 30~300 RPM
6) Shaking orbit: 19mm (3/4”)
7) Circulation Fan: Convection Fan
8) Timer: Digital -1 min. to 47hr 59mm. (1 min. increments)
9) Motor: Beltless DC Magnetic Induction Drive
10) Weight: 25lbs/11.5kg
11) Electrical: 120V or 230V, 50~60Hz / 200W
OM-BENCHMARK T205 (Ver. 2017.12.12)

6
Shake end
ⓘ
ⓐ ⓒ ⓑ
: If the shaker has been powered off before the
ⓕ
3. Operation
ⓖ
ⓓ
ⓔ
▶ Booting
1. Press the power switch into the ON position, the display
illuminates and the booting screen is displayed for 2 seconds
before showing the “Basic View” screen.
NOTE
completion of a run, the unit will automatically power on to the
previous settings.
▶Basic View Screen
ⓐ HEAT LED: indicates if the heater is activated
ⓑ RUN LED: indicates if the shaker is running.
ⓒ Time setting: Indicates the set or remaining time.
(To adjust, TOUCH the time value.)
ⓓ Temp setting: Displays the current temperature.
To set the desired temperature, TOUCH the temperature value.
ⓔ RPM setting: Displays the set or current RPM
To set the desired shaking speed, TOUCH the RPM value.
ⓕ Alarm ON/OFF: Alarm rings according to the condition
TOUCH to toggle the alarm on or off.
→ Alarm ON → Alarm OFF(mute)
ⓗ
ⓖ Menu : TOUCH to activate the main menu
ⓗ Shaker Start/Stop Button
TOUCH to Start or to stop the shaker.
ⓘShaker end: Indicates that time has expired and the shaker
has stopped
OM-BENCHMARK T205 (Ver. 2017.12.12)

ⓒ ⓓ ⓔ
ⓐ
ⓑ
`
ⓓ
ⓐ
ⓔ
ⓑ
ⓒ ⓓ ⓔ
ⓒ
▷ Temperature setting change
ⓐ TOUCH the temperature value, The numbers become red
ⓑ “SET MODE” is displayed (flashes)
ⓒ Input the desired value by pressing UP(▲)/DOWN(▼) buttons
NOTE: Press and hold the buttons to increase or decrease the value
quickly.
ⓓ Apply: To store the newly set value TOUCH
(Or wait 5 seconds for the value to store automatically)
ⓔ Exit: If you press after changing any values, the values
are not saved and the screen returns to the previous screen
▷RPM setting change
ⓐ TOUCH the RPM value, The numbers become red
ⓑ “SET MODE” is displayed (flashes)
ⓒ Input the desired value by pressing UP(▲)/DOWN(▼) buttons
NOTE: Press and hold the buttons to increase or decrease the value
quickly.
ⓓ Apply: To store the newly set value TOUCH
(Or wait 5 seconds for the value to store automatically)
ⓔ Exit: If you press after changing any values, the values
are not saved and the screen returns to the previous screen
▷Time setting change
ⓐ TOUCH the time value, The numbers become red
ⓑ “SET MODE” is displayed (flashes)
ⓒ Input the desired value by pressing UP(▲)/DOWN(▼) buttons
NOTE: Press and hold the buttons to increase or decrease the value
quickly.
ⓓ Apply: To store the newly set value TOUCH
(Or wait 5 seconds for the value to store automatically)
ⓔ Exit: If you press after changing any values, the values
are not saved and the screen returns to the previous screen
NOTE: The time can not be adjusted during a run. To change the
time during a run, you must TOUCH . Change the time
value and press and .
7
OM-BENCHMARK T205 (Ver. 2017.12.12)

BASIC to ADVANCED
ⓒ
ADVANCED to BASIC
ⓒ
8
▷The end of setting time
ⓐ After the set time is over, time is displayed as
0:00:00
ⓑ Shaker is stopped and the message “Shaker
end” is displayed
ⓒ Heating LED continuously runs until the STOP
button is pressed to keep the set temperature
NOTE: The Heating is maintained even after
the set time has expired to keep protecting
samples at the set temperature. If you would
like to stop the heating, TOUCH
▶ Advanced Mode
To switch from the standard BASIC view to
the ADVANCD view the shaker and heater
must be off. TOUCH “MENU” and choose
the ADVANCED View.
NOTE: TO return to BASIC View, TOUCH “MENU”
And choose BASIC View.
OM-BENCHMARK T205 (Ver. 2017.12.12)

ⓐ
ⓓ
ⓔ
ⓖ
ⓕ
ⓗ
ⓐ
9
Advanced
ⓑ
ⓓ
▶Tempearture calibration
ⓑ
ⓒ
ⓐ To enter the calibration mode enter the menu
and press
ⓑ Press the rectangular “Set ℃” box.
ⓒ Input the calibrated (measured) value by using
key pads and TOUCH
ⓓ
Apply: When you TOUCH ,the changed
setting values are saved and the screen turns to
the previous screen.
ⓔ If you press button, the changed setting
values are not saved and the screen turns to the
previous screen.
ⓕ When you press button, the message
is displayed as the red rectangular part
ⓖWhen you press APPLY button, the calibrated
value is applied and the screen turns to the MENU
ⓗ If you press, the calibrated value is not
saved and the screen turns to MENU
ⓘThe last calibrated value of set ℃ is continuously
displayed until the power is turned off and on
※
Please measure the temperature of the inside of
equipment by using a deliberate temperature measuring
instrument before starting temperature calibration. At this
moment, the temperature of the inside of equipment
Temperature setting (Advanced screen)
Temperature setting change
ⓐ TOUCH the temperature value, the screen turns
to the temperature setting screen
ⓑ TOUCH the “Temp Set” Value to adjust the set
temperature.
ⓒ Input the desired value by using the key pads in
the setup screen
ⓒ
ⓔ
ⓓ Apply: When you press , the changed
setting values are saved and the screen turns to
the previous screen
ⓔ Exit: If you press , button, the changed
setting values are not saved and the screen turns to
the previous screen
ⓕ. Apply: You must press to apply new
setting
NOTE: The temperature setting range of this
instrument is 4~70℃. When selecting a value out
of this range and pressing , the message
“Incorrect range” is displayed.
OM-BENCHMARK T205 (Ver. 2017.12.12)

10
ⓐ
ⓐ
ⓒ ⓓ ⓔ
ⓓ
ⓒ
ⓔ
ⓑ
Adjusting the Time of the Temperature
ⓑ
ⓐ TOUCH the temperature value, the screen turns
to the temperature settings screen.
ⓑ TOUCH the “Time Set” value to adjust the set
time of the heater.
ⓒ Input the desired value by using the key pads in
the setup screen
ⓓ Apply: When you press , the changed
setting values are saved and the screen turns to
the previous screen.
ⓔ Exit: If you press button, the changed
setting values are not saved and the screen turns to
the previous screen
Adjusting the Alarm setting
The alarm value is the difference between the set
temperature and the measured (displayed)
temperature. If the difference exceeds this value
(once the temperature has been reached) the alarm
will trigger.
ⓐ TOUCH the temperature value, the screen turns
to the temperature settings screen.
ⓑ Touch the “Alarm Set” value to enter the alarm
setup.
ⓒ Input the desired value by using the key pads in
the setup screen
ⓓ Apply: When you press , the changed
setting values are saved and the screen turns to
the previous screen
ⓔ Exit: If you press button, the changed
setting values are not saved and the screen turns to
the previous screen
※ The alarm setting range is 0.1~10.0
When putting the value out of the range and
pressing , the message “Incorrect range” is
displayed.
NOTE: With a set temperature of over 50C, an alarm
value of +2.0 is recommended
OM-BENCHMARK T205 (Ver. 2017.12.12)

ⓑ
ⓓ ⓔ
ⓑ
screen turns to
ⓐ
ⓐ
OM-BENCHMARK T205 (Ver. 2017.12.12)
11
▷ Alarm Off
The alarm can be deactivate in both the
BASIC View and the ADVANCED View by
TOUCHING the key to toggle on or
off.
▶ Shaker setting (Advanced)
▷RPM setting change
ⓐ TOUCH the RMP Shaker value, the
the Shaker setting screen
ⓑ TOUCH the “RPM Set” Value to adjust the set
speed.
ⓒ Input the desired value by using the key pads in
the setup screen
ⓒ
ⓓ Apply: When you press , the changed
setting values are saved and the screen turns to
the previous screen
ⓔ Exit: If you press button, the changed
setting values are not saved and the screen turns to
the previous screen
※ The RPM setting range is 30~300rpm
When entering a value out of this range and
pressing , the message “Incorrect range”
is displayed.
▶ Shaker setting (Advanced)
Adjusting the Shaking Time
ⓐ TOUCH the RPM Shaker value, the screen turns
ⓒ
to the Shaker setting screen
ⓑ TOUCH the “Time Set” Value to adjust the set
shaking time.
ⓒ Input the desired value by using the key pads
in the setup screen
ⓓ Apply: When you press , the
changed setting values are saved and the screen
turns to
ⓔ Exit: If you press button, the changed
setting values are not saved and the screen turns
to the previous screen.
the previous screen

ⓐ
ⓓ
, the changed
setting values are not saved and the screen turns to
ⓔ
ⓑ
ⓒ
▶ Shaker setting (Advanced)
▷Alarm setting change
The alarm value is the difference between
the set speed and the measured (displayed)
speed. If the difference exceeds this value
(once the temperature has been reached) the
alarm will trigger.
ⓐ TOUCH the RMP Shaker value, the screen turns
to the Shaker setting screen
ⓑ TOUCH the “RPM Set” Value to adjust the set
speed.
ⓒ Input the desired value by using the key pads
in the setup screen
ⓓ Apply: When you press
setting values are saved and the screen turns to
the previous screen
ⓔ Exit: If you press button, the changed
the previous screen
※ The RPM setting range is 1~30rpm
When selecting the value out of this range and
Pressing , the message “Incorrect range”
is displayed.
▷ Alarm Off
The alarm can be deactivate in both the BASIC
View and the ADVANCED View by TOUCHING
the key to toggle on/off.
12
OM-BENCHMARK T205 (Ver. 2017.12.12)

ⓐ
ⓑ
ⓒ
ⓔ ⓕ
13
▶Temperature step setting
▷Temp, time setting
ⓐ TOUCH the temperature value to enter the temperature setup screen.
ⓑ Select , the screen moves to the temperature step & setup screen
ⓒ You can select/link up to 4 desired temperatures. Choose each of the 4 desired
temperatures by pressing on the value. (If less than 4 linked temperature is desire, leave
ⓖ
the time and temperature values as “0” to skip.
ⓓ Once a temperature value is selected, use the keypad in the setup screen to select the
desired temperature.
ⓔ Apply: When you press , the changed setting values are saved and the
screen turns to
ⓕ Exit: If you press button, the changed setting values are not
saved and the screen turns to the previous screen
ⓖ Once the desired temperatures have been chosen, adjust the time values by following
the same steps.
ⓗ There are 3 modes available for Step Operation : “One cycle”, “Repeat Cycle”, “Step off”
NOTE: Repeat cycle will result in continuo repeating of all programmed steps until the
stop button is pressed.
the previous screen
ⓓ
(h)
OM-BENCHMARK T205 (Ver. 2017.12.12)

14
ⓑ ⓒ
ⓖ
Shaker step setting
RPM, time setting
▶
▷
ⓐ TOUCH the RPM Shaker value to enter the shaker setup screen.
ⓐ
ⓑ Select , the screen moves to the shaker step & setup screen
ⓒ You can select/link up to 4 desired shaking speeds. Choose each of the 4 desired speeds
by pressing on the speed value. (If less than 4 linked speeds are desire, leave the time and
speed values as “0” to skip.
ⓓ Once a RPM step is selected, use the keypad in the setup screen to select the desired
RPM value
ⓔ Apply: When you press , the changed setting values are saved and the
screen turns to
ⓕ Exit: If you press button, the changed setting values are not
saved and the screen turns to the previous screen
ⓖ Once the desired RPM speeds have been chosen, adjust the time values by following
the same steps.
ⓗ There are 3 modes available for Step Operation : “One cycle”, “Repeat Cycle”, “Step off”
NOTE: Repeat cycle will result in continue repeating of all programmed steps until the
stop button is pressed.
the previous screen
ⓓ
ⓔ ⓕ
ⓗ
OM-BENCHMARK T205 (Ver. 2017.12.12)

15
Spare fuse is installed
Fuse used when in operation 사
End
End
4
4
4
ⓑ
ⓒ
Power socket
Fuse box
AC socket
ⓒ
ⓐ
ⓐ
ⓑ
▶Step Cycle Ending Screen
ⓐ When the time for each step has expired, the “End” message
is displayed
ⓑ “Set” displays the setting value of 1st step (Default value is
displayed when Step Off)
Time is displayed as 0
ⓓ or is displayed as the instrument can
be restarted at any time.
4. Warning Messages & Fuse Replacement
Open this cover by using a
driver tools like a flat-head
screwdriver or a tweezers
< AC POWER in the rear of equipment > <Fuse in the fuse box >
▶The fuse is stored in the fuse box of the integral power inlet on the backside of the instrument.
▶ In the case you need to use the spare fuse, put a ㄱ-shaped tool, a flat-head screwdriver or a tweezers in the
little U-shaped hole on the bottom of fuse box to open the cover, remove the installed fuse and replace it with
the included spare.
OM-BENCHMARK T205 (Ver. 2017.12.12)

16
Basic screen
Advanced screen
▶Event view
▷Door open message
When the door has been left open for
opening the door, the message “Door” is
displayed on the basic and advanced screen
NOTE: The heater and shaker are automatically
stopped when the door is open.
▷Temperature/Shaker Alarm
The message “low’ or “high” is displayed on the
display when the measured value is deviating from
the set value.
The message is only displayed when the difference
exceeds the user programed value for the alarm
NOTE: The message is cleared when the equipment
maintains the values for 1 minute following the
activation of the alarm.
Maintenance:
The platform of the Incu-Shaker Mini should be cleaned r egularly with a soft cloth da mpened with water or alcohol.
(Always ensure that the machine has been powered down prior to cleaning.
In the event of a s pi llage : Power do wn the unit, remove the pl atf or m and dry the intern al c hamber with a sof t clot h. DO
NOT attempt to operate the unit until the spillage had been properly dried.
Service and Contact
Service on the Incu-Shaker Mini should only be performed by qualified service personnel. To request service or technical
support, please contact Benchmark Scientific or your local benchmark Scientific representative.
OM-BENCHMARK T205 (Ver. 2017.12.12)
 Loading...