

Beltronics Professional RX75 PLUS, RX75PLUS - RX-75 PLUS Radar Detector, BelProRemote RX75 PLUS Owner's Manual
Professional
S
eries
Owner’s Manual
5442 West Chester Road
West Chester, Ohio
45069 USA
BEL
ProRemote
Plus
Made and printed in Canada
121R75P-0
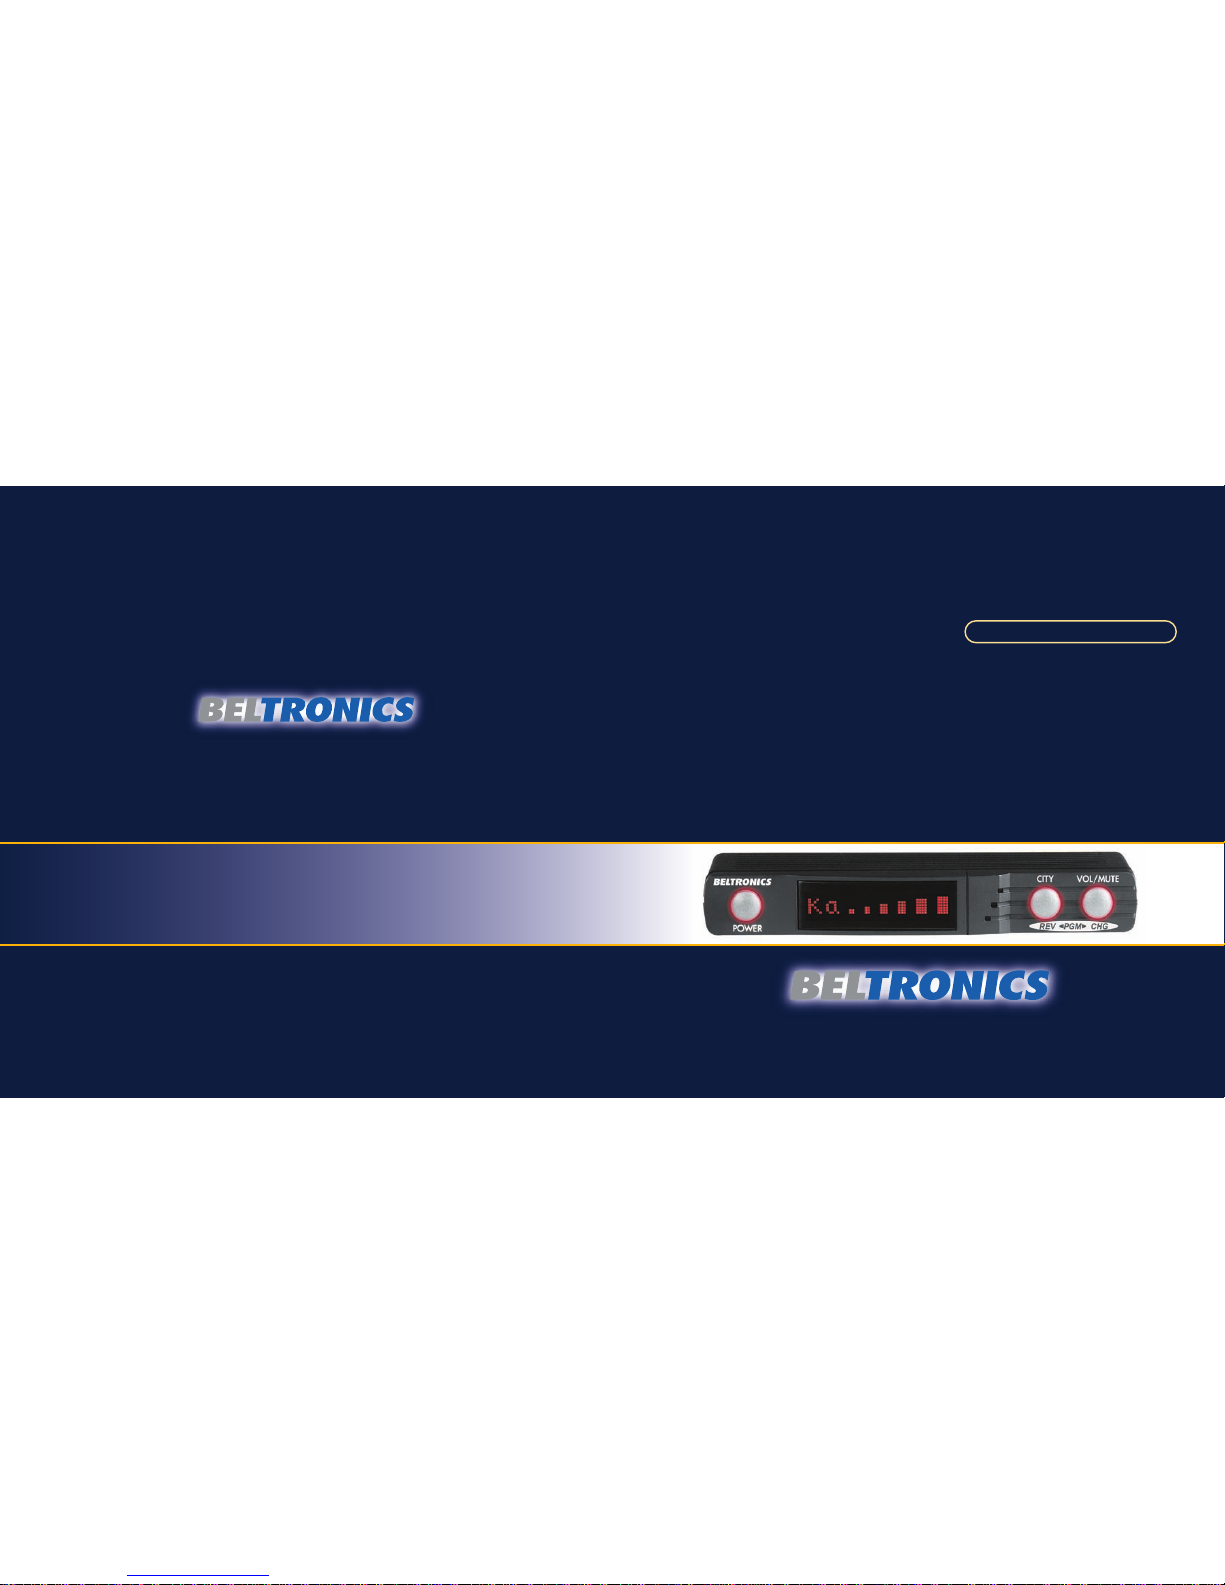
MODEL RX75 PLUS
TM
TM
Professional
S
eries

Quick Reference Card
1
I
Programming Details
Factory Default Settings
To reset RX75 PLUS to its original factory
settings, press and hold the “CITY” and
“VOL/MUTE” buttons while turning the
power on. The RX75 PLUS’s display will
provide a “Reset” message, accompanied
by an audible alert, acknowledging the
reset.
Bel Pro Remote Quick Reference Card
Remove card along perforations
Remove card along perforations
Congratulations and Important Warning
Congratulations
Your new Bel Pro Remote is the most
advanced custom-installed radar/laser
detector available.
The Bel Pro Remote includes longrange X, K, and SuperWide Ka radar
capability, improved Digital Signal
Processing for superior range and reduced
false alarms, our patented Mute and
AutoMute, audible and visual band alerts,
and all the performance you’d expect from
Beltronics.
In addition, your new Bel Pro Remote
introduces a new level of Radar/Laser
defense including:
• Blistering radar performance, for superior
K, and Ka-band sensitivity
• New programmable laser blockers for
maximum against laser guns
• Advanced Programming lets you instantly
set up to 8 customized features
• Exclusive AutoScan
™
mode drastically
reduces false alarms, plus Highway and
City settings
• Ultra-bright alphanumeric display uses
280 LEDs for crystal clear information
• Exclusive Threat Display
™
tracks and
displays multiple radar signals and signal
strength
• Exclusive Tech Mode
™
display provides
numeric frequency for any radar signals
• Standard remote Mute button provides
one-touch Mute, and volume adjustment
If you’ve used a radar detector before, a
review of the Quick Reference Guide on
page 4, and the Programming information
on pages 10 and 11 will briefly explain the
new features.
If this is your first detector, please read
the manual in detail to get the most out of
your new RX75 PLUS’s performance and
features.
Please drive safely.
IMPORTANT INSTALLATION WARNING
Your new RX75 PLUS must be installed by a
professional. Car Audio specialists and many
car dealers can install the RX75 PLUS for
you.
Attempting to install the Bel Pro
Remote without expertise in automotive
electronic installations can cause personal
injury during the installation, or can damage
your RX75 PLUS or your vehicle. If your
vehicle is damaged during installation, its
safety systems may be compromised, which
could cause personal injury or property
damage.
FCC Note:
Modifications not expressly approved by
the manufacturer could void the user’s FCC
granted authority to operate the equipment.
An example of Programming
Here is how you would turn RX75 PLUS’s
AutoMute feature off.
1 Enter the Program Mode by holding
both the CITY and VOL/MUTE buttons
down for 2 seconds. The RX75 PLUS will
beep twice and display Program.
2 Press and hold the REV button.
The RX75 PLUS will scroll through the
categories, starting with Power-on
indication (Pilot), then Power-on
sequence (PwrOn), then Signal strength
meter (Meter), and then AutoMute
(aMute).
3 Release the REV button when the RX75
PLUS shows the AutoMute item. Since the
factory setting is for AutoMute to be on,
the RX75 PLUS will display aMute ON.
(If you accidentally don’t release the
REV button in time, and the RX75 PLUS
goes to the next category, hold the REV
button down again, and after the RX75
PLUS scrolls through all categories, it will
begin again at the top of the list.)
4 Press the CHG button to change from
aMute ON to aMute OFF.
5 To complete the Programming, simply
wait 8 seconds without pressing any button.
The RX75 PLUS will display Complete,
beep 4 times, and return to normal
operation.
There are 8 user-selectable options so you
can customize your RX75 PLUS for your
own preferences.
The buttons labeled CITY and
VOL/MUTE are also used to enter the
Program Mode, REVIEW your current
program settings, and to CHANGE any
settings as desired. The words PGM, REV
and CHG are located on the front of the
display.
How to use Programming
1 To enter Program Mode, press and
hold both buttons down for 2 seconds.
(The unit will beep twice, and will display
the word “Program”).
2 Then press the REV button to REVIEW
the current settings. (You can either tap
the button to change from item to item, or
hold the button to scroll through the
items).
3 Press the CHG button to change any
setting. (You can either tap the button to
change from setting to setting, or hold the
button to scroll through all the options).
4 To leave Program Mode, simply wait
8 seconds without pressing any button.
(The unit will display Complete, beep 4
times, and return to normal operation).
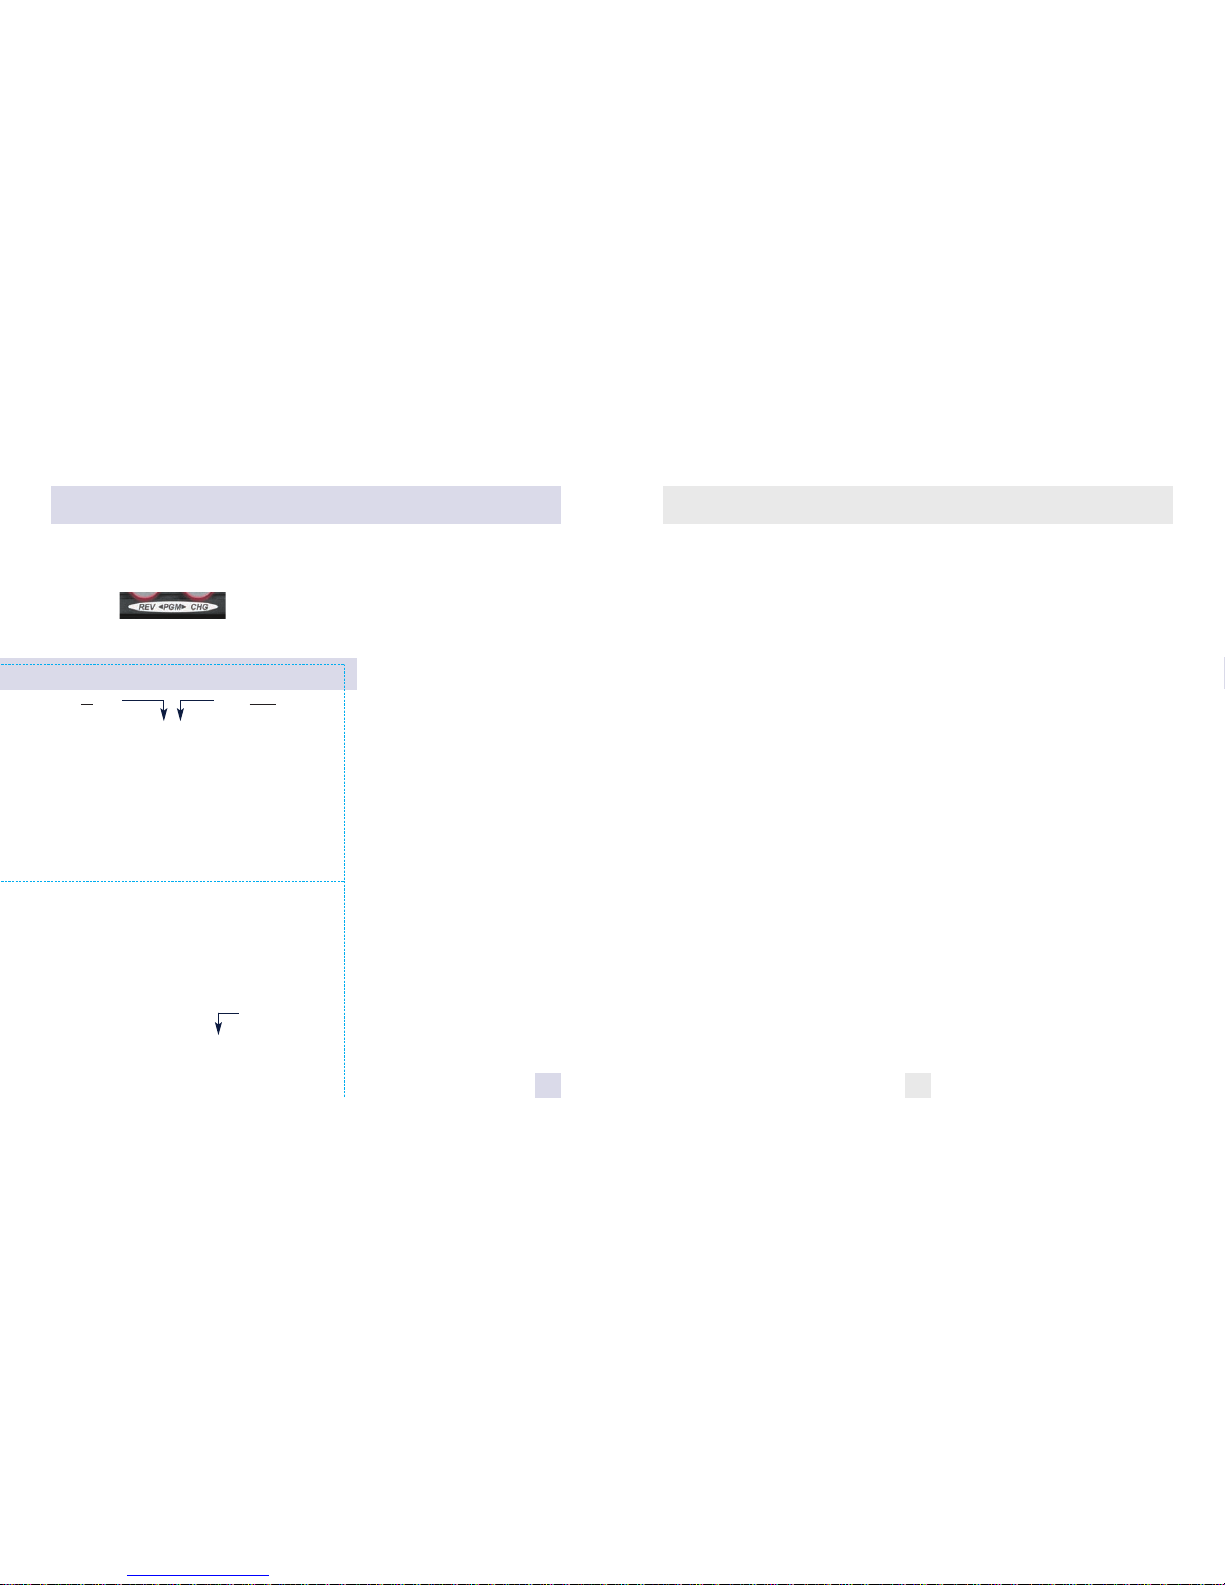
Table of Contents
Introduction I
• Congratulations I
• Important Warning I
• Quick Reference Guide 4
Controls and Features 5-8
• Power 5
• Power-On Indication 5
• AutoMute 5
• Volume/Mute 5
• Remote Mute Button 5
• Highway / AutoScan / City Switch 6
• Display Brightness 6
• Audible Alerts 6
• Signal Strength Meter 7
• Threat Display
™
7
• TechDisplay
™
8
• Laser Blockers
™
8
Programming 9-13
• How to use Programming 9
• Example of Programming 9
• Overview of Programming 10
• Details of Programming 11-13
Technical Details 14-19
• Interpreting Alerts 14-15
• How Radar Works 16
• How Laser Works 17
• How Safety Radar Works 18-19
Service 20-25
• Troubleshooting 20-21
• Service 22
• Warranty 22
• Specifications 25
32
Quick Reference Card
Bel Pro Remote Quick Reference Card
* Factory Default Settings
** Available only with External Speaker
Remove card along perforations
Remove card along perforations
Press the REV button
to go from one category
to the next
PILOT LIGHT
POWER-ON SEQUENCE
SIGNAL STRENGTH METER
AUTOMUTE
VOICE**
CITY MODE SENSITIVITY
BRIGHTNESS
BANDS
Pilot HWY
Pilot H
Pilot V
PwrOn STD
PwrOn FST
Meter STD
Meter THT
Meter TEC
aMute ON
aMute OFF
Voice On
Voice Off
City STD
City LoX
City NoX
Brt AUTO
Brt MIN
Brt MED
Brt MAX
Brt DARK
Bands ALL
Bands MOD
XONor OFF
KONor OFF
Ka ON or OFF
LSR ON or OFF or BLCK
SWS ON or OFF
Press the CHANGE button
to change your setting
within a category
*Full word: Highway or Auto or City
Letter: H or A or C
Vehicle voltage
*Standard power-on sequence
Fast power-on sequence
*Standard signal strength meter
Threat Display
™
TechDisplay
™
*AMute On
AMute Off
*Voice on
Voice off
*Standard City mode sensitivity
Low X band sensitivity in City Mode
No X band sensitivity in City Mode
*Brightness adjusts automatically
Minimum brightness when turned on
Medium brightness when turned on
Maximum brightness when turned on
Dark Mode when RX75 PLUS turned on
*All bands enabled
One or more bands has been modified
Turn bands “ON” or “OFF” by
pressing the VOL/MUTE button
Power
Press the Power button to turn the RX75
PLUS on. (We recommend wiring the RX75
PLUS to a switched circuit so that it will
turn on/off with your vehicles ignition).
Matrix Display
The RX75 PLUS’s display will show
“Highway,” “AutoScan,” or “City” as its
standard power-on indication. Page 5. If
you prefer, you can choose other power-on
indications. Page 11.
During an alert, the display will indicate
the radar band, and a precise bar graph for
the signal strength. Page 7.
You can program the RX75 PLUS for
Threat Display
™
, which displays multiple
radar signals and relative signal strength for
each, or choose TechDisplay
™
mode, which
provides the actual numeric radar
frequency. Pages 7-8.
The display can also show Safety Radar
text messages. Pages 18-19.
City Button
Switches sensitivity modes between
Highway, AutoScan
™
, and City settings.
In general, we recommend the AutoScan
™
mode. Page 6.
Programming
The RX75 PLUS is ready to go – just turn it
on. But you can easily change 8 features for
your preferences. Press both buttons to
enter the Program Mode, then easily Review
or Change your settings. Pages 9-13.
VOL/MUTE Button
Briefly press this button on the display
controller, or the standard Remote Mute
button, to silence the audio for a specific
alert. (The audio will alert you to the next
encounter.) Page 5.
AutoMute
The RX75 PLUS’s patented AutoMute
feature automatically reduces the volume
level of the audio alert. Page 5. If you
prefer, you can turn AutoMute off. Page 9.
Quick Reference Guide
4 5
Power On
To turn the RX75 PLUS on, simply press the
Power button on the RX75 PLUS’s Display/
Controller. When you turn the RX75 PLUS
on, it goes through a sequence of alerts.
If you prefer, you may program your
RX75 PLUS for a shorter power-on sequence.
See the Programming section for details.
Power-on indication
After RX75 PLUS’s start-up sequence is
complete, the matrix display will show
“Highway,” “AutoScan,” or “City” to show
which sensitivity mode is selected.
If you prefer, you can select alternate
power-on displays. See the Programming
section for details.
AutoMute
Your RX75 PLUS has our patented
AutoMute feature. After the RX75 PLUS
alerts you to a radar encounter at your
selected volume level, it automatically
reduces the volume to a lower level. This
keeps you informed without the
annoyance of a continuous full-volume alert.
If you prefer, you can turn the
AutoMute feature off. See the Programming
section for details.
Volume/Mute
The VOL/MUTE Button, located on RX75
PLUS’s front panel, or the installed Remote
Mute button, allows you to adjust the audio
level.
To change the volume level, simply
press either button and hold. An audible
tone will be generated, and the display will
provide a bar graph for the volume level.
When your preferred audio level is reached,
simply release the button. Your RX75 PLUS
stores this setting in memory, even when
the power is turned off.
To mute the audio for a single specific
signal, briefly press the VOL/MUTE button
on the display controller, or the installed
Remote Mute Button during an alert. After
that radar encounter has passed, the volume
level will automatically reset and the audio
will alert you to the next encounter.
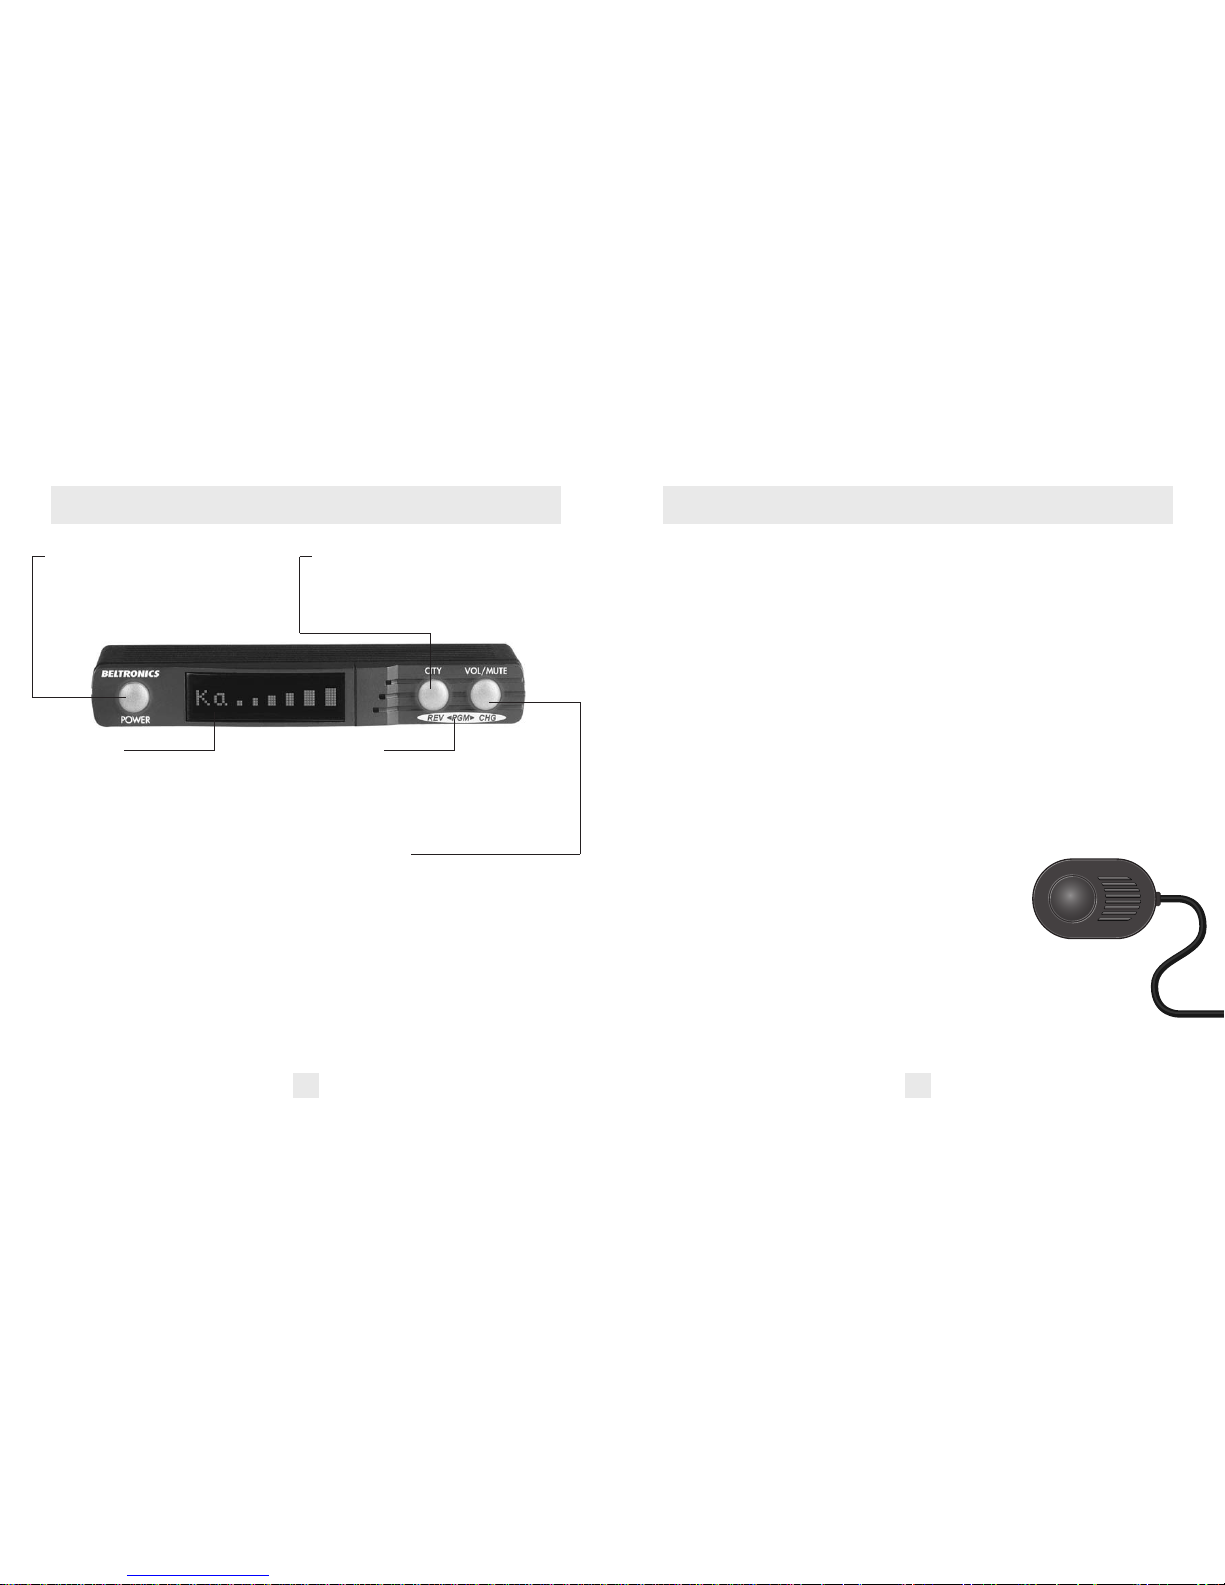
Remote Mute Button/Laser Blocking Off
When the Laser Blockers are turned on, (see
Programming section) the Remote Mute
button can be used to manually stop
“blocking” once you
have corrected
your speed.
Simply press the
Remote Mute
button twice
during the “Laser
Blocking” message, and the Laser
Blocker’s will cease to transmit. The
Laser Blocker’s will cease to transmit
for one minute. Once this time has
expired, the Laser Blocker’s will automatically reset, and return to their active
state. A reset message will be displayed to
verify and acknowledge the reset.
Controls and Features

Highway / AutoScan / City Switch
The “City” button selects the RX75 PLUS’s
sensitivity. We recommend the “AutoScan”
mode for most driving.
The RX75 PLUS’s exclusive AutoScan
mode provides long-range warning, with
minimum false alarms. In this mode, the
RX75 PLUS’s internal computer continuously analyzes all incoming signals and
intelligently adjusts the sensitivity –
eliminating the majority of false alarms.
You can also select conventional
“Highway” and “City” modes. When driving
in urban areas where annoying X-band
intrusion alarms and door openers are
common, City Mode can be engaged to
lower X-band sensitivity and reduce X-band
alerts. Full sensitivity is maintained on all
other bands. You can customize the RX75
PLUS’s City Mode sensitivity. See the
Programming section for details.
Display Brightness
The RX75 PLUS’s display brightness is automatically adjusted to suit ambient light
conditions in your vehicle. (The light sensor
is located inside the text display window)
If you prefer, you can program your
RX75 PLUS for a fixed brightness level
(Maximum, Medium, Minimum, or Dark).
See the Programming section for details.
Dark Mode
If you set the RX75 PLUS to its Dark Mode
using the Programming feature, the RX75
PLUS changes to a very inconspicuous
power-on indication: a very dim “AD,”
“HD,” or “CD.” (In this display, the A, H, or
C indicates AutoScan, Highway, or City, and
the D indicates Dark.)
When the RX75 PLUS is in Dark Mode,
the display will not show visual alerts when
it detects signals. Only the audible alert will
tell you of detected signals. See the
Programming section for more details.
Audible Alerts
For Radar signals:
The RX75 PLUS uses a Geiger-counter-like
sound to indicate the signal strength and
type of radar signal being encountered.
When you encounter radar, a distinct
audible alert will sound and occur faster as
the signal gets stronger. This allows you to
judge
the distance from the signal source without
taking your eyes from the road. Each band
has a distinct tone for easy identification.
X-band = chirping
K-band = buzzing
Ka-band = double-chirp
For Laser signals:
Since Laser signals are a possible threat
no matter how weak, the RX75 PLUS alerts
you to all laser signals with a full laser alert.
6 7
Controls and Features Controls and Features
For Safety signals:
If you have turned on the SWS detection in the RX75 PLUS’s programming, it
will alert you to these signals with a doublebeep tone, and a corresponding text
message. A complete listing of the text
messages is on page 19.
If you haven’t programmed your RX75
PLUS to decode these safety signals (see
pages 9, 13, 19), it will still detect them as
K-band radar signals.
Signal Strength Meter
The RX75 PLUS’s matrix display consists of
280 individual LED’s, to provide an intuitive
ultra-bright display of signal strength and
text messages.
When the RX75 PLUS detects radar, it
displays the band of the radar signal (X, K,
or Ka), and a precise bar-graph of signal
strength.
Threat Display
™
The RX75 PLUS’s exclusive Threat Display
™
option is an advanced display for experienced detector users. Please use the RX75
PLUS for a few weeks to get fully familiar
with its other features before using its
Threat Display
™
.
To use the Threat Display
™
instead of
the standard bar-graph signal strength
meter, you must select Threat Display
™
in
RX75 PLUS’s Programming (see pages 9-13).
Threat Display
™
simultaneously tracks
multiple radar signals and provides the relative signal strength for each signal received.
Threat Display
™
can help you spot a
change in your normal driving environment;
for example, a traffic radar unit being
operated in an area where there are
normally other signals present.
The Threat Display
™
is actually a
miniature spectrum analyzer. It shows the
radar band, and its relative signal strength.
KA9 K1 X5
Above is the Threat Display™if the
RX75 PLUS was detecting 1 strong Kaband, 1 weak K-band, and a medium
X- band signal.
As you can see, there are numeric
values for signal strength after each band
designator. The higher the number, the
stronger the signal.
Note: If you use Threat Display
™
, the
brief signal shown in the power-on
sequence when you turn on your RX75
PLUS will also be in Threat Display
™
: an “X”
with descending numeric value.
A few more examples will help you
better see how the Threat Display
™
works.
K9 X2
Here Threat Display™shows 1 strong
K-band signal, and a weak X-band signal.
 Loading...