


100cm Gas Range Cooker
Gas hob with Gas ovens & grill
INSTALLATION AND USER INSTRUCTIONS
Model: G950
You must read these instructions prior to using the
appliance and retain them for future reference.
If you smell gas:
Do not try to light any appliance. Do not touch any electrical switch.
Call the Gas Emergency Helpline at TRANSCO on: 0800 111999
IMPORTANT NOTICE
Please note the cooling fan fitted to this appliance is an integral part of its safety
and functionality.
When the appliance is installed care must be taken that the cooling fans performance is not impeded by any objects coming into contact with it. (Installation
pipes, leads etc)
Care must also be taken that there is sufficient air flow at the rear of the appliance
for the cooling fan to run at its optimum efficiency. (Particularly Built In appliances)
See clearance dimensions in the installation section of the booklet.
During use the Appliance must never be disconnected from the Mains supply as
this will seriously affect the safety and performance of the appliance, particularly
in relation to surface temperatures becoming hot and gas operated parts not working efficiently.
The cooling fan is designed to run on after the control knob has been switched off
to keep the front of the appliance and the controls cool until the appliance has naturally cooled itself.

User’s Section . . . . . . . . . . . . . . . . . . . . . . . . . . . . . . . . . . . . . 2 - 21
Introduction . . . . . . . . . . . . . . . . . . . . . . . . . . . . . . . . . . . . . . . . . . . . . . . . . 2
Storage Compartment . . . . . . . . . . . . . . . . . . . . . . . . . . . . . . . . . . . . . . . . . . 5
Be Safe - Not Sorry. . . . . . . . . . . . . . . . . . . . . . . . . . . . . . . . . . . . . . . . . . . . 6
Using the Minute Minder . . . . . . . . . . . . . . . . . . . . . . . . . . . . . . . . . . . . . . . . 7
Using the Hob . . . . . . . . . . . . . . . . . . . . . . . . . . . . . . . . . . . . . . . . . . . . . . . 8
Using the Grill . . . . . . . . . . . . . . . . . . . . . . . . . . . . . . . . . . . . . . . . . . . . . . 10
Using the Ovens . . . . . . . . . . . . . . . . . . . . . . . . . . . . . . . . . . . . . . . . . . . . . 13
Cleaning . . . . . . . . . . . . . . . . . . . . . . . . . . . . . . . . . . . . . . . . . . . . . . . . . . 19
Installation Instructions . . . . . . . . . . . . . . . . . . . . . . . . . . . . . 22 - 27
Technical Data . . . . . . . . . . . . . . . . . . . . . . . . . . . . . . . . . . . . . . . 28
Belling Customer Care. . . . . . . . . . . . . . . . . . . . . . . . . . . . . . . . . . 29
1
Please keep this handbook for future reference, or for anyone else
who may use the appliance.
Contents

Thank you for choosing a British
built appliance by Belling.
We hope that the following information
will help you to familiarise yourself
with the features of the appliance, and
to use it successfully and safely.
Our policy is one of constant
development and improvement. Strict
accuracy of illustrations and specifications
is not guaranteed. Modification to
design and materials may be
necessary subsequent to publication.
This appliance must be installed in
accordance with the regulations in
force, and only in a well ventilated
space. Read the instructions before
installing or using this appliance.
Your 1st Year Guarantee
To fulfil the conditions of your guarantee,
this appliance must be correctly
installed and operated, in accordance
with these instructions, and only be
used for normal domestic purposes.
Please refer to your Guarantee Card
for further details.
Please note that the guarantee, and
Service availability, only apply to the
UK.
Your new appliance is designed to be
installed free-standing or flush to base
units.
Before using the appliance for
the first time, remove any protective
polythene film and wash the oven
shelves and furniture in hot soapy
water, to remove their protective
coating of oil. Even so, when you first
turn on the oven or grill you may
notice a smell and some smoke.
Ventilation
The use of a gas cooking appliance
results in the production of heat and
moisture in the room in which it is
installed. Ensure that the kitchen is
well ventilated: keep natural ventilation
holes open or install a mechanical
ventilation device (mechanical extractor
hood). Prolonged intensive use of the
appliance may call for additional
ventilation, for example, opening of a
window, or more effective ventilation,
for example increasing the level of
mechanical ventilation where present.
Moving the cooker
Do not attempt to move the cooker by
pulling on the doors or handles. Open
the door and grasp the frame of the
cooker, taking care that the door does
not shut on your fingers.
Take care to avoid damage to soft or
uneven floor coverings when moving
the appliance. Some cushioned vinyl
floor coverings may not be designed
to withstand sliding appliances without
marking or damage.
2
Introduction

Gas & Electrical connection
Please refer to installation instructions
for the Gas & Electrical Safety Regulations
and the Ventilation Requirements.
In your own interest, and that of safety,
it is the law that all gas appliances be
installed by competent persons. Corgi
registered installers undertake to work
to satisfactory standards.
Disconnection of gas and electric
appliances should always be carried
out by competent persons.
Warning: This appliance must be
earthed.
If the ignition fails:
Check there is a spark when the
ignition button is depressed.
If there is no spark, check that the
electricity supply is switched on at
the socket.
Check that the gas supply is
switched on.
Stability bracket
If the cooker is to be fitted with a
flexible inlet connection, a stability
bracket should also be fitted to engage
in the back of the cooker. Make sure
this is re-engaged whenever you move
the cooker for cleaning.
The Gas Consumer Council (GCC) is
an independent organisation which
protects the interests of gas users. If you
need advice, you will find the telephone
number is your local telephone
directory under Gas.
The cooling fan
When the appliance is switched on,
you may hear the cooling fan come
on. This keeps the fascia and control
knobs cool during grilling / cooking
and will continue to operate for up to
15 minutes after the appliance has
been switched off.
During oven use the fan may cycle on
and off. Should any fault occur with
the cooling fan, the appliance will
require servicing. Contact Customer
Support.
Environmental Protection
We are committed to protecting the
environment and operate an
Environmental Management System
which complies with BS EN ISO
14001.
Disposal of packaging
• All our packaging materials are
recyclable and environmentally
friendly.
• Please help us to protect our
environment by disposing of all
packaging in an environmentally
friendly manner.
• Please contact your local authority
for the nearest recycling centre.
Caution: Packaging materials can
pose a risk of suffocation - keep away
from children.
3
Introduction

Storage compartment
Your appliance has a generous
storage compartment, located beneath
the right-hand side oven.
The storage compartments should only
be used to store oven furniture.
Baking trays and roasting tins may be
stored in the compartment.
Do not store items with plastic or
wooden handles in the compartments,
as they may be damaged by heat
from the oven.
Do not store flammable liquids, even
when cold, in the storage compartments,
as they may catch fire. Do not store
flammable items - ie; chip pans.
Do not store food / canned items in
the storage compartments. Do not
use the compartments as a food
warming facility.
5
Storage Compartment

6
When you are cooking, keep
children away from the vicinity
of the appliance.
This product is designed as a domestic
cooking appliance for the preparation
and cooking of domestic food products, and should not be used for any
other purpose.
Remove all packaging from the
appliance before using for the
first time.
Make sure you read and under-
stand the instructions before using
the appliance.
Keep electrical leads short so they
do not drape over the appliance
or the edge of the worktop.
Keep all flammable materials (such
as curtains and furnishings) away
from the appliance.
Parts of the appliance may be hot
during or immediately after use.
Allow sufficient time for the appliance to cool after switching off.
Switch off the electricity supply
before cleaning the appliance.
Do not drape tea towels over the
flue vents or door handles, as this
creates a fire hazard.
When opening the appliance
door, take care to avoid skin
contact with any steam which may
escape from the cooking.
Do not use aluminium foil to cover
the grill pan, or put items wrapped
in foil under the grill, as this
creates a fire hazard.
Use oven gloves when removing
hot food / dishes from the oven or
grill. The oven / grill and utensils
will be very hot when in use.
Do not use foil on oven shelves or
allow it to block the oven flue, as
this creates a fire hazard, and
prevents heat circulation.
When cooking heavy items - eg;
turkeys - do not pull the oven shelf
out with the item still on the shelf.
Drop-down doors (where fitted):
Do not place items on the door
when open.
Never use the appliance for
heating a room.
As with all gas appliances, it is
recommended that your appliance
is serviced regularly.
Warning: This appliance must
be earthed.
All installation, servicing
and maintenance work should
be carried out by a competent
person who will comply with
current Regulations, Standards
and Requirements.
When you have finished
cooking check that all controls
are in the off position.
Be Safe - Not Sorry
7
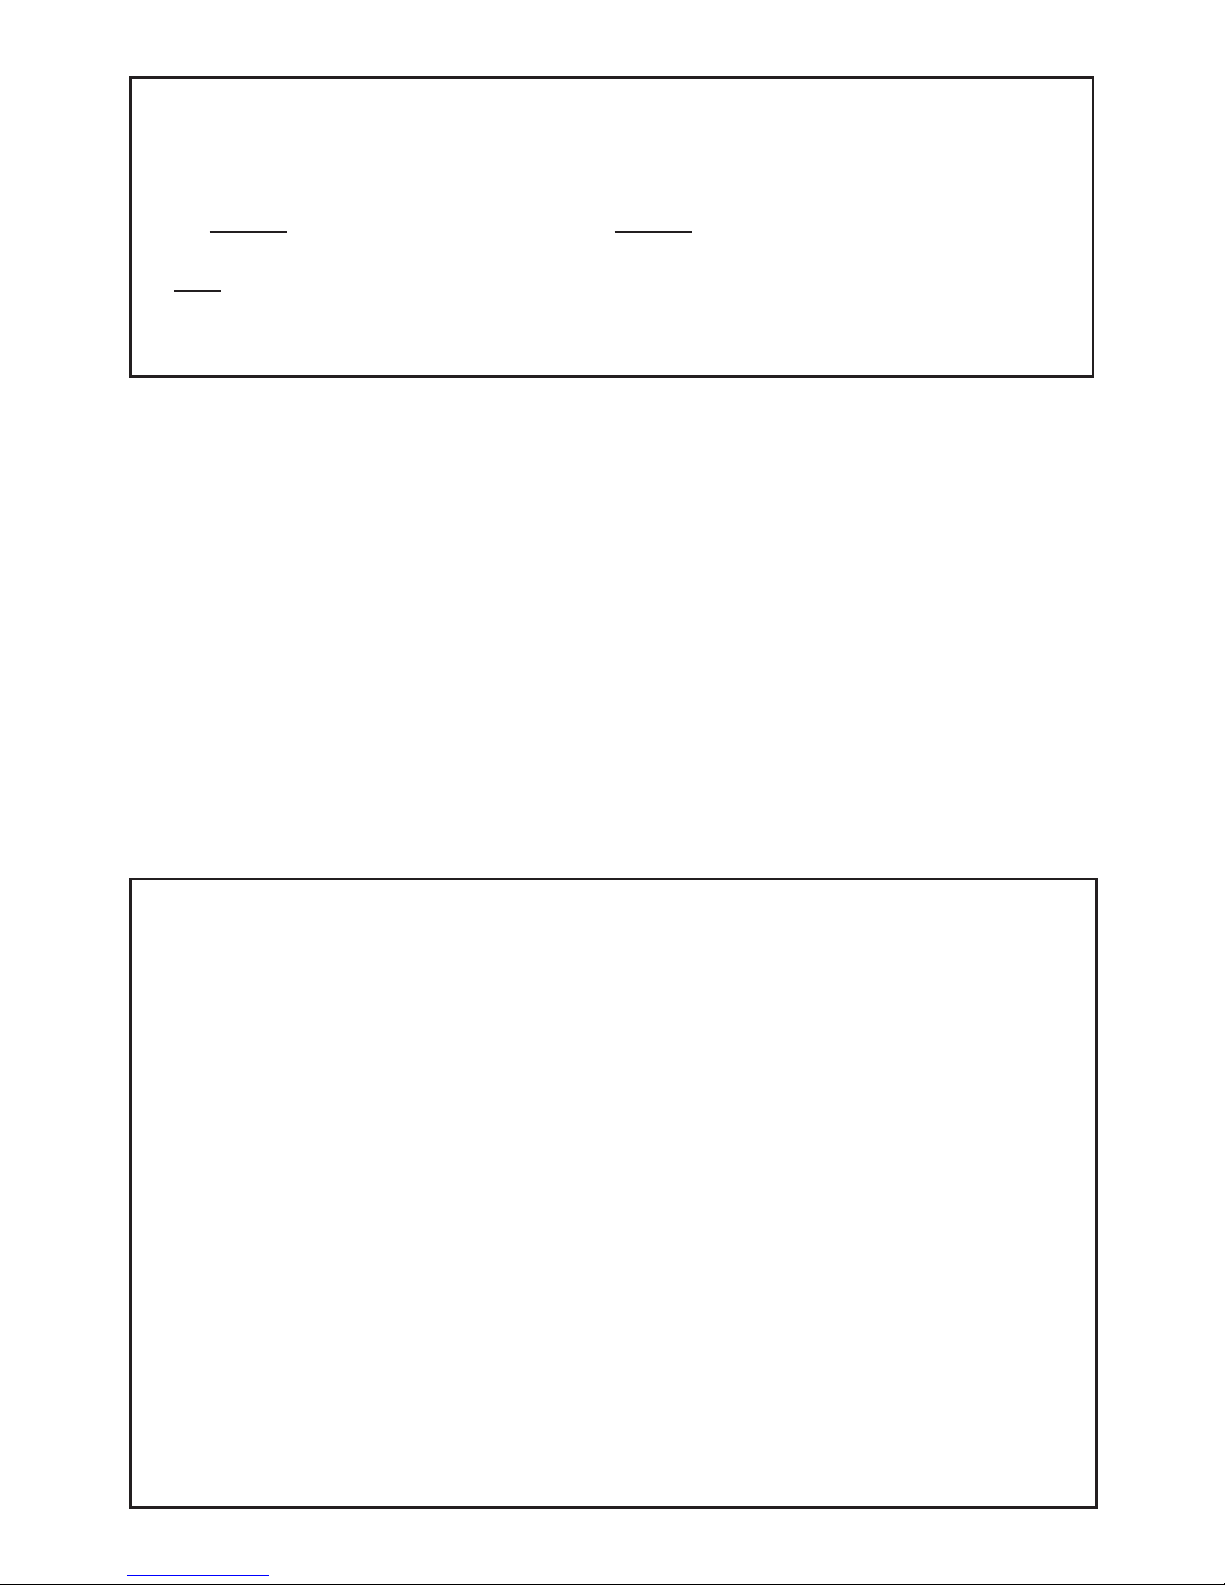
Minute Minder - models with green clock display
Initial display
The digital timer enables you to set the
time of day (24 hour clock) and the
minute minder alarm.
Setting the “Time of Day”
1. Switch on the electricity supply to
the appliance.
The clock adjust LED will flash
(bottom, right hand side).
2. Set the time of day with the plus
and minus buttons.
4. The time will be set 5 seconds after
the last plus or minus operation,
the LED will stop flashing and
remain illuminated.
Changing the time of day
1. Press the function button twice.
2. Set the time of day with the plus
and minus buttons.
3. The time will be set 5 seconds after
the last plus or minus operation,
the LED will stop flashing and
remain illuminated
Setting the minute minder
1. Press and release the Function
button to change the display from
clock to minute minder - the
Minute Minder LED will flash (top
right hand side)..
2. Use the plus and minus buttons to
set the length of time before the
alarm tone will sound.
The maximum period which may
be set is 23 hours 59 minutes.
During countdown, the minute
minder has priority on the display,
which will show (in hours / min-
utes) the time remaining.
When countdown is complete, the
tone will sound for 2 minutes, or it
can be reset with one touch of
any button.
To cancel the minute minder,
press the function button and run down
the set time with the minus button.
The display will revert to show the
time of day, and the minute minder
will not sound.
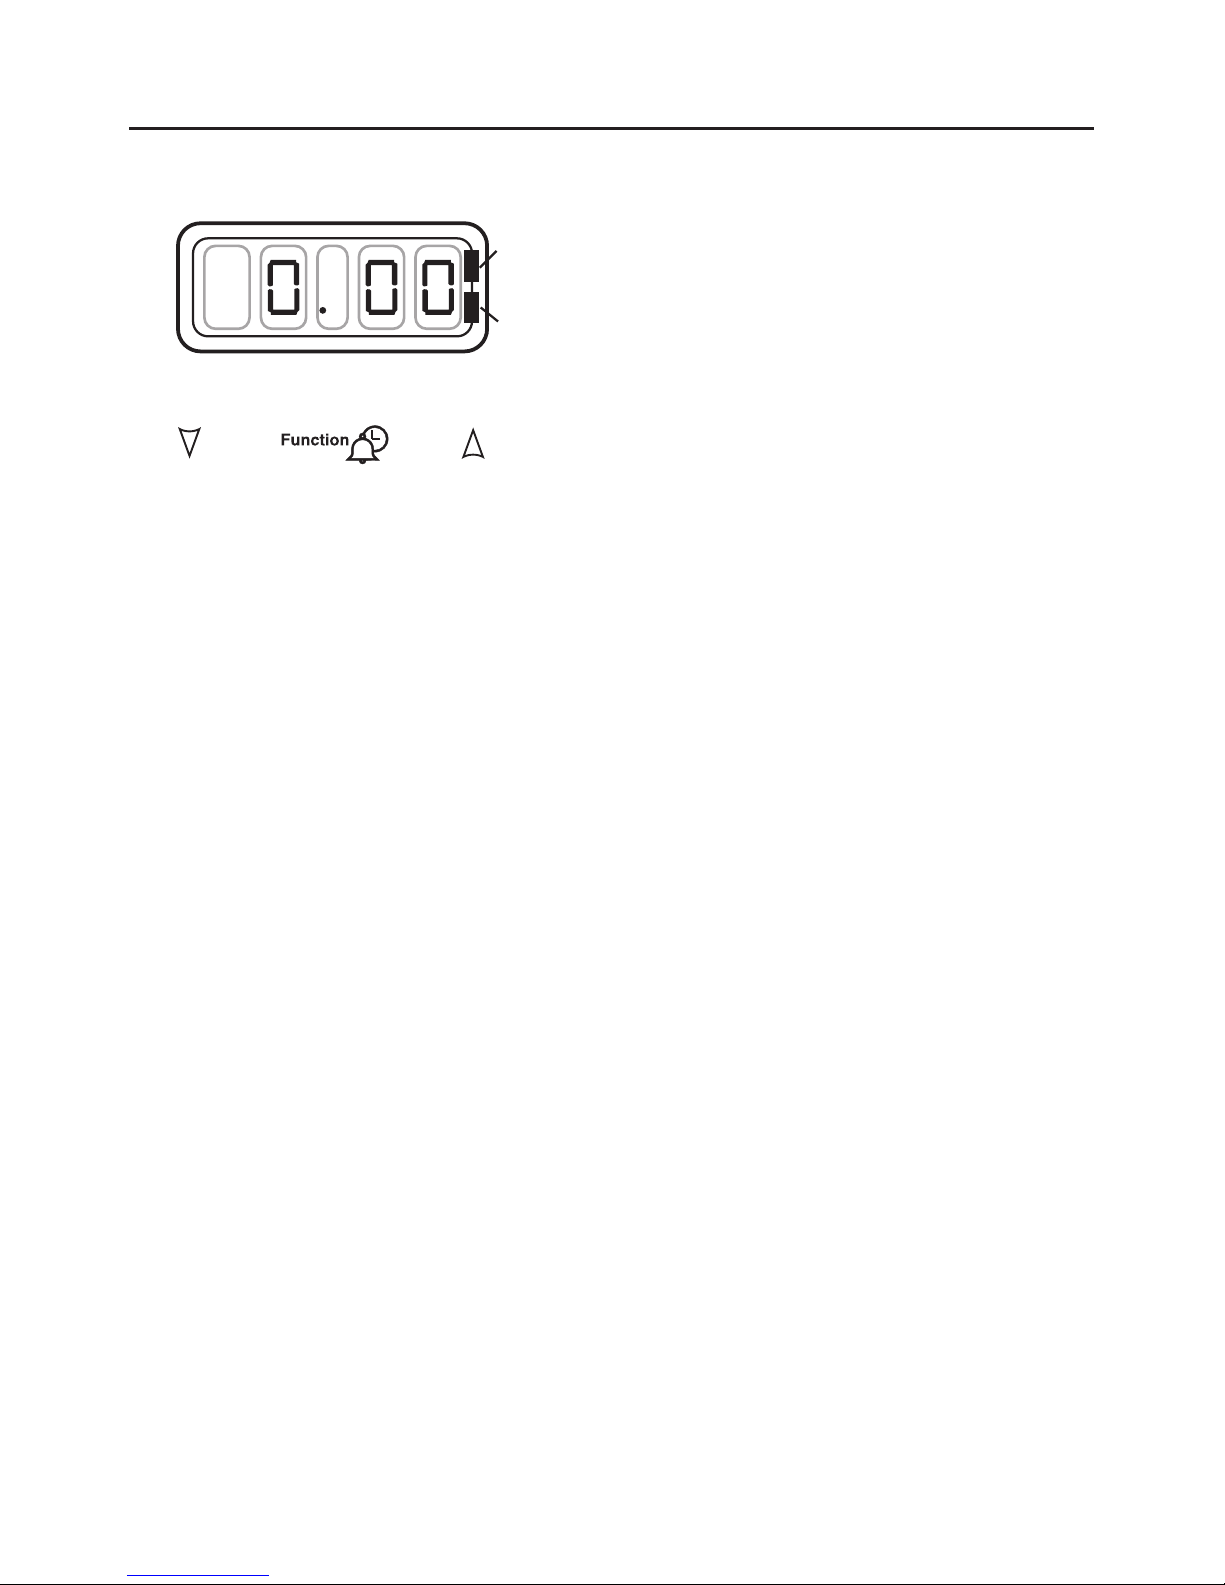
Initial display
The digital timer enables you to set the
time of day (24 hour clock) and the
minute minder alarm.
Setting the time of day
Press the Plus and Minus buttons
together for a few seconds and
release.
Set the time of day using the Plus and
Minus buttons. Press once for single
digit increase, press and hold for
rapid increase..
Once the time of day has been set
wait approx 10 seconds until the ‘’
stops flashing.
Use the appliance as normal.
Changing the time of day
1. Press the function button once.
2. Set the time of day, using the plus
and minus buttons.
3. The time will be set 7 seconds after
the last plus or minus operation.
Alarm tones
After setting the time of day, you can
select one of three alarm tones.
Press the minus button to listen to the
first tone, then release the minus button
and press again to listen to the second
tone, etc.
Releasing the minus button after a tone
has sounded will automatically select
that tone.
Setting the minute minder
1. Press and release the plus button, to
change the display from clock to
minute minder - the bell symbol will
light.
2. Use the plus and minus buttons to
set the length of time before the
alarm tone will sound. The display
will increase / decrease in units of
10 seconds up to 99 minutes, 50
seconds, and in units of 1 minute
from 1 hour 40 minutes upwards.
The maximum period which may be
set is 10 hours.
The display format will change after
99 minutes and 50 seconds to 1 hour
and 40 minutes.
During countdown, the minute minder
has priority on the display, which will
show (in minutes : seconds, or hours :
minutes) the time remaining.
When countdown is complete, the
tome will sound for 7 minutes, or it can
be reset with one touch of any button.
To cancel the minute minder at
any time.
Run down the set time with the minus
button. The display will show the time
of day
8
Minute Minder - models with red clock display

When you are cooking, keep
children away from the vicinity
of the appliance.
Ignition
Push in and turn the selected control
knob anticlockwise to the large flame
symbol and press the IGNITION SWITCH
until the burner lights. Turn the control
knob to the required setting.
Adjust the burner flame so that it does
not extend over the pan base.
To turn off, push in the control knob
and turn clockwise until the dot on the
control knob is below the line on the
facia panel.
To simmer
The simmer position is marked by the
SMALL FLAME symbol.
Once lit turn the selected control knob
anticlockwise
past the LARGE FLAME sym-
bol (FULL ON) to the SMALL FLAME symbol.
You may hear a slight popping noise
when the hob burners are operating
and this is quite normal, but if anything
about the cooker appears unusual,
such as change in flame appearance,
or the operation of controls - seek
expert advice.
Pans
For optimum safety and performance,
we recommend flat bottomed pans
with a base diameter of minimum
100mm (4”) and maximum 250mm
(10”), which are stable in use.
Avoid using old misshapen pans or
any pan which is unstable when
placed on a flat surface.
Turn pan handles to a safe position
so they are out of reach of children,
not overhanging the appliance and
cannot be caught accidentally.
Position pans over the centre of the
burners, resting on the pan supports.
If positioned off centre, smaller pans
may be unstable.
When cooking with fat or oil, never
leave unattended.
Commercial simmering aids should
not be used as they create excessive
temperatures that can damage the
surface and may cause a hazard.
When you have finished
cooking check that all controls
are in the off position.
Pan supports
Always make sure the pan supports
are replaced correctly, and located in
the hob spillage well.
8
Using the Hob
 Loading...