

Belling E654 Installation And User Instructions Manual
08 25389 01 © 9.2003
Stoney Lane, Prescot, Merseyside, L35 2XW
Freestanding
Electric Double Oven & Grill
INSTALLATION AND USER INSTRUCTIONS
Model: E654
You must read these instructions prior to using the
appliance and retain them for future reference.

User’s Section . . . . . . . . . . . . . . . . . . . . . . . . . . . . . . . . . . . . . 2 - 26
Introduction . . . . . . . . . . . . . . . . . . . . . . . . . . . . . . . . . . . . . . . . . . . . . . . . . 2
Be Safe - Not Sorry. . . . . . . . . . . . . . . . . . . . . . . . . . . . . . . . . . . . . . . . . . . . 4
Using the Hob . . . . . . . . . . . . . . . . . . . . . . . . . . . . . . . . . . . . . . . . . . . . . . . 5
Using the Grill . . . . . . . . . . . . . . . . . . . . . . . . . . . . . . . . . . . . . . . . . . . . . . . 7
Using the Top Oven . . . . . . . . . . . . . . . . . . . . . . . . . . . . . . . . . . . . . . . . . . . 9
Top oven baking guide . . . . . . . . . . . . . . . . . . . . . . . . . . . . . . . . . . . . . . . . 10
Conversion guide . . . . . . . . . . . . . . . . . . . . . . . . . . . . . . . . . . . . . . . . . . . . 11
Using the Main Oven . . . . . . . . . . . . . . . . . . . . . . . . . . . . . . . . . . . . . . . . . 12
Oven furniture . . . . . . . . . . . . . . . . . . . . . . . . . . . . . . . . . . . . . . . . . . . . . . 13
Slow cooking . . . . . . . . . . . . . . . . . . . . . . . . . . . . . . . . . . . . . . . . . . . . . . . 13
Cooking with a fanned oven . . . . . . . . . . . . . . . . . . . . . . . . . . . . . . . . . . . . 14
Defrosting & cooling . . . . . . . . . . . . . . . . . . . . . . . . . . . . . . . . . . . . . . . . . . 16
Baking guide . . . . . . . . . . . . . . . . . . . . . . . . . . . . . . . . . . . . . . . . . . . . . . . 16
Using the Ovens . . . . . . . . . . . . . . . . . . . . . . . . . . . . . . . . . . . . . . . . . . . . . 17
Traditional fruit cakes . . . . . . . . . . . . . . . . . . . . . . . . . . . . . . . . . . . . . . . . . 17
Roasting turkey. . . . . . . . . . . . . . . . . . . . . . . . . . . . . . . . . . . . . . . . . . . . . . 17
Roasting guide . . . . . . . . . . . . . . . . . . . . . . . . . . . . . . . . . . . . . . . . . . . . . . 18
Automatic cooking . . . . . . . . . . . . . . . . . . . . . . . . . . . . . . . . . . . . . . . . . . . 19
Programmer / Clock . . . . . . . . . . . . . . . . . . . . . . . . . . . . . . . . . . . . . . . . . . 21
Cleaning . . . . . . . . . . . . . . . . . . . . . . . . . . . . . . . . . . . . . . . . . . . . . . . . . . 25
Installation Instructions . . . . . . . . . . . . . . . . . . . . . . . . . . . . . 28 - 29
Connect to electricity supply. . . . . . . . . . . . . . . . . . . . . . . . . . . . . . . . . . . . . 29
Technical Data . . . . . . . . . . . . . . . . . . . . . . . . . . . . . . . . . . . . . . . 30
Belling Customer Care. . . . . . . . . . . . . . . . . . . . . . . . . . . . . . . . . . 31
1
Please keep this handbook for future reference, or for anyone else
who may use the appliance.
Contents

Thank you for choosing an
appliance from Belling
We hope the following information
will help you to quickly familiarise
yourself with the features of the
appliance, and to use it successfully
and safely.
Our policy is one of constant
development and improvement. Strict
accuracy of illustrations and specifications
is not guaranteed. Modification to
design and materials may be necessary
subsequent to publication.
Please read the instructions in this
handbook before using or installing
this appliance.
Your new appliance is designed to be
installed flush to base units.
Your 1st Year Guarantee
To fulfil the conditions of your guarantee,
this appliance must be correctly
installed and operated, in accordance
with these instructions, and only be
used for normal domestic purposes.
Please note that the guarantee, and
Service availability, only apply to the
UK and Republic of Ireland.
Before using the appliance for
the first time, remove any protective
polythene film and wash the oven
shelves in hot soapy water, to remove
their protective coating of oil. Even so,
when you first turn on the oven or grill
you may notice a smell and some smoke.
Electrical connections
Please refer to installation instructions
for electrical connection.
In your own interest, and that of safety,
make sure that the installation is carried
out by a competent person.
Disconnection of electric appliances
should always be carried out by
competent persons.
Warning: This appliance must be
earthed.
Moving the cooker
Do not attempt to move the cooker by
pulling on the doors or handles. Open
the door and grasp the frame of the
cooker, taking care that the door does
not shut on your fingers.
Take care to avoid damage to soft or
uneven floor coverings when moving
the appliance. Some cushioned vinyl
floor coverings may not be designed
to withstand sliding appliances without
marking or damage.
2
Introduction

Glass door panels
To meet the relevant Standards of
Domestic cooking appliances, all the
glass panels on this appliance are
toughened to meet the fragmentation
requirements of BS3193. This ensures
that, in the unlikely event that a panel
breaks, it does so into small fragments
to minimise the risk of injury.
Please take care when handling, using
or cleaning all glass panels as any
damage to the surfaces or edges may
result in the glass breaking without
warning or apparent cause at a later
date. Should any glass panel be
damaged, we strongly recommend
that it is replaced immediately.
Environmental Protection
We are committed to protecting the
environment and operate an
Environmental Management System
which complies with BS EN ISO
14001:1996.
Disposal of packaging
• All our packaging materials are
recyclable & environmentally friendly.
• Please help us to protect our
environment by disposing of all
packaging in an environmentally
friendly manner.
• Please contact your local authority
for the nearest recycling centre.
Caution: Packaging materials can
pose a risk of suffocation - keep away
from children.
To replace an oven light bulb
Caution: Switch off the electricity
supply to the cooker at the socket, to
avoid the risk of electric shock.
Wait until the oven is cool, then
remove the shelves.
The oven light is at the rear of the oven
cavity.
Remove the loose oven back - unscrew
the 4 securing screws (one at each corner).
Unscrew the lens cover (turn anticlockwise). Unscrew the bulb and replace.
Replace lens cover.
Replace oven back.
Please note that the oven light bulb is not
covered by the guarantee. Replacement
bulbs can be ordered from your local
supplier, or bought from a hardware store.
3
Introduction
In case of difficulty within the UK and Northern Ireland, please call
Belling Customer Care Centre Helpline on
0151 432 7999
When you dial this number you will hear a recorded message and be given a
number of options. This indicates that your call has been accepted and is being
held in a queue. Calls are answered in strict rotation as our Customer Care
Representatives become available.
Opening Hours for Customer Care Centre
Monday to Friday 8am - 8pm
Saturday 8.30am - 6pm
Sunday 10am - 4pm
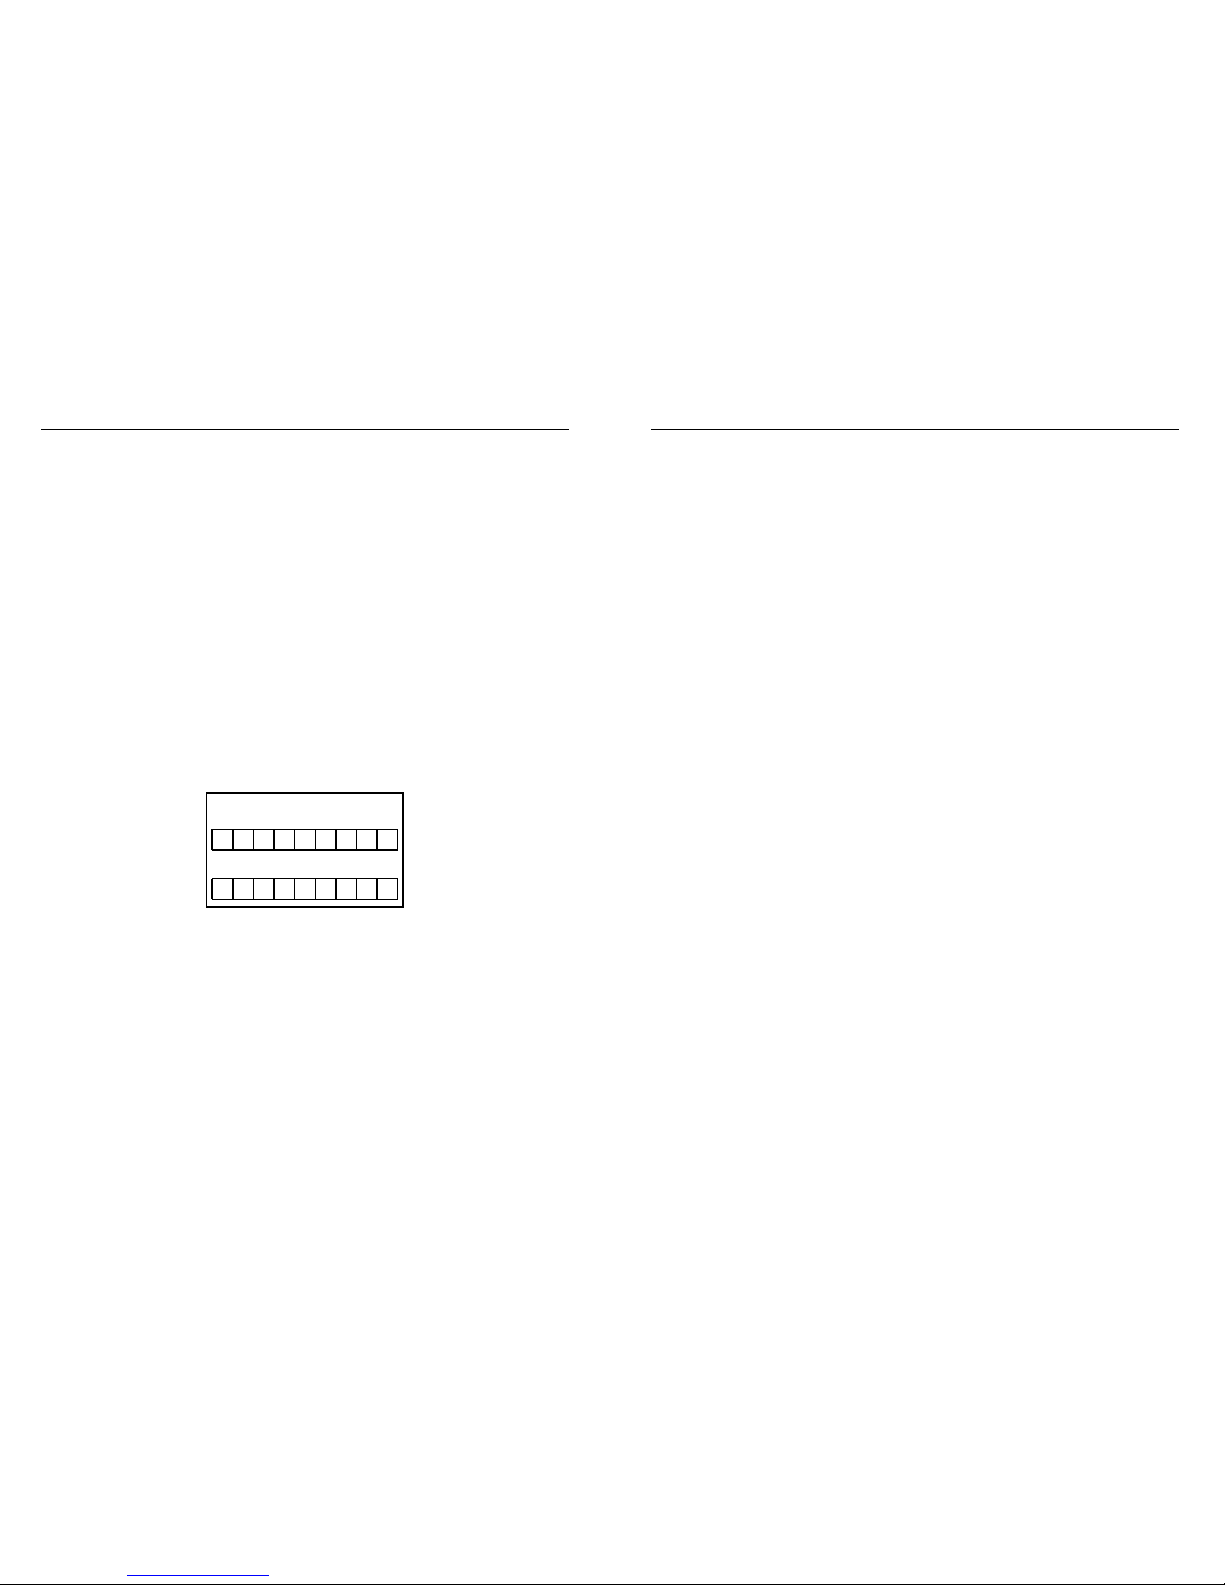
Enter appliance numbers here for future reference:
Please ensure you have the above details (Model No and Serial No) to
hand when calling Belling Customer Care. They are essential to
booking your call.
Outside the UK and Northern Ireland, refer to your local supplier.
Model No
Serial No
31
Belling Customer Care
When you are cooking, keep
children away from the vicinity
of the appliance.
This product is designed as a domestic
cooking appliance for the preparation
and cooking of domestic food
products, and should not be used for
any other purpose.
■ Remove all packaging, protective
films and oils from the appliance
before using for the first time.
■ Make sure you read and
understand the instructions before
using the appliance.
■ Keep electrical leads short so they
do not drape over the appliance
or the edge of the worktop.
■ Keep all flammable materials (such
as curtains, furnishings & clothing)
away from the appliance.
■ Parts of the appliance may be hot
during or immediately after use.
Care should be taken to avoid
touching heating elements inside
the oven. Allow sufficient time
for the appliance to cool after
switching off.
■ Never use the appliance for
heating a room.
■ Do not drape tea towels over the
flue vents or doors, as this creates
a fire hazard.
■ When opening the appliance
door, take care to avoid skin
contact with any steam which may
escape from the cooking.
■ Do not use aluminium foil to cover
the grill pan, or put items wrapped
in foil under the grill as this creates
a fire hazard. The high reflectivity
can also damage the element.
■ Do not use the oven with the door
inner glass panel removed.
■ Use oven gloves when removing
hot food / dishes from the oven or
grill. The oven / grill and utensils
will be very hot when in use.
■ Do not use foil on oven shelves, or
allow it to block the oven flue, as
this creates a fire hazard and
prevents heat circulation.
■ When cooking heavy items - eg;
turkeys - do not pull the oven shelf
out with the item still on the shelf.
■ Switch off the electricity supply
before replacing the oven light bulb,
to avoid the risk of electric shock.
Warning: This appliance must be
earthed.
When you have finished
cooking check that all controls
are in the off position.
4
Be Safe - Not Sorry

Caution: Do not use the hob if the
glass is cracked, as electrical parts are
directly beneath. To avoid the possibility of electric shock, turn off the electricity supply to the hob at the socket
and arrange a Service call.
Before using the hob for the
first time
Before using the hob for the first
time, we recommend that you apply a
thin coating of cleaner conditioner eg; “Hob Brite” by Homecare*, and
polish the surface with a clean dry
cloth. Follow the instructions given in
the cleaning section.
* Homecare products are available
mail order - ✆ 0208 871 5027
To switch on the hob
Turn the hotplate selected control
clockwise to the required setting. To
switch off, return to the “off” position.
The hot hob light
The hot hob light comes on when one
of the hotplates is switched on, and
stays on for a short while after the last
hotplate is switched off to indicate that
the hob may still be warm.
Important:
■ Do not use the ceramic glass hob
as a work surface or chopping
board, as it will damage it, and if
any plastic utensils come into
contact with a warm hob, they
may melt onto it.
■ Do not
use the ceramic hotplate
surface for storage.
■ As pans are on a smooth surface,
they will move easily if knocked
accidentally; turning pan handles
so they are not overhanging the
edge of the hob, will help prevent
this happening, and keep them out
of the reach of children.
■
Be careful when cooking foods in
salted water, or foods containing
large amounts of sugar or syrup,
if they are spilt onto hot areas of
the hob they may damage it.
Use pans which are large enough
to avoid overflows onto the
ceramic glass hob.
■ Lift pans onto and off the hob, rather
than sliding them across the surface,
to avoid marks and scratches.
■ Aluminium foil must not
be placed
on the hob as it will reflect any
heat back into the element, which
can damage it.
■ Leaving a hotplate on for a length
of time, without it being covered
by a pan, can cause overheating
of surrounding areas which could
damage the glass.
5
Using the Hob
Data badge
On the bottom of the front frame
behind the oven door.
Electrical supply
220 - 240V ~ 50Hz
Warning: This appliance must be
earthed.
Electrical ratings @ 230V
Main fanned oven 2300W
Conventional top oven 1290W
Dual Grill 1655/2575W
Hotplate LHF ceramic 1100W
Hotplate LHR ceramic 1655W
Hotplate RHR ceramic 1100W
Hotplate RHF ceramic 1655W
Oven lamp 25W
Cooling fan 10W
Oven stir fan (main oven) 30W
Maximum load 10450W
Countries of Destination
GB - Great Britain, IE - Ireland
30
Technical Data
 Loading...