

Page 1

Synchronising The Nokia 7650 With Outlook
1
Synchronising The Nokia 7650 Through Outlook 2000
With Bluetooth USB Adaptor
Page 2
Synchronising The Nokia 7650 With Outlook
2
Step 1:Enabling The Nokia 7650 For Bluetooth Communication:
1: Enable the Bluetooth communication.
Press the menu button, scroll to connect. Press the joystick down. Scroll to Bluetooth,
press the joystick down. Select Bluetooth, press the joystick down. Bluetooth should
now be enabled. Once complete set the phones visibility. Scroll to my phones
visibility, press the joystick down. The phones visibility should now be shown to all.
Press the Exit button to return to the phones main screen. The 7650 is now ready to
receive Bluetooth communication.
2: Double click my Bluetooth places.
3: Double click on Entire Bluetooth Neighbourhood.
Windows will then search for any discoverable Bluetooth devices in range and display
them.
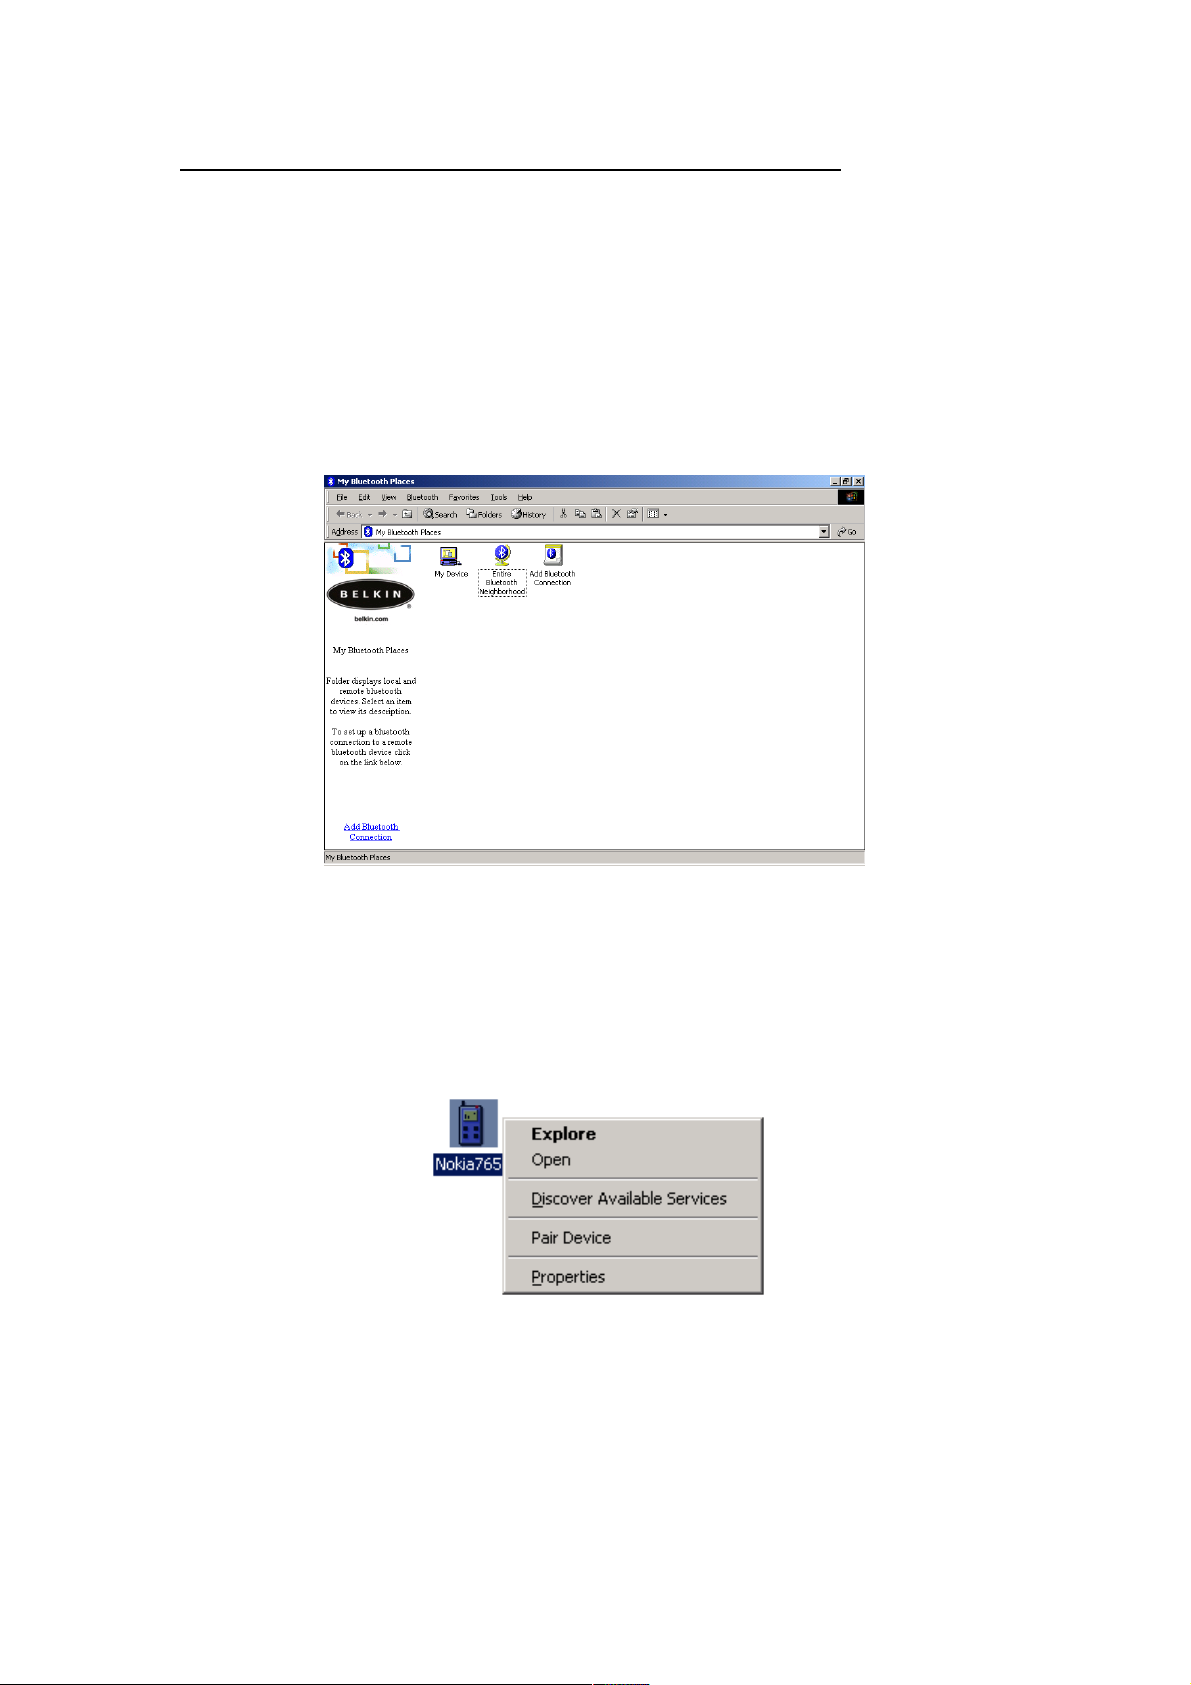
4: Pair the Nokia 7650 with the USB Bluetooth adaptor.
Right click on the phone and select pair device.
Page 3

Synchronising The Nokia 7650 With Outlook
3
You will now see a window requesting the PassKey for the phone (default = 0000)
Enter the PassKey and click o.k. Once complete the phone will display passcode for
“Computer Name” this is the PassKey for the USB Bluetooth adaptor (default =
0000), enter the Passkey and press o.k .
Once complete the phone will show in Entire Bluetooth Neighbourhood with a tick by
the side. The tick indicates that the computer and the phone are paired with each
other.
Next you will need to discover the phones available services.
Double click on the 7650, a list of services will then be displayed.
Right click on the Bluetooth serial port and then select properties.
The com port number will then be displayed. This is to be used to setup
communication between the 7650 and your computer.
Page 4

Synchronising The Nokia 7650 With Outlook
4
Close all open windows.
Double click on my Bluetooth places.
Double click my device.
Here you will see another list of services.
Right click on Bluetooth serial port and select properties.
You will note that the com port number differs from the number given under the
phones available services. Make a note of this number as this is also needed. Please
ensure that startup automatically is selected. Click o.k. and then close all open
windows.
Page 5

Synchronising The Nokia 7650 With Outlook
5
Step 2: Installing and Configuring PC suite for the Nokia 7650.
1: Download and install the latest version of PC Suite for the Nokia 7650 from
www.nokia.com. Restart the computer when prompted.
Double click on the mRouter icon in the system tray near the clock.
A connection properties window will then be displayed.
Ensure that you tick the com port number that was assigned to the Bluetooth
serial port that was listed under my devices firstly. Once complete tick the com
port number that was assigned under the properties for the Bluetooth serial port
under available services.
The 7650 will then display a message asking whether or not you accept the
connection request. Click Yes. At this point you may see an error message stating that
port can not be enabled. Please ignore this message a click o.k. to close the window,
the click close.
You will now see that the mRouter icon has changed colour.
This indicates that PC Suite has established a connection with the 7560.
Page 6

Synchronising The Nokia 7650 With Outlook
6
Step 3: Synchronising the Nokia 7650 with Outlook 2000.
Double click on the PC Suite for Nokia 7650 icon on your desktop. The program will
then run. If this is the first time you will need to enter some information in the initial
screens, this includes a name for the phone and what type of email client you wish to
synchronise with.
Once complete the PC Suite screen will be displayed.
Click the synchronise button.
Ensure that the Calendar and Contacts are ticked then click the Sync Now button.
The Nokia 7650 will now synchronise between Outlook and your phone.
The PC Suite software has extra features. For full information on how these should be
used please look in the PC Suite help files or Contact Nokia directly.
 Loading...