How it Works
Log In / Sign Up
Buy Points
How it Works
FAQ
Contact Us
Questions and Suggestions
Users
Beko
Loading...
W
WM1012CDS
WM1510
WM2506
WM5100
WM5101
WM5101W
2
WM5120
WM5120S
WM5120W
WM5140
WM 5450 T
2
WM 5450 TB
2
WM 5450 TS
2
WM 5456 T
2
WM 5458 T
2
WM 5500 T
3
WM 5500 TB
2
WM 5500 TS
2
WM 5506 T
3
WM 5508 T
3
WM 5550 T
WM5552
2
WM 5552 T
WM5554T
2
WM 5554 TS
WM 5555 T
WM 5556 T
WM61000
WM 6103 W
WM 6110 W
WM 6111 W
WM 6123 S
WM 6123 W
WM 6133 S
WM 6133 W
WM 6143 S
WM 6143 W
WM 6155 W
WM61631W
WM6167
WM 62125W
WM 6213 W
WM 622 W
WM 6355 W
WM 7043 CW
WM710
WM7120W
WM 7335 W
WM74135W
WM74155LS
WM74155LW
WM 8063 CW
WM85135LW
WM 95135 LB
WM 95145 LW
WMA10
WMA10W
WMA1510
WMA1512
WMA1612
WMA1613
WMA17151
WMA510
2
WMA510S
2
WMA510W
2
WMA520
WMA520S
2
WMA520W
2
WMA 610 S
WMA 610 W
WMA 620 S
WMA 620 W
WMA 630 S
WMA 630 W
WMA 641 S
WMA 641 W
WMA 645 S
WMA 645 W
WMA 647 S
WMA 647 W
WMA 651 S
WMA 655
WMA 655 W
WMA 657 S
WMA 657 W
3
WMA 665 S
WMA 665 W
WMA 667 S
WMA 667 W
WMA 727 S
WMA 727 W
3
WMA745W
WMA 747 S
WMA 747 W
WMA 767 S
2
WMA 767 W
2
WMA8168LB1
2
WMB 101442 L
3
WMB 101443 LC
WMB 50601 Y+
4
Loading...
Loading...
Nothing found
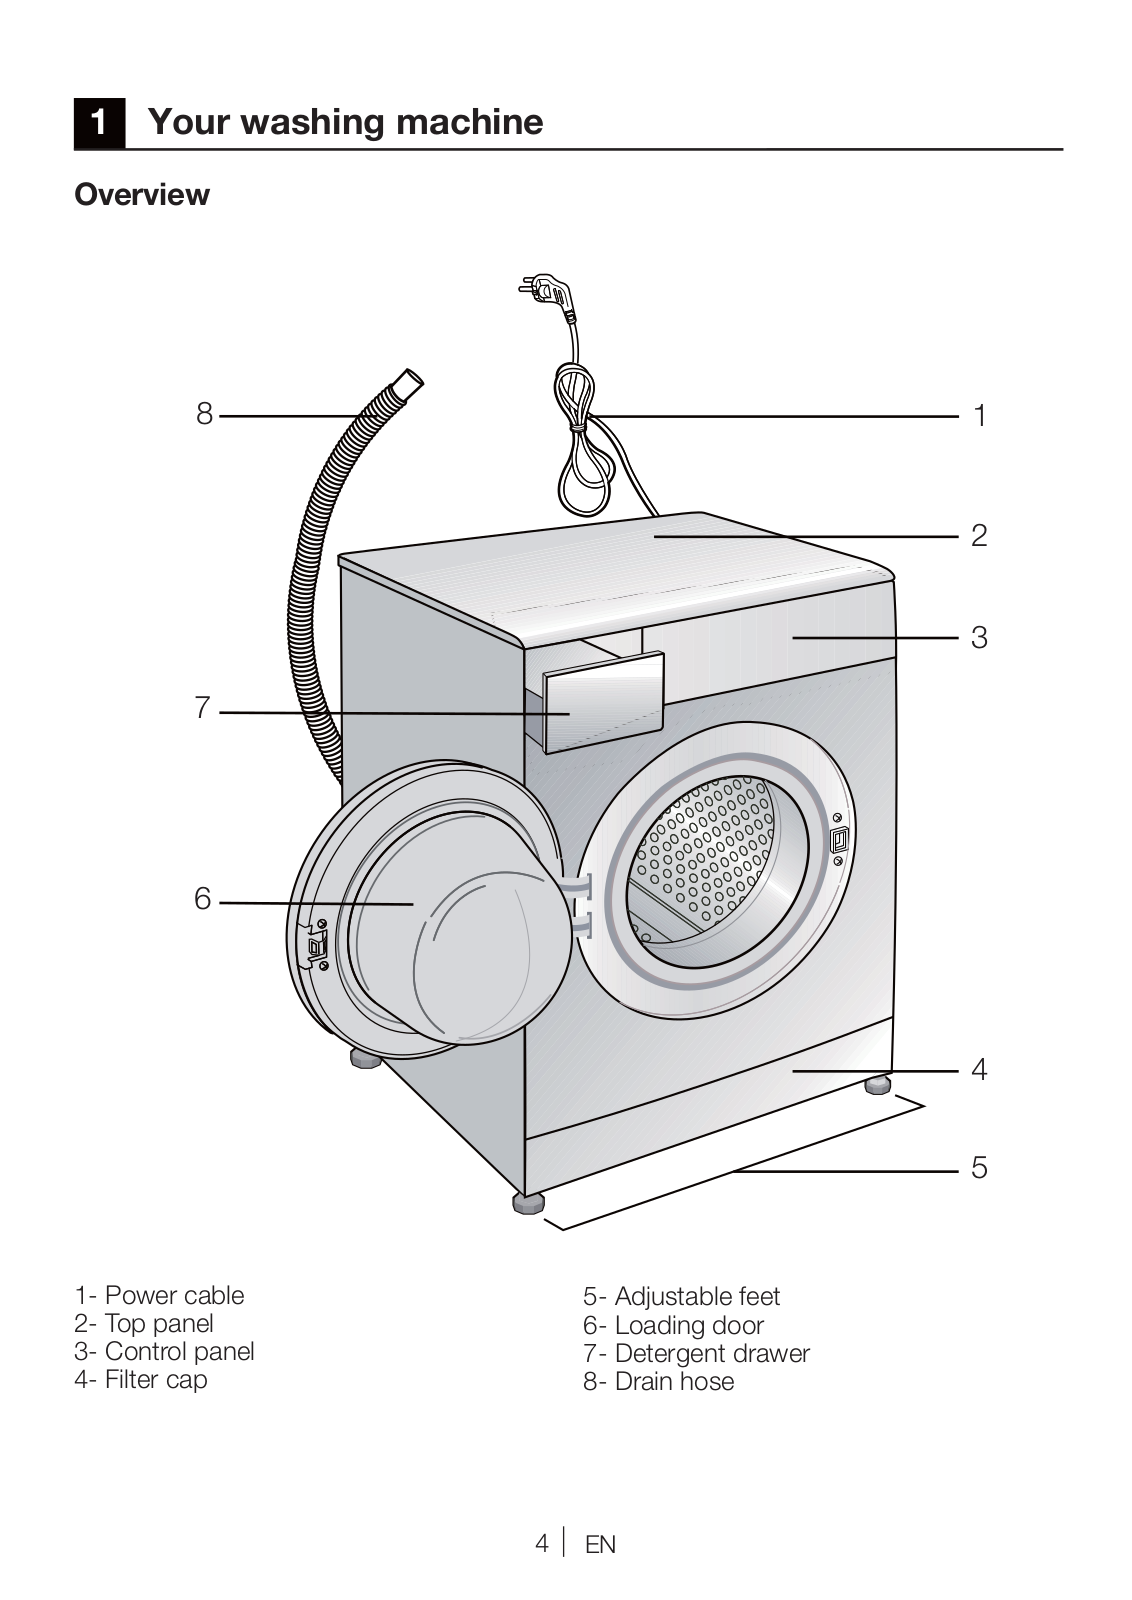
WM7120W
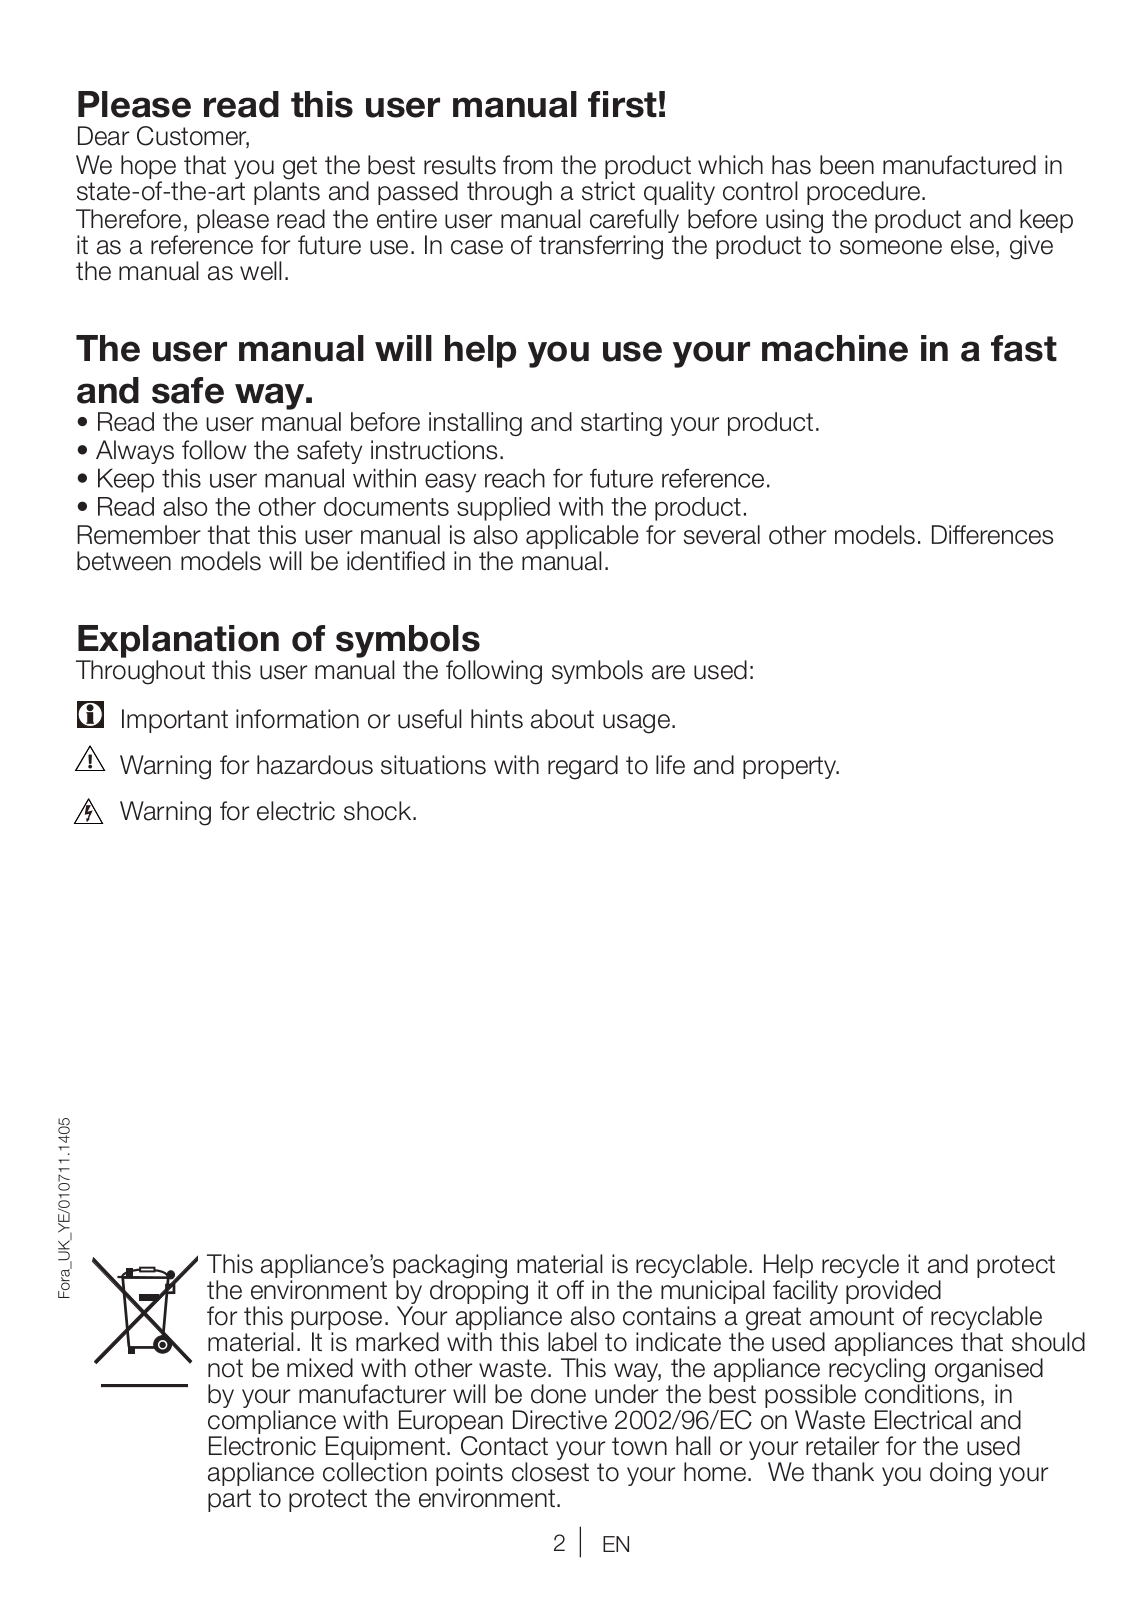
Instruction manual
40 pgs
2.26 Mb
0
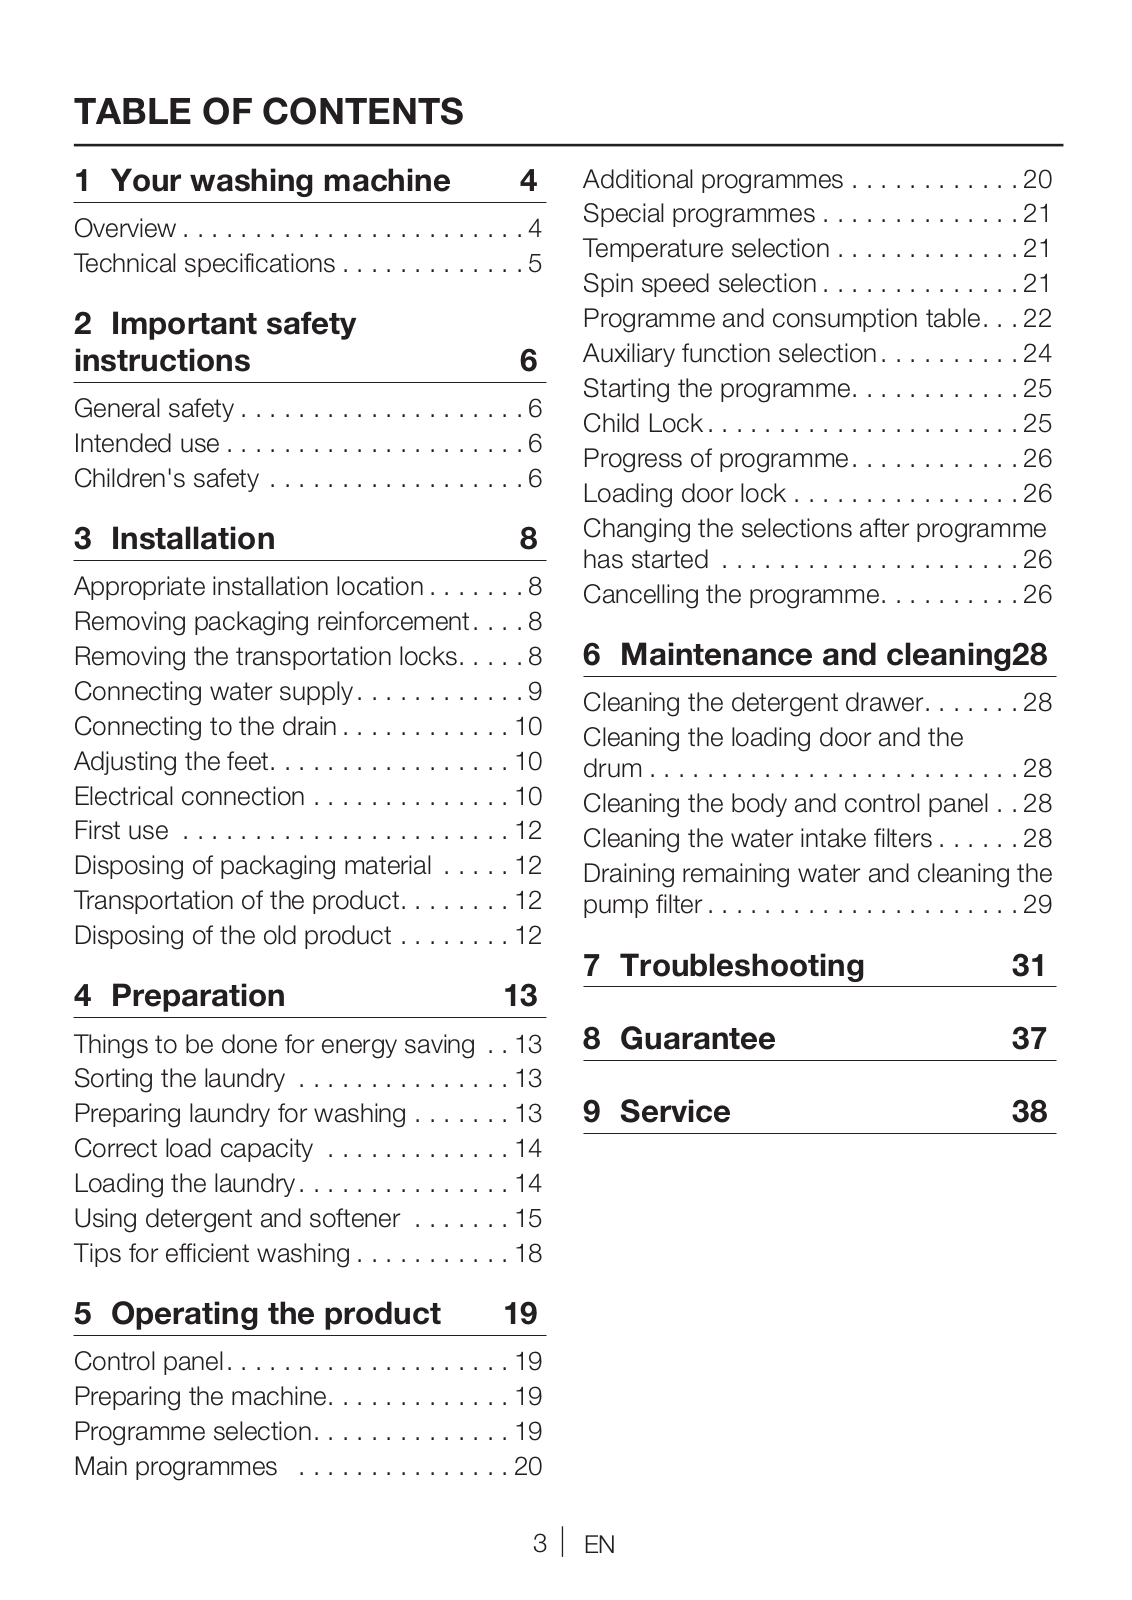
Table of contents
Loading...
Beko WM7120W Instruction manual
...
Beko Instruction manual
Download
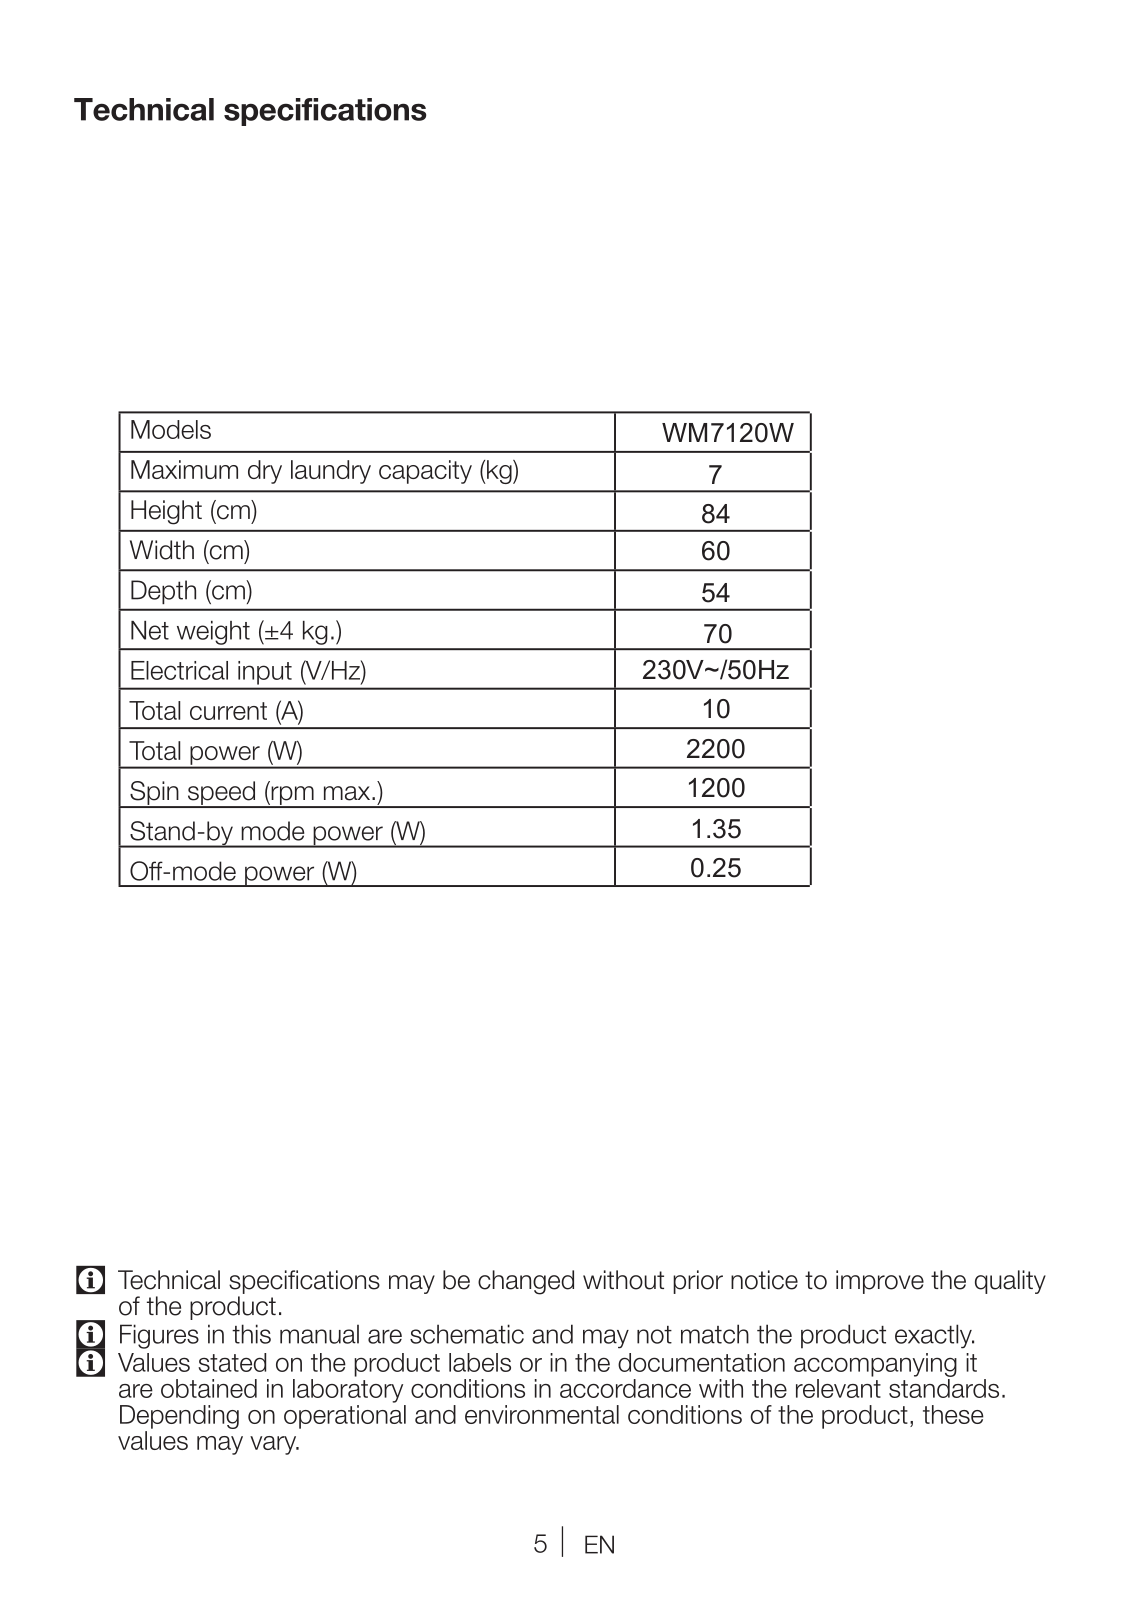
Specifications and Main Features
Frequently Asked Questions
User Manual
Download
Loading...
+
28
hidden pages
Unhide
You need points to download manuals.
1 point = 1 manual.
You can buy points or you can get point for every manual you upload.
Buy points
Upload your manuals
 Loading...