How it Works
Log In / Sign Up
Buy Points
How it Works
FAQ
Contact Us
Questions and Suggestions
Users
Beko
Loading...
G
GG15118CXYV
GG15120DXPR
7
GG15120FX
8
GG15120SW
2
GG15121DAPR
GG15121DXPR
4
GG15121FDXPR
4
GG15121FX
4
GG15122DXPR
GG15122FX
5
GG15125DXPR
GG15125FX
3
GG15125FXPR
4
GGF15325FW
2
GGF15325FX
2
GGR15110G
GGR15113G
GL12APS
GL22APS
4
GL22APW
4
GL32APB
2
GM15020DX
GM15120DAPR
14
GM 15120 DA PR NL
GM15120DX
GM15120DXPR
6
GM 15120 DX PR NL
GM15121DX
8
GM15310DB
6
GM15310DC
GM15310DR
GM15321D
5
GM15321 DX
11
GM 15325 DX PR
GM15326DXPR
2
GM16425DXNG
2
GM17300G
GM17300GX
4
GM17320DXPR
2
GN1306210ZDX
GN1306211ZDX
4
GN1306230ZDX
GN134635ZDX
GN134635ZDXN
GN1406221GB
2
GN1406221GW
2
GN1406221X
5
GN1406223B
3
GN1406223PX
3
GN1406223ZPX
2
GN1406231XBN
3
GN 1416220CX
14
GN1416221XP
2
GN1416221ZCX
GN 1416221 ZX
15
GN1416223ZX
5
GN141622XP
GN141622ZGB
2
GN1416230CXN
GN 1416231 JX
10
GN1416231JXN
GN1416231ZX
10
GN1416231ZXN
GN1416231ZXP
3
GN1416232ZX
GN1416232ZXN
GN1416233DZJGB
GN1416233DZJGT
GN1416233ZGB
2
GN1416233ZPT
4
GN1416233ZW
2
GN 1416233 ZX
7
GN1416235X
4
GN1416235X/1
GN1416253ZJGB
GN141625X
GN1416523PX
GN1426221ZDX
GN1426233ZDRX
GN1426233ZDRXN
GN1426234ZDX
GN1426234ZDXN
GN1603130PT
GN162320
12
GN162320PT
3
GN162320S
7
GN162320W
13
GN162320X
20
GN162321XB
4
GN162330X
15
GN162330XB
4
GN162330ZGB
3
GN162331ZXBN
GN 162333 ZGB
7
GN 162333 ZX
6
GN 162420 X
22
GN 162433 ZX
6
GN 163120 T
GN 163221 S
4
GN 163231 XB
2
Loading...
Loading...
Nothing found
GN1306210ZDX
User manual [EN,HE]
79 pgs
3.77 Mb
0
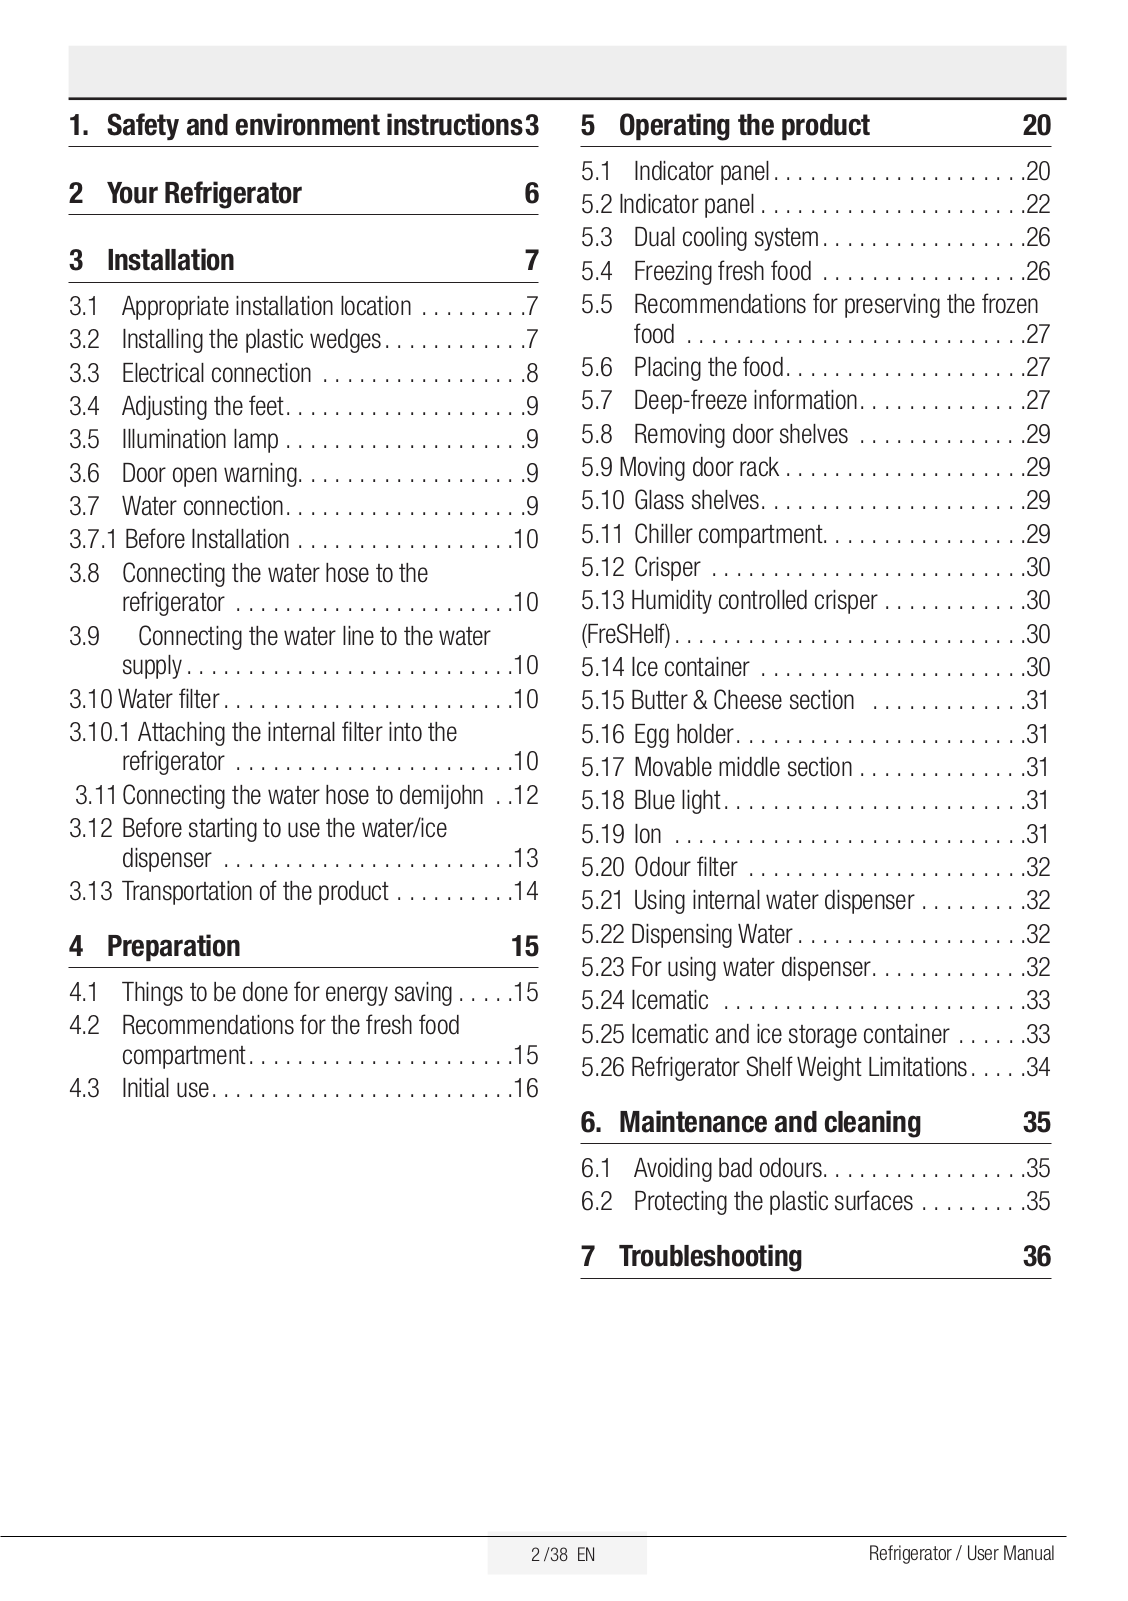
Table of contents
Loading...
Beko GN1306210ZDX User manual [EN,HE]
...
Beko User manual [EN,HE]
Download
Specifications and Main Features
Frequently Asked Questions
User Manual
Download
Loading...
+
55
hidden pages
Unhide
You need points to download manuals.
1 point = 1 manual.
You can buy points or you can get point for every manual you upload.
Buy points
Upload your manuals
 Loading...