How it Works
Log In / Sign Up
Buy Points
How it Works
FAQ
Contact Us
Questions and Suggestions
Users
Beko
Loading...
B
BKK1600DKR
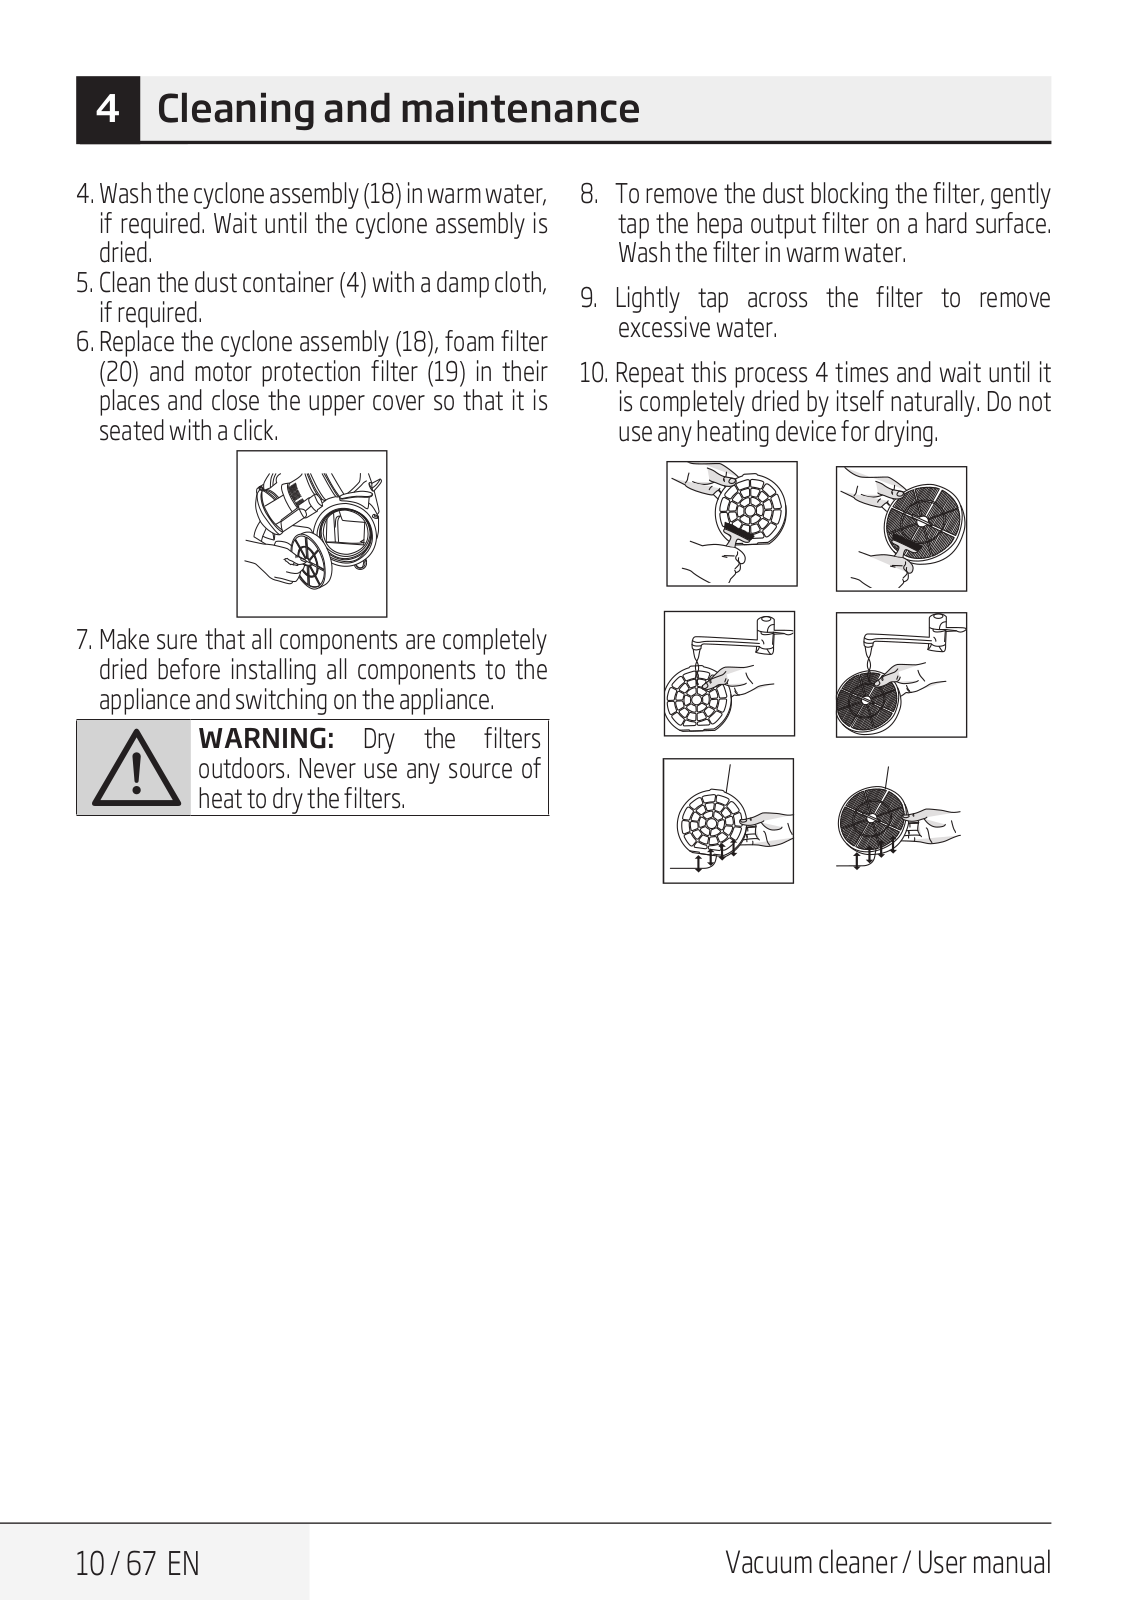
4
BKK1600PKR
2
BKK2115 Inox
BKK2121
2
BKK2128L
BKK2128T
4
BKK2130
5
BKK2134B
BKK2142
5
BKK2148
BKK2149
BKK2152
BKK2163P
3
BKK2174
3
BKK2184
BKK2202
2
BKK2261
2
BKK2300S
2
BKL15LW03
BKL15LWL03M
BKL-19BW-C60B
BKM 09 H
BKMF 1050
BKMF-4B
2
BKMF 5
2
BKMF-6
BKMU-09C
BKO. 0-2
BKP 09 C
BKP 12 C
BKR-12H
BKS 1018 Y
BKS 1207
BKS 1207 PY
BKS 1210
BKS 1248
BKS 1260
BKS 1265 T
2
BKS 1270 EY
BKS 1294
BKS 1295 C
BKS 1310
3
BKS 1310 EY
BKS 1320
3
BKS 1325
BKS 1325 B
BKS 1325 C
BKS 1325 P
BKS 1330
BKS 1330 C
BKS 1350 T
2
BKS 1351
3
BKS 1351 K
BKS 1352
2
BKS 1360
BKS 1410
4
BKS 1420
5
BKS 1460
BKS 1510
3
BKS 1511
4
BKS 1511 A
BKS 1511 C
BKS 1515
4
BKS 1911
BKS 1912
BKS 1913
BKS 1914
bks 2123
BKS 2125
BKS 2226
2
BKS 2230
BKS 2240
2
BKS 2240 A
BKS 2240 C
BKS 2250
2
BKS 2250 A
BKS 2422
BKS 2520
BKS 2522
BKS 2524
BKS 2540 T
BKS 2620
BKS 2622
BKS 2910
BKS 2920
BKS 2935
BKS 2940
BKS 3210
BKS 5223 P
BKS 5316
2
BKS 5316 T
2
BKS 5420
BKS 5422
BKS 5422 D
3
BKS 5423
BKS 5423 K
BKS 5440 A
BKS 5534 A
BKS 5534 F
BKS 5540
Loading...
Loading...
Nothing found
BKS 1350 T
User manual [EN,TR,RU,FR,KK]
72 pgs
15.49 Mb
0
User manual [EN,TR,RU,FR,KK,TH]
80 pgs
18.03 Mb
0
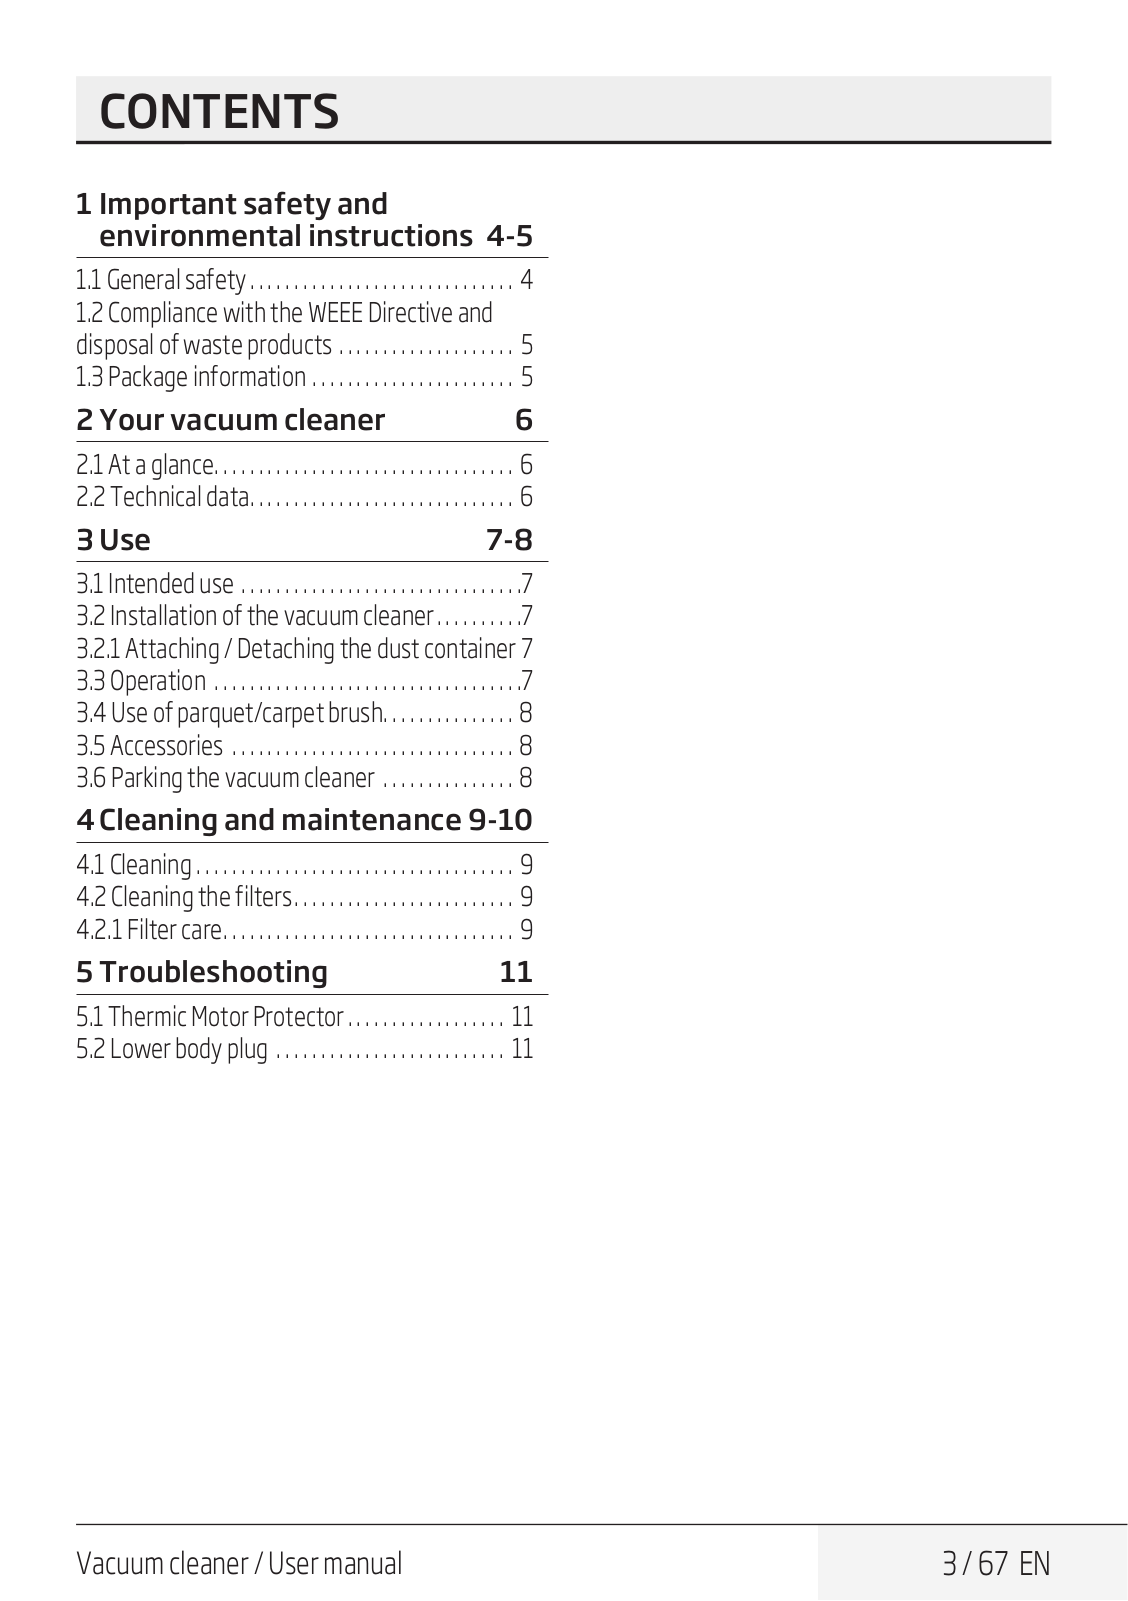
Table of contents
Loading...
Beko BKS 1350 T User manual [EN,TR,RU,FR,KK,TH]
...
Beko User manual [EN,TR,RU,FR,KK,TH]
Download
Specifications and Main Features
Frequently Asked Questions
User Manual
Download
Loading...
+
56
hidden pages
Unhide
You need points to download manuals.
1 point = 1 manual.
You can buy points or you can get point for every manual you upload.
Buy points
Upload your manuals